Preparation is the key to success in any interview. In this post, we’ll explore crucial Proficient in digital painting and sketching techniques interview questions and equip you with strategies to craft impactful answers. Whether you’re a beginner or a pro, these tips will elevate your preparation.
Questions Asked in Proficient in digital painting and sketching techniques Interview
Q 1. What are your preferred digital painting software and tools?
My preferred digital painting software is Adobe Photoshop, primarily because of its extensive toolset and industry-standard compatibility. I also utilize Clip Studio Paint for its intuitive brush engine and excellent support for comic and manga creation. Within these programs, my go-to tools include a variety of custom brushes (for both organic and hard-edged strokes), the lasso and pen tools for precise selections, and the smudge and blur tools for blending and softening edges. For example, I might use a custom textured brush for painting realistic skin, while a hard-edged brush would be ideal for creating sharp lines in a robot design.
Q 2. Describe your workflow for creating a digital painting.
My digital painting workflow usually follows these steps: First, I create a rough sketch to establish the composition and basic forms. Then, I refine this sketch, adding more detail and defining the anatomy or object structure. Next, I lay down the base colors, blocking in large areas of tone and value. After that, I start refining the details, adding textures and shading using various blending modes and brushes. I often work in layers, allowing me to easily adjust individual elements. For instance, I might have separate layers for the skin, clothing, and background, enabling independent modification without affecting other elements. Finally, I add finishing touches, such as lighting effects and subtle details, ensuring everything coheres seamlessly. The entire process is iterative; I constantly refine and adjust my work throughout.
Q 3. Explain your process for developing a character sketch.
Developing a character sketch starts with understanding the character’s personality and backstory. This informs the design choices – what kind of clothing would they wear? What’s their body type? What about their expression and posture? I begin with quick gesture sketches to capture the essence of the pose. Then, I refine the anatomy, paying close attention to proportions and muscle structure. For instance, a confident warrior might have a broad, powerful stance, while a shy character might appear withdrawn. I then focus on clothing and other details, making sure they enhance the character’s personality. Finally, I add finer details to the face, expressing the character’s mood and inner state through subtle expressions and carefully rendered features. For example, a slight upturn of the mouth can reveal a mischievous personality, while deep-set eyes might convey a sense of seriousness.
Q 4. How do you approach creating realistic textures in your work?
Creating realistic textures relies on understanding how light interacts with different surfaces. I achieve this through a combination of techniques. First, I use a variety of brushes to mimic the surface structure—a rough brush for stone, a soft brush for skin, and a more detailed brush for fabric. I then utilize layer blending modes, such as Overlay or Soft Light, to subtly modify the textures and add depth. For example, using a noise texture layer in Overlay mode can add a subtle granular texture to skin. Finally, I adjust the lighting and shadows to accentuate the texture, making it more believable. I might use a darker color to create shadows within the grooves of a wooden texture, enhancing its realism.
Q 5. What methods do you use for color mixing and blending in digital painting?
Color mixing and blending in digital painting is very flexible. I frequently use the color picker to sample colors directly from my reference images, ensuring accuracy. I blend colors using a variety of tools: the brush tool with varying opacity and flow settings, the smudge tool to soften edges, and layer blending modes such as Multiply and Overlay to create depth and richer colors. For example, using the Multiply blending mode on a darker color can create realistic shadows. Furthermore, I utilize color palettes inspired by nature or existing artwork to maintain visual coherence. Experimenting with hue, saturation, and brightness is key to achieving the desired color harmony.
Q 6. How do you manage file sizes and resolution in your digital artwork?
Managing file size and resolution is crucial. I always start with a high resolution, typically at least 300 DPI, to ensure the image quality remains excellent even when enlarged. During the painting process, I regularly save my work in a lossless format like PSD to avoid data loss. Once the artwork is finalized, I can then save it in a lossy format like JPG or PNG, optimizing the file size for web or print use while minimizing quality degradation. Tools within Photoshop and Clip Studio Paint help to reduce file size without significant quality loss. For instance, I might use the ‘Save for Web’ function in Photoshop, adjusting the compression settings to find the ideal balance between file size and quality.
Q 7. How do you incorporate perspective and composition in your pieces?
Perspective and composition are fundamental elements. I use guidelines and vanishing points to create believable perspectives, especially in architectural or landscape paintings. Composition is carefully planned using the rule of thirds or other compositional techniques to guide the viewer’s eye and create visual interest. For example, I might place my main subject at the intersection of the rule of thirds, creating a visually appealing focal point. I also consider leading lines, negative space, and color contrast to enhance the composition’s effectiveness. Thinking of the piece as a whole and how the elements interact is crucial to creating a strong and compelling image.
Q 8. Describe your experience with different brush types and their applications.
My experience with digital brushes spans a wide range, from basic round brushes to highly specialized tools. Understanding brush properties is crucial. Think of a brush as a real-world tool; its size, shape, hardness, and opacity all dramatically affect the final stroke.
- Round Brushes: These are the workhorses, excellent for foundational sketching, detailed linework, and blending. Hardness controls the edge; a hard brush creates sharp lines, while a soft brush produces softer, more painterly strokes.
- Square Brushes: Ideal for sharp, geometric shapes, texturing, and creating crisp, solid fills. They’re less versatile for organic forms.
- Textured Brushes: These brushes mimic real-world media, like charcoal or watercolor. They add visual interest and texture to a piece. I often use them for backgrounds or to create a specific mood.
- Airbrush Brushes: These create soft, diffused gradients, perfect for blending colors smoothly, adding subtle highlights or shadows, and creating realistic effects like mist or smoke.
- Specialty Brushes: Software often includes brushes for specialized effects – like grass, fur, or even lighting effects. Experimentation is key; mastering these can significantly speed up your workflow.
For instance, I recently used a combination of hard round brushes for precise line art in a character portrait, followed by textured brushes for clothing and soft airbrushes for the skin shading. The right brush choice dramatically impacts the painting’s overall feel and style.
Q 9. How do you handle feedback and critiques on your work?
I embrace constructive criticism as an invaluable tool for growth. Feedback helps me see my work from a different perspective and identify areas for improvement. My process is to carefully consider each point, weighing its validity against my artistic vision. I separate my emotional response from the objective merit of the criticism.
For example, if feedback suggests a color palette feels muddied, I don’t take it personally. Instead, I analyze the color relationships objectively, considering the color wheel and contrast. I might experiment with adjusting the saturation, value, or hue to resolve the issue.
Direct and honest feedback is the most beneficial, even if it’s initially difficult to hear. Learning to receive critique gracefully and translate it into tangible improvements is a key skill for any digital artist. I actively seek out feedback from trusted peers and mentors.
Q 10. What is your approach to problem-solving when faced with technical challenges?
My approach to technical challenges is systematic and iterative. I start by clearly defining the problem. Then, I research potential solutions – this might involve searching online tutorials, consulting documentation, or experimenting with different techniques in my software.
If the solution isn’t immediately apparent, I break the problem into smaller, more manageable parts. I approach it like solving a puzzle, experimenting with different approaches until I find a solution that works. If I’m working on something complex, like a detailed background, I might even start with a simpler version first to learn from the process before tackling the full complexity.
For instance, if I’m struggling with achieving a specific lighting effect, I might start by experimenting with light sources in a simplified scene to understand the basic principles before applying those learnings to the more complex artwork. Documenting my process and experiments is essential; this way, I can learn from both successes and failures.
Q 11. Explain your understanding of color theory and its impact on your artwork.
Color theory is the foundation of my work. It’s not just about picking pretty colors; it’s about understanding how colors interact to create mood, depth, and visual impact. Understanding the color wheel (primary, secondary, tertiary colors), color temperature (warm vs. cool), and color harmony (complementary, analogous, triadic) is paramount.
For example, using complementary colors creates high contrast, which can be effective for dramatic scenes. Analogous colors create a harmonious and serene feel, ideal for landscapes or portraits. Value (lightness or darkness of a color) and saturation (intensity of a color) play just as important a role. I carefully consider how these factors affect the overall composition and message of my artwork.
I use color to guide the viewer’s eye through the painting, directing attention to focal points and creating a sense of balance. A deep understanding of color theory allows me to translate my creative vision into a visually compelling piece.
Q 12. How do you approach creating different art styles?
Approaching different art styles involves studying and understanding the key characteristics of that style. I begin by researching examples of the style, analyzing the brushwork, color palettes, composition, and overall aesthetic. It’s like learning a new language – you need to grasp the vocabulary and grammar before you can effectively communicate.
For example, to emulate a cartoon style, I might focus on simple shapes, bold outlines, and limited color palettes. To mimic a realistic style, I would emphasize detailed rendering, accurate anatomy, and subtle color transitions. Experimentation is key; I often start by sketching and experimenting with different brush techniques and colors to capture the essence of the desired style.
Reference images are invaluable. I analyze the visual characteristics of the reference, breaking them down into the technical components I need to replicate. This involves mimicking brushstrokes, color mixing, and even compositional strategies used by masters of that particular style. It’s a process of learning and adaptation, not mere imitation.
Q 13. Describe your experience with digital sculpting or 3D modeling (if applicable).
While my primary focus is digital painting and sketching, I have some experience with digital sculpting using software like ZBrush. It’s a different skill set, but the principles of form, volume, and light remain the same. My sculpting experience enhances my understanding of three-dimensional form, which greatly benefits my painting by allowing me to depict realistic shapes and structures more convincingly.
Understanding how light interacts with a three-dimensional form is key in both sculpting and painting. My sculpting experience helps me visualize how shadows and highlights would fall on a character’s face or the folds of a cloth. This knowledge informs my choices when painting, leading to a more believable and engaging visual representation.
I’m always seeking to expand my skillset and integrate techniques from different areas of digital art. The skills learned in 3D modeling translate directly into better understanding of perspective, anatomy, and light and shadow in my paintings.
Q 14. How familiar are you with different file formats (e.g., PSD, TIFF, PNG)?
I’m proficient in several common digital art file formats, understanding their strengths and weaknesses. Each format offers a unique balance between image quality, file size, and compatibility. Choosing the right format depends on the intended use.
- PSD (Photoshop Document): This is my go-to format for working files, allowing for non-destructive editing and layer management. It preserves all the layers and settings, essential for ongoing revisions.
- TIFF (Tagged Image File Format): A lossless format ideal for high-quality image archiving and print reproduction. It’s excellent for preserving fine details, but the file size can be large.
- PNG (Portable Network Graphics): A lossless format well-suited for web graphics and images with sharp lines and text. It supports transparency, making it ideal for images with alpha channels.
- JPEG (Joint Photographic Experts Group): A lossy format used for photographs and images with smooth color gradations. It’s more compact than PNG but sacrifices some image quality with compression.
For example, I use PSD for my workflow, then export as a high-resolution TIFF for printing and a smaller PNG for online use. Selecting the appropriate format is crucial for ensuring image quality, file size efficiency and compatibility across different platforms and applications.
Q 15. How do you maintain the integrity of your artwork during the editing process?
Maintaining artwork integrity during editing is crucial. It’s like sculpting – you wouldn’t want to accidentally chip away at your masterpiece! My approach involves a layered workflow. I begin by establishing a solid base sketch, ensuring all major elements are well-defined. Then, I build upon this with separate layers for color, shading, details, and effects. This non-destructive approach allows me to adjust any element without affecting others. For instance, if I want to change the background color, I can simply alter the background layer, leaving the character and foreground layers untouched. Regularly saving multiple versions of my work as I progress is also key; think of it as having multiple checkpoints in a game, ensuring I can revert to earlier stages if needed. I also utilize non-destructive editing tools like adjustment layers (curves, levels, hue/saturation) within my software (e.g., Photoshop, Procreate) to refine colors and tones without directly altering the underlying image.
Career Expert Tips:
- Ace those interviews! Prepare effectively by reviewing the Top 50 Most Common Interview Questions on ResumeGemini.
- Navigate your job search with confidence! Explore a wide range of Career Tips on ResumeGemini. Learn about common challenges and recommendations to overcome them.
- Craft the perfect resume! Master the Art of Resume Writing with ResumeGemini’s guide. Showcase your unique qualifications and achievements effectively.
- Don’t miss out on holiday savings! Build your dream resume with ResumeGemini’s ATS optimized templates.
Q 16. What are your preferred techniques for creating realistic lighting and shadows?
Realistic lighting and shadows are essential for depth and believability in digital painting. My technique involves understanding light sources and their interaction with objects. I start by identifying the primary light source – is it the sun, a lamp, or something else? Then, I determine the direction and intensity of the light. This dictates the placement and strength of highlights, mid-tones, and shadows. I use a variety of brushes to achieve different effects: hard brushes for crisp highlights, soft brushes for smooth transitions in shadows, and textured brushes to add surface detail. For example, when painting a character, a strong light source from above might create a bright highlight on the cheekbone and a deep shadow under the jawline. The subtle transitions between highlight, midtone and shadow are crucial. I also consider ambient occlusion – the subtle darkening in crevices and recesses caused by indirect light – to enhance realism. Finally, I use color temperature to adjust the overall feeling of the light, often warming the highlights and cooling the shadows to mimic natural light.
Q 17. Describe your approach to storytelling through your art.
Storytelling in art is about conveying emotions and ideas without words. My approach involves carefully considering composition, character expression, and visual metaphors. For instance, if I’m depicting a scene of loneliness, I might use a character positioned centrally but small within a vast and empty landscape, using muted colors to heighten the feeling. Conversely, if I’m depicting excitement, I might utilize vibrant colors and dynamic composition, with characters in active poses and gestures. The narrative doesn’t need to be explicitly stated – it’s often more effective to suggest it through subtle cues and evocative imagery, allowing the viewer to interpret and engage with the story on their own terms. Think of it like reading between the lines; the art creates an environment and invites the viewer to become an active participant in the narrative rather than a passive observer.
Q 18. Explain your process for creating a cohesive visual style.
Developing a cohesive visual style is a journey, not a destination! It’s about refining your personal artistic voice. I achieve this through consistent exploration and experimentation. I begin by identifying elements I’m drawn to – a particular color palette, brush technique, or subject matter. For example, I might consistently favor warm earth tones and expressive line work. Over time, I refine these elements, making conscious choices about how these elements work together in every piece. It is also about knowing what *not* to include. This selective approach helps to make a style recognizable. Regular self-critique and seeking feedback are invaluable tools. Analyzing the work of artists whose style I admire helps me understand different stylistic choices and discover new directions. This constant process of experimentation and refinement eventually leads to a consistent visual identity that reflects my artistic personality and skills.
Q 19. How do you stay up-to-date with current trends in digital art?
Staying current in digital art requires active engagement with the community and technology. I regularly follow digital art blogs, online forums, and social media accounts of leading artists. This allows me to see cutting-edge techniques, new software features, and emerging trends. Attending online workshops and webinars provide opportunities to learn from renowned artists and explore new software. Participating in online communities and attending (virtual or in-person) art events promotes peer interaction and allows for a chance to gain fresh perspectives. I also experiment with new software and hardware to expand my skillset and stay ahead of the curve. Think of it as a continuous learning process; the art world is constantly evolving, and staying abreast of those developments is critical for growth and innovation.
Q 20. Describe your experience with collaborative projects.
Collaborative projects are incredibly enriching! My experience ranges from working with writers on illustrating children’s books to collaborating with game designers on concept art. In these projects, effective communication is paramount. Before starting, we establish clear goals, deadlines, and artistic directions. We often use project management tools to track progress and share files. For example, when working on a children’s book, the author provides the text and storyline, while I translate that narrative into visuals, adhering to the tone and style we’ve agreed upon. Open communication and a willingness to compromise are vital. This collaborative spirit fosters mutual respect and allows for diverse perspectives to shape the final product. The ability to adapt to different working styles and provide constructive feedback is essential for successful collaboration.
Q 21. How do you manage your time effectively when working on multiple projects?
Managing multiple projects effectively involves meticulous planning and organization. I use project management tools to prioritize tasks, set realistic deadlines, and track progress. I break down larger projects into smaller, manageable tasks, using a task list or Kanban board. Time blocking helps me dedicate specific time slots to each project. For example, I might dedicate mornings to one project and afternoons to another, ensuring focused work on each without context-switching. Regular breaks are crucial to maintain productivity and prevent burnout. It’s important to also build buffer time into my schedule to account for unexpected delays. This organized approach, coupled with discipline and self-awareness, allows me to effectively balance multiple projects without sacrificing quality or mental wellbeing.
Q 22. What is your approach to creating concept art for a video game?
My approach to concept art for video games begins with a deep understanding of the game’s narrative, setting, and characters. I start by gathering reference material, mood boards, and any existing design documents. I then create a series of thumbnail sketches to explore different compositions and visual ideas, focusing on conveying the overall feel and tone. Once a strong composition is chosen, I move into more detailed sketches, refining the design and fleshing out details. This is followed by digital painting, where I focus on color, light, and texture to bring the concept to life. The process is iterative, with constant feedback from the game’s art director to ensure alignment with the project’s vision. For example, if I’m creating concept art for a dark fantasy game, my initial sketches might focus on silhouette and dramatic lighting to emphasize a sense of mystery and danger, while a vibrant children’s game would involve brighter colors and playful character designs. Each stage is meticulously documented, allowing for easy adjustments and iteration based on feedback.
Q 23. How do you ensure your artwork is consistent with the project’s overall aesthetic?
Maintaining consistency with a project’s overall aesthetic is crucial. My strategy involves close collaboration with the art director and the rest of the art team. We establish a style guide at the beginning of the project, defining key elements such as color palettes, line weights, texture styles, and character proportions. I religiously adhere to this guide throughout the creation process, constantly referring back to it to ensure that my work aligns seamlessly with the established visual language. For instance, if the style guide specifies a particular brush stroke technique or a specific shade of blue for the sky, I make sure to utilize those elements consistently across all my pieces. Regular reviews and feedback sessions are also important for catching inconsistencies early on. This ensures a cohesive and unified visual experience for the player.
Q 24. Describe your experience with digital painting for different mediums (e.g., print, web).
My experience with digital painting spans various mediums, from high-resolution prints for art books to optimized images for web use. For print, I prioritize high resolution and color accuracy, using color profiles and ensuring the artwork is properly prepared for the printing process. I pay close attention to detail, knowing that print media magnifies any imperfections. For web, the focus shifts to file size optimization and resolution suitable for screen display. I might use techniques like image compression and utilize web-friendly file formats like JPEG or PNG-8, balancing image quality with loading speed. I adapt my workflow based on the specific requirements of each medium. For instance, a print-ready piece may require multiple layers for intricate details, while a web graphic might be simplified for faster loading times. This flexibility allows me to deliver high-quality artwork regardless of the intended platform.
Q 25. What are some common challenges you encounter in digital painting, and how do you overcome them?
Digital painting, while offering incredible flexibility, presents its own set of challenges. One common hurdle is achieving a natural-looking blend between colors and textures, particularly in simulating traditional media. I overcome this by experimenting with different blending modes, brush settings, and layers. Another challenge is maintaining consistency in line weight and style across a piece. To address this, I utilize guides, rulers, and consistent brush settings. Managing large files and preventing performance issues in software is also a concern. I address this by regularly saving my work, using layers efficiently, and optimizing my canvas size. Finally, achieving a balance between detail and efficiency is vital. I focus on establishing a solid composition and value structure before adding intricate details, preventing unnecessary work and time wastage.
Q 26. How do you use layers effectively to maintain organization and flexibility in your workflow?
Layers are fundamental to my workflow. I use them to organize my artwork logically and maintain flexibility. For instance, I dedicate separate layers to sketches, base colors, shading, highlights, textures, and effects. This allows me to easily modify or adjust specific elements without affecting others. I name each layer descriptively (e.g., ‘Base_Color_Skin’, ‘Highlights_Hair’) for better organization. I also utilize layer groups to further streamline my workflow, grouping related layers (like all the layers pertaining to a character’s clothing) into a single, easily manageable unit. This organized approach allows for quick adjustments, easier experimentation with different elements, and simple non-destructive editing, which is crucial for efficient revisions and feedback incorporation.
Q 27. Explain your understanding of different digital painting techniques, such as impasto or glazing.
Understanding different digital painting techniques is key to achieving diverse artistic styles. Impasto, for example, mimics the thick application of paint seen in oil painting, creating a textured, almost sculptural effect. Digitally, I achieve this using brushes with high opacity and texture, often applying paint in short, visible strokes. Glazing involves layering transparent or semi-transparent colors over a base layer, subtly modifying color and value. In digital painting, this translates to using low-opacity layers with blending modes like ‘Multiply’ or ‘Overlay’ to create depth and luminosity. Mastering these techniques enables me to produce artworks with varied textures, moods, and visual interest. Understanding the interplay of these techniques allows for creating rich and nuanced digital paintings.
Q 28. How do you create believable and engaging characters through sketching and painting?
Creating believable and engaging characters starts with strong sketching. I begin by establishing the character’s basic pose and proportions, paying close attention to anatomy and perspective. Understanding the character’s personality and backstory is key; this influences their design and posture. I then refine the sketch, adding details like clothing, hair, and facial features. Digital painting allows me to explore different color palettes and textures to further define the character’s personality and setting. Utilizing light and shadow is critical to create volume and realism. For example, a character’s determined expression might be highlighted by strong directional lighting, while a tired character may be depicted with softer, diffused lighting. The process is iterative, constantly refining the character’s design until it feels genuine and engaging.
Key Topics to Learn for Proficient in Digital Painting and Sketching Techniques Interview
- Software Proficiency: Demonstrate a strong understanding of industry-standard software like Photoshop, Procreate, Clip Studio Paint, or similar. Be prepared to discuss your experience with various tools and features within your chosen software(s).
- Brush Techniques & Control: Discuss your mastery of various brush types, pressure sensitivity, and how you achieve different textures and effects. Be ready to explain your approach to creating realistic or stylized looks.
- Color Theory & Application: Showcase your knowledge of color palettes, harmonies, and how you use color to create mood, depth, and visual interest in your artwork. Prepare examples of how you’ve used color effectively in your projects.
- Composition & Design Principles: Explain your understanding of visual balance, focal points, and leading lines. Be ready to analyze your own work and discuss your design choices.
- Workflow & Process: Describe your typical workflow, from initial sketch to final rendering. Explain your approach to problem-solving, such as handling complex compositions or difficult lighting scenarios.
- Digital Painting Styles & Techniques: Be prepared to discuss various styles (e.g., realistic, stylized, painterly, illustrative) and techniques (e.g., layering, blending modes, masking) and how you adapt your approach depending on the project requirements.
- Perspective & Anatomy (if applicable): If your portfolio involves character design or environment creation, demonstrate understanding of perspective and anatomy principles.
- Portfolio Presentation & Critique: Practice articulating your creative process and defending your artistic choices. Be ready to discuss both your successes and areas for improvement.
Next Steps
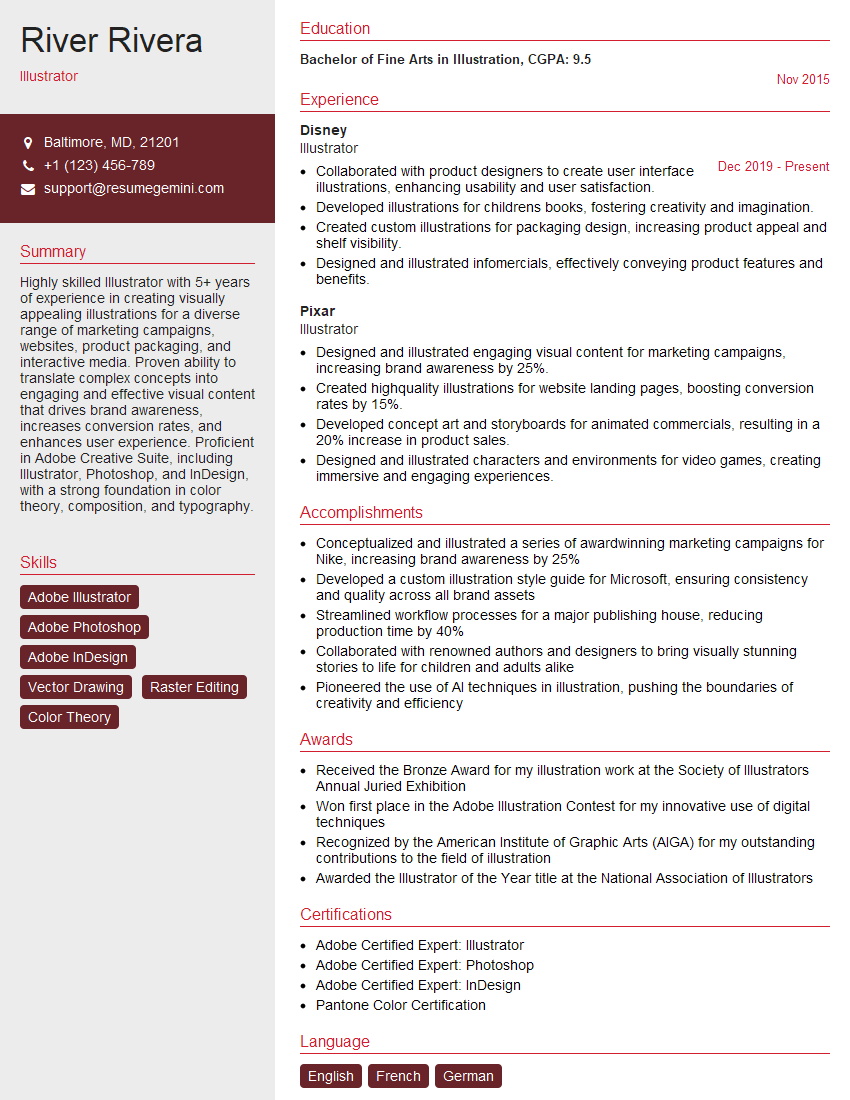
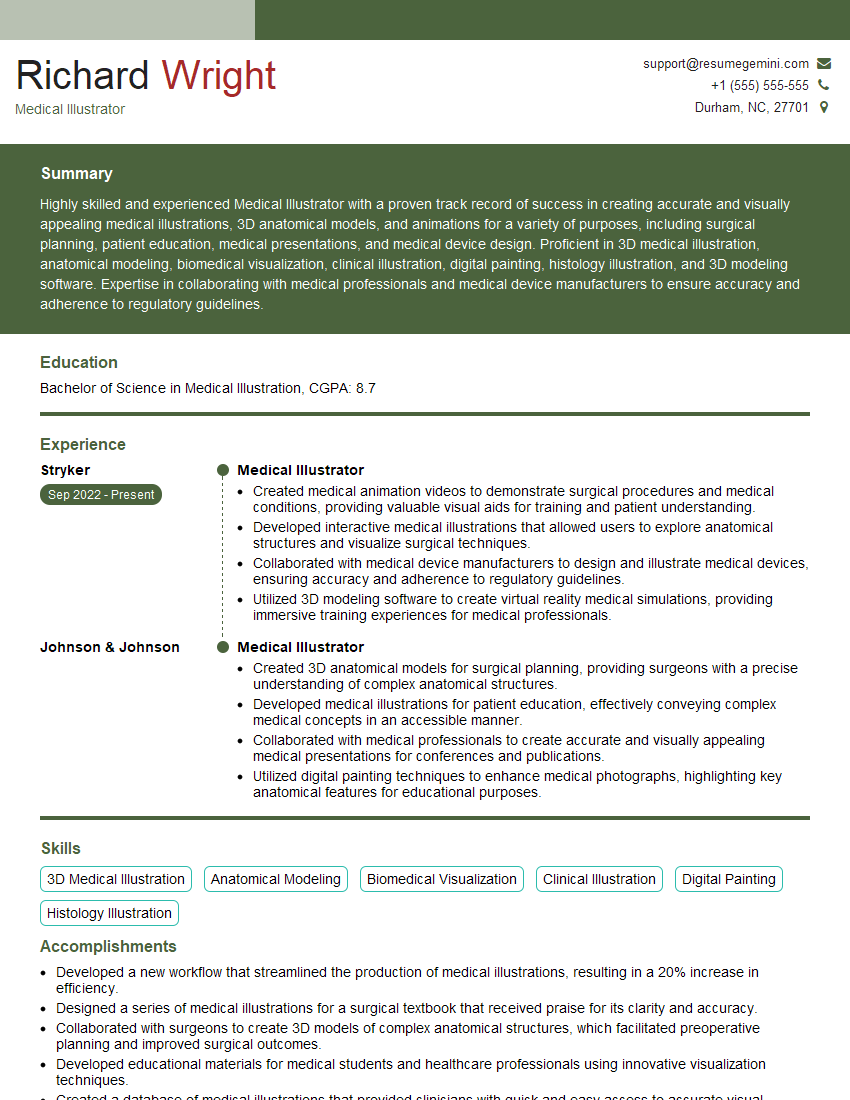
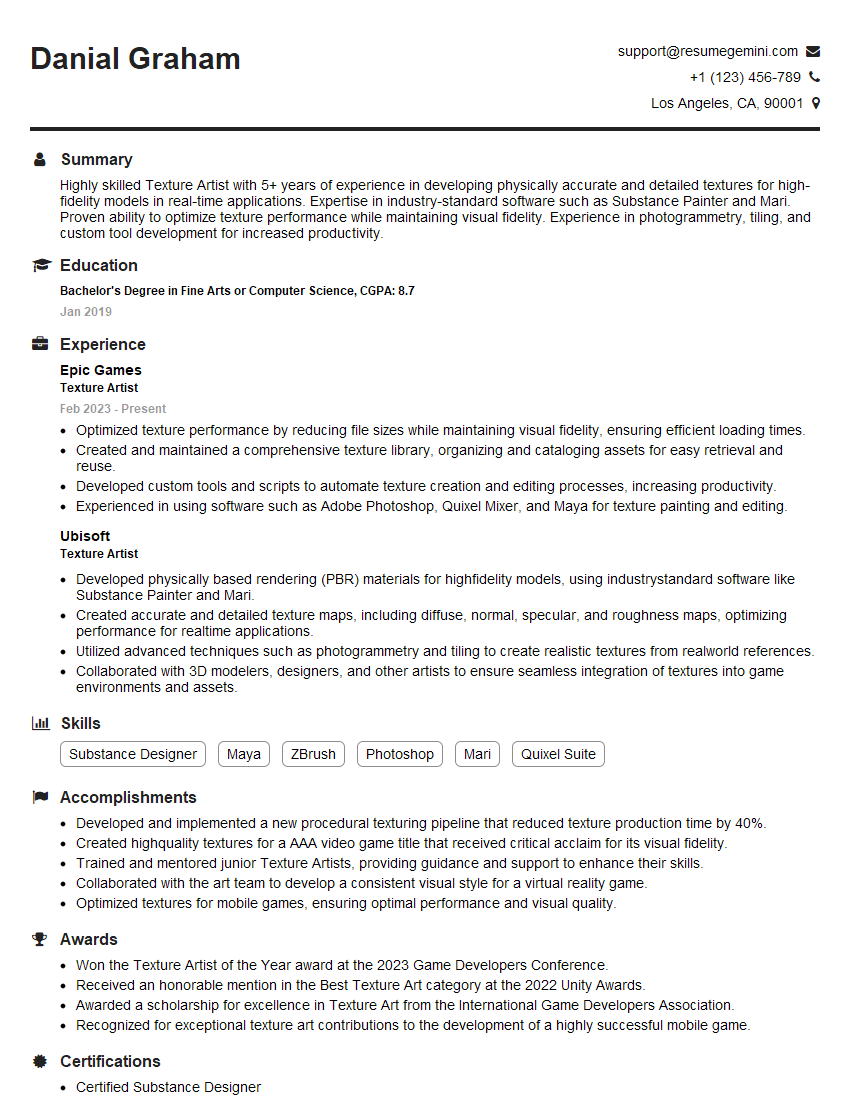
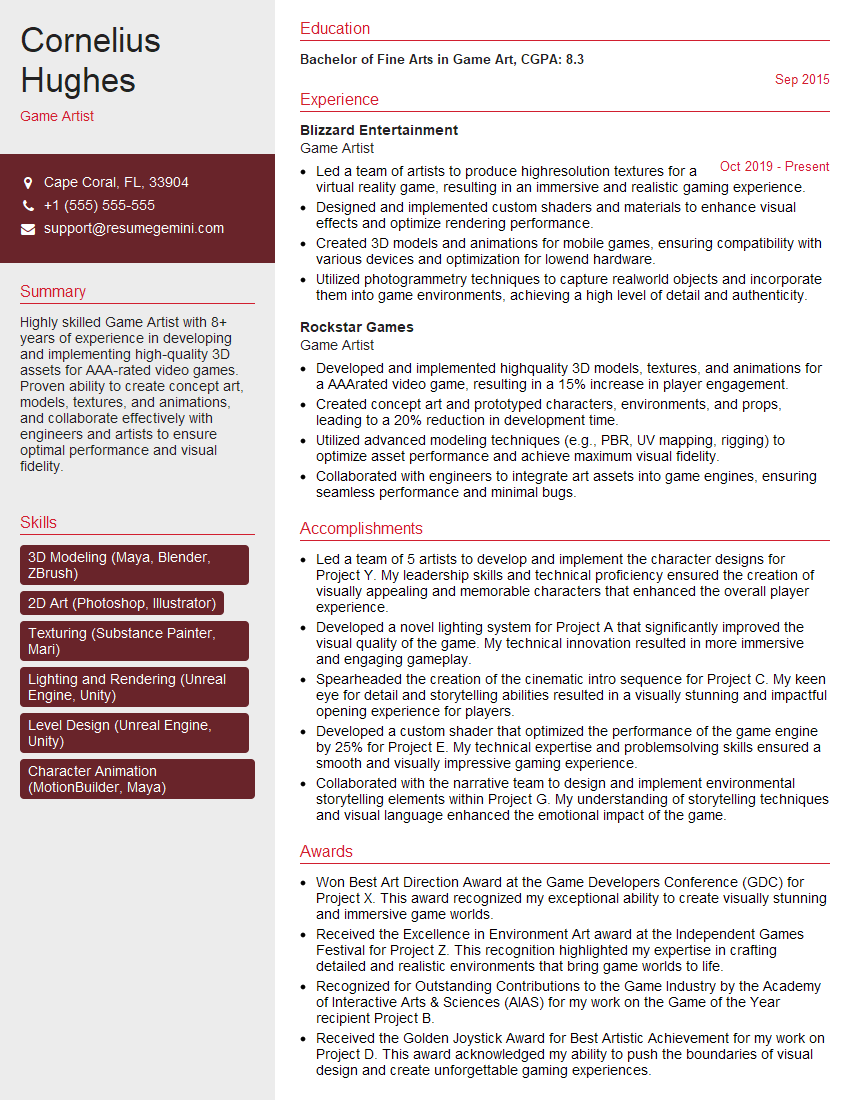
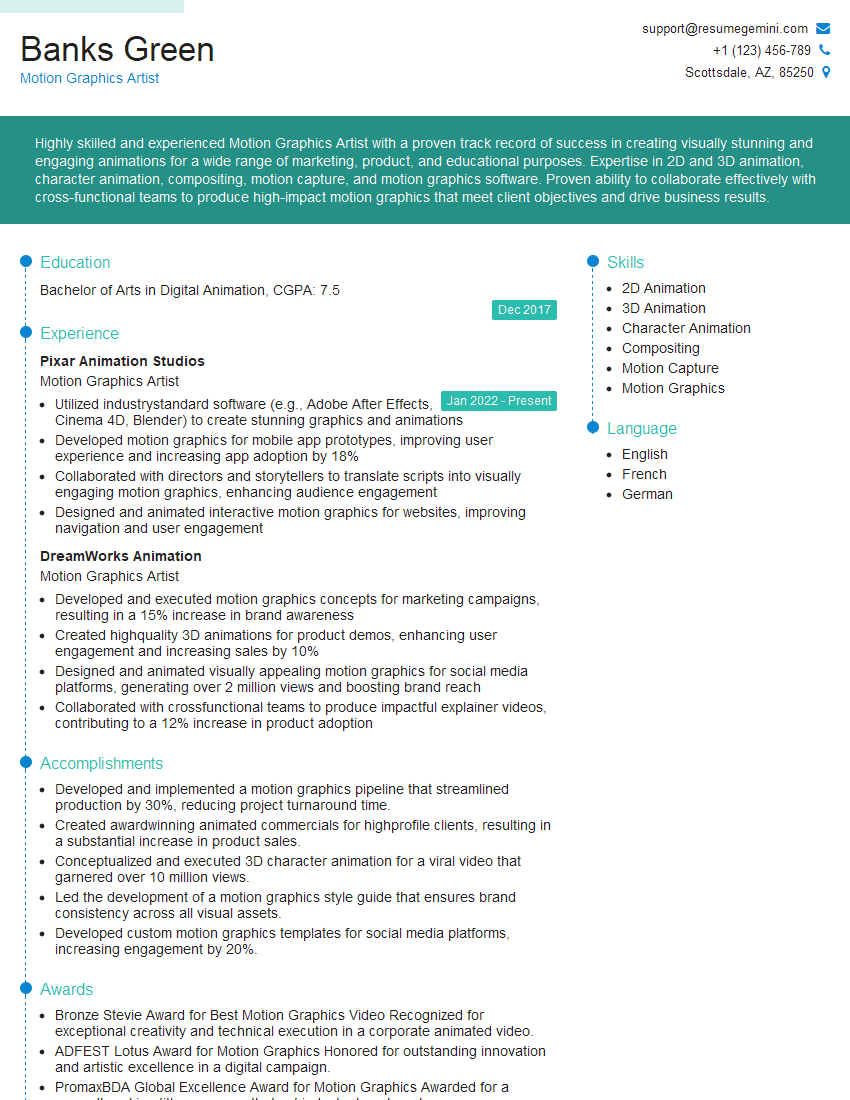
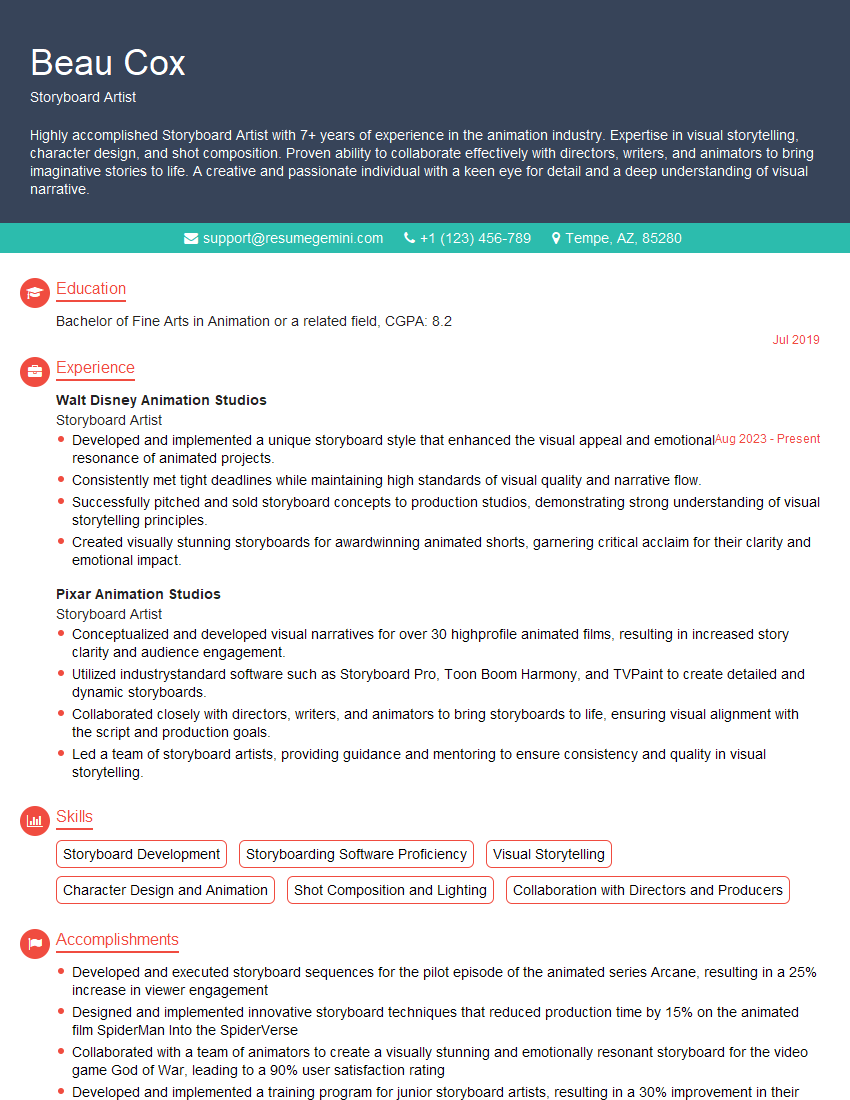
Mastering digital painting and sketching techniques is crucial for career advancement in the creative industries. A strong portfolio is essential, but so is a well-crafted resume that highlights your skills and experience effectively. An ATS-friendly resume is key to getting your application noticed by recruiters. To build a professional and impactful resume that showcases your proficiency, we highly recommend using ResumeGemini. ResumeGemini provides tools and resources to create a resume optimized for Applicant Tracking Systems (ATS), significantly increasing your chances of landing an interview. Examples of resumes tailored to highlight proficiency in digital painting and sketching techniques are available within the ResumeGemini resources.
Explore more articles
Users Rating of Our Blogs
Share Your Experience
We value your feedback! Please rate our content and share your thoughts (optional).
What Readers Say About Our Blog
Hello,
We found issues with your domain’s email setup that may be sending your messages to spam or blocking them completely. InboxShield Mini shows you how to fix it in minutes — no tech skills required.
Scan your domain now for details: https://inboxshield-mini.com/
— Adam @ InboxShield Mini
Reply STOP to unsubscribe
Hi, are you owner of interviewgemini.com? What if I told you I could help you find extra time in your schedule, reconnect with leads you didn’t even realize you missed, and bring in more “I want to work with you” conversations, without increasing your ad spend or hiring a full-time employee?
All with a flexible, budget-friendly service that could easily pay for itself. Sounds good?
Would it be nice to jump on a quick 10-minute call so I can show you exactly how we make this work?
Best,
Hapei
Marketing Director
Hey, I know you’re the owner of interviewgemini.com. I’ll be quick.
Fundraising for your business is tough and time-consuming. We make it easier by guaranteeing two private investor meetings each month, for six months. No demos, no pitch events – just direct introductions to active investors matched to your startup.
If youR17;re raising, this could help you build real momentum. Want me to send more info?
Hi, I represent an SEO company that specialises in getting you AI citations and higher rankings on Google. I’d like to offer you a 100% free SEO audit for your website. Would you be interested?
Hi, I represent an SEO company that specialises in getting you AI citations and higher rankings on Google. I’d like to offer you a 100% free SEO audit for your website. Would you be interested?
good


