The thought of an interview can be nerve-wracking, but the right preparation can make all the difference. Explore this comprehensive guide to Proficient in Sewing Terminology interview questions and gain the confidence you need to showcase your abilities and secure the role.
Questions Asked in Proficient in Sewing Terminology Interview
Q 1. Define ‘selvedge’.
Selvedge is the self-finished edge of a fabric. Unlike cut edges, which fray easily, the selvedge is tightly woven and prevents unraveling. Think of it as the fabric’s natural border, created during the weaving or knitting process. It’s usually denser and slightly different in appearance from the rest of the fabric. You’ll often find it slightly more stiff than the body of the fabric. This is crucial because using the selvedge as a guide during cutting ensures straight seams and prevents fabric distortion.
Practical Application: When cutting out patterns, aligning the selvedge with your pattern pieces helps ensure accurate cuts and perfectly straight seams. It’s especially helpful when working with bias cuts or slippery fabrics.
Q 2. Explain the difference between a French seam and a flat-felled seam.
Both French seams and flat-felled seams are strong, professional finishes used to enclose raw edges, but they differ significantly in construction and appearance.
- French Seam: A French seam encloses raw edges twice, creating a very neat, clean finish ideal for sheer or delicate fabrics. It’s essentially a seam within a seam. First, you sew a narrow seam allowance with wrong sides together. Then, you trim the seam allowance, turn the fabric right side out, and sew a second seam, completely enclosing the raw edges. This results in a very elegant and durable seam, perfect for garments that will receive a lot of wear and tear.
- Flat-Felled Seam: A flat-felled seam is incredibly strong and commonly used in durable garments like jeans or workwear. It involves pressing one seam allowance open and then encasing it within the other seam allowance. After trimming one allowance, the wider seam allowance encloses the narrower one, the raw edges are secured, and then the result is pressed flat. It creates a clean, reinforced edge on one side of the garment, making it particularly sturdy.
Key Difference: A French seam is enclosed on both sides, resulting in a smooth finish, while a flat-felled seam is flat and reinforces only one side.
Q 3. What is the purpose of interfacing?
Interfacing is a supporting fabric used to give structure and stability to garments. It’s rarely seen because it’s applied to the wrong side of the fabric. It’s not typically used throughout an entire garment but, rather, in strategic areas like collars, cuffs, pockets, and button plackets, providing support that keeps them crisp and maintains their shape. Think of it as the ‘bones’ of a garment, adding shape and structure where needed.
Types of Interfacing: There are many types, including woven, fusible (heat-activated adhesive), and non-fusible (requiring hand stitching). The choice depends on the fabric and the desired outcome. For example, a fusible interfacing is convenient for collars or cuffs, while a non-fusible might be preferred for details needing more flexibility.
Practical Application: Without interfacing, a collar might flop, a buttonhole might gape, or a pocket might sag. Interfacing ensures these details hold their shape and enhance the overall quality and appearance of the garment.
Q 4. Describe different types of stitches (e.g., backstitch, blindstitch, zigzag).
Many different stitches serve different purposes.
- Backstitch: A strong, durable stitch used for seams requiring extra strength, such as stress points. It’s created by stitching backward a couple of stitches, before moving forward a stitch. It effectively creates a continuous line, like a chain stitch on a machine.
- Blindstitch: A nearly invisible stitch, perfect for hems or seam closures where you want to minimize the appearance of stitching. This is typically done by hand and utilizes a needle to stitch the stitches almost invisibly.
- Zigzag Stitch: A versatile stitch used for overcasting raw edges (preventing fraying), attaching elastic, or creating decorative effects. This stitch moves back and forth across the seam, adding more flexibility to the seam.
- Straight Stitch: The most basic stitch, useful for most seams, and easily created with sewing machines. It is a continuous stitch that creates a flat stitch.
Practical Application: Choosing the right stitch is crucial for the durability and aesthetics of a garment. A backstitch is essential for securing seams under strain, while a blindstitch provides a clean, invisible finish for hems.
Q 5. What are the various types of needles used in sewing, and when would you use each?
Needle selection is critical for success in sewing. Different needles are designed for different fabrics and sewing techniques.
- Universal Needles: A good all-purpose needle suitable for a wide range of fabrics like cotton, linen, and lightweight wools.
- Ballpoint Needles: Designed for knit fabrics, preventing the needle from snagging or piercing the loops.
- Sharp Needles: Ideal for woven fabrics like silk, linen, and denim, which require a needle that can easily pierce the threads.
- Embroidery Needles: Have a larger eye to easily accommodate embroidery threads.
- Jeans Needles: Extra-strong needles designed to sew through heavy denim and other thick fabrics.
Practical Application: Using the wrong needle can lead to broken needles, skipped stitches, or damaged fabric. Choosing the correct needle ensures a smooth sewing experience and a high-quality finished product. For example, using a sharp needle on a knit fabric will lead to holes and ruined fabric.
Q 6. How do you choose the correct needle size for different fabrics?
Needle size is crucial for fabric compatibility. Too small a needle might break under stress, while too large a needle can create unsightly holes. Needle sizes are denoted by numbers, with smaller numbers indicating finer needles and larger numbers indicating heavier needles.
- Lightweight Fabrics (silk, chiffon): Use a size 60/8 or smaller needle.
- Medium-weight Fabrics (cotton, linen): Use a size 70/10 or 80/12 needle.
- Heavyweight Fabrics (denim, canvas): Use a size 90/14 or larger needle.
Practical Application: Always consult your fabric and sewing machine manual for specific needle size recommendations. Experimenting with different needle sizes might be needed to find what works best, but always start with the recommendations.
Q 7. Explain the importance of proper thread tension.
Proper thread tension is essential for even stitching and a professional-looking finish. If the tension is too tight, the fabric will pucker, and if it’s too loose, the stitches will be uneven and weak. The optimal tension results in stitches that are neat, consistent, and lie flat on both sides of the fabric. The tension is usually controlled by adjusting a dial on your sewing machine. You’ll need to experiment and find the sweet spot, since it may vary depending on your thread, fabric, and needle.
Practical Application: Uneven thread tension leads to poor-quality stitching, which is especially noticeable on visible seams. Mastering thread tension adjustment is a key skill for producing high-quality garments. Test your tension on a scrap piece of fabric before you begin to avoid unwanted surprises.
Q 8. What are the different types of seams and their applications?
Seams are the foundation of garment construction, joining fabric pieces together. Different seams offer varying degrees of strength, stretch, and aesthetic appeal. The choice depends on the fabric type, garment style, and desired finish.
- French Seam: This is a very strong and neat seam, ideal for sheer fabrics or when a completely enclosed seam is needed. It involves sewing the seam allowance twice, enclosing the raw edges completely. Think of delicate blouses or lingerie.
- Seam allowance: This is a very strong and neat seam, ideal for sheer fabrics or when a completely enclosed seam is needed. It involves sewing the seam allowance twice, enclosing the raw edges completely. Think of delicate blouses or lingerie.
- Flat-felled Seam: Known for its durability and clean finish, this seam is commonly used in jeans and other sturdy garments. One seam allowance is folded over and topstitched, creating a professional look. Excellent for areas needing extra strength like seams on trousers.
- Serged Seam: A serger (overlock machine) finishes and joins the fabric simultaneously, creating a neat and stretchy seam that prevents fraying. Great for knits and active wear.
- Hong Kong Seam: A high-end finish, where bias-cut fabric is used to encase the seam allowance, resulting in a clean, elegant edge. It’s often used in high-fashion garments.
Choosing the right seam significantly impacts the garment’s quality and longevity. A French seam might be perfect for a silk camisole, while a flat-felled seam would be far more appropriate for a pair of work pants.
Q 9. Describe the process of creating a dart.
A dart is a V-shaped fold of fabric used to shape garments and create curves on flat fabric. They’re essential for achieving a fitted silhouette.
- Mark the Dart: Carefully transfer the dart markings from the pattern to your fabric using tailor’s chalk or a fabric marker.
- Fold the Fabric: Match the dart markings precisely and fold the fabric along the dart lines, aligning the edges.
- Stitch the Dart: Sew along the dart line, starting at the widest point and stitching towards the point. Leave a small opening at the point for ease of pressing.
- Press the Dart: Press the dart open, pressing towards the center of the dart, to shape the fabric correctly. Be careful not to press the dart flat.
- Close the Opening: If an opening remains, gently close it and either hand-stitch or use a machine to reinforce the seam.
Imagine creating a fitted bodice: darts at the bust and waist create shaping and prevent the garment from appearing boxy. The process is similar whether you are creating a dart for a sleeve or a front bodice panel.
Q 10. How do you adjust a sewing machine for different fabric weights?
Adjusting your sewing machine for different fabric weights is crucial for optimal results. Heavier fabrics require more power and a larger stitch, while lighter fabrics need a more delicate setting.
- Stitch Length: For heavier fabrics (denim, canvas), use a longer stitch length (2.5-3 mm) to prevent breaking the needle. For lighter fabrics (silk, chiffon), opt for a shorter stitch length (1.5-2 mm) for a neater finish.
- Stitch Width: Adjust stitch width depending on the fabric type. For stable fabrics, wider widths may be used, but narrower widths are generally safer for lighter fabrics.
- Needle Type: The needle selection is critical. Use appropriate needles for different fabrics, for example a ballpoint needle for knit fabrics and a sharp needle for woven fabrics. A dull needle can easily snag or tear your fabric.
- Presser Foot Pressure: Adjust the pressure foot accordingly. Heavier fabrics may require increased pressure to feed the fabric smoothly, whereas lighter fabrics need less pressure to avoid stretching or distorting.
- Feed Dogs: Check that your feed dogs are adjusted properly, and the fabric is feeding correctly through the machine. Uneven feed can lead to skipped stitches, puckering, and inaccurate seams.
Experimentation is key. Start with a test swatch before sewing your actual project to find the ideal settings for your chosen fabric. Adjusting these factors can mean the difference between a beautiful, well-constructed garment and one riddled with issues.
Q 11. What are common fabric terminology terms such as twill, satin, and jersey?
Understanding fabric types is vital for successful sewing. Here are some common fabric terms:
- Twill: A strong, durable fabric with a distinctive diagonal weave. It’s often used for trousers, jackets, and other sturdy garments. Think of denim or gabardine.
- Satin: A smooth, lustrous fabric with a sateen weave (the glossy surface is created by the interlacing of warp yarns over several weft yarns). It’s often used for formal wear, linings, and evening gowns.
- Jersey: A soft, stretchy knit fabric. It’s commonly used for t-shirts, leggings, and other comfortable garments. The ease of stretching makes it a common fabric for beginners to work with.
These are just a few examples. The feel, drape, and construction of these fabrics impact how they are best worked with. Understanding this helps when making pattern selections and sewing choices.
Q 12. How do you read a sewing pattern?
Reading a sewing pattern can seem daunting initially, but it’s a systematic process. Pattern instructions usually include diagrams and step-by-step guidelines.
- Understand the Pattern Pieces: Identify the various pattern pieces—bodice, skirt, sleeves, etc.—and their corresponding markings.
- Check the Pattern Envelope: This contains vital information such as size chart, fabric requirements, notions needed, and finished garment measurements.
- Choose your Size: Measure yourself carefully using the pattern’s size chart and select the appropriate size. Often, you may need to blend sizes.
- Cut the Fabric: Lay out the pattern pieces on your fabric, ensuring correct grainlines are aligned. Add seam allowance to your cutting.
- Follow the Instructions: Carefully read and follow the step-by-step instructions, referring to the diagrams whenever needed. Take your time.
Think of it like a recipe for clothing. The more practice you have reading and utilizing patterns, the more confidence you’ll gain.
Q 13. Explain the process of grading a pattern.
Grading a pattern involves adjusting the pattern pieces to create a different size than the one originally provided. This is essential if the pattern doesn’t come in your size or if you want to customize the fit.
- Identify the Seam Lines: Carefully identify the key seam lines on the pattern pieces that need adjusting.
- Measure the Differences: Determine the size difference between the pattern size and your desired size by checking the pattern’s size chart.
- Add or Subtract from the Seam Lines: Add or subtract the required amount from the seam lines, ensuring to maintain the pattern’s shape and proportion.
- Adjust Other Areas as Needed: For example, if you’re grading from a small to a larger size, you might also need to adjust the length of the pattern pieces.
- Check the Graded Pattern: After grading, carefully check the new dimensions and shape of your adjusted pattern pieces to ensure everything is proportionate before cutting your fabric.
Accurate grading ensures a proper fit. Mistakes in grading can lead to ill-fitting garments. Using a rotary cutter and self-healing mat allows for accuracy when making adjustments to pattern pieces.
Q 14. What is a seam allowance, and why is it important?
The seam allowance is the distance between the stitching line and the raw edge of the fabric. It’s typically 5/8 inch (1.5cm) but can vary depending on the pattern or project.
Its importance lies in:
- Accuracy: A consistent seam allowance ensures precise and professional-looking seams.
- Finishing: It provides enough fabric to finish the raw edges with techniques such as serging, zigzag stitching, or turning and stitching. This prevents fraying and enhances durability.
- Alterations: A seam allowance provides room for alterations and adjustments, whether you need to let out or take in a seam.
Imagine trying to hem pants without a seam allowance! Proper seam allowance is fundamental for producing well-made garments.
Q 15. How do you identify and correct common sewing errors?
Identifying and correcting sewing errors is crucial for achieving professional-quality results. It starts with careful observation. Look for inconsistencies in stitch length, skipped stitches, puckering, fabric distortion, and inaccurate seam allowances.
- Uneven Stitch Length: This often points to incorrect tension settings on your machine. Adjust the tension dial, testing on a scrap fabric until you achieve even stitches.
- Skipped Stitches: Check your needle for damage or bending; replace if necessary. Also, inspect the bobbin case and ensure the bobbin is properly wound and seated.
- Puckering: This usually indicates stretching of the fabric or insufficient seam allowance. Use pins to hold the fabric layers together evenly, and pre-shrink fabric to prevent shrinking during washing. Consider using a walking foot for difficult-to-manage fabrics.
- Fabric Distortion: This can result from uneven pulling on fabric during stitching. Practice consistent hand-feeding technique and use a seam ripper to carefully remove any stitching and re-sew carefully.
- Inaccurate Seam Allowances: Using a sewing gauge or marking the fabric with tailor’s chalk or a marking pen before sewing helps ensure consistency.
Remember, prevention is key. Proper preparation – cutting precisely, using quality fabric, and appropriate needles – significantly reduces errors. Practice makes perfect; don’t be afraid to experiment on scraps!
Career Expert Tips:
- Ace those interviews! Prepare effectively by reviewing the Top 50 Most Common Interview Questions on ResumeGemini.
- Navigate your job search with confidence! Explore a wide range of Career Tips on ResumeGemini. Learn about common challenges and recommendations to overcome them.
- Craft the perfect resume! Master the Art of Resume Writing with ResumeGemini’s guide. Showcase your unique qualifications and achievements effectively.
- Don’t miss out on holiday savings! Build your dream resume with ResumeGemini’s ATS optimized templates.
Q 16. Describe different finishing techniques for seams.
Seam finishing is vital for creating durable and professional-looking garments. It prevents fraying and adds a polished look. Here are a few popular techniques:
- Serging/Overlocking: A serger cuts and finishes the raw edge simultaneously, creating a professional, neat finish. It’s quick and efficient, especially for stretchy fabrics.
- Zigzag Stitch: A simple yet effective method using your sewing machine’s zigzag stitch to enclose the raw edge. Works well for most fabrics but is less efficient than serging.
- Pinking Shears: These shears create a decorative zig-zag edge that helps reduce fraying, but offer minimal seam protection.
- French Seams: This technique encloses the raw edges twice, creating a very clean and durable finish, perfect for delicate fabrics or garments where a perfectly clean finish is essential.
- Hong Kong Finish: A luxurious method involving binding the seam allowance with bias tape, resulting in a beautiful, smooth interior finish often found in high-end garments.
- Clean Finishing: Pressing seam allowances open or to one side creates a flat, professional look.
The choice of finish depends on the fabric, garment type, and desired aesthetic. Lightweight fabrics might benefit from French seams, while heavier fabrics might suit a serged or zigzagged finish.
Q 17. What is the difference between topstitching and understitching?
Topstitching and understitching are both decorative and functional, but they differ in their placement and purpose.
Topstitching is a visible stitch that runs along the top surface of the fabric, often used for decorative purposes, securing layers, or creating a clean edge. It adds a touch of elegance and can be used to showcase the construction of a garment. For example, topstitching might secure a pocket or accentuate a seamline on a tailored garment.
Understitching is a less visible stitch used to secure seam allowances to an interfacing or lining to prevent them from rolling to the surface of the garment. It creates a clean finish on the outside and prevents bulkiness. This is extremely useful in collars, necklines, and facings.
Think of it this way: topstitching is on show; understitching is behind the scenes, ensuring a smooth, professional finish.
Q 18. Explain the process of binding a seam.
Binding a seam is a technique used to enclose raw edges and create a clean, finished appearance. It’s especially useful for curved seams or areas where fraying is a concern.
The process typically involves creating a bias-cut strip of fabric (bias binding) that’s longer than the seam. The bias binding is folded in half, then pressed, ensuring a clean, even edge. This folded binding is then carefully stitched to one side of the seam. After that, it’s folded over the seam allowance, enclosing it, and stitched again. The result is a neatly finished seam with no raw edges visible. A double-fold bias tape is often used to make this process faster and easier.
Binding is a versatile technique used in various applications like finishing necklines, armholes, and creating professional-looking seams in quilts and other projects.
Q 19. How do you use a serger/overlock machine?
A serger, or overlock machine, cuts, stitches, and finishes seams simultaneously. It creates a professional, neat finish and prevents fraying. Using one involves several steps:
- Threading: Each serger has multiple threads (usually 3-5), each needing to be correctly threaded through its designated path. Consult your machine’s manual for detailed threading instructions. Incorrect threading leads to skipped stitches or poor stitch quality.
- Differential Feed: Adjust the differential feed dial to manage fabric feed and prevent puckering or stretching, especially on stretchy fabrics. Experiment on scrap fabric to find the optimal setting.
- Stitch Length and Width: Adjust the stitch length and width controls to suit your fabric and project. The manual usually provides a starting point, but adjustments might be needed.
- Knife Adjustment: The cutting knives can be adjusted to control the width of the finished seam allowance. If they’re too far in, they will cut too little, if they’re too far out, they can cut into your fabric.
- Tension Adjustment: Adjusting the tension dial for each thread is critical for balanced stitching. Uneven tension results in skipped stitches or poor stitch quality. You might need to adjust tension based on your fabric weight. Experiment on scraps to find the sweet spot.
Practice is key! Start with scraps to familiarize yourself with the machine’s settings and features before working on your project.
Q 20. What are different types of zippers and their applications?
Various zipper types cater to different garment designs and sewing needs:
- Invisible Zippers: These zippers are nearly invisible when sewn into garments, creating a clean, seamless look. They’re ideal for dresses, skirts, and other projects where a discrete closure is preferred.
- Metal Zippers: Durable and strong, metal zippers come in a wide array of colors and styles, making them appropriate for jackets, bags, and other heavy-duty applications.
- Plastic Zippers: Lighter and less expensive than metal zippers, plastic zippers are suitable for casual wear, children’s clothing, and projects where durability is less crucial.
- Separating Zippers: These zippers can be opened and closed from either end, often used in jackets and trousers for ease of wear.
- Non-separating Zippers: These zippers have a continuous slider, opening only in one direction – usually used in dresses or skirts.
- Coil Zippers: Made of interlocking metal coils, these are smoother and quieter than traditional metal zippers. They are durable and versatile, commonly found in apparel and accessories.
The selection depends on the desired aesthetic, garment weight, and the level of durability needed.
Q 21. How do you attach a buttonhole?
Attaching a buttonhole involves precision and careful consideration of fabric type. Here’s a common approach:
- Mark the Buttonhole: Accurately measure and mark the buttonhole’s placement and length on the fabric using tailor’s chalk or a fabric marker.
- Choose the Right Stitch: Select the appropriate buttonhole stitch on your sewing machine. Most machines offer several options with varying widths and stitch densities.
- Sew the Buttonhole: Follow the machine’s instructions to sew the buttonhole. Most machines automatically stitch the buttonhole and create a slit. Ensure your fabric is firmly held under the presser foot.
- Cut the Slit: Carefully cut the slit between the stitched edges of the buttonhole using small, sharp buttonhole scissors or a seam ripper to avoid fraying or damaging the surrounding fabric. This may involve snipping the bar tacks at either end to create a clean opening.
- Reinforce (Optional): Depending on the fabric’s weight and the buttonhole’s position, reinforce the ends by stitching over them with a zigzag stitch. This step prevents fraying and adds durability.
Practice on scrap fabric is highly recommended before working on your project. The right technique ensures a neatly finished and functional buttonhole.
Q 22. How do you use a walking foot?
A walking foot, also known as an even feed foot, is a specialized sewing machine presser foot that features a set of feed dogs on the foot itself, in addition to the ones built into the machine. This ensures even feeding of both the top and bottom layers of fabric, preventing slippage or puckering, especially when working with multiple layers of fabric, thick fabrics, or slippery materials like silk or vinyl.
How to use it: First, attach the walking foot to your sewing machine (the method varies slightly depending on the machine model, but usually involves a screw mechanism). Then, lower the needle and carefully position the fabric under the needle and foot. Sew at a moderate speed to allow the walking foot to work effectively. The upper feed dogs on the walking foot will move in tandem with the machine’s feed dogs, creating even fabric transport. It’s often helpful to use a slightly slower stitch speed, particularly with challenging fabrics.
Example: When quilting, a walking foot prevents the top and bottom layers of fabric from shifting and creates perfectly aligned stitches. Without it, the layers could bunch up, resulting in uneven quilting.
Q 23. What is the purpose of a rotary cutter and cutting mat?
Rotary cutters and cutting mats are indispensable tools for efficient and precise fabric cutting in sewing. A rotary cutter is a circular blade housed in a protective casing, offering a smooth and controlled cutting action. A cutting mat is a self-healing, multi-layered surface designed to protect your work surface while allowing for repeated cuts without damaging the mat itself.
Purpose: The combination allows for quick and accurate cuts of large pieces of fabric, significantly faster than using scissors. The cutting mat provides a stable, non-slip base, and its grid markings (usually in inches and centimeters) help with precise measurements and cutting straight lines. The rotary cutter’s sharp blade allows for clean cuts through multiple layers of fabric.
Example: When cutting multiple pieces of fabric for a quilt, using a rotary cutter and mat drastically reduces the cutting time. The grid lines on the mat help ensure accurate cutting of identical pieces.
Q 24. What are some techniques to prevent fabric from stretching or distorting?
Preventing fabric stretching and distortion is crucial for achieving professional-looking garments. Several techniques can help:
- Pre-washing: Pre-washing fabrics, especially natural fibers like cotton and linen, is a crucial step. This removes sizing and prevents shrinkage after the garment is made.
- Using a stabilizer: Interfacing, fusible or sew-in, can prevent stretching in areas like collars, cuffs, and waistbands. Other stabilizers like tear-away or wash-away are useful for appliqué or embroidery.
- Careful Handling: Avoid pulling or tugging on the fabric during cutting and sewing. Handle the fabric gently.
- Correct Seam Allowance: Maintain consistent seam allowances to prevent uneven stress on the fabric.
- Using a Walking Foot: As previously discussed, a walking foot is invaluable in preventing slippage and uneven feeding when sewing multiple layers.
- Pressing: Proper pressing techniques (discussed in a later answer) help set seams and prevent distortion.
Example: When sewing a fitted garment, using interfacing on the neckline will prevent stretching and maintain its shape.
Q 25. Describe different methods for pressing and ironing seams.
Pressing and ironing are essential for creating professional-looking seams and garments. They set the seams, removing wrinkles and creating a smooth, flat finish. There are various techniques depending on the seam type and fabric:
- Pressing: Pressing involves using a light touch and lifting the iron instead of sliding it, preventing shiny spots or damage to delicate fabrics. It’s usually done with the seam open to prevent flattening it.
- Ironing: Ironing involves gliding the iron over the fabric, mostly used for smoothing large areas. It’s less precise than pressing.
- Seam pressing: Press seams open to avoid bulk. For heavier fabrics or seams that need to lay flat, press them to one side.
- Tailor’s Ham: Using a tailor’s ham (a padded form) and point presser helps achieve a crisp finish on curved seams like collars or sleeves.
Example: A well-pressed seam looks crisp and professional, enhancing the overall quality of the garment. Improper pressing can lead to puckering or uneven seams.
Q 26. What safety precautions should be taken when operating sewing machines?
Safety is paramount when using sewing machines. Always follow these precautions:
- Keep fingers clear of the needle: Never place your fingers near the needle while the machine is running.
- Use the correct needle for the fabric: Using the wrong needle can cause breakage or damage to the fabric.
- Keep the area around the machine clean and free of clutter: This prevents accidents.
- Unplug the machine before making adjustments or cleaning it: This prevents electrical shocks.
- Use a finger guard or thimble: These provide extra protection for your fingers.
- Never sew over pins: Remove all pins before sewing, as they can break the needle or cause injury.
- Keep your workspace well-lit: This reduces eye strain and prevents accidents.
Example: Before changing the presser foot, always unplug the sewing machine to prevent electrical shock.
Q 27. What types of pressing tools are used in sewing?
Several pressing tools are essential for creating professional finishes in sewing:
- Iron: The most fundamental tool for pressing and ironing.
- Ironing board: Provides a stable surface for ironing.
- Tailor’s ham: A padded form used to press curved seams.
- Point presser: A small, pointed tool for pressing sharp corners and curves.
- Pressing cloth: A thin cloth used to protect delicate fabrics from direct heat.
- Seam roll: A cylindrical tool used to press seams open evenly.
Example: A tailor’s ham is essential for shaping curved seams like collars and sleeves, preventing creases and creating a smooth curve.
Q 28. Explain how different fabrics react to heat and moisture.
Different fabrics react differently to heat and moisture. Understanding these reactions is crucial for successful sewing and pressing:
- Natural Fibers (Cotton, Linen, Silk, Wool): These fibers absorb moisture readily. Excessive heat can scorch or damage them, and too much moisture can lead to wrinkles or shrinkage. They often require a lower ironing temperature and possibly a pressing cloth.
- Synthetic Fibers (Polyester, Nylon, Rayon): These fibers are less likely to scorch but can melt under excessive heat. They usually need a medium ironing temperature. Rayon, while synthetic, is more prone to wrinkling than polyester and nylon.
- Blends: Fabric blends respond differently depending on the fiber composition. Always check the care label for specific instructions.
Example: Linen, a natural fiber, requires a lower ironing temperature and may benefit from the use of a pressing cloth to prevent scorching. Polyester, a synthetic fiber, can withstand higher temperatures but should still be ironed carefully.
Key Topics to Learn for a Proficient in Sewing Terminology Interview
- Fabric Types and Properties: Understanding different fabric weaves (e.g., twill, satin, plain weave), fiber content (natural vs. synthetic), and their drape, weight, and suitability for various projects. Practical application: Identifying appropriate fabrics for a specific garment design based on its function and aesthetic.
- Sewing Techniques and Terminology: Mastering terms like basting, topstitching, serging, gathering, pleating, darts, seams (French, flat-felled, etc.), and their application in construction. Practical application: Explaining the advantages of different seam finishes and selecting the appropriate technique for a given garment detail.
- Pattern Making and Alterations: Understanding pattern pieces, grainlines, seam allowances, and making adjustments to patterns for different body types or design modifications. Practical application: Describing the process of altering a commercially available pattern to achieve a custom fit.
- Sewing Machine Operation and Maintenance: Familiarity with various sewing machine functions (stitch types, tension adjustment, needle selection) and basic maintenance procedures. Practical application: Troubleshooting common sewing machine issues and selecting appropriate settings for different fabrics.
- Industry Standards and Practices: Knowledge of industry terminology, quality control measures, and common industry practices. Practical application: Explaining the importance of consistent seam allowances and proper finishing techniques in professional garment construction.
- Garment Construction Methods: Understanding various methods for constructing different garment types (e.g., set-in sleeves, raglan sleeves, princess seams) and their associated terminology. Practical application: Comparing different construction methods and justifying the choice for a specific garment.
Next Steps
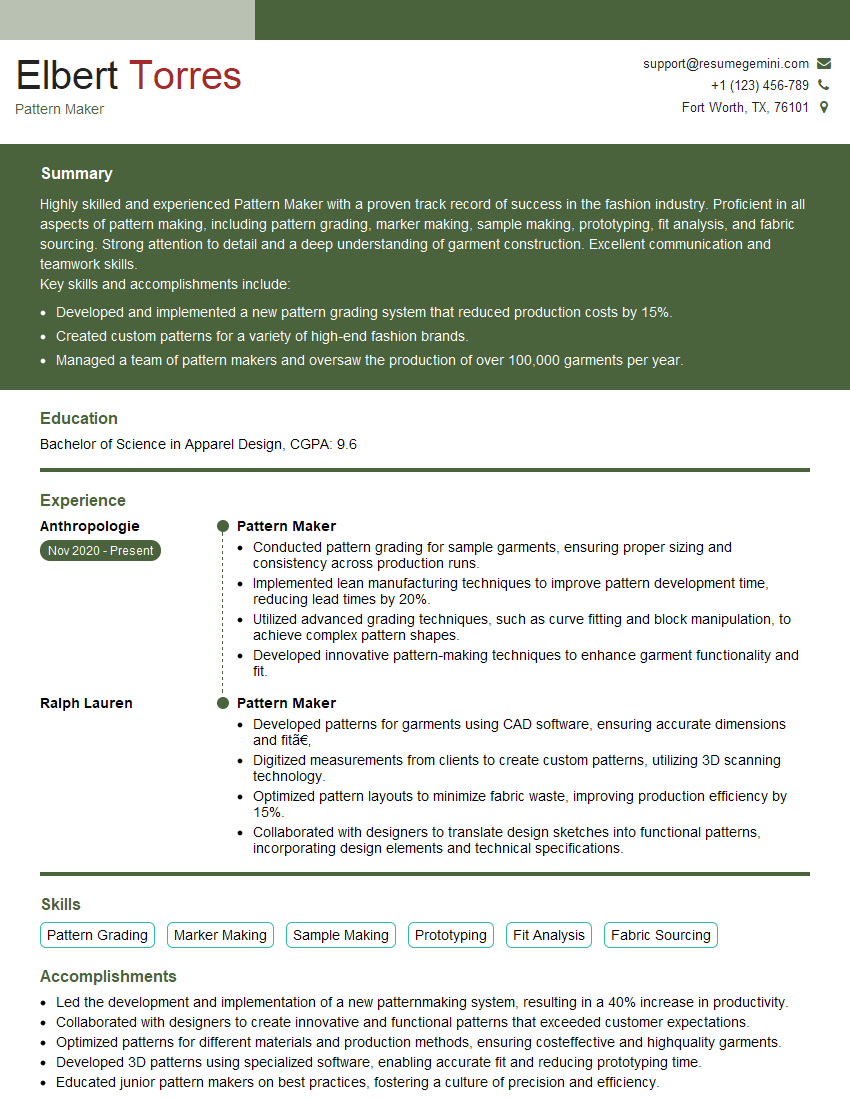
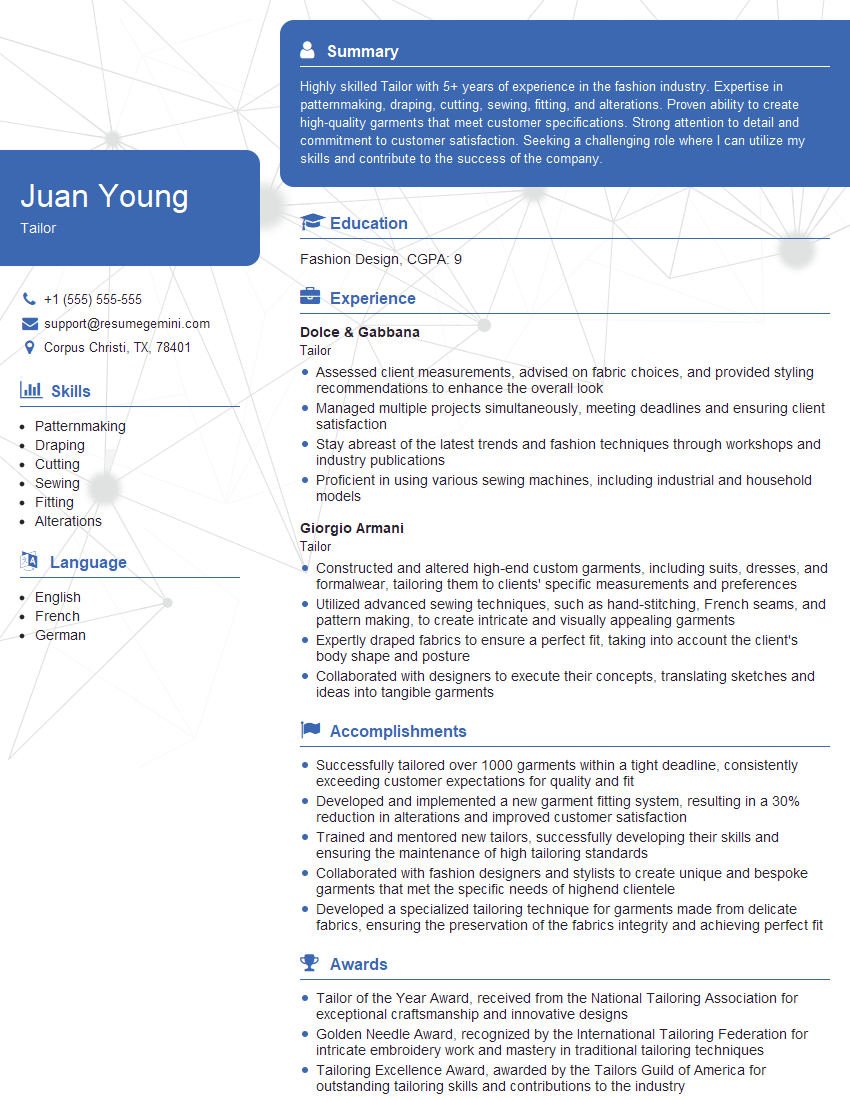
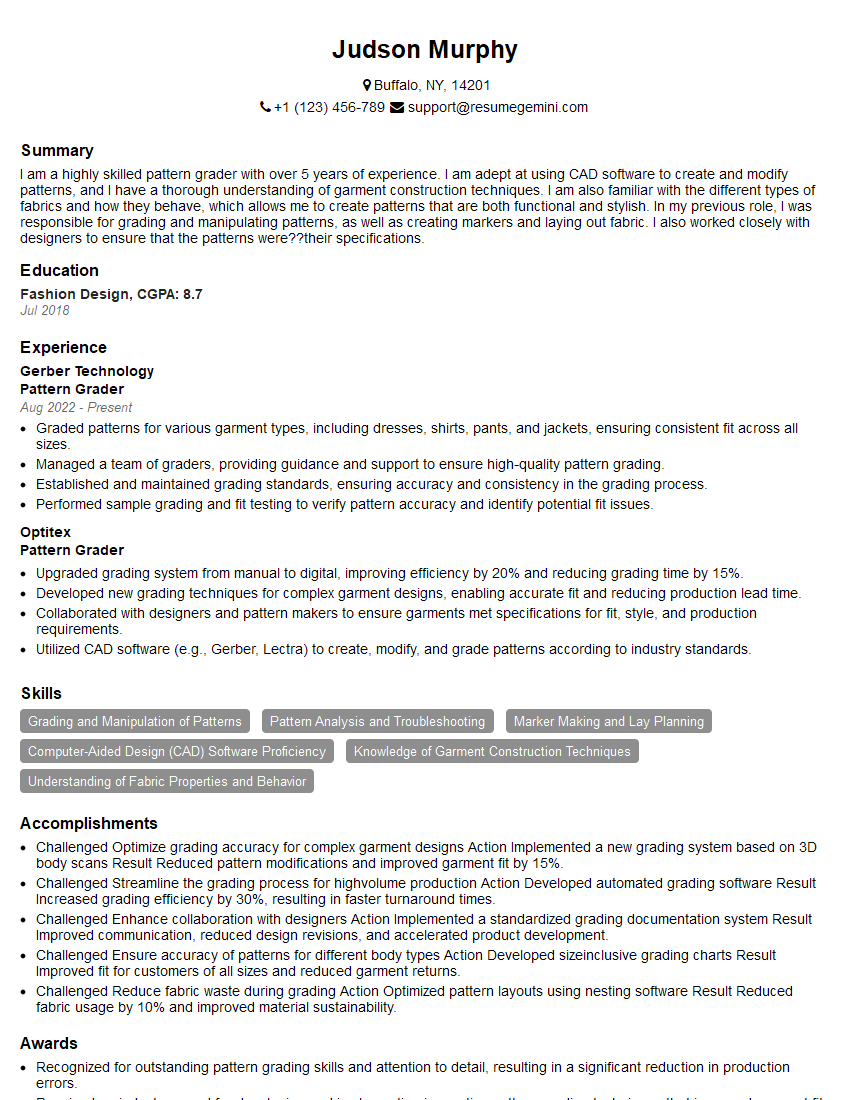
Mastering sewing terminology is crucial for advancing your career in the fashion or apparel industry. A strong command of these terms demonstrates your expertise and professionalism to potential employers. To maximize your job prospects, create an ATS-friendly resume that highlights your skills and experience effectively. ResumeGemini is a trusted resource to help you build a professional and impactful resume tailored to your specific needs. Examples of resumes tailored to showcasing proficiency in sewing terminology are available to guide you. Investing time in crafting a strong resume significantly increases your chances of landing your dream job.
Explore more articles
Users Rating of Our Blogs
Share Your Experience
We value your feedback! Please rate our content and share your thoughts (optional).
What Readers Say About Our Blog
Hello,
We found issues with your domain’s email setup that may be sending your messages to spam or blocking them completely. InboxShield Mini shows you how to fix it in minutes — no tech skills required.
Scan your domain now for details: https://inboxshield-mini.com/
— Adam @ InboxShield Mini
Reply STOP to unsubscribe
Hi, are you owner of interviewgemini.com? What if I told you I could help you find extra time in your schedule, reconnect with leads you didn’t even realize you missed, and bring in more “I want to work with you” conversations, without increasing your ad spend or hiring a full-time employee?
All with a flexible, budget-friendly service that could easily pay for itself. Sounds good?
Would it be nice to jump on a quick 10-minute call so I can show you exactly how we make this work?
Best,
Hapei
Marketing Director
Hey, I know you’re the owner of interviewgemini.com. I’ll be quick.
Fundraising for your business is tough and time-consuming. We make it easier by guaranteeing two private investor meetings each month, for six months. No demos, no pitch events – just direct introductions to active investors matched to your startup.
If youR17;re raising, this could help you build real momentum. Want me to send more info?
Hi, I represent an SEO company that specialises in getting you AI citations and higher rankings on Google. I’d like to offer you a 100% free SEO audit for your website. Would you be interested?
Hi, I represent an SEO company that specialises in getting you AI citations and higher rankings on Google. I’d like to offer you a 100% free SEO audit for your website. Would you be interested?
good
