The thought of an interview can be nerve-wracking, but the right preparation can make all the difference. Explore this comprehensive guide to Proficient in using industry-standard software such as After Effects, Premiere Pro, and Flame for compositing, motion graphics, and editing. interview questions and gain the confidence you need to showcase your abilities and secure the role.
Questions Asked in Proficient in using industry-standard software such as After Effects, Premiere Pro, and Flame for compositing, motion graphics, and editing. Interview
Q 1. Explain your experience with keyframing in After Effects.
Keyframing in After Effects is the process of setting values for a property at specific points in time, allowing you to animate virtually anything. Think of it like creating a series of poses for a character in a film, except instead of poses, we’re setting values for position, scale, opacity, color, etc. After Effects automatically interpolates (smooths) the values between these keyframes, creating the illusion of movement.
My experience spans a wide range of keyframing techniques. I’m comfortable with basic linear keyframes for simple animations, but also proficient in using ease curves (like ease in/out) for more natural-looking movements. For intricate animations, I frequently use expression-based keyframing, which allows for dynamic and procedural animation using JavaScript. For instance, I’ve used expressions to create realistic bouncing ball animations where the bounce decay is dynamically calculated, or to link the position of one layer to the movement of another, ensuring precise coordination.
For example, let’s say I need to animate a logo moving across the screen. I’d place keyframes on the logo’s position property at the beginning and end points of its trajectory, then adjust the ease curves to refine the motion. Perhaps I want a slow start, accelerating to the middle, and then slowing down again before reaching its final destination. This is achievable through carefully adjusting the ease curve in the graph editor.
Beyond simple position, I frequently use keyframes on properties like opacity for fade-ins and fade-outs, scale for subtle zoom effects, or rotation for spinning elements. Combining these techniques allows me to craft rich and sophisticated animations.
Q 2. Describe your workflow for compositing a complex shot in Flame.
My Flame compositing workflow for a complex shot typically follows a structured approach emphasizing organization and non-destructive editing. It begins with careful planning and prepping my footage. This includes organizing my layers neatly in the timeline, creating color spaces consistent between shots and efficiently managing my media.
First, I’ll perform a rough assembly of my plates in Flame. This involves bringing in all my elements (background plates, foreground elements, CGI renders, etc.). I then meticulously align and track the elements. For shots with significant camera movement, this is crucial for maintaining realism. This may involve using Flame’s powerful tracking tools, potentially relying on planar tracking or 3D camera solves for complex scenarios.
Next, I address keying and rotoscoping. I use Flame’s sophisticated keying tools to isolate my subjects from the background, carefully cleaning up spill and edge imperfections. If necessary, I’ll resort to rotoscoping for more detailed control. I always favor the least-destructive techniques possible. This involves building upon existing masks for refining areas of focus.
Color correction and grading are often integrated during compositing, ensuring a consistent look between elements and aligning with the overall film aesthetic. I might use nodes to create complex color transformations and avoid direct modification of the raw footage, allowing for flexibility. I’ll frequently employ nodes, creating a non-destructive workflow that allows me to easily adjust color changes as the project progresses.
Finally, I’ll add any final touches like subtle lighting adjustments, glow effects, or subtle grain to enhance the realism and mood of the composite. Throughout the process, I meticulously save my work and regularly check that the color and lighting consistently match across all shots.
Q 3. How do you manage color correction and grading in Premiere Pro?
Premiere Pro offers robust color correction and grading capabilities, and I typically employ a multi-step approach. It starts with basic color correction to ensure balanced exposure, white balance, and color temperature. I use the Lumetri Color panel, often beginning with the Basic Correction tab to address overall exposure and contrast. This ensures that color grading can be undertaken on solid foundational adjustments.
After achieving a balanced exposure, I move to more creative color grading. I’ll utilize the Creative tab within Lumetri Color for advanced color adjustments. Here, I often use curves to manipulate specific color ranges, adding saturation or contrast as needed to establish the mood. I might introduce subtle color shifts to create a vintage film look, or boost certain colors to make specific elements pop.
Throughout this process, I frequently use scopes (waveform, vectorscope, parade) to ensure that my color adjustments are accurate and don’t introduce artifacts. I’ll also often use before-and-after comparisons and sometimes create LUTs (Look-Up Tables) to quickly apply color transformations across multiple clips for consistency. When working with multiple clips that should have a uniform color scheme, using a LUT enables seamless matching.
For complex projects, I may use external color grading software like DaVinci Resolve and then import the graded footage back into Premiere Pro, leveraging the strengths of both programs. This method allows for an even higher level of control and flexibility.
Q 4. What are your preferred methods for creating motion graphics in After Effects?
My preferred methods for creating motion graphics in After Effects combine shape layers, text animations, and robust use of expressions. I find that shape layers offer an unparalleled degree of control and flexibility for designing elements. They can be meticulously sculpted, transformed, and animated using keyframes and expressions.
For example, I frequently create complex logos or animations by combining and animating various shape layers. I might create an intricate logo through layered shapes that can be subtly animated, revealing different elements in a sequenced manner. I might use a shape layer to create a dynamic background element with animation.
Text animation is another key aspect of my workflow. I often utilize various techniques to animate text, from simple character-by-character reveals to sophisticated three-dimensional text animations, often employing third-party plugins for additional advanced capabilities and effects. I often use expressions to automatically manage the animation parameters.
Expressions allow for creating dynamic and responsive animations. I might use expressions to create animations that are driven by audio, or create complex relationships between layers and their properties. For example, I may link the opacity of one layer to the position of another. This way, elements will dynamically appear and disappear based on the animation of other elements.
Finally, I extensively use pre-comps to help manage the complexity of projects. This is crucial for complex animations where breaking the project into smaller, manageable components improves efficiency and prevents issues in the long run.
Q 5. Explain your understanding of different compositing modes.
Compositing modes in After Effects and other compositing software determine how the pixels of two or more layers interact with each other. They define how the color information of the top layer is blended with the bottom layer’s color information. Understanding these modes is crucial for creating effective composites.
Here are some key compositing modes and how they function:
Normal: The default mode; the top layer simply overlays the bottom layer.Multiply: Darkens both layers; multiplying the corresponding color values.Screen: Lightens both layers, creating an additive effect.Overlay: A blend of Multiply and Screen, darkening or lightening based on the source layer’s brightness.Add: Adds the brightness values of both layers, creating a brighter result.Subtract: Subtracts the brightness values, resulting in darker tones.Difference: Creates a difference between the two layers’ color values.Exclusion: Similar to Difference but less extreme, creating a softer contrast.
The choice of compositing mode depends heavily on the desired effect. For example, Multiply is often used to create shadows or darken areas of a layer, while Screen might be used to create a soft glow effect. Overlay offers a lot of versatility, allowing for subtle to dramatic effects. Selecting the appropriate compositing mode is frequently an iterative process where experimentation and refinement are important.
Q 6. Describe your experience with rotoscoping and keying techniques.
Rotoscoping and keying are essential techniques for isolating subjects from their background. Rotoscoping involves manually outlining the subject frame by frame, creating a mask that separates it from the background. This is a time-consuming but precise method, often used for complex shapes or difficult keying situations.
I’m highly proficient in both After Effects and Flame for rotoscoping. In After Effects, I leverage tools like the Roto Brush and refine the mask over multiple frames. In Flame, I often employ its more advanced rotoscoping features to improve accuracy and workflow. This might involve utilizing tools specifically designed for this purpose.
Keying, on the other hand, involves using algorithms to automatically isolate a subject based on its color or luminance. Different keying techniques exist, each with its strengths and weaknesses:
Chroma Key (Greenscreen/Bluescreen): Removes a specific color range, often used for studio shoots.Luma Key: Isolates subjects based on brightness levels.Spill Suppression: Reduces color spill onto the subject from the background.
I select the appropriate keying method based on the footage characteristics. For instance, chroma key is suitable for studio shots with a clean background. I employ advanced keying techniques, often refining the results manually with rotoscoping for greater control over difficult areas. In Flame, the sophisticated keying tools can handle complex situations where basic algorithms struggle. Combining keying with rotoscoping results in a finely detailed mask, ensuring a clean composite.
Q 7. How do you handle version control in your projects?
Version control is paramount in my workflow. I typically use a combination of software-based version control and a robust file organization system. For smaller projects, I might use the versioning features built into After Effects and Premiere Pro, which allow me to save different versions of my project.
However, for larger and more complex projects where collaboration is involved, I heavily rely on external version control systems like Git. Git allows for easy tracking of changes, branching for testing different approaches, and collaborating with other team members. For projects managed through Git, I use a version control application like Sourcetree or GitHub Desktop, making the workflow very clear and well-managed.
In addition to version control software, I maintain a detailed folder structure for each project. I frequently create subfolders for different stages of production (e.g., ‘source footage,’ ‘composited elements,’ ‘final renders’) and version numbers. This physical file structure helps me stay organized and quickly locate specific versions. Clear naming conventions are also key, aiding rapid identification of files and their purpose.
This combined approach of software-based versioning and meticulous file organization ensures that I can always revert to previous versions if necessary, and also streamline collaboration with other team members, providing a seamless experience.
Q 8. How do you optimize After Effects projects for performance?
Optimizing After Effects projects for performance is crucial for maintaining a smooth workflow and preventing crashes. It’s like decluttering your workspace – the cleaner it is, the easier it is to work. This involves several strategies:
Pre-composing: This is akin to organizing files into folders. Group layers into pre-comps to reduce the number of individual layers the software needs to process. For example, if you have many elements that make up a single character, pre-comp them together. This significantly speeds up rendering.
Using proxies: Proxies are like using low-resolution images for editing and then switching to high-resolution ones for the final render. This allows for faster playback during editing, especially when working with high-resolution footage. After Effects allows you to easily link high-resolution files to lower-resolution proxy files.
Reducing effects: Too many effects are like adding too many filters to a photo – it slows things down. Use effects judiciously. For instance, if you can achieve a glow using a simpler effect, avoid a complex one. Often, simpler techniques can achieve the same visual result, far more efficiently.
RAM Previews: After Effects can cache frequently used effects and layers in RAM. Enabling RAM previews significantly reduces render times for repeated actions. However, it also requires sufficient RAM.
Layer organization: Keeping your layers well-organized and clearly named is essential. It makes it easier to find what you need and reduces the mental load of navigating the project. Think of it as having an organized toolbox. You know where to find each tool when needed.
Caching and rendering: Using the render queue and setting appropriate cache settings can optimize your workflow and reduce rendering time, especially when working with complex effects and animations.
Q 9. Explain your experience with 3D compositing in any software.
My experience with 3D compositing spans several software packages, primarily After Effects and Flame. I’ve worked extensively with integrating 3D models and animations into live-action footage. This involves a deep understanding of 3D software pipelines and the need for consistent color spaces and resolution between 3D and 2D elements.
In After Effects, I frequently use Cinema 4D Lite’s integration to create basic 3D elements and animations. For more complex scenes, I’ve worked with external 3D applications like Maya or Blender, rendering out sequences as image sequences or EXR files for import into After Effects or Flame for compositing. The process often involves meticulous camera tracking and 3D plane creation in order to integrate the elements seamlessly.
A recent project involved creating a virtual product demonstration. I used Cinema 4D to model the product, rendered it with various materials, then imported the renders into After Effects to composite them onto a pre-recorded video of the presenter, adding realistic lighting and shadows to maintain visual consistency. In Flame, I’ve utilized its powerful 3D tracking and compositing tools for high-end visual effects where extreme precision is required.
Q 10. What are your preferred techniques for creating seamless transitions in Premiere Pro?
Creating seamless transitions in Premiere Pro is all about subtlety and maintaining consistent visual flow. My preferred techniques include:
Cross dissolves: These are classic and effective for simple transitions, providing a smooth blend between two shots. Adjusting the duration is key to achieving the right level of subtlety.
Cut-aways: Using brief intercut shots to create a natural break in the flow of the main action. This is very effective for cutting out unwanted parts of shots or creating a sense of pacing and anticipation.
Jump cuts (used carefully): Jump cuts create a sense of immediacy and dynamism but need to be used carefully to avoid jarring the viewer. Sometimes, a slightly jarring transition can be effective to match the tone.
L-cuts and J-cuts: These advanced techniques involve slightly overlapping audio and video to create a smoother transition and guide the viewer’s focus. L-cuts are when the audio from the next clip begins before the visual, and J-cuts work the other way around.
Color grading transitions: Smoothly shifting the color of one shot to match the next can create a very stylish and professional transition. This often requires using color correction tools within Premiere Pro to create a subtle blend. The key is to ensure there is no abrupt color jump.
Often, a combination of these techniques produces the best results. It’s all about choosing the right transition for the right context and maintaining a consistent visual and auditory flow.
Q 11. How do you troubleshoot common compositing issues?
Troubleshooting compositing issues is a critical part of the job. It’s a process of methodical investigation, starting with the basics and progressively narrowing down the source. Here’s my approach:
Check your layers: Ensure your layers are properly ordered, that blending modes are appropriate, and that there are no conflicting opacity settings. This is often the source of simple issues, akin to checking if the plug is firmly connected to the electrical socket.
Resolution and aspect ratio: Confirm all your footage and elements are in the correct resolution and aspect ratio to avoid discrepancies. Resolutions must be consistent across all elements or you’ll have visible seams and misalignments.
Color space consistency: Inconsistencies in color spaces can cause strange color shifts and banding artifacts. Ensure everything is working within a consistent color space (e.g., Rec.709) throughout the pipeline. This is akin to ensuring all the ingredients you are using match your recipe.
Pre-multiplication and alpha channels: Problems with alpha channels and pre-multiplied transparency can create edge artifacts around elements. Understanding this is critical for seamless compositing. It’s like checking the fit of a jigsaw puzzle piece.
Render settings: Incorrect render settings (bit depth, frame rate, etc.) can cause rendering artifacts or slowdowns. Careful settings are essential for efficiency and quality.
Examine the footage itself: Sometimes, issues stem from problems within the original footage, such as interlacing artifacts or compression issues. Inspecting the source footage thoroughly is a must.
Often, a combination of these factors will cause problems. A systematic approach, like the one outlined, allows for efficient diagnosis and resolution.
Q 12. Explain your understanding of color spaces and their importance in post-production.
Understanding color spaces is fundamental in post-production. It’s like choosing the right paint for your canvas. A color space defines the range of colors that can be represented. Different color spaces are optimized for different purposes.
For example, Rec.709 is the standard color space for HDTV, while DCI-P3 is used in digital cinema. sRGB is the standard for the internet. Using the incorrect color space can lead to color shifts, clipping (loss of detail in highlights and shadows), and inaccurate color reproduction. Imagine painting a portrait using the wrong shades – the results would be off.
In post-production, it’s crucial to maintain color space consistency throughout the entire workflow. This involves working with the appropriate color profiles for your cameras, monitors, and output devices. Color management software and tools allow for accurate conversions between different color spaces, minimizing color errors.
Moreover, understanding color gamut is equally vital. The color gamut represents the range of colors a color space can reproduce. Knowing your color gamut is essential for ensuring the final output looks accurate on different displays.
Q 13. Describe your experience with working with different file formats (e.g., ProRes, DNxHD).
Experience with different file formats is essential for efficient workflow and quality control. ProRes and DNxHD are two commonly used codecs in professional video editing. ProRes, developed by Apple, is known for its high-quality image and ease of editing. DNxHD, from Avid, provides similar benefits, with various compression levels allowing for flexibility. The choice of codec depends on several factors:
Project requirements: High-resolution projects might require higher bit-rate codecs like ProRes 4444 or DNxHD 220.
Storage space: Lower bit-rate codecs (ProRes LT or DNxHD 115) can save storage space but with potential quality loss.
Hardware capabilities: Some systems may struggle with high bit-rate codecs, leading to performance issues.
Compatibility: Choosing widely compatible codecs is always advantageous, especially when working collaboratively.
Beyond ProRes and DNxHD, I’ve also worked extensively with other formats such as H.264, H.265 (HEVC), and even raw formats like REDCODE. Understanding the strengths and weaknesses of each format allows me to make informed decisions about storage, editing performance, and final output quality. The choice of format is critical for balancing quality, file size, and workflow efficiency.
Q 14. How do you manage large project files efficiently?
Managing large project files efficiently requires a structured approach that combines technical solutions and organizational strategies. Think of it like running a well-organized library, rather than a cluttered storeroom.
Project organization: Utilize a well-defined folder structure to separate assets, footage, renders, and project files. This is akin to creating appropriate library sections.
External storage: Using high-capacity external storage solutions (RAID arrays, SSDs) improves speed and reliability when working with large files. It’s akin to having a spacious and efficient storage facility.
Offline rendering: For very large projects, offline rendering reduces the workload on the main editing system, improving performance. This is like separating time-consuming tasks to a separate facility.
Proxy workflows: Using lower-resolution proxies for editing, as discussed earlier, dramatically improves speed and responsiveness when working with high-resolution media. This is akin to reviewing a smaller map before undertaking a large journey.
File compression: Use appropriate compression techniques to reduce file sizes without significant loss in quality. This balances ease of access with storage optimization.
Regular backups: Frequent backups are critical. Use a robust backup strategy to safeguard your work against data loss. This is like establishing an insurance policy for a priceless collection.
Combining these strategies ensures efficient management, minimizing delays and ensuring the project remains manageable.
Q 15. What are your preferred methods for exporting final deliverables?
My preferred methods for exporting final deliverables depend heavily on the project’s specifications and intended platform. For broadcast television, I’d typically export using a high-quality codec like ProRes 422 HQ (for Apple platforms) or DNxHD (for Avid workflows) to maintain maximum image quality during potential further edits or color grading passes. For online distribution (YouTube, Vimeo, etc.), I optimize for different resolutions and bitrates, commonly using H.264 (MP4 container) for its wide compatibility and relatively small file sizes. For deliverables requiring maximum dynamic range and color fidelity, like theatrical releases or high-end streaming services, I’d consider mastering in a more advanced codec such as ProRes 4444 or even uncompressed formats for archival and further manipulation, although this comes with significantly larger files.
Before exporting, I always perform a thorough quality check in a calibrated viewing environment, ensuring the final output meets client specifications and expectations. Metadata embedding is also crucial; I always include relevant information like project name, date, version number, and client information.
Career Expert Tips:
- Ace those interviews! Prepare effectively by reviewing the Top 50 Most Common Interview Questions on ResumeGemini.
- Navigate your job search with confidence! Explore a wide range of Career Tips on ResumeGemini. Learn about common challenges and recommendations to overcome them.
- Craft the perfect resume! Master the Art of Resume Writing with ResumeGemini’s guide. Showcase your unique qualifications and achievements effectively.
- Don’t miss out on holiday savings! Build your dream resume with ResumeGemini’s ATS optimized templates.
Q 16. Describe your experience with audio editing and syncing in Premiere Pro.
Audio editing and syncing are fundamental to my workflow in Premiere Pro. I’m proficient in using the various tools available for precise audio alignment and manipulation. My process typically begins with importing all audio tracks, including dialogue, sound effects, and music. For syncing, I rely on Premiere Pro’s powerful audio waveform visualization and syncing tools. I carefully align audio with video using visual cues and by utilizing the ‘Ripple Edit’ tool for seamless integration. Often, I’ll employ techniques like ‘Audio scrubbing’ and ‘Time stretching’ to match audio perfectly even with slight variations in speed or timing.
Beyond syncing, I regularly apply noise reduction, equalization, and compression to enhance audio quality and clarity. For example, using the ‘De-noise’ effect, I can eliminate background hums or unwanted noises effectively. Furthermore, I frequently work with multi-track audio, which demands careful layering and mixing to maintain a balanced and immersive sound design. My experience includes handling ADR (Automated Dialogue Replacement) and looping dialog, which requires proficiency in precise audio editing techniques.
Q 17. How do you collaborate effectively with other team members in a post-production environment?
Effective collaboration is paramount in post-production. I champion clear and consistent communication throughout the process. I regularly utilize project management tools like shared online drives (Dropbox, Google Drive) to ensure everyone has access to the latest version of the project files. I also believe in proactive feedback and version control. This usually means creating multiple versions of a sequence, each labelled clearly to track the changes and facilitate easy rollback when necessary.
In addition to file sharing, I regularly participate in dailies and project reviews, providing both constructive and timely feedback to other team members. I actively communicate any technical difficulties or roadblocks encountered, offering potential solutions and working collaboratively to address them. In terms of software, I’m comfortable sharing projects in Premiere Pro using collaborative editing features when appropriate, ensuring seamless teamwork even on the same project files simultaneously.
Q 18. Explain your understanding of different compression techniques for video.
Understanding video compression techniques is vital for efficient file management and maintaining optimal video quality. Compression essentially reduces the size of a video file by removing redundant or less important information. Lossless compression methods, such as ProRes 4444 or uncompressed formats, retain all the original data, resulting in larger files but ensuring perfect quality. However, lossy compression methods, like H.264 or H.265, discard some data to achieve smaller file sizes, which inevitably leads to some quality loss, but is often an acceptable trade-off for distribution.
The choice of compression codec depends on various factors like the intended platform, desired quality, and file size constraints. For example, H.264 is widely compatible, offering a good balance between quality and file size for online streaming. H.265 (HEVC), while newer, offers superior compression at similar quality levels, but may not be as universally supported yet. ProRes codecs are favored for intermediate editing and workflows as they maintain high quality, but generate larger files unsuitable for online distribution without further encoding.
Q 19. How do you maintain a consistent look and feel across a project?
Maintaining a consistent look and feel across a project is crucial for delivering a professional and cohesive final product. My approach involves establishing a clear visual style guide early in the project. This guide includes specific details such as color palettes, font choices, and graphic styles. I often work from a color-graded reference still image to ensure consistency across all scenes. For complex projects, I may also create and use LUTs (Look-Up Tables) to apply consistent color transformations consistently.
Beyond aesthetics, maintaining consistency involves ensuring uniformity in editing techniques. For example, I maintain a uniform cut pace and stylistic choices throughout. Additionally, audio levels and sound design should be consistently applied to avoid jarring inconsistencies. I also use templates and pre-set compositions in After Effects to quickly create visually identical elements and maintain uniformity across the project. Regular project reviews and close collaboration with the client are also vital in catching potential deviations from the established style guide.
Q 20. Describe your experience with using external plugins in After Effects or Flame.
I’ve extensively used external plugins in both After Effects and Flame to enhance my workflow and access specialized tools. In After Effects, I frequently use plugins for things like advanced particle effects (e.g., Trapcode Particular), optical flares (e.g., Sapphire), or color grading and correction (e.g., Red Giant Magic Bullet Suite). These plugins significantly broaden the capabilities of the core software, often offering faster and more efficient solutions for complex visual effects. For example, using Trapcode Particular, I can create realistic explosions or other complex particle systems efficiently, without having to manually animate each particle.
In Flame, my experience with plugins is focused on achieving high-quality compositing and color grading. Flame’s robust node-based structure allows for seamless integration of a variety of plugins designed for specific tasks. These plugins often offer powerful features that extend beyond the capabilities of base software, allowing for tasks such as advanced keying, sophisticated rotoscoping, and highly refined color correction techniques.
Q 21. How do you stay updated on the latest industry trends and software updates?
Staying updated on industry trends and software updates is a continuous process. I regularly attend industry conferences and workshops to network with other professionals and learn about new technologies and techniques. I actively participate in online communities and forums dedicated to motion graphics, video editing, and visual effects. This includes subscribing to industry blogs, newsletters, and YouTube channels of prominent artists and studios. I find this provides invaluable insights into innovative workflows and emerging software features.
Furthermore, I dedicate time to exploring tutorials and online courses that focus on the latest features and functionalities of After Effects, Premiere Pro, and Flame. The Adobe Creative Cloud regularly updates its software, so I leverage the built-in update mechanisms and often test new features on smaller projects to stay proficient and maximize efficiency. Reading industry publications and keeping an eye on new releases and plugin updates also plays a crucial role in ensuring my skillset remains current and competitive.
Q 22. Explain your approach to problem-solving when faced with unexpected technical challenges.
My approach to unexpected technical challenges involves a systematic problem-solving methodology. First, I calmly assess the situation, identifying the specific problem and its impact on the project timeline and deliverables. Then, I systematically investigate potential causes. This often involves checking my work for errors, reviewing relevant documentation, and testing different solutions. If the problem persists, I leverage my network of peers or online resources – forums, tutorials, etc. – to seek advice or collaborate. I meticulously document every step of my troubleshooting process, including the problem, attempted solutions, and their outcomes. This documentation not only aids in resolving the current issue but also serves as a valuable learning resource for future challenges. For example, when I encountered a rendering issue in After Effects involving a complex particle effect, I systematically disabled layers one by one to identify the problematic element, ultimately tracing it to a faulty expression. This methodical approach allows me to effectively address challenges, minimize downtime, and deliver quality results.
Q 23. How do you handle feedback and revisions from clients or supervisors?
Handling feedback and revisions is crucial for client satisfaction. I actively listen to feedback, clarifying any ambiguities before implementing changes. I view revisions as an opportunity for improvement, not criticism. I maintain clear communication, providing regular updates and outlining the proposed changes and their rationale. I always strive to understand the client’s vision and creatively adapt to their needs while maintaining the project’s overall aesthetic and technical integrity. For instance, on a recent project, the client requested a subtle change in the color palette of a motion graphic. Instead of simply making the change, I presented different options with varying color schemes, accompanied by explanations of their impact on the overall look and feel, leading to a more informed and satisfying final product.
Q 24. Describe your experience with creating motion graphics for social media platforms.
My experience with social media motion graphics focuses on creating short, engaging, and visually compelling content tailored to specific platforms. I understand the importance of optimizing videos for different aspect ratios (e.g., square for Instagram, vertical for TikTok) and utilizing platform-specific features like text overlays, music integration, and interactive elements. I’m adept at creating various types of motion graphics for social media, including animated explainer videos, short promotional clips, and eye-catching animated text. I always keep the target audience and the platform’s best practices in mind while designing. For example, I created a series of short animated Instagram stories for a fashion brand, using vibrant colors, trendy music, and concise text to quickly convey the product’s message and encourage engagement.
Q 25. Explain your understanding of the importance of working to deadlines and meeting project milestones.
Meeting deadlines and project milestones is paramount in this industry. I approach project management with a meticulous planning phase, breaking down larger tasks into smaller, manageable components with realistic timelines. I proactively communicate potential roadblocks and adjust the schedule accordingly, ensuring transparency and keeping all stakeholders informed. I utilize project management tools to track progress, manage resources, and ensure on-time delivery. My dedication to punctuality stems from understanding the impact of delays on the overall project success. I’ve learned from past experiences that meticulous planning and clear communication are key to ensuring that projects are completed efficiently and successfully, maintaining client trust and project success.
Q 26. Describe your experience using different tracking and stabilization methods.
I have extensive experience with various tracking and stabilization methods in After Effects, Premiere Pro, and Flame. I regularly use tools like Mocha Pro for advanced planar tracking and camera stabilization. I also leverage the built-in tracking capabilities of these softwares for simpler shots. Understanding the limitations of each method is key; for example, point tracking is suitable for simpler scenarios, whereas planar tracking is better for complex camera movements. I select the appropriate method based on the shot’s complexity and the desired level of accuracy. In a recent project involving a shaky handheld shot, I used Mocha Pro’s advanced features to achieve incredibly stable footage, seamlessly integrating it with CGI elements. The choice of method depends heavily on the shot complexity and the desired result, always prioritizing the most appropriate solution for optimal results.
Q 27. How familiar are you with node-based compositing workflows?
I’m highly proficient in node-based compositing workflows, particularly within Nuke and Flame. I understand the power of non-destructive editing, and the ability to manipulate individual components of a composite without affecting others. This approach is efficient for complex projects allowing for easier adjustments and iterations. A strong understanding of node-based compositing allows for greater flexibility and control, particularly when working on complex visual effects shots or dealing with multiple layers and elements. I regularly utilize nodes for tasks such as color correction, keying, rotoscoping, and creating complex effects. The organized visual representation of the compositing process within the node-based system is invaluable for troubleshooting and collaboration.
Q 28. What are the advantages and disadvantages of different compositing software packages?
Each compositing software package offers unique strengths and weaknesses. After Effects excels in motion graphics and simpler compositing tasks; it’s user-friendly and has a large community. However, it may struggle with extremely complex composites. Premiere Pro provides excellent editing capabilities alongside basic compositing, ideal for smaller projects. Flame, on the other hand, is a powerful and versatile tool for high-end visual effects compositing, but it has a steeper learning curve and requires considerable expertise. Nuke offers a highly flexible node-based system, excellent for complex visual effects but also has a steeper learning curve. The optimal choice depends on project scope, complexity, and team expertise. For instance, a small project with limited VFX requirements might be efficiently handled in After Effects, whereas a feature film project requiring extensive compositing would best utilize the capabilities of Flame or Nuke.
Key Topics to Learn for Proficient in using industry-standard software such as After Effects, Premiere Pro, and Flame for compositing, motion graphics, and editing. Interview
- After Effects Mastery: Understanding keyframing, expressions, shape layers, masks, and compositing techniques. Explore advanced features like rotoscoping and 3D compositing.
- Premiere Pro Expertise: Proficiency in editing techniques, color correction, audio mixing, and exporting for various platforms. Focus on efficient workflows and best practices for professional video editing.
- Flame Fundamentals: Grasping the basics of Flame’s node-based compositing system, understanding its strengths in high-end visual effects and its workflow compared to After Effects.
- Motion Graphics Principles: Solid understanding of animation principles (e.g., timing, spacing, squash and stretch), and creating engaging motion graphics within these applications. Showcase your ability to translate design concepts into compelling animations.
- Compositing Techniques: Mastering techniques like keying, tracking, rotoscoping, and color correction to seamlessly integrate elements within a scene. Be prepared to discuss various compositing methodologies and their applications.
- Workflow Optimization: Demonstrate your understanding of efficient workflows, including file management, organization, and collaboration techniques within these applications. Highlight your ability to meet deadlines and work effectively under pressure.
- Troubleshooting & Problem-Solving: Be ready to discuss how you approach technical challenges, such as render issues, compatibility problems, or unexpected errors within these software packages. Showcase your analytical skills and problem-solving abilities.
- Software-Specific Features: Deep dive into the unique features and capabilities of each software (After Effects, Premiere Pro, Flame) and how they complement each other in a production pipeline. This highlights your versatility and understanding of the industry’s software landscape.
Next Steps
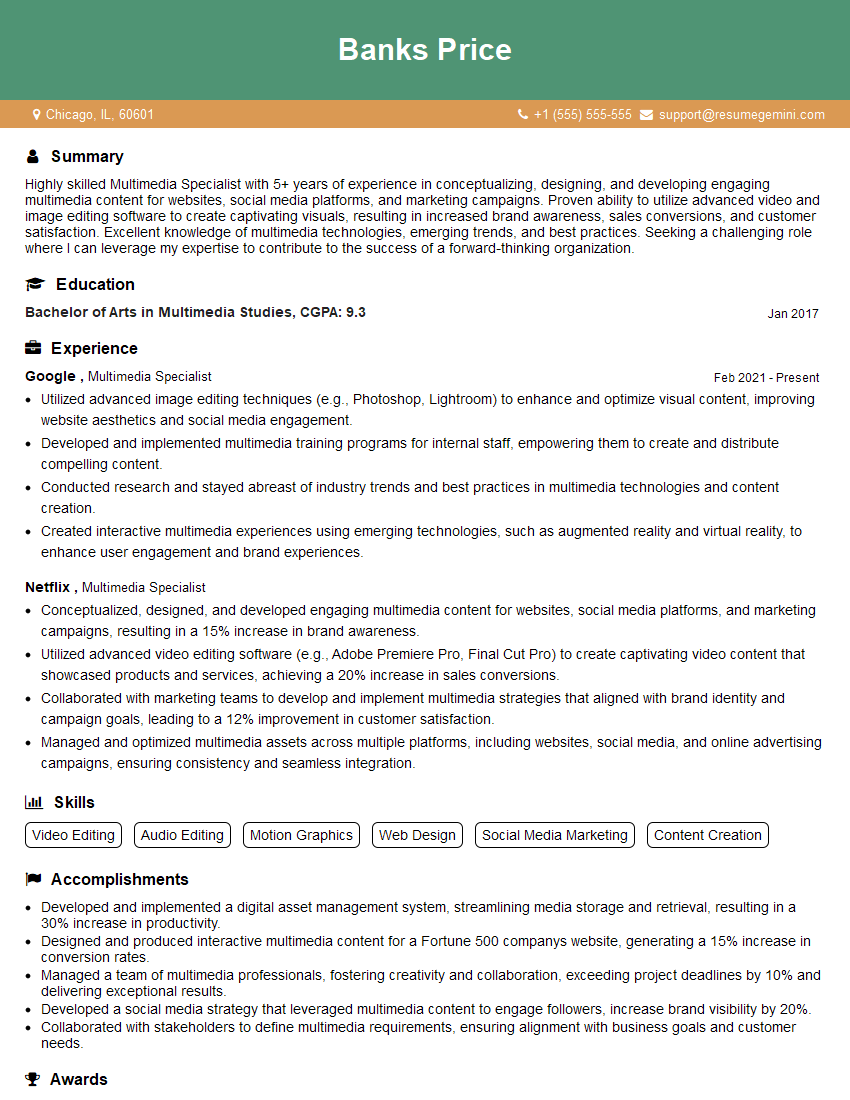
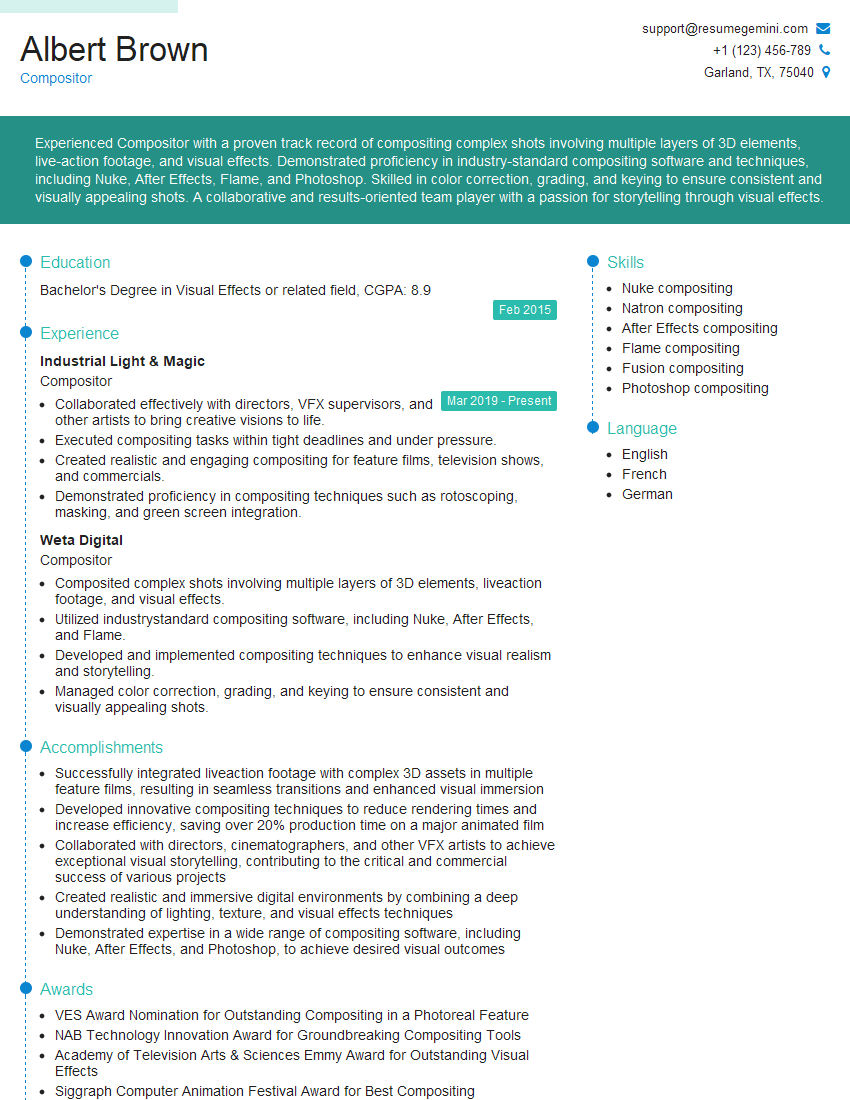
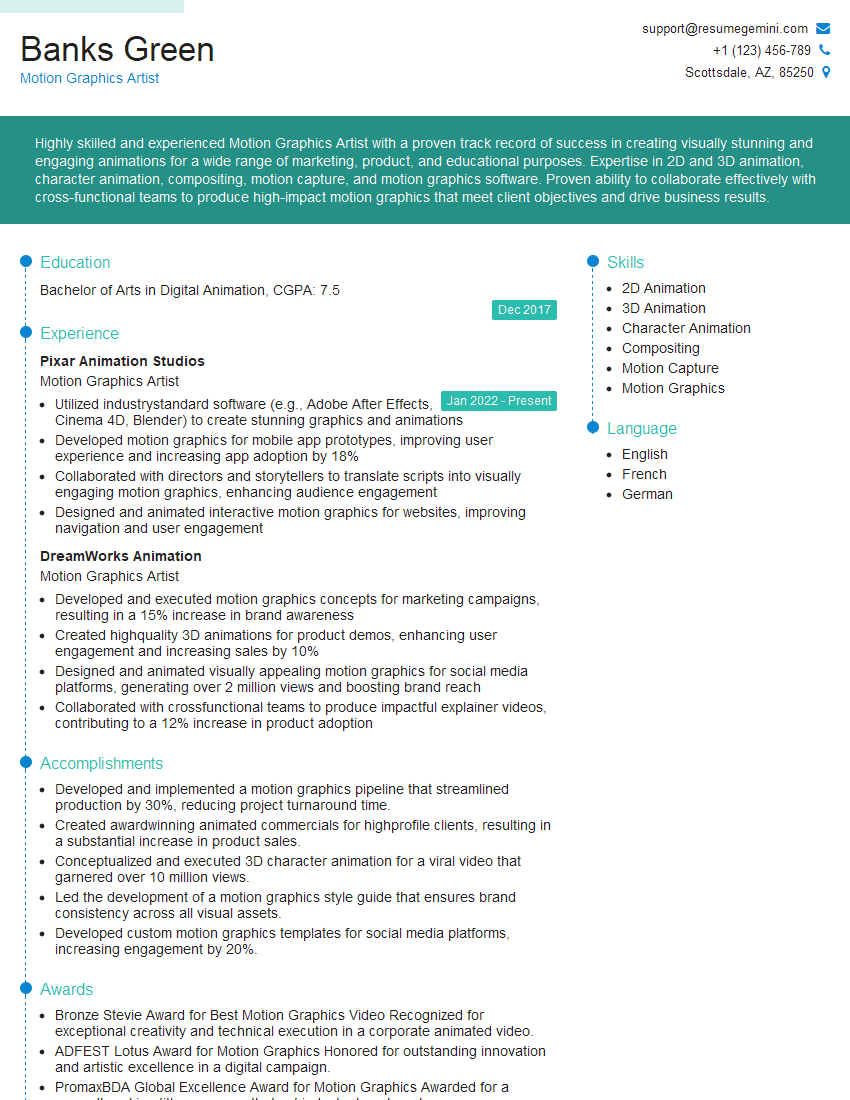
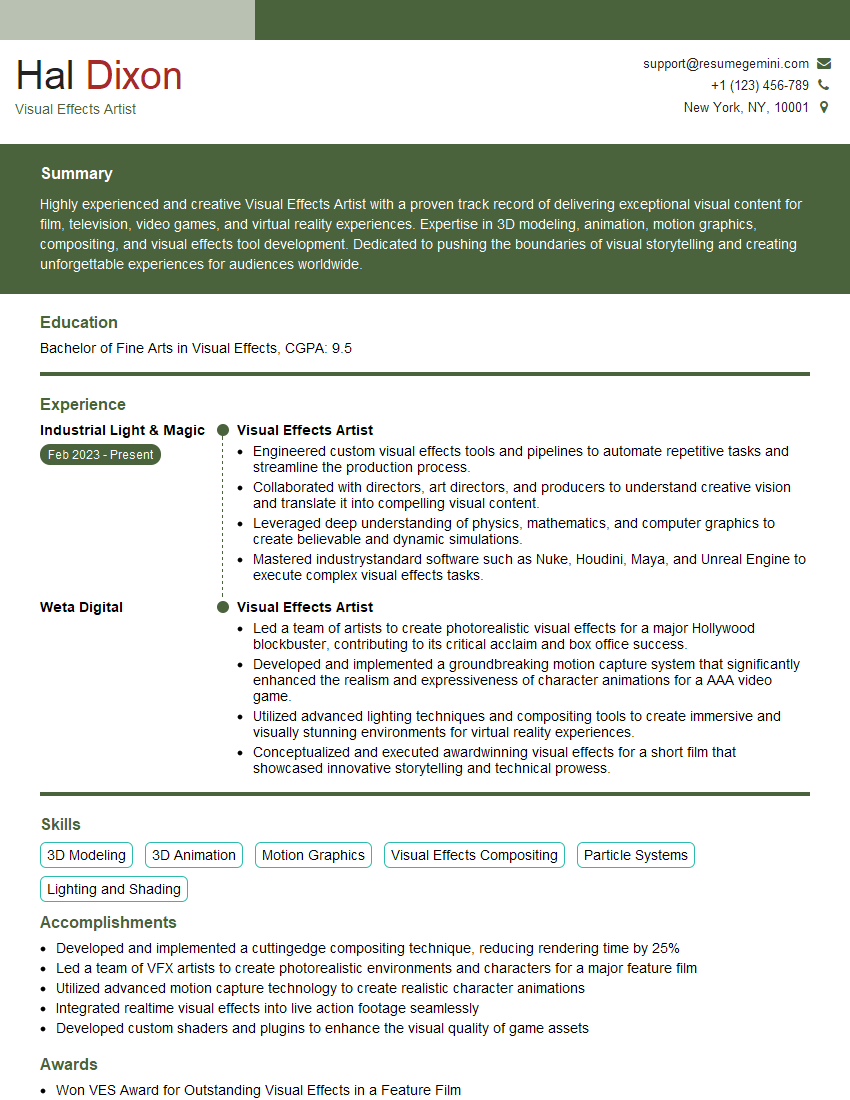
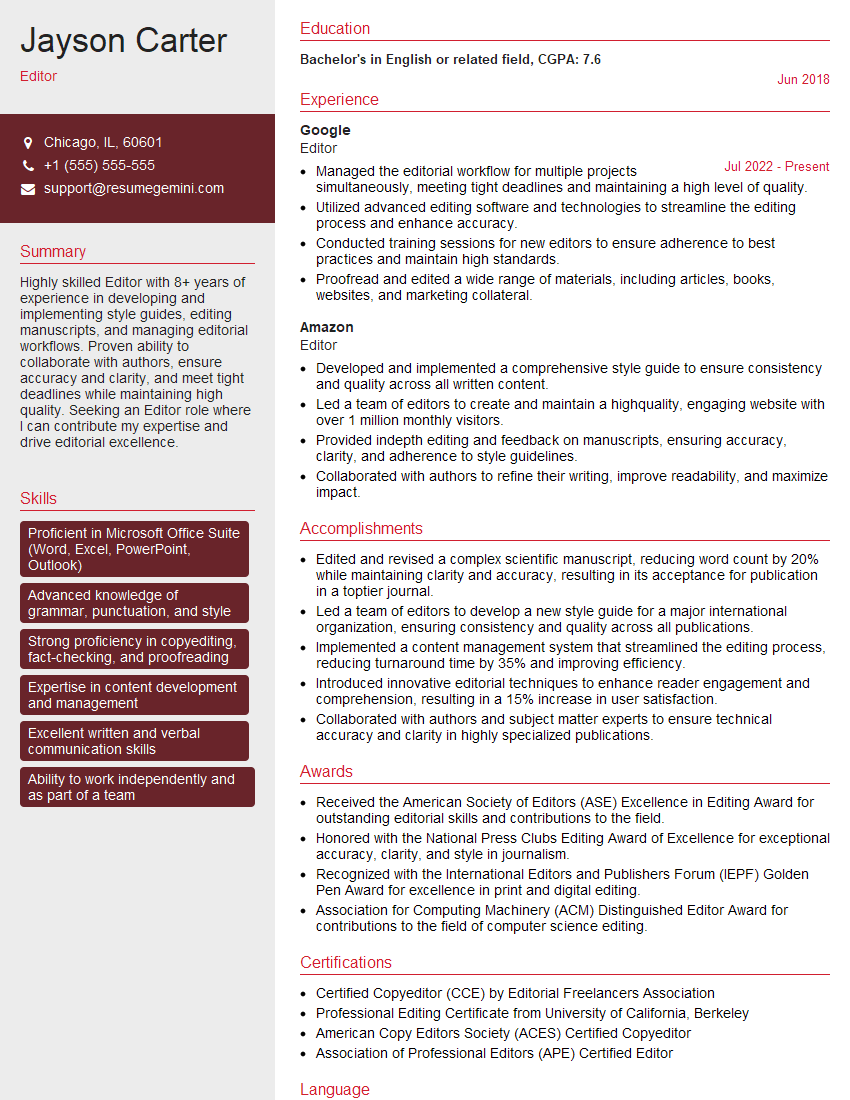
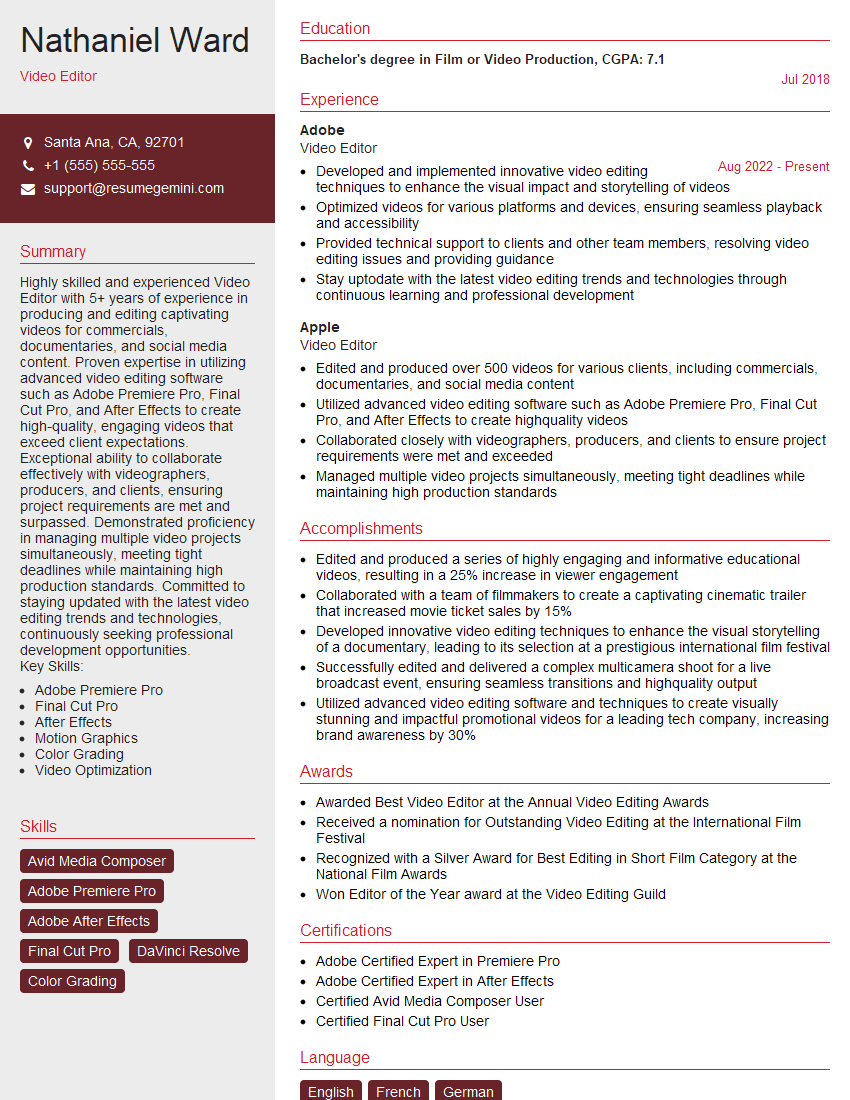
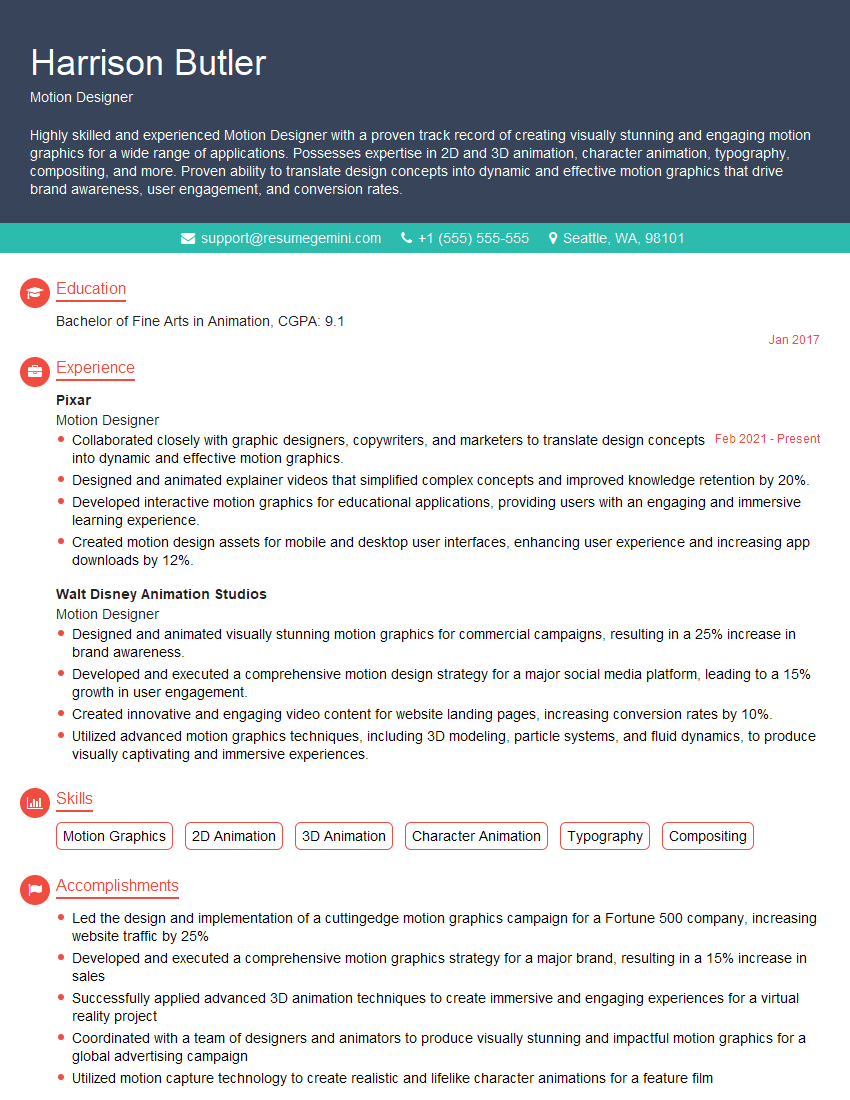
Mastering industry-standard software like After Effects, Premiere Pro, and Flame is crucial for career advancement in the visual effects and post-production industries. It demonstrates a high level of technical skill and opens doors to exciting opportunities. To maximize your job prospects, creating a strong, ATS-friendly resume is essential. ResumeGemini is a trusted resource that can help you build a professional and effective resume tailored to highlight your expertise. Examples of resumes showcasing proficiency in these software packages are available to help guide your resume creation process.
Explore more articles
Users Rating of Our Blogs
Share Your Experience
We value your feedback! Please rate our content and share your thoughts (optional).
What Readers Say About Our Blog
Hi, I represent an SEO company that specialises in getting you AI citations and higher rankings on Google. I’d like to offer you a 100% free SEO audit for your website. Would you be interested?
good
