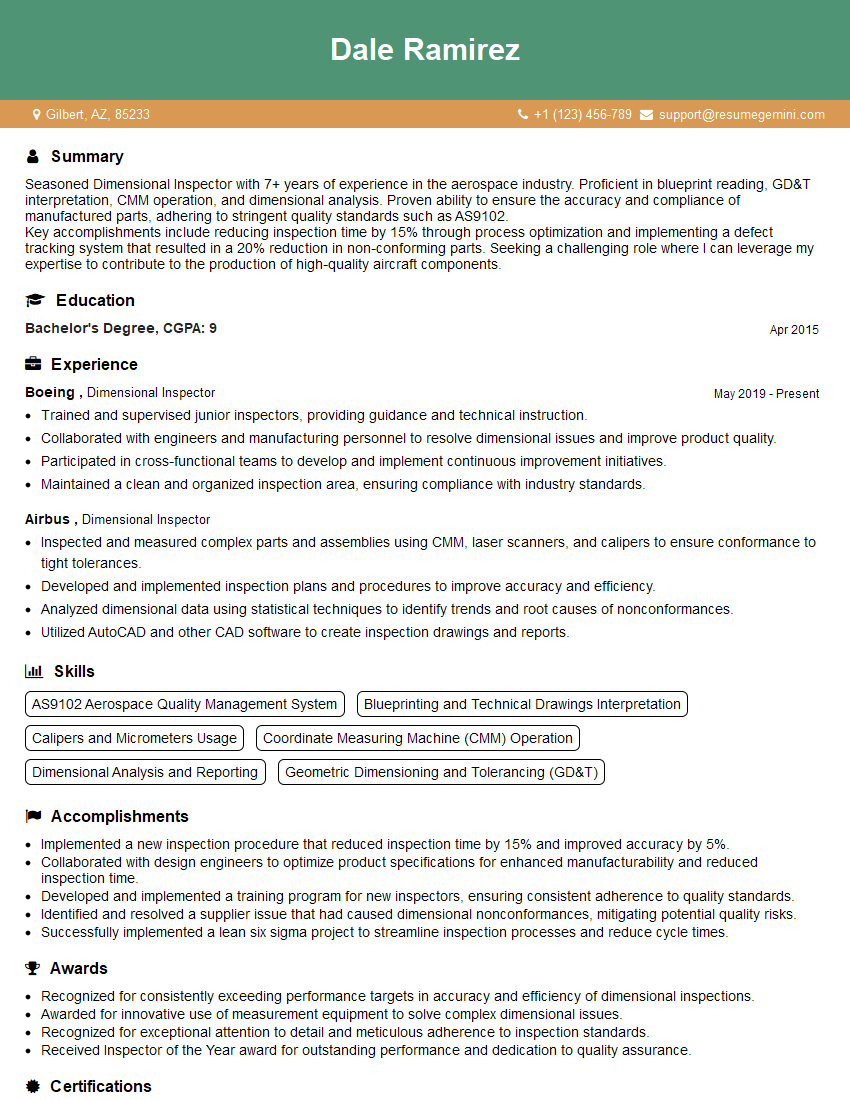
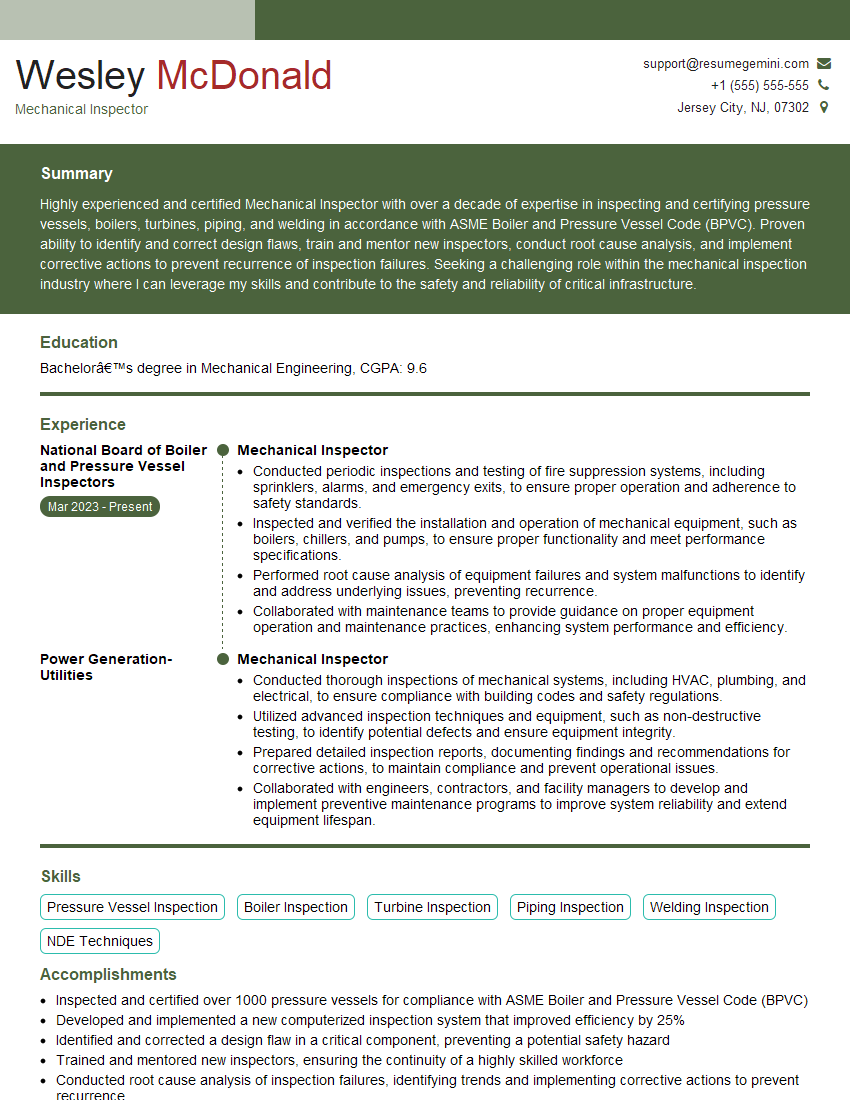
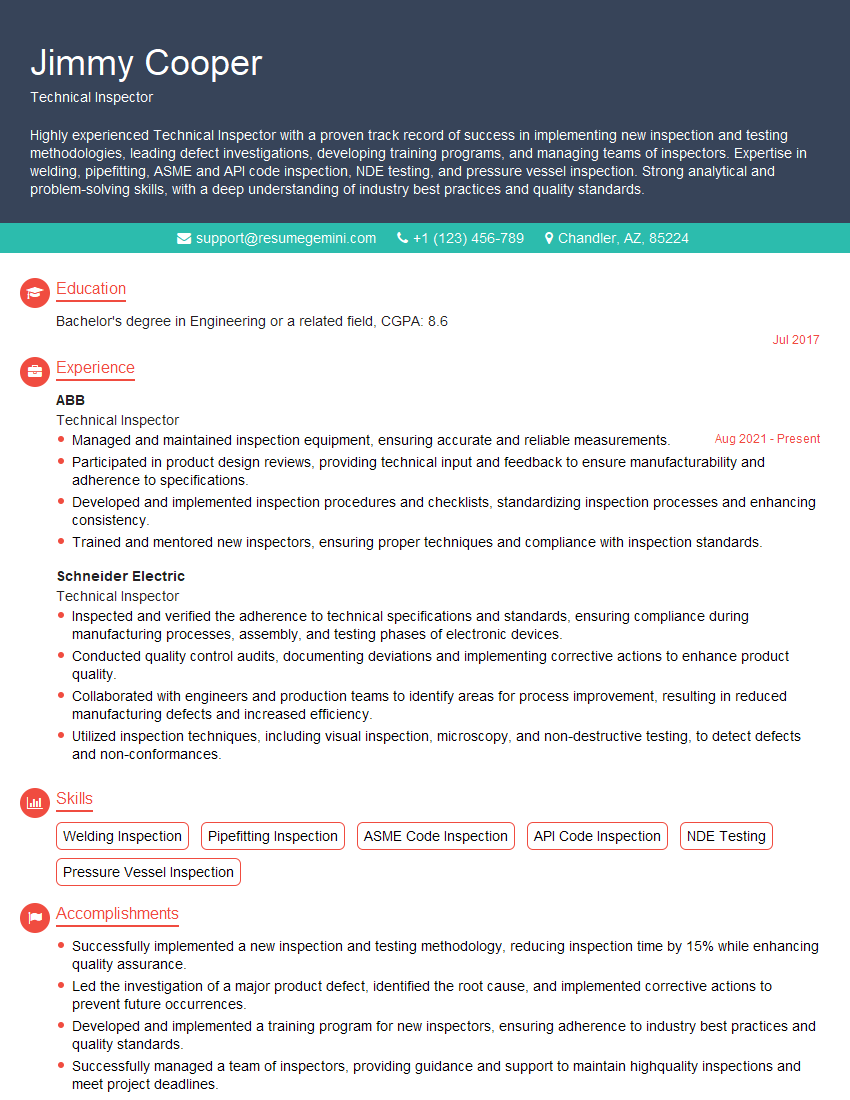
Cracking a skill-specific interview, like one for Proficient in Using Measuring Tools and Equipment, requires understanding the nuances of the role. In this blog, we present the questions you’re most likely to encounter, along with insights into how to answer them effectively. Let’s ensure you’re ready to make a strong impression.
Questions Asked in Proficient in Using Measuring Tools and Equipment Interview
Q 1. What are the different types of calipers and their applications?
Calipers are precision instruments used for measuring the dimensions of objects. Several types exist, each suited for different applications:
- Vernier Calipers: These utilize a main scale and a vernier scale to provide highly accurate measurements (typically to 0.01mm or 0.001 inches). They are versatile and used for measuring internal and external dimensions, as well as depths. Imagine a machinist checking the diameter of a precisely-engineered shaft – vernier calipers are their go-to tool.
- Digital Calipers: Similar to vernier calipers in functionality, digital calipers display the measurement directly on a digital screen, eliminating the need for reading scales. This makes them faster and potentially less prone to human error. A quality control inspector in a manufacturing plant might prefer digital calipers for their speed and ease of use.
- Dial Calipers: These use a rotating dial to display measurements, offering a good balance between accuracy and ease of use. They are frequently used in scenarios where quick measurements are needed with moderate precision, such as in woodworking or automotive repair.
- Inside/Outside Calipers: These are simpler, non-measuring calipers used for transferring measurements. One leg is used to measure the inside or outside of an object, and the measurement is then transferred to another tool, like a ruler or scale. A carpenter might use them to mark a precise distance before cutting a piece of wood.
The choice of caliper depends heavily on the required accuracy, the complexity of the measurement, and the specific application.
Q 2. Explain the principle of operation of a micrometer.
A micrometer, often called a micrometer screw gauge, works on the principle of precise screw thread mechanics. It uses a precisely-machined screw with a known pitch (the distance the screw travels with one complete rotation). A thimble rotates this screw, causing a spindle to move in or out. The spindle makes contact with the object being measured. The measurement is read using two scales: the main scale on the barrel and the finer scale on the thimble. Each rotation of the thimble moves the spindle a precise amount, typically 0.5mm or 0.025 inches, and the thimble scale measures smaller increments within that rotation.
Think of it like a very precise bolt and nut: each turn of the nut moves the bolt a very specific distance. By reading the position of the bolt and nut, we know precisely how far it’s moved and thus measure the object’s dimension.
Q 3. How do you ensure the accuracy of a measuring instrument?
Ensuring accuracy involves a multi-pronged approach:
- Calibration: Regularly calibrating measuring instruments against traceable standards is crucial. This involves comparing the instrument’s readings to those of a known-accurate reference standard.
- Proper Handling: Carefully handling the instrument prevents damage and maintains accuracy. This includes avoiding dropping, applying excessive force, and storing it in a suitable environment.
- Regular Maintenance: Cleaning the instrument, lubricating moving parts (where applicable), and checking for any signs of wear and tear helps maintain its performance.
- Environmental Factors: Temperature and humidity can affect the accuracy of some instruments. Controlling or compensating for these environmental factors is vital.
- Operator Skill: Properly using the instrument is paramount. Proper techniques for zeroing, reading the scale, and making measurements should be followed.
Imagine a chef using a kitchen scale: regular calibration ensures the scale provides accurate measurements, while proper handling prevents damage and maintains accuracy.
Q 4. Describe the process of calibrating a digital scale.
Calibrating a digital scale usually involves these steps:
- Power On and Warm-up: Turn on the scale and allow it to warm up for the specified time to ensure stable readings.
- Zero Calibration: Place nothing on the scale and press the ‘tare’ or ‘zero’ button. This sets the baseline reading to zero.
- Calibration Weight: Use a known-weight calibration weight (check your scale’s manual for the appropriate weight). Place the weight on the scale.
- Calibration Adjustment: The scale will likely have a calibration button or menu. Use this to adjust the scale’s reading to match the known weight precisely. Your scale’s manual will have specific instructions on this process.
- Verification: After calibration, remove the weight and check if the scale correctly reads zero. Re-weigh the calibration weight to verify accuracy.
It is important to follow the manufacturer’s instructions carefully as calibration procedures vary among different models. A poorly calibrated scale will provide inaccurate weights, which can have significant consequences in numerous applications, from pharmaceutical compounding to food preparation.
Q 5. What are the common sources of error in measurement?
Common sources of measurement errors include:
- Parallax Error: Incorrect reading due to viewing the scale from an angle.
- Zero Error: The instrument doesn’t read zero when it should.
- Instrumental Error: Errors due to imperfections or wear and tear in the instrument itself.
- Environmental Error: Temperature, humidity, or other environmental factors influencing the measurement.
- Personal Error: Errors due to incorrect operation or interpretation of readings by the user (e.g., misreading scales).
- Systematic Error: Consistent, repeatable errors affecting all measurements equally, such as a faulty calibration.
- Random Error: Unpredictable, fluctuating errors that cannot be easily accounted for.
For example, a slightly inaccurate ruler (instrumental error) would consistently give slightly off readings, while a user misreading a scale because of parallax would create a personal error.
Q 6. How would you handle a discrepancy between two measurement readings?
Discrepancies between two measurement readings require careful investigation. First, check for sources of error, such as those listed previously. Here is a systematic approach:
- Repeat the Measurement: Retake both measurements several times and analyze the results to see if the discrepancy persists. If it’s a random error, multiple readings may average to reduce it.
- Check the Instruments: Ensure both instruments are properly calibrated and in good working order.
- Environmental Factors: Assess if any environmental factors could have influenced the readings.
- Examine Technique: Confirm that the measurement technique was correctly applied in both instances.
- Average the Readings: If the errors are random and the discrepancy is small, averaging the results provides a more reliable estimate.
- Identify the Source: If the discrepancy is significant and cannot be explained by random errors, a more detailed investigation is necessary to identify the source of the error.
For example, If two scales give significantly different weights for the same item, one of the scales may be faulty and require recalibration or repair.
Q 7. Explain the difference between precision and accuracy in measurement.
Precision and accuracy are distinct but related concepts in measurement.
- Accuracy: Refers to how close a measurement is to the true or accepted value. A highly accurate measurement means the result is very near the correct answer.
- Precision: Refers to how close repeated measurements are to each other. High precision means that multiple measurements yield very similar results, even if they are not close to the true value.
Imagine a dartboard: High accuracy means all your darts are clustered around the bullseye, regardless of how closely clustered together they are. High precision means all your darts are tightly clustered, but they may all be grouped away from the bullseye (low accuracy). Ideally, you want both high precision and high accuracy.
Q 8. What safety precautions should be taken when using measuring tools?
Safety is paramount when using measuring tools. Ignoring safety precautions can lead to injury or damage to equipment. My approach always begins with a thorough risk assessment specific to the task and tools involved.
- Eye Protection: Always wear safety glasses to protect against flying debris, especially when working with tools like cutting instruments or when performing actions that may generate sparks.
- Proper Handling: Handle tools carefully, avoiding dropping or forceful impacts that can damage them or cause injury. Calipers and micrometers, for instance, are precision instruments requiring gentle handling.
- Cleanliness: Keep your tools clean and free from oil, grease, or dirt. This prevents inaccurate readings and ensures smooth operation. A clean workspace minimizes the risk of accidents.
- Appropriate Clothing: Loose clothing or jewelry can get caught in machinery, so it’s important to wear appropriate attire. Gloves can also provide better grip and protection.
- Tool Specific Safety: Each tool has its own set of safety considerations. For example, when using laser measuring devices, never look directly into the beam. Always follow the manufacturer’s instructions and warnings.
- Ergonomics: Maintaining good posture and using the correct techniques helps to reduce strain and prevent injuries from repetitive motions, especially when working for extended periods.
For example, once, while using a depth micrometer, I slipped and almost dropped it. Luckily, I caught it before it hit the ground. This reinforced the need to always be aware of my surroundings and to use a stable work surface.
Q 9. How do you select the appropriate measuring tool for a specific task?
Selecting the right measuring tool depends entirely on the task at hand. Factors to consider include the required accuracy, the size of the object being measured, and the material’s properties.
- Accuracy Requirements: If high precision is needed (e.g., measuring a critical dimension in a precision part), a vernier caliper or micrometer would be appropriate. For less demanding tasks, a ruler or tape measure might suffice.
- Size and Shape of Object: Measuring a large component might require a tape measure, while a small, intricate part might need a dial caliper or a height gauge.
- Material: The material also plays a role; for instance, measuring the thickness of a sheet of metal may call for a micrometer, while determining the outside diameter of a pipe might involve a flexible tape measure.
Imagine needing to measure the diameter of a small bearing. A ruler would be unsuitable due to its low resolution. Instead, a micrometer would be ideal, offering the precision required for this tiny component.
Q 10. What are the limitations of different measuring instruments?
Every measuring instrument has inherent limitations, mainly related to precision, resolution, and potential sources of error.
- Rulers: Limited precision, susceptible to parallax error (reading the scale from an angle), and easily damaged.
- Tape Measures: Can stretch or bend, leading to inaccurate measurements, especially over long distances. Resolution is also lower than precision instruments.
- Vernier Calipers: While relatively accurate, they are sensitive to wear and tear, and inaccurate readings can arise from misalignment or parallax error. Their accuracy is limited to the graduations of the scale.
- Micrometers: Extremely precise but can be affected by wear and tear, temperature variations, and operator skill. Requires careful handling and calibration.
- Dial Indicators: Sensitive to vibrations and external forces. Their accuracy depends on proper setup and zeroing.
For instance, a vernier caliper’s resolution is limited to its least count (e.g., 0.01 mm or 0.001 inch). Measurements outside its range, or attempts to measure parts with extremely irregular shapes, may introduce significant errors.
Q 11. Describe your experience with using dial indicators.
I have extensive experience using dial indicators for various applications, including checking surface flatness, measuring runout, and determining the amount of deflection or movement in machinery.
My work has involved using dial indicators to measure shaft runout, ensuring that a rotating shaft is perfectly concentric. I’ve also used them to check the alignment of machine components, verify the parallelism of surfaces, and perform precise measurements during quality control inspections. I’m proficient in using different types of dial indicators, including those with different ranges, resolutions, and contact points.
I am comfortable with indicator mounting, zeroing, and using the indicator to obtain accurate measurements. I also understand the importance of proper calibration to ensure the accuracy of the readings.
A memorable instance involved troubleshooting a vibration issue in a high-speed motor. By carefully mounting the dial indicator on the motor housing, I was able to pinpoint the source of the vibration – a slight imbalance in the rotor – leading to a timely and effective solution.
Q 12. How do you interpret measurement readings from a vernier caliper?
Interpreting vernier caliper readings requires understanding both the main scale and the vernier scale.
The main scale provides measurements in whole units (e.g., millimeters or inches), while the vernier scale provides finer increments. To read a vernier caliper, first, note the whole number from the main scale that falls before the zero mark of the vernier scale. Then, find the mark on the vernier scale that lines up exactly with a mark on the main scale. This vernier mark indicates the fractional part of the measurement. Adding the whole number and the fractional part gives the final reading.
For example, if the main scale reads 25 mm and the vernier scale shows that the 6th mark is aligned with a main scale mark, the total measurement is 25.06 mm. Understanding the caliper’s least count (the smallest increment it can measure) is crucial for accurate reading.
Q 13. Explain the concept of tolerance and its importance in manufacturing.
Tolerance refers to the permissible variation from a specified dimension. It defines an acceptable range of values for a particular measurement, accounting for unavoidable manufacturing variations. It’s expressed as a plus or minus value around a nominal (target) dimension.
For example, a shaft with a nominal diameter of 25 mm might have a tolerance of ±0.05 mm. This means acceptable diameters would range from 24.95 mm to 25.05 mm. Parts outside this range are considered non-conforming and may be rejected.
Tolerance is critical in manufacturing because it ensures that parts will fit and function together correctly. Insufficient tolerance may lead to parts being too tight or too loose, while excessive tolerance could compromise performance or stability. Manufacturing processes must be carefully controlled to maintain tight tolerances, especially for precision components.
Q 14. What are some common units of measurement used in your field?
The units of measurement commonly used in my field depend on the application and the industry standards. However, some frequently used units include:
- Millimeters (mm) and Micrometers (µm): For metric measurements, millimeters and micrometers are prevalent, especially in precision engineering.
- Inches (in) and Thousandths of an Inch (in): Inches and thousandths of an inch are common in certain industries, particularly in the United States.
- Degrees (°): Used for angle measurements.
- Radians (rad): Another unit for angular measurement, frequently used in engineering calculations.
In some scenarios, we may also use units like centimeters, feet, or meters depending on the scale of the measurement. Choosing the right unit ensures clarity and prevents errors in calculations and communication.
Q 15. How do you handle damaged or malfunctioning measuring equipment?
Dealing with damaged or malfunctioning measuring equipment begins with immediate action to prevent further damage or inaccurate readings. First, I would carefully remove the equipment from service and clearly label it as ‘Out of Service’ to avoid accidental use. Then, I’d follow a systematic process depending on the type of damage.
- Minor Damage (e.g., a slight dent on a caliper): I’d assess if the damage affects accuracy. If not, I might continue using it after a thorough inspection. If the accuracy is questionable, I’d immediately take it out of service for calibration or repair.
- Major Damage (e.g., cracked casing on a laser meter): This requires immediate removal from service and reporting to the appropriate personnel. Depending on company policy, a repair request might be filed, and a replacement device obtained.
- Malfunctioning Equipment (e.g., inconsistent readings): I’d perform basic troubleshooting steps like checking batteries, connections, and zeroing procedures. If the problem persists, I’d document the malfunction (including specific readings and timestamps) and request calibration or repair. Consistent record-keeping is crucial for tracking equipment history and maintenance.
Ultimately, my approach is guided by safety and the integrity of the measurements. A damaged or malfunctioning tool can compromise the quality of the work and even cause safety hazards.
Career Expert Tips:
- Ace those interviews! Prepare effectively by reviewing the Top 50 Most Common Interview Questions on ResumeGemini.
- Navigate your job search with confidence! Explore a wide range of Career Tips on ResumeGemini. Learn about common challenges and recommendations to overcome them.
- Craft the perfect resume! Master the Art of Resume Writing with ResumeGemini’s guide. Showcase your unique qualifications and achievements effectively.
- Don’t miss out on holiday savings! Build your dream resume with ResumeGemini’s ATS optimized templates.
Q 16. Describe your experience with using laser measuring devices.
I have extensive experience using various laser measuring devices, including both handheld and tripod-mounted units. My experience spans from simple distance measurements to more complex applications like area and volume calculations. I am proficient in using laser distance meters from different manufacturers and understand the importance of selecting the right tool for the task.
For example, when measuring the dimensions of a large building, I would use a tripod-mounted laser distance meter for increased accuracy and stability. For quick measurements in a smaller space, a handheld unit would suffice. I understand the importance of considering factors such as ambient light conditions and surface reflectivity when using laser measuring devices. I also know how to interpret the readings and account for potential errors, such as those introduced by atmospheric conditions.
Furthermore, I’m familiar with the safety aspects of laser measurement, including proper eye protection and understanding the laser class of the device. I always prioritize safety and handle these devices with care, adhering to all manufacturer guidelines.
Q 17. What are the benefits of using digital measuring tools over analog tools?
Digital measuring tools offer significant advantages over analog tools in several key areas:
- Increased Accuracy: Digital tools provide higher precision and resolution, leading to more accurate measurements. Analog tools rely on human interpretation of the scale, which is inherently prone to error.
- Improved Efficiency: Digital tools often automate some aspects of measurement, such as data logging and calculations, saving time and effort. Think of a digital caliper automatically calculating the difference between two measurements compared to having to manually subtract values from an analog caliper.
- Data Storage and Transfer: Digital tools enable easy data storage and transfer to computers or other devices. This simplifies data analysis, reporting, and record-keeping. This is particularly useful for large-scale projects where managing vast amounts of data is critical.
- Reduced Human Error: Digital tools minimize the risk of parallax error (error due to the angle of observation) and misreading analog scales. The direct digital readout removes the possibility of misinterpreting a measurement.
While analog tools remain valuable in certain specialized situations, the advantages of digital tools in terms of accuracy, efficiency, and data management make them the preferred choice for most modern measurement tasks.
Q 18. How do you maintain and clean measuring equipment?
Maintaining and cleaning measuring equipment is crucial for ensuring accuracy and longevity. My approach involves both regular cleaning and periodic calibration.
- Cleaning: I start by carefully wiping down the equipment with a lint-free cloth. For delicate instruments, I might use a slightly damp cloth. I avoid using harsh chemicals or abrasive materials that could damage the surface or internal components. For example, I use compressed air to remove dust from hard-to-reach areas in digital calipers.
- Calibration: This is done at scheduled intervals depending on the tool and its usage frequency. This usually involves comparing the readings of the instrument to a known standard. I make sure to document the calibration results and maintain a detailed calibration log. Calibration ensures that the equipment continues to provide accurate measurements.
- Storage: I store measuring tools in protective cases or designated storage areas to prevent damage or accidental misplacement. Proper storage protects them from dust, moisture, and impact.
Following these procedures ensures that my measuring equipment remains accurate, reliable, and in optimal condition for extended use.
Q 19. Describe a time you had to troubleshoot a measurement problem.
During a recent project involving the construction of a custom-built cabinet, I encountered a measurement discrepancy. The initial measurements for the shelves seemed accurate, but when assembling the cabinet, the shelves were slightly too short.
To troubleshoot, I systematically reviewed my measurement process. I re-measured the cabinet’s internal dimensions using a different measuring tape to rule out equipment error. I discovered that I had initially measured to the inside edge of the cabinet’s side walls, not accounting for the thickness of the material. Once I corrected this, the measurements matched perfectly, and the problem was solved. This highlights the importance of understanding the implications of measurement techniques and double-checking one’s work. It also underscored the necessity of always accounting for the material’s thickness when working with construction projects.
Q 20. What are some common causes of measurement errors in your field?
Several factors contribute to measurement errors in my field. Some common ones include:
- Parallax Error: This occurs when the reading is taken from an angle, leading to an inaccurate measurement, especially with analog instruments. Proper alignment of the eye with the measurement scale is crucial.
- Equipment Calibration: An improperly calibrated tool introduces systematic errors that affect all measurements. Regular calibration is essential.
- Environmental Factors: Temperature, humidity, and even strong magnetic fields can influence measurements. These factors should be considered and controlled, where possible.
- Human Error: Simple mistakes like misreading scales, incorrect recording of measurements, and improper use of the instrument are common sources of error.
- Tool Wear: Over time, tools can wear down, leading to inaccuracies. Regular inspection and maintenance are crucial.
- Measurement Technique: Improper measurement techniques can also contribute to inaccurate measurements. This emphasizes the need for proper training and adherence to standardized procedures.
Minimizing these errors requires careful planning, proper tool selection, consistent calibration, and the use of appropriate measurement techniques.
Q 21. How do you ensure traceability in your measurement procedures?
Traceability in measurement procedures ensures that all measurements can be traced back to a known standard. This is critical for maintaining the accuracy and reliability of measurement data. I ensure traceability through several key steps:
- Calibration Certificates: All measuring instruments are calibrated at regular intervals by accredited laboratories. I maintain a comprehensive record of calibration certificates for all instruments used, which details the calibration dates, results, and the traceability chain to national or international standards.
- Detailed Measurement Logs: I document all measurements meticulously, including the date, time, instrument used, and the measured values. This record allows for easy tracking and verification of the data.
- Standard Operating Procedures (SOPs): I adhere to established SOPs for all measurement processes. These procedures detail the correct use of instruments, measurement techniques, and data recording methods. Following SOPs ensures consistency and minimizes errors.
- Data Management System: A robust data management system helps manage and track measurement data effectively. This can include software or databases designed to store, organize and retrieve measurement data.
This rigorous approach ensures that our measurement data is reliable, consistent, and traceable to recognized standards, meeting both internal quality control standards and external regulatory requirements.
Q 22. Explain your understanding of statistical process control (SPC) in measurement.
Statistical Process Control (SPC) is a powerful methodology used to monitor and control the variability in a process. It uses statistical techniques to analyze data collected from a manufacturing or measurement process, identifying trends and patterns that indicate potential problems before they lead to significant defects or errors. Think of it like a constantly vigilant quality control system.
In the context of measurement, SPC ensures the accuracy and precision of our instruments and techniques. We collect data from repeated measurements of the same item or from a batch of items. This data is then plotted on control charts, which visually display the process’s performance over time. The control chart typically includes upper and lower control limits, representing the expected range of variation. Any data point falling outside these limits signals a potential issue – maybe a tool malfunction, a change in material properties, or operator error.
For example, imagine we’re measuring the diameter of a shaft. We’d take multiple measurements and plot them on a control chart. If suddenly the measurements start to consistently drift upwards or downwards, exceeding the control limits, it suggests a problem with the measuring device, the shaft’s manufacturing process, or our measurement technique itself. We can then investigate and correct the root cause.
- Control Charts: Different types of control charts exist (e.g., X-bar and R chart, X-bar and s chart) depending on the type of data and the information we want to extract.
- Process Capability Analysis: This helps determine whether a process is capable of meeting specified tolerances.
Q 23. Describe your experience with using CMM (Coordinate Measuring Machine).
I have extensive experience using Coordinate Measuring Machines (CMMs), both touch-probe and laser scanning types. My experience spans various applications, including dimensional inspection of complex parts, reverse engineering, and first article inspection. I’m proficient in operating different CMM software packages and interpreting the generated reports.
In one project, I used a CMM to meticulously inspect turbine blades for micro-cracks and dimensional deviations. The precision and speed of the CMM allowed us to quickly identify and address quality issues, preventing potential catastrophic failures in the aircraft engines these blades were destined for. The 3D scanning capability of the laser CMM also helped us to obtain highly detailed surface data, which was crucial for evaluating the blade’s surface finish.
My expertise extends to the proper setup and calibration of CMMs, including probe compensation and thermal compensation to ensure accurate and reliable measurements. I understand the importance of following standardized procedures and adhering to industry best practices to maintain the integrity of the measurement data.
Q 24. How familiar are you with different types of measuring tapes and their uses?
My familiarity with measuring tapes extends beyond simply knowing how to use them; I understand the nuances of different types and their appropriate applications. This includes understanding their accuracy limitations, material properties and intended uses.
- Steel Tapes: These offer high accuracy and durability, making them ideal for precise measurements in construction or surveying. However, they are more prone to wear and tear than other types.
- Fiberglass Tapes: Lighter and more flexible than steel tapes, they are well-suited for applications where durability and accuracy are less critical. They’re less prone to breaking but accuracy is compromised.
- Cloth Tapes: These are generally less accurate but are very flexible and useful for quick measurements in less demanding situations. Primarily used for general household use.
- Electronic Measuring Wheels: These tools combine a wheel for measuring distance with an electronic counter, providing a digital reading of the total distance. These are beneficial for measuring large distances accurately.
The selection of a measuring tape depends heavily on the application. For critical measurements requiring high accuracy, a steel tape is preferred. For less demanding tasks, a fiberglass or cloth tape might suffice. Understanding these differences is crucial for obtaining accurate and reliable results.
Q 25. What is your experience with using optical comparators?
Optical comparators are precision instruments I’ve used extensively for detailed inspection of parts. They project an enlarged image of the part onto a screen, allowing for precise comparisons against a known master template or drawing. This non-contact method is beneficial for delicate or intricate parts that might be damaged by other measuring techniques.
I’ve used optical comparators in various situations, including the inspection of small components like gears and tiny electronic parts. The ability to measure angles, radii, and distances using the projected image is invaluable for ensuring parts conform to the required specifications. We used an optical comparator to evaluate the quality of injection-molded plastic parts, ensuring that features were within the required tolerances. The magnified image allowed for quick and easy detection of minor flaws or inconsistencies.
It’s vital to understand the principles of optics and the importance of proper lighting and focusing to achieve accurate measurements. Proper calibration is essential to ensure the accuracy of the measurements.
Q 26. Explain your experience with using height gauges.
Height gauges are versatile precision measuring instruments used to determine the height or vertical distance between two surfaces. My experience with height gauges encompasses a variety of applications, from measuring the thickness of materials to verifying the dimensions of machined parts.
I’ve used height gauges extensively in manufacturing and quality control settings. For instance, during a production run of precision machined components, we used height gauges to verify the dimensions of various features, ensuring they were within the specified tolerances. The accuracy and precision provided by the height gauge were vital in maintaining the quality of our product.
Proper use and maintenance of the height gauge are critical. This includes regular checks for wear and tear, proper calibration, and careful handling to prevent damage to the instrument or the part being measured. Using a granite surface plate is essential for obtaining the most accurate readings.
Q 27. How familiar are you with different types of levels and their applications?
Different types of levels serve specific purposes, and understanding their applications is crucial for accurate leveling and alignment. My experience encompasses various types.
- Spirit Levels: These are the most common type, using a sealed glass vial filled with liquid and an air bubble to indicate levelness. They’re readily available in various sizes and accuracies, suitable for various applications from basic carpentry to precision machine alignment.
- Laser Levels: These project a laser beam to indicate a level plane or line, providing longer range and increased visibility compared to spirit levels. They are often used in construction and surveying projects.
- Digital Levels: These electronic levels offer a digital readout of the angle or inclination. They provide higher accuracy than spirit levels and are often used in precision engineering and surveying applications.
The selection of the appropriate level depends greatly on the application. For basic home improvement tasks, a simple spirit level is sufficient. For larger construction projects requiring greater precision and range, a laser level or even a digital level might be more appropriate. Understanding the limitations and capabilities of each type ensures the accuracy of the leveling process.
Key Topics to Learn for Proficient in Using Measuring Tools and Equipment Interview
- Understanding Measurement Units and Systems: Mastering the conversion between metric (SI) and imperial units, and understanding the precision and accuracy limitations of different measurement systems.
- Selecting Appropriate Tools: Knowing which tools are best suited for specific tasks and materials, considering factors like accuracy required, material properties, and environmental conditions. This includes understanding the capabilities and limitations of various tools.
- Proper Tool Calibration and Maintenance: Knowing how to calibrate and maintain various measuring tools to ensure accuracy. This includes understanding the importance of regular checks and preventative maintenance.
- Reading and Interpreting Measurements: Accurately reading and interpreting measurements from various tools, including verniers, micrometers, calipers, rulers, and levels. Understanding potential sources of error and how to minimize them.
- Practical Application in Different Contexts: Applying your knowledge to real-world scenarios, such as manufacturing, construction, engineering, or quality control. Be prepared to discuss specific examples of how you’ve used these tools in past projects or experiences.
- Troubleshooting Measurement Issues: Identifying and resolving common issues that arise when using measuring tools and equipment, such as inconsistencies in readings or malfunctions of the equipment itself. This includes demonstrating problem-solving skills.
- Safety Procedures: Understanding and adhering to all safety procedures related to the use of measuring tools and equipment. This includes proper handling, storage, and disposal.
- Advanced Measurement Techniques: Depending on the role, familiarize yourself with advanced techniques such as laser scanning, 3D measuring systems, or other specialized equipment.
Next Steps
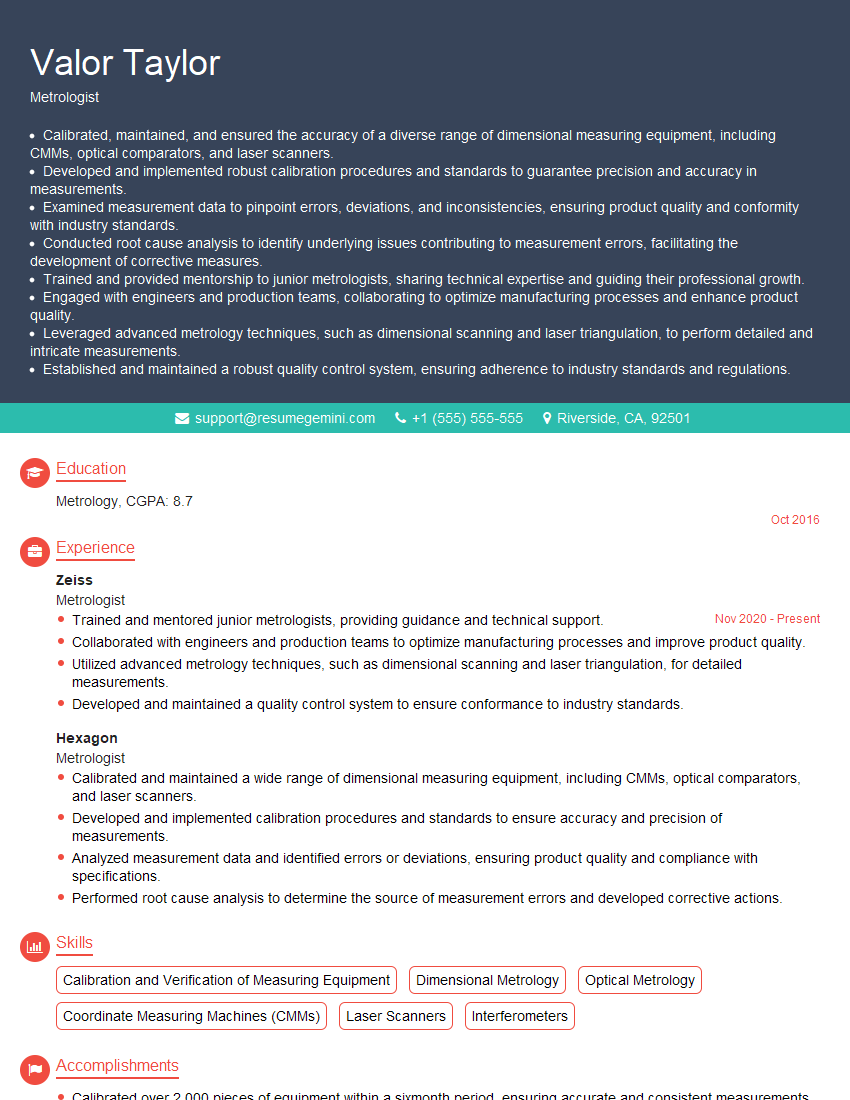
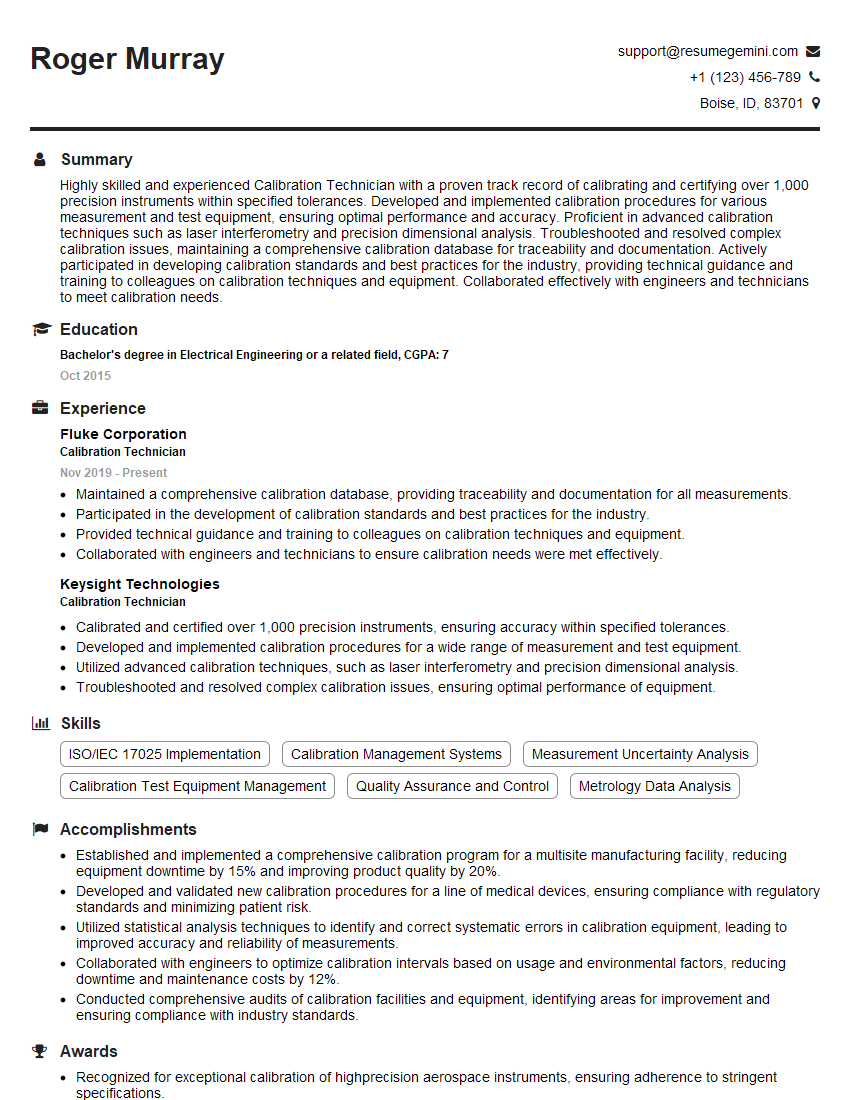
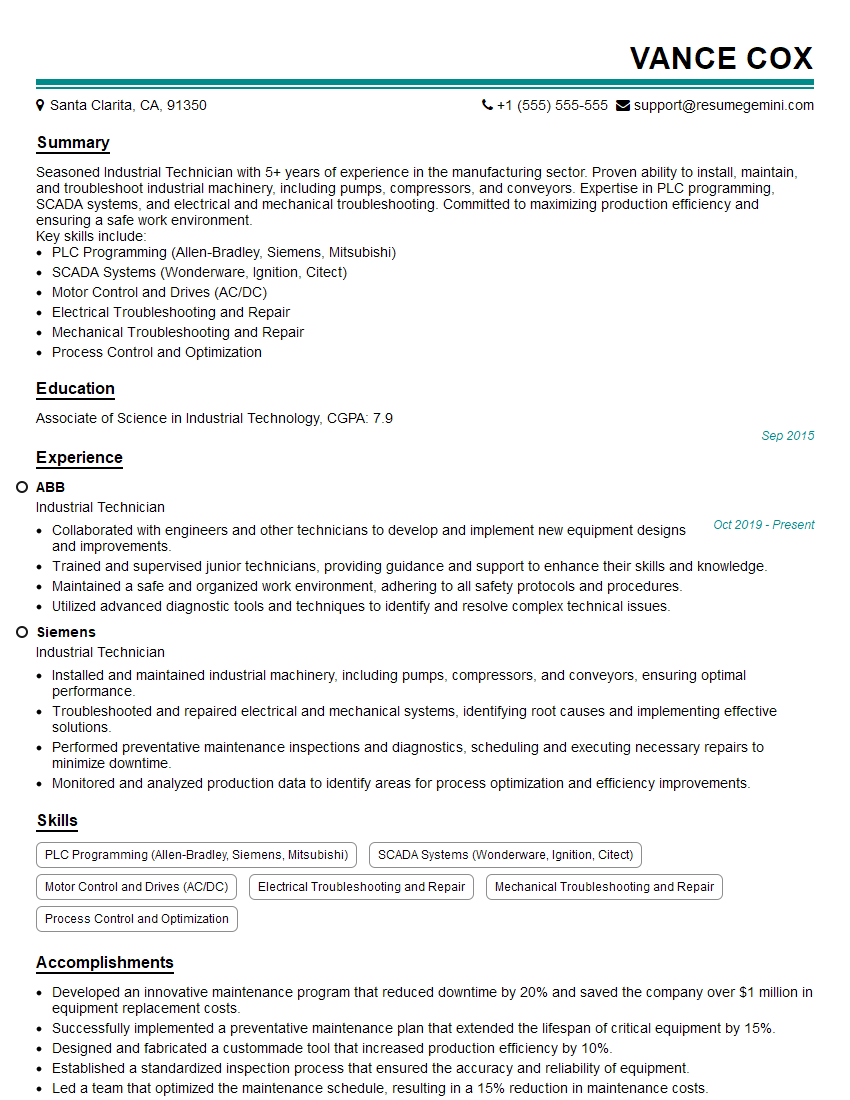
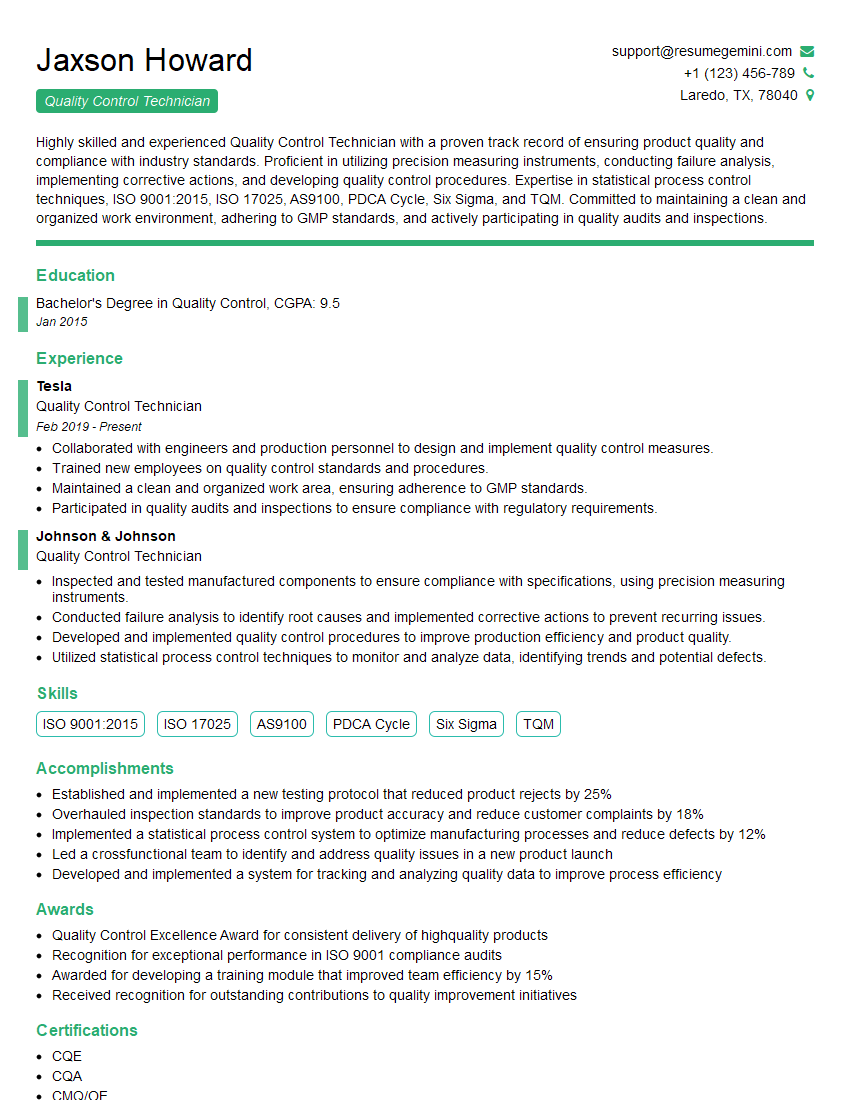
Mastering the proficient use of measuring tools and equipment is crucial for career advancement in numerous technical fields. It demonstrates attention to detail, precision, and a strong understanding of fundamental principles. To maximize your job prospects, creating an ATS-friendly resume is essential. This ensures your skills and experience are effectively highlighted to recruiters and applicant tracking systems. ResumeGemini is a trusted resource for building a professional and impactful resume, helping you present your skills in the best possible light. Examples of resumes tailored to highlight proficiency in using measuring tools and equipment are available to help guide your resume creation process.
Explore more articles
Users Rating of Our Blogs
Share Your Experience
We value your feedback! Please rate our content and share your thoughts (optional).
What Readers Say About Our Blog
Hello,
We found issues with your domain’s email setup that may be sending your messages to spam or blocking them completely. InboxShield Mini shows you how to fix it in minutes — no tech skills required.
Scan your domain now for details: https://inboxshield-mini.com/
— Adam @ InboxShield Mini
Reply STOP to unsubscribe
Hi, are you owner of interviewgemini.com? What if I told you I could help you find extra time in your schedule, reconnect with leads you didn’t even realize you missed, and bring in more “I want to work with you” conversations, without increasing your ad spend or hiring a full-time employee?
All with a flexible, budget-friendly service that could easily pay for itself. Sounds good?
Would it be nice to jump on a quick 10-minute call so I can show you exactly how we make this work?
Best,
Hapei
Marketing Director
Hey, I know you’re the owner of interviewgemini.com. I’ll be quick.
Fundraising for your business is tough and time-consuming. We make it easier by guaranteeing two private investor meetings each month, for six months. No demos, no pitch events – just direct introductions to active investors matched to your startup.
If youR17;re raising, this could help you build real momentum. Want me to send more info?
Hi, I represent an SEO company that specialises in getting you AI citations and higher rankings on Google. I’d like to offer you a 100% free SEO audit for your website. Would you be interested?
Hi, I represent an SEO company that specialises in getting you AI citations and higher rankings on Google. I’d like to offer you a 100% free SEO audit for your website. Would you be interested?
good

