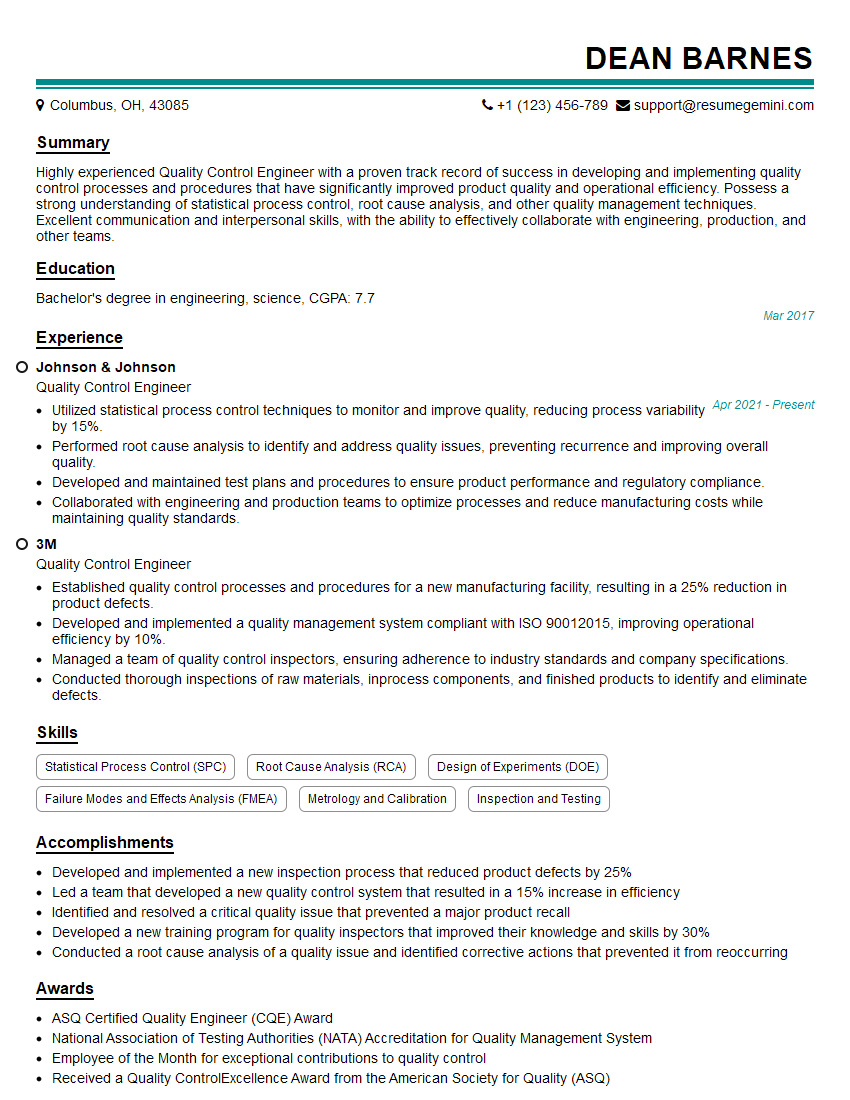
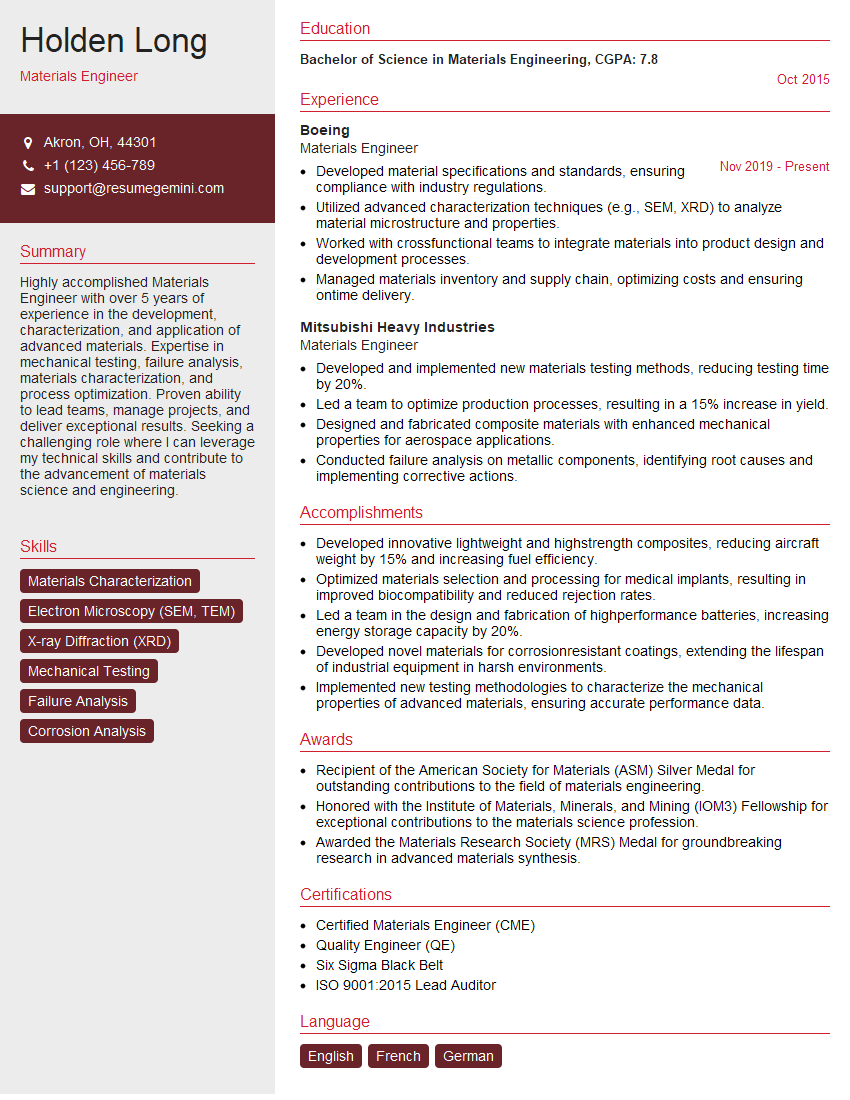
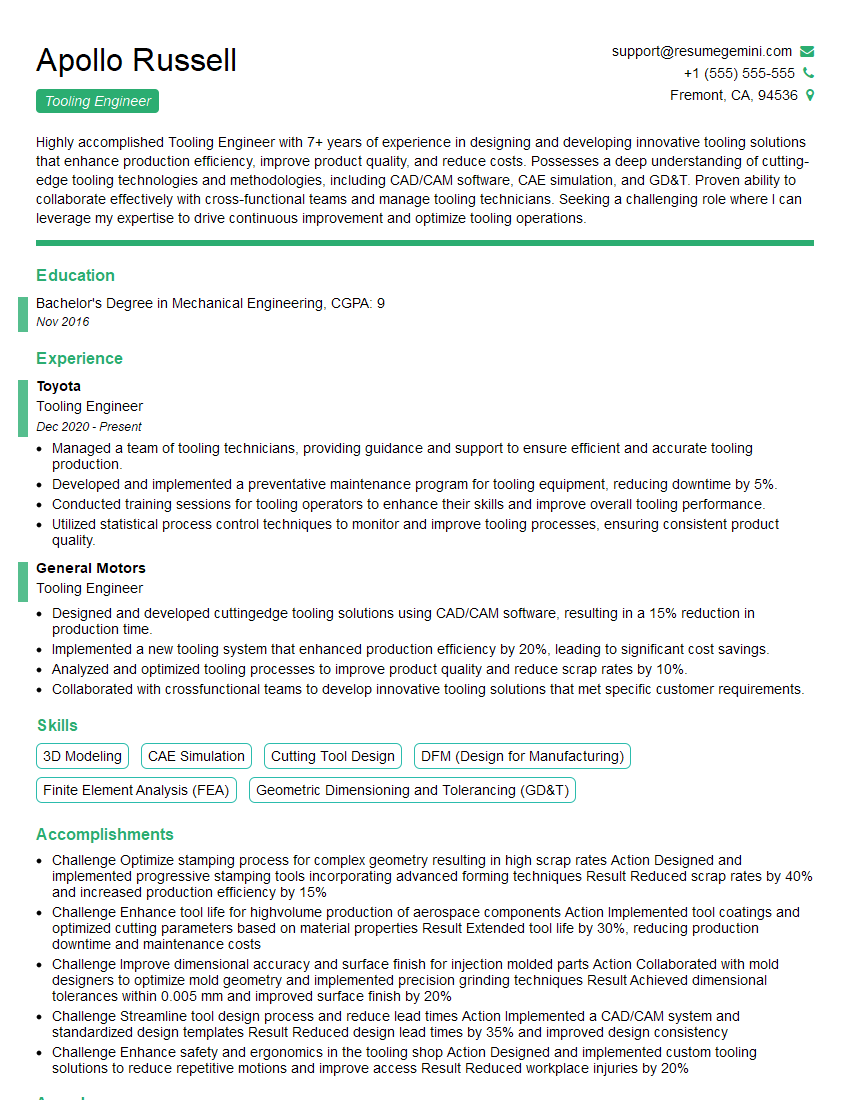
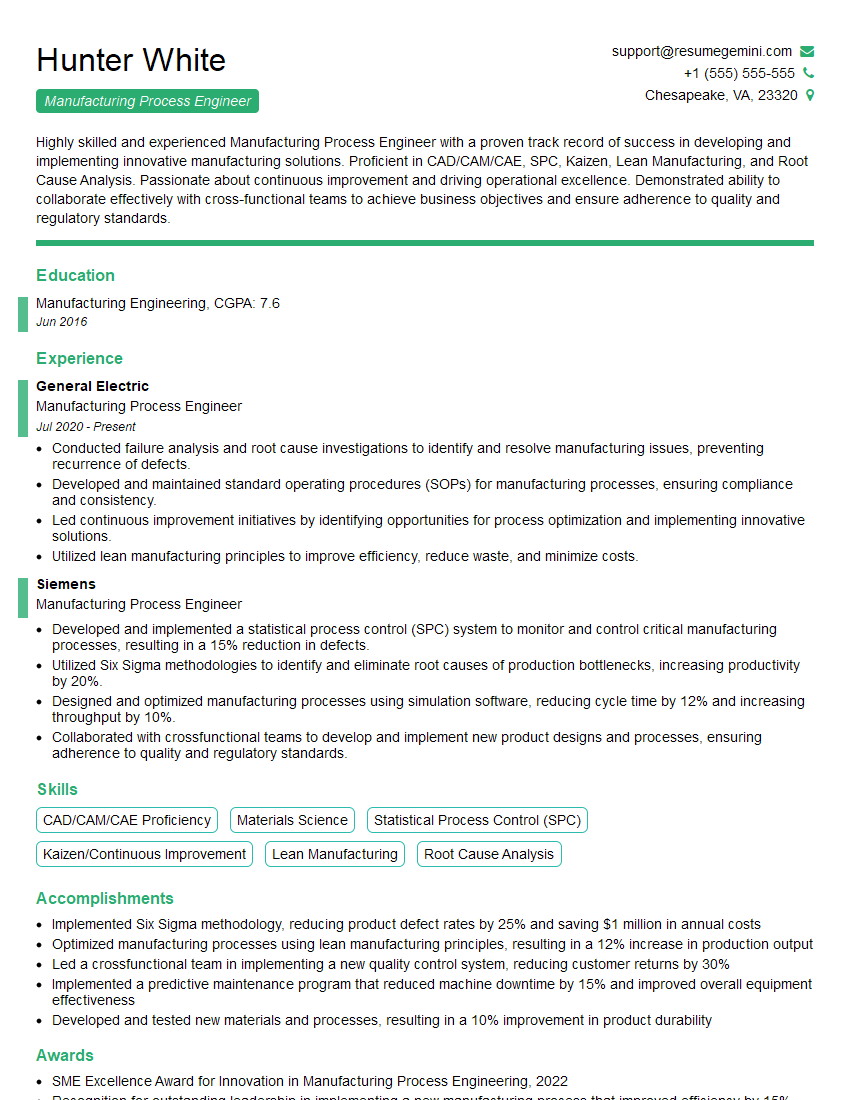
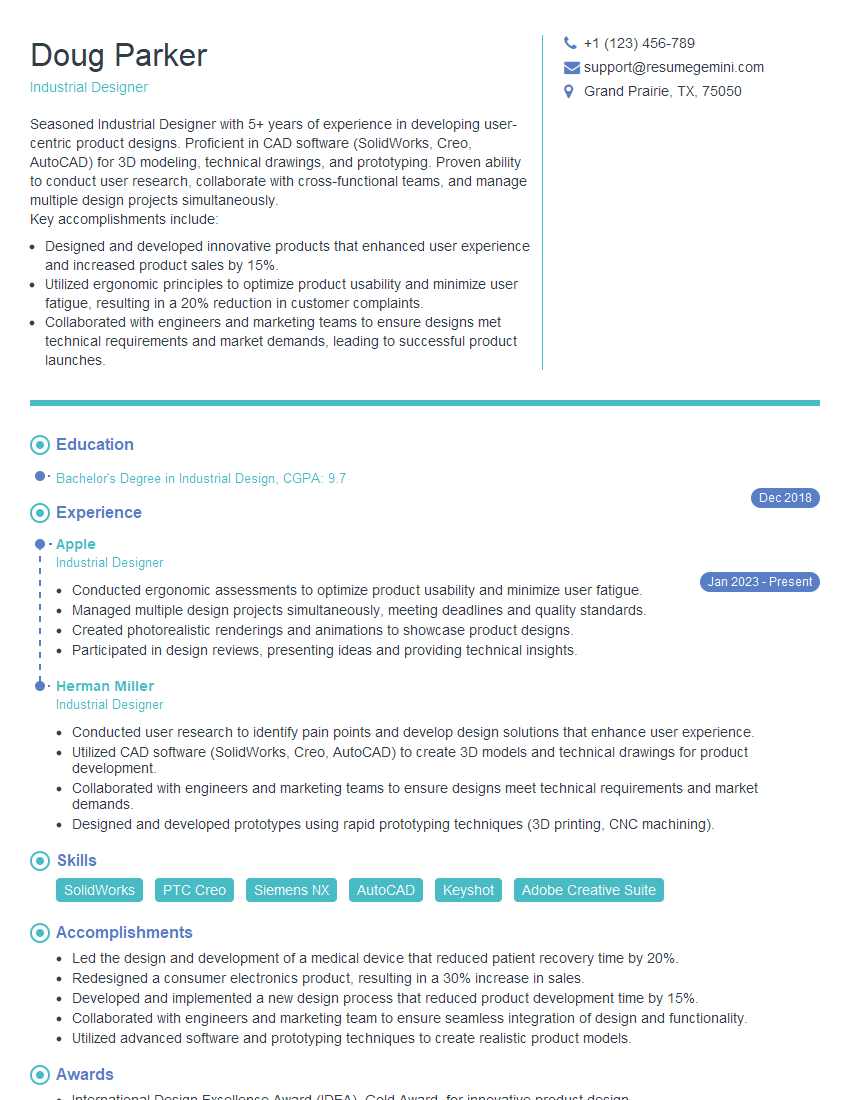
Preparation is the key to success in any interview. In this post, we’ll explore crucial Prototyping and Rapid Manufacturing Techniques interview questions and equip you with strategies to craft impactful answers. Whether you’re a beginner or a pro, these tips will elevate your preparation.
Questions Asked in Prototyping and Rapid Manufacturing Techniques Interview
Q 1. Explain the difference between subtractive and additive manufacturing.
Subtractive and additive manufacturing represent fundamentally different approaches to creating three-dimensional objects. Think of sculpting versus 3D printing.
Subtractive manufacturing, also known as machining, starts with a larger block of material (e.g., a metal block or a plastic sheet) and removes material to create the desired shape. This is like carving a statue from a block of marble. Common subtractive methods include milling, turning, drilling, and sawing. The process is precise but can be time-consuming and generates waste material.
Additive manufacturing, or 3D printing, builds objects layer by layer from a digital design. It’s like constructing a building brick by brick. Instead of removing material, it adds it. This method allows for complex geometries and intricate designs that are difficult or impossible to achieve with subtractive techniques. Examples include Fused Deposition Modeling (FDM), Stereolithography (SLA), and Selective Laser Sintering (SLS).
Q 2. Describe your experience with various rapid prototyping technologies (e.g., FDM, SLA, SLS).
My experience spans a broad range of rapid prototyping technologies. I’ve extensively used Fused Deposition Modeling (FDM) for its cost-effectiveness and ease of use, particularly for creating functional prototypes with less stringent dimensional accuracy requirements. For example, I prototyped a housing for an electronic device using FDM, iterating quickly on the design based on feedback. The speed of FDM allowed me to test multiple iterations in a short timeframe.
Stereolithography (SLA) has been invaluable for creating high-resolution prototypes with smooth surfaces and fine details. I used SLA to prototype a medical implant model where precise geometry was critical. The resulting prototype provided an accurate representation for pre-surgical planning.
Selective Laser Sintering (SLS) offers the advantage of producing strong and durable parts from various materials, including plastics and metals. I employed SLS for creating prototypes of complex components for an automotive part, leveraging its capability to produce parts with intricate internal structures that would be difficult to achieve using other methods.
Q 3. What are the limitations of different rapid prototyping methods?
Each rapid prototyping method has its own set of limitations. FDM, while cost-effective and fast, often suffers from lower resolution and layer lines, making it unsuitable for prototypes requiring a smooth surface finish. SLA offers high resolution but can be slower and more expensive, and the cured resin can be brittle. SLS produces strong parts but can have limitations in terms of surface finish and may have higher material costs.
- FDM: Lower resolution, visible layer lines, limited material choices, warping issues.
- SLA: Slower build times, relatively high cost, brittle parts, post-processing required.
- SLS: Powder handling, porous parts, surface finish limitations, higher material costs.
Understanding these limitations is crucial for selecting the appropriate method for a given project. For instance, if surface finish is paramount, FDM might not be the best choice.
Q 4. How do you select the appropriate rapid prototyping technique for a given project?
Selecting the appropriate rapid prototyping technique involves a careful consideration of several factors:
- Budget: FDM is generally the most affordable, while SLA and SLS are more expensive.
- Required Accuracy and Surface Finish: SLA provides superior accuracy and surface finish compared to FDM.
- Material Properties: The desired material properties (strength, flexibility, durability) will influence the choice of technology and material. SLS offers a wider range of material options.
- Geometric Complexity: Additive manufacturing excels with complex geometries, while subtractive methods are better suited for simpler shapes.
- Lead Time: FDM usually has faster turnaround times compared to SLA and SLS.
- Part Functionality: If the prototype needs to be functional, the chosen method should allow for sufficient strength and durability.
I typically use a decision matrix to weigh these factors and select the optimal method. For example, a project requiring high accuracy and a smooth finish, but with a limited budget, might lead me to choose SLA despite the longer lead time.
Q 5. Explain your experience with CAD software (e.g., SolidWorks, AutoCAD, Fusion 360).
I’m proficient in several CAD software packages, including SolidWorks, AutoCAD, and Fusion 360. My experience with SolidWorks spans over 8 years and involves designing complex assemblies, creating detailed drawings and generating manufacturing-ready models. AutoCAD has been crucial for 2D drafting and detailed technical drawings. Fusion 360’s integrated design and CAM functionalities are particularly helpful for rapid prototyping projects, allowing for seamless transition from design to manufacturing.
I find SolidWorks especially useful for its robust simulation capabilities, which enable me to analyze the structural integrity of designs before committing to manufacturing. My expertise in these tools allows me to create high-quality, manufacturing-ready designs efficiently.
Q 6. Describe your process for designing for manufacturability.
Designing for manufacturability (DFM) is an integral part of my design process. It involves considering the limitations and capabilities of the chosen manufacturing method throughout the design phase. This prevents costly redesigns later. My DFM process includes:
- Material Selection: Choosing materials compatible with the chosen manufacturing method and possessing the required properties.
- Simplification of Geometry: Avoiding complex geometries that may be difficult or expensive to manufacture.
- Feature Design: Ensuring features are easily manufacturable, considering draft angles, undercuts, and tolerances.
- Tolerance Analysis: Determining appropriate tolerances to ensure functional performance without adding unnecessary costs.
- Assembly Considerations: Designing for ease of assembly, considering part fit and tolerances during assembly.
For example, when designing for FDM, I would ensure sufficient draft angles to allow easy part removal from the build plate. When designing for SLA, I would avoid extremely fine features that might be difficult to resolve during the curing process.
Q 7. How do you manage tolerances and dimensional accuracy in prototyping?
Managing tolerances and dimensional accuracy in prototyping is crucial for ensuring the prototype accurately represents the final product. The process involves:
- Defining Tolerances: Setting appropriate tolerances based on the required functionality and the capabilities of the chosen manufacturing method. The tighter the tolerance, the higher the cost and complexity.
- Design for Tolerances: Incorporating tolerances into the design, considering how variations in dimensions might affect the functionality of the part.
- Post-Processing: Employing post-processing techniques (e.g., sanding, polishing) to improve the surface finish and dimensional accuracy of the prototype. This is especially relevant for methods like FDM and SLS.
- Measurement and Inspection: Using appropriate measuring tools (e.g., calipers, CMM) to verify the dimensional accuracy of the prototype after manufacturing.
I routinely use statistical process control (SPC) methods to monitor the dimensional accuracy during the manufacturing process, ensuring consistent results and identifying any potential issues early on. I always document all tolerance and measurement information, ensuring traceability and facilitating design iterations.
Q 8. Explain your experience with material selection for prototyping.
Material selection for prototyping is crucial; the choice directly impacts the prototype’s functionality, cost, and overall success. It’s about finding the right balance between mimicking the final product’s material properties and the feasibility of rapid prototyping methods.
My experience spans a wide range of materials. For example, when working on a project requiring high impact resistance for a consumer product, I selected ABS plastic for 3D printing due to its durability and relatively low cost. For a project needing a more refined aesthetic and intricate details, I opted for a high-resolution resin printing process, which allows for greater detail and smoother surface finishes. If weight and structural integrity were paramount in an aerospace application, I might select aluminum or other lightweight metals for CNC machining, even though it’s a more expensive method. The key is understanding the design constraints and selecting the material that best meets those requirements within budget and time constraints.
I always consider factors such as material properties (strength, flexibility, durability), manufacturing process compatibility (injection molding, 3D printing, CNC machining), cost-effectiveness, and environmental impact when making my material selections. Creating a material selection matrix helps compare different options and makes the decision-making process transparent and objective.
Q 9. How do you assess the quality of a prototype?
Assessing prototype quality is a multifaceted process involving both objective and subjective evaluations. It goes beyond just visual inspection; it’s about understanding if the prototype meets the intended design specifications and functional requirements.
Objectively, I use various measurement tools like calipers, micrometers, and 3D scanners to ensure dimensional accuracy. Functional testing, often involving simulations or real-world scenarios, is crucial to verify performance. For example, if prototyping a phone case, drop tests and stress tests would be essential. I meticulously document all findings, including any deviations from the design specifications and their potential impact.
Subjectively, I assess aspects like surface finish, aesthetics, and overall ergonomics. User feedback is invaluable here. I conduct usability studies with target users, gathering qualitative data on their experience with the prototype. This holistic approach combines hard data with user perceptions for a comprehensive quality assessment.
Q 10. Describe your experience with post-processing techniques for prototypes.
Post-processing techniques are essential for refining prototypes and enhancing their appearance and functionality. The choice of technique depends heavily on the prototyping method and the desired outcome.
For 3D-printed parts, common post-processing steps include sanding and polishing to improve surface smoothness. I’ve used supports removal carefully and various painting and coating techniques to add color, improve durability, and create specific surface textures. For CNC-machined metal parts, post-processing often involves deburring, anodizing for corrosion resistance, or applying specialized coatings to improve wear resistance. I’ve also employed techniques like vacuum forming to create more durable shells or enclosures from simpler prototypes.
Selecting the appropriate post-processing technique requires careful consideration of the material, the manufacturing process, and the desired final aesthetics and functionality of the prototype. The goal is to enhance the prototype’s quality and its ability to accurately represent the final product.
Q 11. How do you handle design iterations and revisions during the prototyping process?
Design iterations and revisions are integral to the prototyping process; it’s rarely a linear path. I employ an iterative design approach, embracing feedback and making adjustments along the way.
Typically, I start with a conceptual prototype, often a low-fidelity model made quickly to test the overall design. Based on the initial feedback and testing, I refine the design, creating higher-fidelity prototypes incorporating improved materials and features. I extensively document each iteration, using version control systems (like Git) to manage design files and track changes. This ensures that we can easily revert to previous versions if needed and maintain a clear history of design decisions. Collaborative tools, such as online design platforms, greatly assist in the efficient sharing and review of design changes.
This iterative process continues until the prototype meets the predefined specifications and user acceptance criteria. This continuous feedback loop allows for quick adjustments and avoids significant rework later in the product development cycle.
Q 12. Explain your experience with project management tools and techniques.
Effective project management is vital for successful prototyping. I’m proficient in various tools and techniques to manage projects efficiently and effectively.
I utilize project management software like Jira or Asana to track tasks, deadlines, and resources. These tools aid in collaboration among team members and facilitate clear communication. Gantt charts and Kanban boards help visualize project timelines and workflows, enabling proactive identification and resolution of potential bottlenecks. I also regularly employ agile methodologies, favoring iterative development and frequent feedback loops to adapt to changing requirements and prioritize tasks effectively. This approach helps keep the project on track and minimizes risks associated with unexpected challenges.
My experience includes managing budgets, resources, and timelines for multiple prototyping projects simultaneously, prioritizing tasks, and ensuring smooth collaboration amongst diverse teams.
Q 13. Describe your experience with testing and validation of prototypes.
Testing and validation are critical steps in ensuring the prototype meets design specifications and user expectations. The testing strategy depends heavily on the nature of the prototype and its intended functionality.
I typically employ a combination of methods including: Functional testing to verify the prototype performs as intended, durability testing (e.g., stress tests, drop tests) to evaluate its resilience, usability testing to assess user experience, and environmental testing (e.g., temperature, humidity) to assess its performance under various conditions. Data from these tests is meticulously documented and analyzed. Statistical analysis techniques may be employed to interpret results and make informed decisions regarding design modifications.
Thorough testing minimizes risks and ensures that the final product is robust and meets user needs. A well-structured testing plan, executed rigorously, is crucial for delivering high-quality prototypes.
Q 14. How do you collaborate with other engineers and designers?
Effective collaboration is paramount in the prototyping process. I’m adept at working with engineers, designers, and other stakeholders to achieve a shared vision.
Open and clear communication is essential. I use collaborative platforms (such as shared online design repositories or project management software) to facilitate seamless information sharing. Regular meetings and design reviews ensure everyone is aligned on the goals and progress. I value diverse perspectives and actively seek input from team members, fostering a collaborative environment where everyone feels comfortable contributing ideas and providing constructive feedback. Active listening and a willingness to compromise are essential in resolving conflicts and ensuring that the team moves forward efficiently and collaboratively.
My experience working in multidisciplinary teams has honed my ability to effectively communicate technical information to both technical and non-technical audiences, which is critical for success in prototyping projects.
Q 15. Explain your experience with documentation and reporting.
Thorough documentation and reporting are crucial for successful prototyping and manufacturing. My approach involves meticulous record-keeping throughout the entire process, from initial design concepts to final product testing. This includes detailed sketches, CAD files, material specifications, process parameters (like printing temperatures and speeds for 3D printing), test results, and any modifications made along the way. I utilize a combination of digital and physical documentation. Digital documentation leverages platforms like project management software (e.g., Jira, Asana) to track progress, document design changes, and store all relevant files. Physical documentation includes detailed notebooks with hand-drawn sketches, notes from meetings, and observations during experiments. Finally, I create comprehensive reports summarizing the entire prototyping process, highlighting successes, challenges encountered, and recommendations for future improvements. These reports often include visual elements such as graphs, charts, and high-quality images to clearly communicate findings. A strong emphasis on traceability is maintained to allow for easy identification and analysis of any issue that might arise.
Career Expert Tips:
- Ace those interviews! Prepare effectively by reviewing the Top 50 Most Common Interview Questions on ResumeGemini.
- Navigate your job search with confidence! Explore a wide range of Career Tips on ResumeGemini. Learn about common challenges and recommendations to overcome them.
- Craft the perfect resume! Master the Art of Resume Writing with ResumeGemini’s guide. Showcase your unique qualifications and achievements effectively.
- Don’t miss out on holiday savings! Build your dream resume with ResumeGemini’s ATS optimized templates.
Q 16. What are your preferred methods for troubleshooting prototyping issues?
Troubleshooting in prototyping demands a systematic approach. My preferred method follows a structured process: First, I carefully examine the physical prototype, looking for visual defects like cracks, warping, or dimensional inaccuracies. Next, I review all the process parameters – printing settings, material properties, and assembly procedures. I might use data logging from the rapid manufacturing equipment itself to identify anomalies. For example, if using a 3D printer, I’ll check temperature fluctuations or inconsistencies in extrusion. If the issue is related to the design, I might utilize finite element analysis (FEA) simulation software to identify stress points or weaknesses in the design. If the problem persists, I often revert to a process of elimination, systematically testing each component or step in the process until the root cause is pinpointed. Effective communication with the team is essential during this phase; I ensure everyone is aware of the problem and involved in the troubleshooting process. Finally, I document all findings and solutions to prevent similar issues in the future.
Q 17. Describe a time you had to overcome a significant challenge in prototyping.
During a project developing a biocompatible polymer implant, we encountered significant challenges with achieving the desired surface roughness. The initial prototypes, fabricated via stereolithography (SLA) 3D printing, had a surface that was too smooth, hindering cell adhesion, a critical requirement for the implant’s functionality. We initially tried modifying the SLA settings, but the improvements were minimal. After many failed attempts, we explored alternative techniques. The solution involved using a post-processing technique, chemical etching, to achieve the desired micro-roughness. This required extensive experimentation to determine the optimal etching time and concentration to achieve the desired roughness while maintaining the structural integrity of the implant. This experience highlighted the importance of thorough research, not limiting oneself to one manufacturing technique and the need for meticulous experimentation, detailed record-keeping and the importance of a collaborative problem-solving approach.
Q 18. How do you stay current with the latest advancements in rapid manufacturing?
Staying current in the rapidly evolving field of rapid manufacturing requires a multi-pronged approach. I actively participate in industry conferences and workshops, attending both in-person and virtual events to learn about new technologies and materials. I regularly read industry publications, journals (such as Additive Manufacturing and Rapid Prototyping Journal), and follow key influencers and companies on social media and online forums. Additionally, I engage in online courses and webinars offered by organizations like Coursera or edX to deepen my knowledge in specific areas, such as advanced material science or new 3D printing processes. This combination of active learning and continuous professional development ensures my skills and knowledge remain at the forefront of the industry.
Q 19. What are the key considerations for scaling up a prototype to mass production?
Scaling up a prototype for mass production involves several key considerations. First, a thorough design for manufacturing (DFM) analysis is crucial. This ensures the prototype’s design is adaptable to higher-volume manufacturing processes. We need to assess the feasibility of the prototype’s design for different manufacturing methods (injection molding, casting, stamping, etc.) considering factors such as material selection, tolerances, and assembly requirements. Second, material selection is paramount – the material used in the prototype needs to be cost-effective and readily available in sufficient quantities for large-scale production. Third, process optimization is key. This includes identifying the most efficient and cost-effective manufacturing process, optimizing the process parameters (e.g., injection pressure, cycle time), and implementing quality control measures to ensure consistency and high product yield. Finally, supply chain management is critical. We must secure reliable suppliers for raw materials and components, and ensure efficient logistics and distribution to meet market demand. Each step requires detailed planning and collaboration with manufacturing experts.
Q 20. Explain your understanding of different types of 3D printing materials (e.g., plastics, metals, resins).
Understanding 3D printing materials is vital. Plastics, a common choice for rapid prototyping, offer a wide range of properties. ABS (Acrylonitrile Butadiene Styrene) is known for its strength and durability, while PLA (Polylactic Acid) is a biodegradable and relatively easy-to-print option. Resins, used in SLA and DLP 3D printing, provide high resolution and intricate detail, but often require post-curing. Metals, increasingly utilized in additive manufacturing, offer high strength and functionality. Common metal powders include aluminum, titanium, and stainless steel, each with unique properties and applications. Selection depends on the application’s demands. For instance, a high-strength aerospace component might utilize titanium, whereas a simple functional prototype might suffice with ABS. Understanding the material’s properties like melting point, tensile strength, and chemical resistance is crucial for selecting the appropriate material and process for a given application. It’s equally important to consider factors like cost and the material’s environmental impact.
Q 21. What are the safety precautions you take while working with rapid prototyping equipment?
Safety is paramount when working with rapid prototyping equipment. I always follow strict safety protocols, beginning with proper training and certification for operating specific machinery. This includes understanding the machine’s safety features and emergency shutdown procedures. When using 3D printers, I always ensure adequate ventilation to mitigate the release of fumes or particulate matter from the printing process. Appropriate personal protective equipment (PPE) such as safety glasses, gloves, and respirators are worn, depending on the material being used and the associated hazards. I regularly inspect the equipment for any signs of wear or damage before operation, and I follow all manufacturer guidelines. For laser-based systems, I ensure the laser area is properly shielded and avoid direct exposure to the laser beam. Finally, I maintain a clean and organized workspace to prevent accidents. Regular maintenance and calibration of the equipment are also integral parts of my safety protocol. Proper waste disposal is another key element; different materials have different disposal requirements, and I adhere strictly to those guidelines.
Q 22. How do you ensure the cost-effectiveness of your prototyping processes?
Cost-effectiveness in prototyping is paramount. It’s about maximizing value while minimizing expenditure. This involves a multi-pronged approach.
- Strategic Material Selection: Choosing the right material is crucial. For early-stage prototypes, less expensive materials like ABS plastic (for 3D printing) or laser-cut acrylic can suffice. Switching to more expensive materials like aluminum or carbon fiber only happens when functional testing demands it.
- Additive Manufacturing Optimization: In 3D printing, optimizing print parameters (infill density, layer height, print speed) directly impacts cost. A denser infill provides higher strength but increases material usage and print time. Finding the sweet spot between quality and cost is key. For example, a prototype for fit and form testing may not require the same infill density as a prototype for stress testing.
- Process Selection: Different prototyping methods have varying costs. For quick visual representations, sketching or digital modeling might suffice. For functional prototypes, 3D printing offers speed and affordability compared to CNC machining which is generally more expensive but ideal for high-precision parts.
- Lean Prototyping Principles: Applying lean manufacturing principles means focusing on eliminating waste. This could involve streamlining design iterations, reusing existing components, or leveraging readily available tools and materials. For instance, repurposing existing components for a prototype reduces material costs and speeds up the process.
- Collaboration and Communication: Clear communication with the design team and clients ensures that prototypes are produced only as needed, avoiding unnecessary iterations and cost overruns. Early and frequent feedback loops help refine designs and reduce rework.
Q 23. Describe your experience with different types of rapid tooling.
My experience encompasses a wide range of rapid tooling techniques, each suited to specific needs.
- 3D Printing (Additive Manufacturing): I’ve extensively used Fused Deposition Modeling (FDM), Stereolithography (SLA), and Selective Laser Sintering (SLS) for creating prototypes ranging from simple enclosures to complex functional parts. FDM is cost-effective for quick iterations, SLA delivers high-resolution detail, and SLS is suitable for durable, high-strength prototypes.
- CNC Machining (Subtractive Manufacturing): For high-precision parts requiring tight tolerances, CNC machining is invaluable. I’ve worked with various materials, including aluminum, plastics, and composites, utilizing both milling and turning techniques. It’s ideal for creating robust prototypes ready for rigorous testing.
- Injection Molding (Rapid Tooling): For high-volume prototypes or pre-production runs, I’ve utilized rapid tooling methods like rapid prototyping injection molds (RPIM). This allows for creating functional parts with the same material properties as mass-produced components, allowing for realistic testing of design functionality and aesthetics.
- Vacuum Forming: This method is cost-effective for creating quick prototypes of simple parts from sheet plastics. It’s particularly useful for creating enclosures or shells. It offers a balance between speed and affordability, making it great for early-stage testing.
The choice of rapid tooling method always depends on factors such as part complexity, material requirements, required tolerances, and budget constraints.
Q 24. How do you balance speed and quality in prototyping?
Balancing speed and quality in prototyping requires a nuanced approach. It’s not a simple trade-off; both are crucial.
- Iterative Approach: Start with a simple, quick prototype to validate the basic concept (low fidelity). Subsequent iterations refine design, functionality, and aesthetics (higher fidelity), gradually increasing quality while maintaining reasonable speed. For example, starting with a cardboard mockup followed by a 3D-printed prototype and finally, a CNC machined prototype.
- Appropriate Technology Selection: Select the prototyping method that best balances speed and required quality. For a proof-of-concept, rapid 3D printing might be sufficient. For a prototype needing precise dimensions and surface finish, CNC machining might be necessary, even though it is slower.
- Design for Manufacturing (DFM): Incorporating DFM principles early in the design process allows for easier and faster prototyping, avoiding potential manufacturing issues that would slow down or affect the quality. For example, ensuring designs are easily manufacturable using chosen processes.
- Quality Control Checks: Implement quality control checks at each stage. This may include visual inspections, dimensional measurements, and material testing, to catch and address any defects early.
- Experienced Team: Having a team experienced in various prototyping techniques and manufacturing processes is crucial for making informed decisions about method selection and achieving both speed and high-quality outputs.
Q 25. Explain your understanding of intellectual property rights related to prototypes.
Intellectual property (IP) rights related to prototypes are crucial. Prototypes, even if not fully developed products, represent an investment in time, resources, and innovation. Therefore, protection is necessary.
- Non-Disclosure Agreements (NDAs): NDAs should be signed with all individuals and organizations involved in the prototyping process to protect confidential information. This is especially important when outsourcing any part of the prototyping work.
- Patents: If the prototype represents a novel invention, applying for a patent protects the invention’s exclusive rights. However, remember that the patent application process can be lengthy and expensive. A provisional patent application might be a good first step.
- Trade Secrets: If the design features of the prototype are not easily reverse-engineered and can be kept confidential through appropriate measures (e.g., secure storage, limited access), then trade secret protection can be considered.
- Copyright: In some cases, the design of a prototype may be protected by copyright, particularly if it is expressed in a tangible form, such as a drawing or 3D model.
- Markings: Clearly marking prototypes with confidential information and ownership details helps deter unauthorized use or disclosure.
It’s advisable to consult with an IP lawyer to determine the best strategy for protecting a specific prototype based on its characteristics and intended use.
Q 26. How do you use data analysis to improve prototyping processes?
Data analysis plays a pivotal role in optimizing prototyping processes. It allows for informed decisions and iterative improvements.
- Tracking Metrics: We track key metrics such as prototyping time, material costs, iteration count, and failure rates. This data provides a baseline for improvement.
- Statistical Process Control (SPC): SPC techniques help identify variations in the prototyping process and pinpoint potential sources of error or inefficiency. For instance, analyzing the success rate of 3D prints using different settings helps to optimize print parameters and reduce material waste.
- Design of Experiments (DOE): DOE helps determine the impact of different design parameters on the prototype’s performance. This systematic approach leads to more efficient design optimization, for instance, by varying the thickness or material type of a component and observing its effects on functionality.
- Simulation and Modeling: Utilizing computational fluid dynamics (CFD), finite element analysis (FEA), or other simulation tools provides valuable data for design validation and reduces the need for numerous physical prototypes. The simulation results can predict the behaviour of prototypes, informing design changes before physical prototypes are made.
- Feedback Analysis: Analyzing feedback from testing and evaluations of prototypes (both functional and aesthetic) provides valuable insight for future iterations. This iterative process of design, analysis and refinement is crucial for improving both speed and efficiency of prototyping.
Data-driven decision making reduces guesswork and leads to more efficient, cost-effective prototyping processes.
Q 27. Describe your experience with reverse engineering using prototyping techniques.
Reverse engineering using prototyping techniques involves analyzing an existing product or part to understand its design, functionality, and manufacturing process. This allows us to create a replica or improve upon the original design.
- 3D Scanning: High-resolution 3D scanners are used to create a digital model of the part. This digital representation can be imported into CAD software for analysis and modification.
- Dimensional Measurement: Precise measurements of the part using CMM (Coordinate Measuring Machine) or other tools are taken to capture critical dimensions and tolerances.
- Material Analysis: Material analysis techniques, like spectroscopy, are utilized to determine the composition and properties of the materials used in the original part.
- CAD Modeling: Based on the gathered data, a CAD model is created, which can be used for further analysis, modification, and prototyping. This step often involves reconstructing the design and correcting any errors or imperfections in the original part.
- Prototyping: The CAD model is used to create prototypes using appropriate methods like 3D printing or CNC machining. These prototypes can be tested and iteratively improved to match the functionality and aesthetics of the original part.
Ethical considerations are paramount in reverse engineering. It’s crucial to ensure that the reverse engineering process doesn’t violate any existing intellectual property rights.
Q 28. What are your future goals and aspirations in the field of prototyping and rapid manufacturing?
My future goals revolve around integrating advanced technologies and sustainable practices into prototyping and rapid manufacturing.
- Exploring Generative Design: I aim to leverage generative design software to explore a wider range of design options and optimize prototypes for specific performance requirements, resulting in more efficient designs and reduced development times.
- Additive Manufacturing Advancements: I’m keen to delve deeper into advanced additive manufacturing techniques like multi-material 3D printing and binder jetting to expand prototyping capabilities and create more realistic and functional prototypes.
- Sustainable Prototyping: I want to integrate sustainable materials and processes into prototyping workflows, reducing environmental impact by using recycled materials and optimizing energy consumption during manufacturing processes.
- AI-driven Optimization: I envision using AI and machine learning to further automate prototyping workflows and enhance efficiency by optimizing design parameters, material selection, and manufacturing processes.
- Digital Twin Integration: My goal is to integrate digital twins into prototyping processes to simulate the behavior of prototypes in real-world conditions, reducing the need for extensive physical testing.
Ultimately, I aspire to contribute to a more efficient, sustainable, and innovative approach to prototyping and rapid manufacturing.
Key Topics to Learn for Prototyping and Rapid Manufacturing Techniques Interview
- Additive Manufacturing (3D Printing): Understanding various techniques like FDM, SLA, SLS, and their respective applications, material properties, and limitations. Consider exploring design considerations for 3D-printable parts.
- Subtractive Manufacturing: Familiarize yourself with CNC machining, milling, and turning processes. Be prepared to discuss toolpath generation, material selection, and tolerance considerations.
- Rapid Prototyping Methods: Explore different prototyping techniques such as vacuum forming, injection molding (low-pressure), and rapid tooling methods. Understand the trade-offs between speed, cost, and fidelity.
- Material Selection: Develop a strong understanding of material properties relevant to prototyping and manufacturing. This includes plastics, metals, composites, and their suitability for different applications and processes.
- Design for Manufacturing (DFM): Learn the principles of designing parts and assemblies that are easily and cost-effectively manufactured. This includes considerations for tooling, assembly, and part tolerances.
- Quality Control and Inspection: Understand common quality control methods used in prototyping and manufacturing, including dimensional inspection, surface finish analysis, and material testing.
- Project Management in Rapid Prototyping: Discuss your experience managing timelines, budgets, and resources in a fast-paced prototyping environment. Highlight successful problem-solving approaches.
- Software and CAD/CAM: Demonstrate familiarity with relevant CAD software (SolidWorks, Fusion 360, etc.) and CAM software for generating toolpaths. Showcase your proficiency in creating and manipulating 3D models.
Next Steps
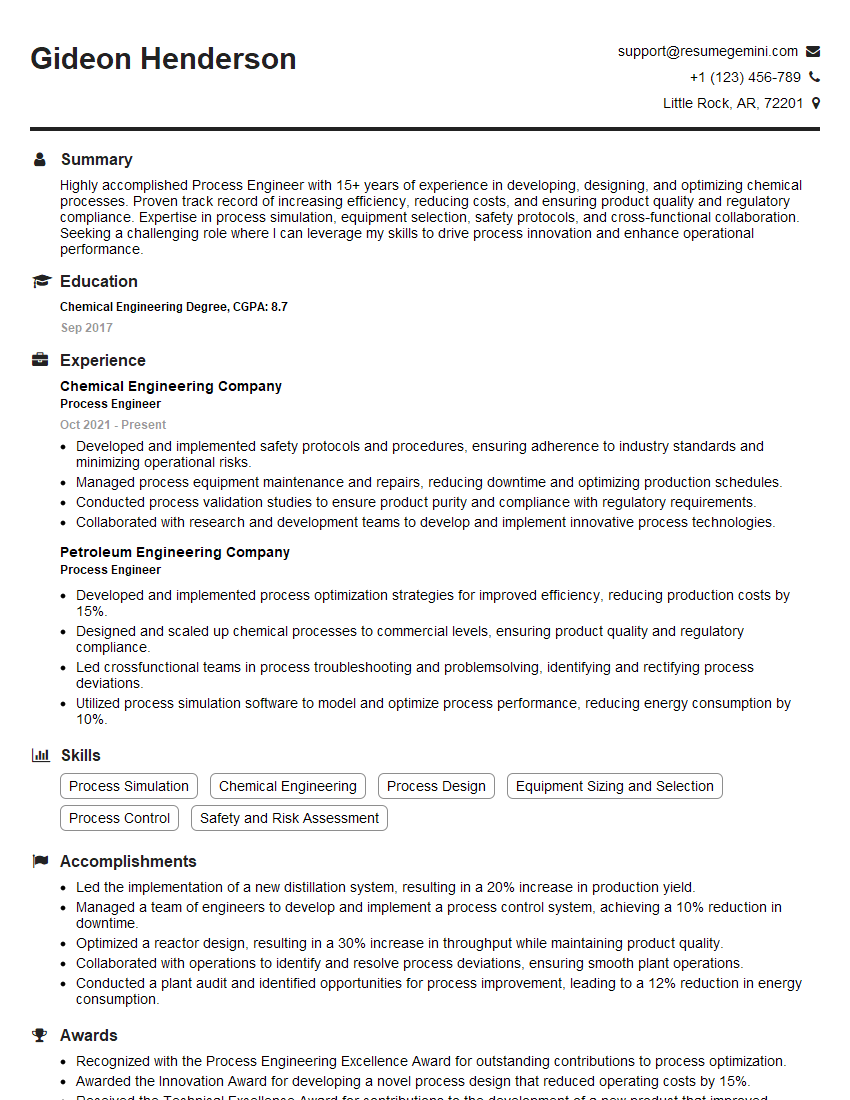
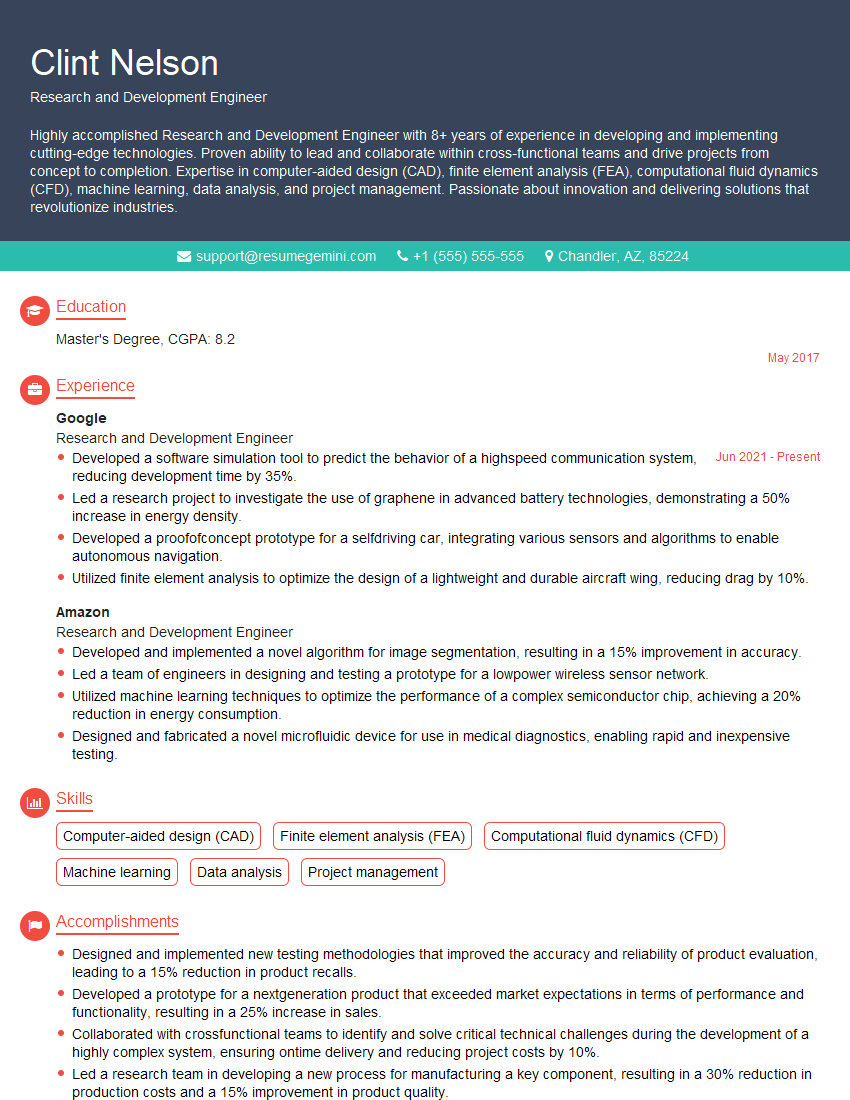
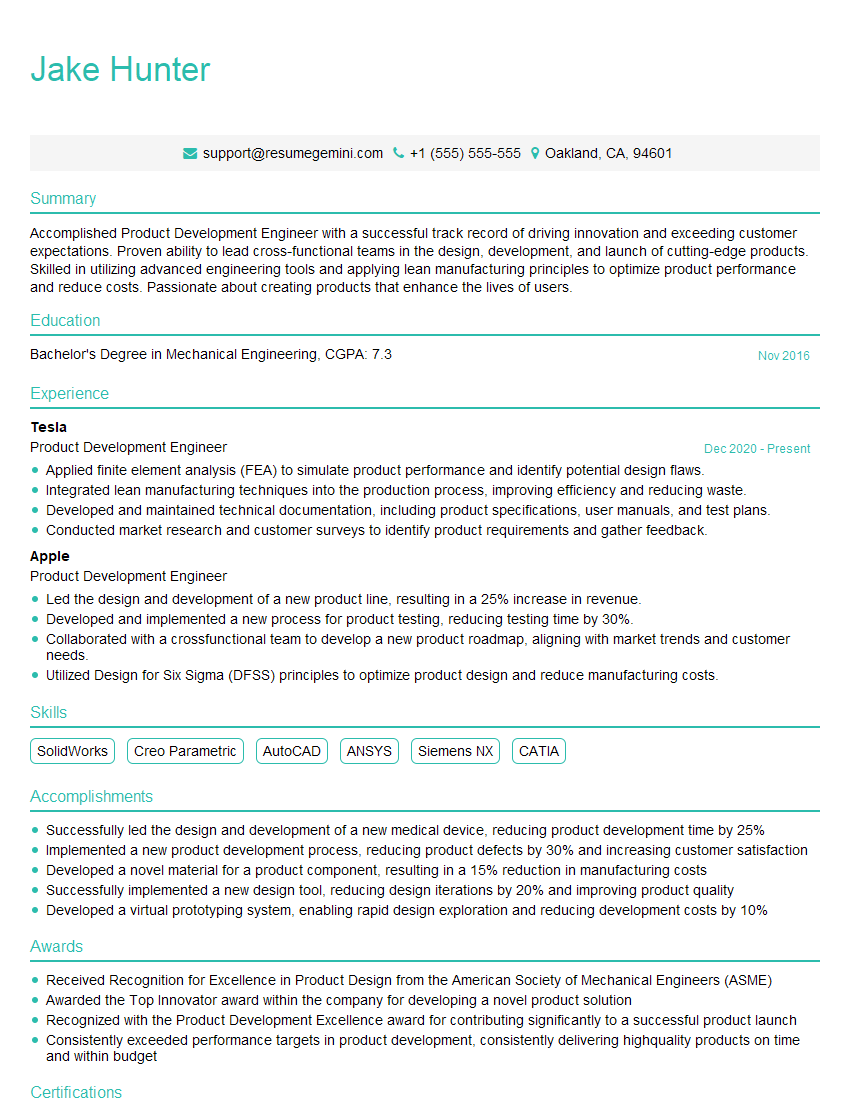
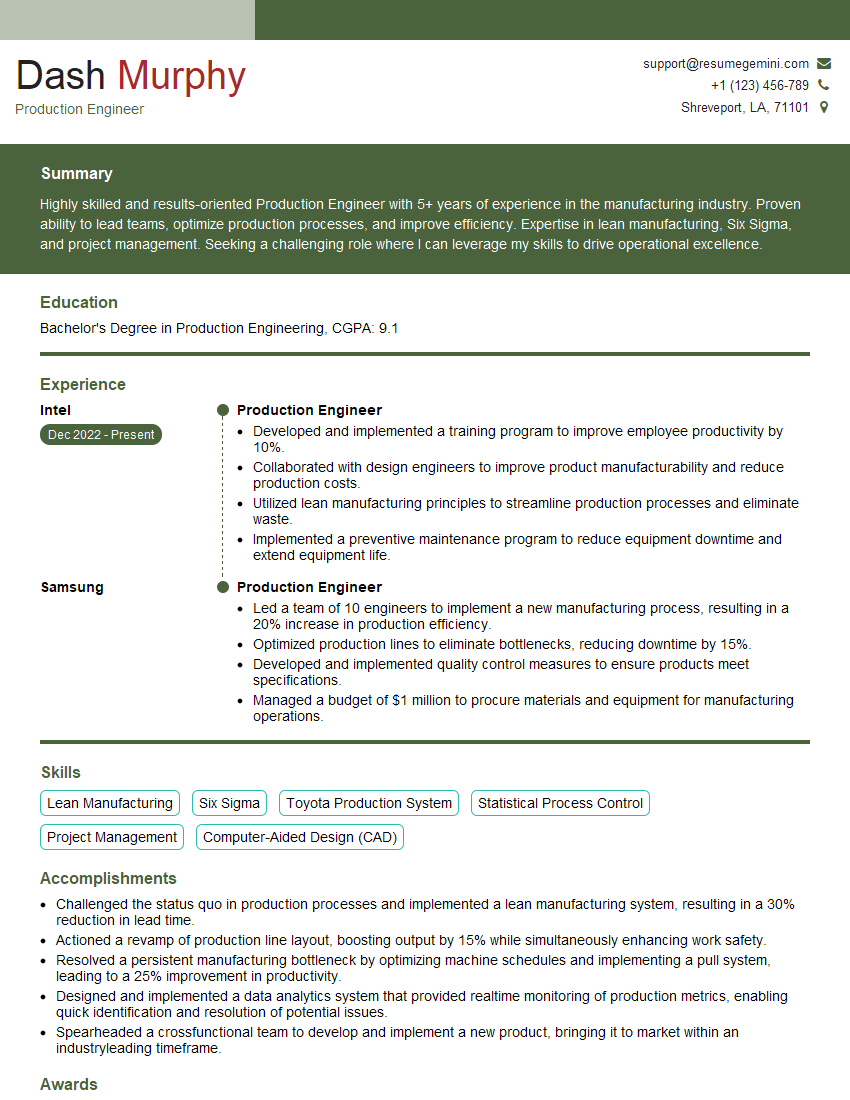
Mastering Prototyping and Rapid Manufacturing Techniques is crucial for career advancement in engineering, design, and manufacturing fields. These skills are highly sought after, opening doors to exciting opportunities and higher earning potential. To maximize your job prospects, it’s essential to present your skills effectively. Creating an ATS-friendly resume is key to getting your application noticed. ResumeGemini is a trusted resource that can help you build a professional and impactful resume, tailored to highlight your expertise. We provide examples of resumes specifically designed for candidates in Prototyping and Rapid Manufacturing Techniques to guide you in showcasing your unique skills and experience.
Explore more articles
Users Rating of Our Blogs
Share Your Experience
We value your feedback! Please rate our content and share your thoughts (optional).
What Readers Say About Our Blog
Hello,
We found issues with your domain’s email setup that may be sending your messages to spam or blocking them completely. InboxShield Mini shows you how to fix it in minutes — no tech skills required.
Scan your domain now for details: https://inboxshield-mini.com/
— Adam @ InboxShield Mini
Reply STOP to unsubscribe
Hi, are you owner of interviewgemini.com? What if I told you I could help you find extra time in your schedule, reconnect with leads you didn’t even realize you missed, and bring in more “I want to work with you” conversations, without increasing your ad spend or hiring a full-time employee?
All with a flexible, budget-friendly service that could easily pay for itself. Sounds good?
Would it be nice to jump on a quick 10-minute call so I can show you exactly how we make this work?
Best,
Hapei
Marketing Director
Hey, I know you’re the owner of interviewgemini.com. I’ll be quick.
Fundraising for your business is tough and time-consuming. We make it easier by guaranteeing two private investor meetings each month, for six months. No demos, no pitch events – just direct introductions to active investors matched to your startup.
If youR17;re raising, this could help you build real momentum. Want me to send more info?
Hi, I represent an SEO company that specialises in getting you AI citations and higher rankings on Google. I’d like to offer you a 100% free SEO audit for your website. Would you be interested?
Hi, I represent an SEO company that specialises in getting you AI citations and higher rankings on Google. I’d like to offer you a 100% free SEO audit for your website. Would you be interested?
good

