Every successful interview starts with knowing what to expect. In this blog, we’ll take you through the top Recording and Editing interview questions, breaking them down with expert tips to help you deliver impactful answers. Step into your next interview fully prepared and ready to succeed.
Questions Asked in Recording and Editing Interview
Q 1. Describe your experience with various Digital Audio Workstations (DAWs).
My experience with Digital Audio Workstations (DAWs) spans over a decade, encompassing a wide range of software. I’m highly proficient in Pro Tools, Logic Pro X, and Ableton Live. Each DAW has its strengths; Pro Tools excels in post-production for film and television due to its robust session management and collaboration features. Logic Pro X is my go-to for music production, particularly scoring, because of its powerful MIDI editor and extensive virtual instrument library. Ableton Live’s strength lies in its flexible workflow, ideal for live performance and electronic music production. My proficiency extends beyond basic operation; I’m adept at advanced techniques like automation, complex routing, and plugin manipulation within each platform. For example, I’ve used Pro Tools’ Elastic Time and Pitch extensively to fix timing issues in dialogue without compromising audio quality. In Logic, I’ve built intricate orchestral scores, leveraging its advanced scoring features. With Ableton, I’ve crafted unique soundscapes using its warping and arrangement capabilities.
Q 2. What audio file formats are you familiar with and which ones do you prefer for specific tasks?
I’m familiar with a variety of audio file formats, each suited for different purposes. For high-quality, lossless audio, I primarily use WAV and AIFF. These are my preferred formats for mastering and archiving because they preserve the original audio data without compression artifacts. For broadcast and web distribution, MP3 and AAC are commonly used due to their smaller file sizes, although I always strive for the highest bitrate possible to minimize quality loss. In certain scenarios, like archiving sound effects or working with stems, I may utilize FLAC, known for its lossless compression. The choice depends heavily on the context. If it’s for archival or high-fidelity playback, lossless is essential. For online distribution, balancing quality and file size is key.
Q 3. Explain your process for noise reduction and audio cleanup.
My noise reduction process is meticulous and context-dependent. It often begins with careful recording techniques to minimize noise at the source, but post-production cleanup is inevitable. My approach involves a combination of spectral editing, noise reduction plugins (like iZotope RX or Waves plugins), and sometimes even manual cleaning using tools like the spectral editor in Pro Tools. I start by identifying the dominant noise frequencies – often hum, hiss, or rumble. I then use noise reduction plugins to target those frequencies, carefully adjusting parameters to avoid artifacts or unwanted coloration of the audio. I always listen critically, comparing the processed audio to the original to ensure the process is transparent and doesn’t detract from the overall sound quality. If the noise is complex or impulsive, manual cleaning might be necessary, where I selectively remove or attenuate individual noise events in the spectral editor.
Q 4. How do you handle syncing audio and video in post-production?
Syncing audio and video is critical for post-production. I typically use software-based methods leveraging the DAW’s synchronization tools. Pro Tools, for instance, offers powerful video syncing capabilities. I usually begin by using a reference audio clip that’s already synchronized with the video. This reference clip then becomes a guide to automatically align the remaining audio tracks. I then fine-tune the alignment manually, using tools like the audio waveform viewer and the video player’s frame-by-frame functionality. For complex projects, specialized software like PluralEyes can automate the process, significantly speeding up the workflow. Visual cues within the video itself, like clapping slates or other clear audio-visual events, are invaluable for precise alignment. I always double-check the sync throughout the project, to prevent any drift or discrepancies that may appear as the editing progresses.
Q 5. What are your preferred methods for dialogue editing and ADR (Automated Dialogue Replacement)?
Dialogue editing is crucial for clarity and narrative impact. My approach starts with identifying and removing any unwanted noise or distractions from the dialogue tracks. This often includes de-essing (reducing sibilance) and de-clicking (removing pops and clicks). For ADR, I work closely with the actors in a controlled recording environment, often matching the original audio’s pacing and emotion as closely as possible. I use advanced editing techniques such as time-stretching and pitch correction to match the new recordings with the existing footage. Careful attention is paid to matching the timbre and tonality of the original dialogue, using EQ and compression to create a seamless integration between the replaced and original dialogue. It’s all about the invisible edit – making the replacement sound entirely natural and unobtrusive.
Q 6. Describe your experience with Foley recording and sound design.
My experience with Foley recording and sound design is extensive. Foley recording involves creating realistic sound effects that enhance the film’s audio landscape. This often involves creatively using everyday objects and props to mimic sounds such as footsteps, door creaks, or clothing rustles. For example, I’ve used coconut shells for horses’ hooves, and crinkled cellophane for fire. Sound design is about creating and manipulating sounds to build an auditory world. It involves a deep understanding of acoustics, synthesizers, and sound manipulation techniques. I’m proficient in using various plugins and software for sound design, and I often combine found sounds with synthesized elements to create unique and evocative soundscapes. The key is to use sound creatively and expressively to enhance the narrative and emotional impact of the piece.
Q 7. How do you approach mixing and mastering audio for different platforms (e.g., web, broadcast, cinema)?
Mixing and mastering for different platforms requires tailoring the audio to the specific playback environment. Web audio often requires loudness maximization within the constraints of dynamic range and perceived loudness. Broadcast mixing adheres to specific loudness standards (like LUFS) for consistency across different channels. Cinema mixing involves a far broader dynamic range, allowing for greater impact and a more immersive experience. My approach involves using metering tools to ensure compliance with the specific loudness targets and frequency responses for each platform. I also carefully consider the playback systems and adjust the mix to suit the anticipated listening environment. For example, low-frequency content needs careful management for both home theater and cinema systems. Mastering for each platform is crucial for optimizing the audio for its specific application. This might involve different EQ curves, dynamic processing, and loudness adjustments. It’s all about delivering the best possible listening experience based on the intended use.
Q 8. What are your strategies for managing large audio and video projects?
Managing large audio and video projects requires a robust, organized approach. Think of it like conducting a symphony – each instrument (audio track, video clip) needs to be meticulously arranged to create a harmonious whole. My strategy centers around three key pillars: Project Management Software, File Organization, and Version Control.
Project Management Software: I leverage tools like Asana or Trello to meticulously track tasks, deadlines, and team contributions. This allows for clear communication and prevents bottlenecks. Each task, from recording sessions to final mastering, is broken down into smaller, manageable components with assigned responsibilities.
File Organization: A meticulously structured file system is paramount. I use a hierarchical folder system, typically by project name, then date, and finally specific file types (audio, video, graphics). This ensures quick and easy retrieval of any asset. Clear and consistent naming conventions are also crucial; for example,
Project_Name_Date_Take_01.wavVersion Control: Regular backups and version control are non-negotiable. I use cloud storage services with version history, or dedicated software like Dropbox or Backblaze B2 to safeguard against data loss. I also create regular project backups on external hard drives to mitigate risk. This is especially vital for large projects where recovering from a lost file could be time-consuming and costly.
For instance, on a recent documentary project, this system allowed me to seamlessly manage over 1TB of footage and audio, ensuring deadlines were met without compromising quality or causing confusion among the team.
Q 9. Explain your understanding of audio compression and dynamic processing.
Audio compression and dynamic processing are crucial for optimizing audio files and improving their quality and clarity. Think of it as sculpting sound. Compression reduces the dynamic range of an audio signal, making quieter parts louder and louder parts softer. This evens out the overall volume, leading to a more consistent listening experience. Dynamic processing encompasses various techniques used to control the dynamics, which includes compression, limiting, expansion, and gating. It is a powerful tool to improve the clarity and punch of your audio.
Compression: Commonly used to control loudness, reduce peaks, and increase perceived loudness. Different compression ratios and attack/release times give you control over the effect’s character. A high ratio (e.g., 8:1) results in significant reduction in dynamic range, while a low ratio (e.g., 2:1) provides gentle compression.
Limiting: Acts as a ‘ceiling’ for the signal. It prevents audio levels from exceeding a predetermined threshold, preventing distortion and clipping. It’s often the final stage of mastering.
Expansion: The opposite of compression; it increases the dynamic range by making quiet sounds quieter and loud sounds louder. Useful for creating a sense of space or emphasizing the quiet details of a recording.
Gating: Essentially a volume controlled ‘on/off’ switch. It reduces or eliminates low-level background noise by only letting audio above a set threshold pass through.
For example, I recently used compression to make the dialogue in a podcast more intelligible and consistent, and limiting to prepare it for broadcast. This ensures it’s loud enough without causing distortion on various playback systems.
Q 10. How do you ensure audio quality throughout the entire recording and editing process?
Maintaining high audio quality throughout the recording and editing process is a holistic endeavor. It’s about planning and attention to detail at every stage. This includes considering the entire signal chain, from the microphone to the final output.
Pre-Production: Planning is key. Identifying appropriate recording environments, choosing suitable microphones for the source material and conducting sound tests help establish a strong foundation.
Recording: This phase involves using high-quality equipment, employing proper microphone techniques (positioning, proximity, etc.), and monitoring levels carefully to prevent clipping or noise. It’s crucial to record at the highest possible bit depth and sample rate to maximize dynamic range and resolution.
Editing: Editing involves using non-destructive editing techniques, carefully cleaning audio, removing unwanted sounds, and applying appropriate processing (EQ, compression, etc.) to refine the audio. This requires a keen ear and a systematic approach.
Mixing and Mastering: The final step where you integrate all audio elements, fine-tune levels, create spatial relationships between elements, and prepare the audio for distribution. Professional mastering ensures it sounds optimal on all playback systems.
Imagine baking a cake – using the finest ingredients (high-quality recordings) and careful techniques (meticulous editing and mixing) ensures the end product (master audio) is delicious and pleasing.
Q 11. What are your experience with different microphone types and techniques?
My experience with microphones spans a wide range of types and techniques. Choosing the right microphone is crucial as it directly impacts the overall audio quality.
Condenser Microphones: These are highly sensitive microphones that capture a wide range of frequencies with great detail. Perfect for recording vocals, acoustic instruments, and delicate sounds. The large-diaphragm condenser microphones, for example, offer a warm and rich sound, which are excellent for recording vocals.
Dynamic Microphones: These are more robust and less sensitive than condensers, ideal for louder sources like amplified instruments or live performances. Their ability to handle high sound pressure levels makes them a reliable choice for close mic recording of drums or guitars.
Ribbon Microphones: These capture sound differently due to their unique ribbon element which yields a warm and smooth sound, which are used extensively in recording instruments like guitars or other elements in need of a vintage character.
Microphone Techniques: I’m proficient in various microphone techniques, including close miking, distant miking, stereo miking techniques (XY, ORTF, MS), and ambient recording techniques. Understanding the polar patterns of different microphones (cardioid, omni-directional, figure-8) is vital to control sound capture and minimise unwanted noise.
For example, on a recent live recording, I used a combination of dynamic microphones for the drums and condenser microphones for the vocals, ensuring a balanced and detailed audio capture. The placement of each microphone was crucial in reducing spill and producing the desired sound.
Q 12. How familiar are you with different video editing software (e.g., Premiere Pro, Final Cut Pro, Avid)?
I’m highly proficient in several professional video editing software packages. Each has its strengths and weaknesses, and my choice depends on the project’s specific needs and team preferences.
Adobe Premiere Pro: My go-to software for its powerful features, robust effects engine, and excellent integration with other Adobe Creative Cloud applications. It excels in handling large-scale projects and collaborative workflows.
Final Cut Pro: A very user-friendly and efficient NLE, excellent for both solo projects and team collaborations. Its intuitive interface and speed makes it ideal for projects with quick turnaround times.
Avid Media Composer: A powerful industry-standard software that is widely used for high-end film and television productions. It’s known for its extensive features and stability but comes with a steeper learning curve.
My experience extends beyond basic editing; I am skilled in advanced techniques such as color correction, audio sweetening, motion graphics integration, and compositing within these platforms. The choice between them usually comes down to project specifications, team experience, and budget.
Q 13. What is your approach to color correction and grading in video editing?
Color correction and grading are essential for enhancing the visual appeal and storytelling potential of a video. Color correction focuses on restoring the image to its natural colors, compensating for lighting imbalances, and ensuring consistent color across the entire project. Grading, on the other hand, is a more artistic process, where I use color to enhance the mood, atmosphere, and overall aesthetic of the video.
Color Correction: Involves adjusting parameters like white balance, exposure, contrast, saturation, and color temperature to create a visually accurate and consistent look. I often use scopes (waveform, vectorscope, parade) to analyze the image and ensure accurate correction.
Color Grading: This is a more creative process, where I manipulate the color palette to achieve a specific look. This might involve creating a warmer, more cinematic look, or a cooler, more desaturated aesthetic, depending on the project’s tone and style. I might use LUTs (Look-Up Tables) to speed up the process and apply pre-defined color palettes.
For instance, I recently graded a short film to create a gritty, realistic look, using desaturated colors and muted tones. For a different project, I used vibrant and saturated colors to reflect the energy and excitement of a travel vlog.
Q 14. Explain your experience with video effects and compositing.
My experience with video effects and compositing is extensive. Video effects are used to enhance the visual appeal and create specific looks within a video, while compositing is the process of combining multiple video and image elements to create a single, seamless image.
Video Effects: I’m proficient in creating a wide range of effects, from simple transitions and color corrections to advanced motion graphics, keying (chroma key, luma key), and rotoscoping. Software like After Effects is crucial for these complex effects.
Compositing: I use compositing to seamlessly integrate CGI elements, create special effects, and assemble scenes from multiple shots. This involves masking, layering, blending modes, and keying to achieve seamless integration. Advanced compositing might involve motion tracking and 3D compositing.
For example, on a commercial project, I used chroma keying to remove a green screen background and replace it with a realistic environment. For another project, I used rotoscoping to isolate a moving subject from its background. The ability to efficiently and creatively use video effects and compositing capabilities is essential for creating high-quality, visually compelling videos.
Q 15. Describe your understanding of video codecs and their impact on file size and quality.
Video codecs are essentially the methods used to compress and decompress video data. Think of them as translators between raw video footage and the files we can actually work with and view. The choice of codec significantly impacts both file size and quality. High-compression codecs like H.265 (HEVC) or H.264 (AVC) reduce file sizes dramatically, making them ideal for online distribution and storage. However, this compression often comes at a cost: some detail or sharpness might be lost, especially noticeable on high-resolution footage. Conversely, codecs with lower compression, like ProRes or DNxHD, retain significantly more detail, resulting in higher-quality images, but with considerably larger file sizes. The ideal codec depends entirely on the project’s requirements. For example, a high-resolution cinematic project might use ProRes for its superior quality during editing, while a YouTube video might be encoded with H.264 for smaller file sizes and better streaming compatibility.
For instance, I recently worked on a project where we shot in 4K RAW. For editing, we used ProRes 422 to maintain the best possible image quality. Then, for final delivery in various formats (streaming, broadcast, DVD), we transcoded it to H.264 and H.265, optimizing each version for its intended platform. This ensured both high-quality viewing and efficient delivery.
Career Expert Tips:
- Ace those interviews! Prepare effectively by reviewing the Top 50 Most Common Interview Questions on ResumeGemini.
- Navigate your job search with confidence! Explore a wide range of Career Tips on ResumeGemini. Learn about common challenges and recommendations to overcome them.
- Craft the perfect resume! Master the Art of Resume Writing with ResumeGemini’s guide. Showcase your unique qualifications and achievements effectively.
- Don’t miss out on holiday savings! Build your dream resume with ResumeGemini’s ATS optimized templates.
Q 16. How do you manage revisions and feedback during the editing process?
Managing revisions and feedback is crucial. I typically utilize a version-control system within my editing software (like Final Cut Pro’s XML-based versioning or Adobe Premiere Pro’s project versioning). This allows me to track every change made, revert to previous versions if needed, and clearly identify the impact of specific edits. For feedback, I use a collaborative platform like Frame.io or Dropbox where clients or other collaborators can leave comments directly on the timeline, linked to specific frames or segments of the video. This ensures clear communication and avoids misinterpretations. I then meticulously address each comment, creating a new version that incorporates the requested changes. This transparent process keeps everyone informed and contributes to a smooth and efficient workflow.
Q 17. What are your preferred methods for organizing and archiving media files?
My approach to media organization is based on a hierarchical folder structure. I usually create project-specific folders containing subfolders for raw footage, edited footage, audio files, graphics, and final outputs. Filenames are descriptive and consistent (e.g., ‘Project_Name_01_Scene_01.mov’). I leverage metadata extensively, embedding keywords and descriptions into the files for easy searching and retrieval. I also use a robust backup system, typically employing a combination of local hard drives, RAID storage, and cloud-based backup services. This redundancy ensures data security and protection against data loss. Regular backups are crucial, and I always follow the 3-2-1 rule: three copies of data, on two different media types, with one copy offsite.
Q 18. How do you ensure the consistency of audio levels and quality across different clips?
Ensuring consistent audio levels is essential for a professional-sounding project. I use a combination of techniques. Firstly, I record with sufficient headroom, avoiding clipping (peak audio levels exceeding the maximum permissible value). Then, during editing, I normalize audio levels to a consistent target level, using tools within my Digital Audio Workstation (DAW) and editing software. Gain staging is critical here—carefully adjusting levels throughout the editing process prevents unwanted peaks and dips in audio. Audio meters are my best friends! I also frequently use compression and limiting to control dynamic range and prevent loud audio from being too jarring while maintaining quieter parts still audible. Finally, a comprehensive mixdown ensures a smooth and balanced audio track, ready for final output.
Q 19. Describe your workflow for creating sound effects and using sound libraries.
Creating sound effects can range from recording my own using microphones to using pre-made libraries. For bespoke sound effects, I prefer to record the sounds myself using quality microphones and field recording techniques. This helps ensure that the sound fits the specific project’s needs perfectly. For instance, for a recent film’s door creaking sound, I used an old door hinge and recorded it meticulously to accurately capture the sound characteristics. For more general effects, I leverage sound libraries from companies like Boom Library or Sound Ideas. These libraries contain an enormous variety of pre-recorded sounds and are a very efficient resource for many sound effect needs. I carefully select and edit sounds from libraries, often layering and processing them to achieve the desired outcome. I always credit the library accordingly.
Q 20. How do you collaborate effectively with other members of a post-production team?
Effective collaboration is built on clear communication and shared understanding. I utilize project management tools like Asana or Trello to track tasks, deadlines, and progress. Regular meetings with team members ensure that everyone is on the same page. I also proactively share my work in progress, inviting feedback and suggestions at crucial stages. The key is open communication—I encourage team members to express concerns early and to participate actively in decision-making processes. This collaborative approach not only increases efficiency but also leads to a higher-quality final product as everyone feels heard and contributes.
Q 21. What are your methods for troubleshooting common audio and video editing problems?
Troubleshooting is a regular part of the editing process. Common audio problems include audio dropouts, inconsistent levels, or hum. I systematically check recording equipment, audio cables, and software settings for these issues. Video issues often involve corrupted files, codec incompatibility, or rendering problems. I begin by examining file integrity and metadata, often re-importing footage as a first step to eliminate potential corruption. In software-related issues, I often check for updates, troubleshoot plugins, and, if necessary, even reinstall software. In case of complex issues, I usually consult online communities, forums, or documentation for help and solutions. Methodical investigation, utilizing both software tools and my knowledge, are pivotal to efficient problem solving.
Q 22. How do you handle tight deadlines and high-pressure situations in post-production?
Handling tight deadlines and high-pressure situations in post-production requires a structured approach and a cool head. My strategy involves meticulous planning, prioritizing tasks effectively, and leveraging efficient workflows. I begin by breaking down large projects into smaller, manageable tasks, creating a detailed schedule with realistic timelines. This allows me to track progress and identify potential bottlenecks early on. I’m proficient in using project management tools to streamline this process. For instance, on a recent documentary project with a demanding two-week deadline, I utilized a Kanban board to visually manage tasks, ensuring a smooth and efficient flow of work. Furthermore, I prioritize communication with the client and team members to ensure everyone is on the same page and any unforeseen issues are addressed promptly. Open communication is key to mitigating stress and ensuring the project stays on track, even under pressure.
In the event of unexpected delays, I adapt by prioritizing critical tasks, focusing on delivering the most important elements first. This might involve making tough decisions about what can be trimmed or postponed to meet the deadline. I also leverage my strong technical skills to automate repetitive tasks wherever possible, saving time and maintaining accuracy. Ultimately, my focus remains on delivering high-quality work while maintaining a calm and controlled approach even when deadlines are tight.
Q 23. What are your experience with different audio mixing techniques (e.g., stereo, surround sound)?
My experience encompasses a wide range of audio mixing techniques, from basic stereo mixing to complex surround sound designs. Stereo mixing, a fundamental skill, involves balancing and panning audio elements within the left and right channels to create a compelling soundscape. I’m adept at using EQ, compression, and other processing techniques to achieve clarity, depth, and a cohesive sonic image. For example, in a recent podcast production, I employed careful stereo widening and panning to create a spacious, immersive listening experience.
Surround sound mixing requires a more sophisticated understanding of spatial audio. I have extensive experience working with 5.1 and 7.1 surround systems, understanding how to create an engaging and immersive environment by placing sound effects and music accurately within the different channels. This often requires carefully crafted panning automation and strategic use of reverb and delay to create depth and ambiance. A recent project involving a nature documentary showcased my skills in this area – skillfully placing bird sounds in the rear channels and ambient sounds in the front, creating a believable and immersive soundscape.
I am also familiar with other mixing techniques like binaural recording, designed for headphone listening, offering an incredibly realistic sense of spatial audio. Understanding the nuances of each technique is crucial in adapting to diverse projects and client needs.
Q 24. Explain your understanding of audio metadata and its importance in media management.
Audio metadata refers to information embedded within an audio file that describes its content. This includes details like title, artist, album, genre, year, and more. It’s crucial for media management because it allows for efficient organization, searching, and retrieval of audio files. Imagine trying to find a specific song among thousands of MP3 files without metadata; it would be incredibly time-consuming. However, with accurate metadata, finding a song based on artist, genre, or year becomes instantaneous.
Beyond simple identification, metadata can be more complex and holds significant practical value in professional environments. For example, in broadcast media, metadata plays a crucial role in automation, facilitating tasks such as playlist creation, metadata tagging for searching and archiving and even automated logging of broadcast airtime. Properly tagged metadata enables easy retrieval for broadcast compliance and future reference. Accurate metadata is also crucial for royalty management and music licensing; systems rely on it to track usage and distribute payments fairly.
In my workflow, I prioritize maintaining accurate and comprehensive metadata for all my projects. I use metadata editing software to ensure all relevant information is included, making my archives highly organized and easily searchable. This is not only beneficial for me but also for my clients, allowing them to easily manage and utilize the delivered audio files.
Q 25. Describe your process for delivering final edited audio and video files.
My process for delivering final edited audio and video files is designed to ensure the client receives high-quality, properly formatted files. It begins with a thorough review and quality check of the final edit. This includes listening for any audio anomalies, checking video quality and verifying that all elements are aligned and synchronized. I then export the files in the required formats and resolutions as specified by the client. This might involve exporting WAV and AIFF files for audio, and MP4 or ProRes files for video, depending on the intended use.
To guarantee seamless playback and compatibility, I always test the final files on different playback devices and software to identify and correct any potential playback errors before delivering them. Depending on the client’s requirements, I might provide multiple versions of the files, including master files and deliverables optimized for different platforms (web, mobile, etc.). I also provide comprehensive documentation, including metadata, technical specifications, and any relevant notes. Furthermore, I always keep a secure backup of all the project files, ensuring that the client has access to a reliable source for future reference. Finally, communication is key; I maintain regular contact with the client throughout the process and am available to answer any questions and provide assistance.
Q 26. What are your skills in using audio plugins and effects processors?
I possess a wide range of skills in utilizing audio plugins and effects processors, which are essential for shaping and enhancing audio in post-production. My expertise extends to a variety of plugins, including EQs (equalizers) for adjusting frequency balance, compressors for controlling dynamics, reverbs for adding space and ambience, and delays for creating rhythmic effects. I’m also proficient in using more specialized plugins such as noise reduction tools, de-essers, and pitch correction software. The choice of plugin depends heavily on the specific needs of the project.
For example, in a vocal recording, I might use an EQ to enhance clarity, a compressor to control the dynamics and prevent clipping, and a de-esser to reduce sibilance. For sound design, I often employ reverb and delay plugins to create atmosphere and depth, while noise reduction is critical when dealing with recordings containing background noise or hiss. I’m familiar with many major DAWs (Digital Audio Workstations) and their native plugin ecosystems, as well as popular third-party plugins from companies like Waves, iZotope, and FabFilter. My understanding extends beyond just applying effects; I know how to use them creatively to achieve specific aesthetic goals, based on the context of the project and client requirements.
Q 27. Describe your familiarity with audio restoration techniques.
Audio restoration is a specialized skill that involves repairing and enhancing degraded audio recordings. It often involves dealing with issues such as noise, clicks, pops, crackles, and hum. My experience in this area encompasses a variety of techniques, from basic noise reduction using spectral editing to more advanced methods like click repair, declicking, and decrackling.
I utilize specialized software and plugins designed for audio restoration. These tools often incorporate advanced algorithms to intelligently identify and remove noise while preserving the integrity of the original audio. The process can be quite meticulous and often requires a combination of automated and manual techniques. For example, to restore an old vinyl record, I might first use a noise reduction plugin to attenuate background hiss, then manually remove individual clicks and pops using a click repair tool. Further, I might employ spectral editing techniques to carefully eliminate unwanted frequencies or artifacts.
The effectiveness of audio restoration depends heavily on the severity of the damage and the quality of the original recording. While some degradation is irrecoverable, careful application of these techniques often yields dramatic improvements, rescuing valuable historical recordings and enhancing the quality of audio materials for modern use.
Q 28. How do you stay up-to-date with the latest trends and technologies in audio and video editing?
Staying current in the rapidly evolving world of audio and video editing requires a multifaceted approach. I actively participate in online communities and forums, engage with industry blogs and publications, and attend webinars and workshops to keep abreast of the latest software updates, emerging technologies, and best practices.
I regularly experiment with new software and hardware, exploring the capabilities of the latest audio and video editing suites, plugins, and effects processors. This allows me to quickly adapt to new workflows and incorporate innovative tools into my productions. Additionally, I follow leading industry professionals on social media and through online courses. Keeping a close eye on new developments and trends helps me refine my skills and approach challenges in fresh and creative ways. This proactive approach ensures my skills remain at the forefront of the industry.
Key Topics to Learn for Your Recording and Editing Interview
- Audio Recording Techniques: Understanding microphone types (dynamic, condenser, ribbon), placement techniques, and signal flow. Practical application: Explain how you’d choose the right microphone for a specific recording environment and the rationale behind your choice.
- Digital Audio Workstations (DAWs): Proficiency in at least one DAW (Pro Tools, Logic Pro X, Ableton Live, Audacity etc.). Practical application: Describe your workflow in a DAW, from importing audio to mixing and mastering. Highlight your experience with plugins and effects processing.
- Audio Editing Principles: Mastering techniques like noise reduction, equalization (EQ), compression, and reverb. Practical application: Explain how you’d approach cleaning up dialogue with background noise or enhancing the clarity of a vocal track.
- Mixing and Mastering: Understanding the principles of balance, stereo imaging, and dynamic range. Practical application: Describe your approach to creating a polished and professional-sounding mix.
- File Formats and codecs: Knowledge of various audio file formats (WAV, AIFF, MP3) and codecs, and their applications in different contexts. Practical application: Explain the advantages and disadvantages of different file formats for archiving, broadcasting, and online distribution.
- Workflow and Collaboration: Efficient project management, collaboration with other professionals (e.g., producers, musicians, directors), and adherence to deadlines. Practical application: Describe a complex project you’ve worked on and how you managed your workflow to deliver on time and within budget.
- Troubleshooting and Problem-Solving: Identifying and resolving technical issues during recording and editing sessions. Practical application: Describe a technical problem you encountered and how you successfully solved it.
- Sound Design (if applicable): Creating and manipulating sound effects, Foley, and other audio elements. Practical application: Explain your process for creating a specific sound effect or manipulating existing audio to achieve a particular sonic result.
Next Steps
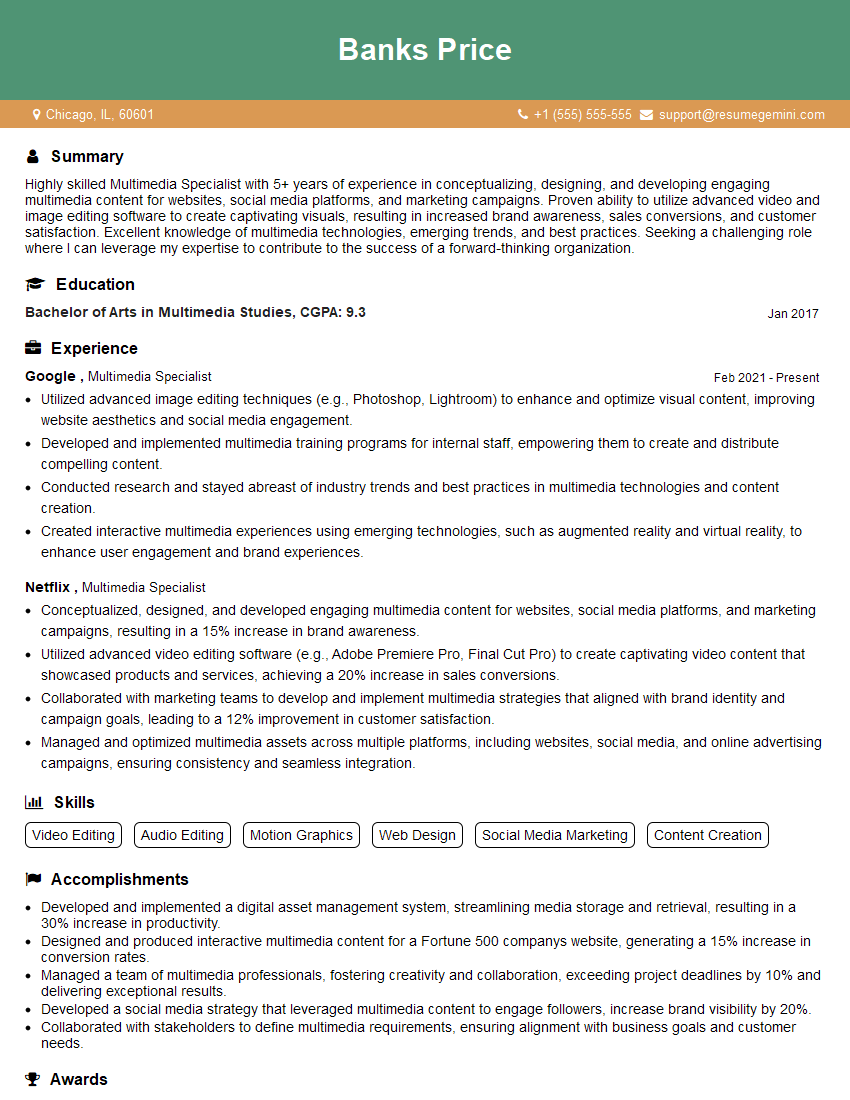
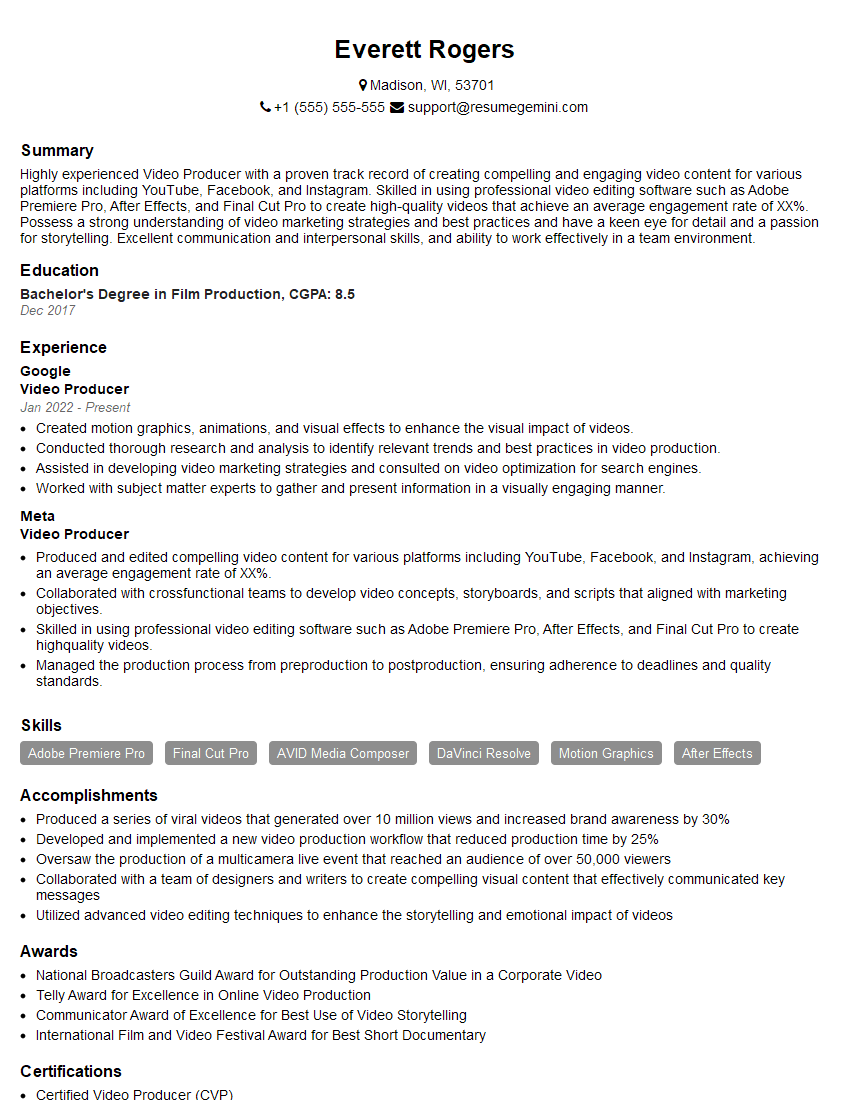
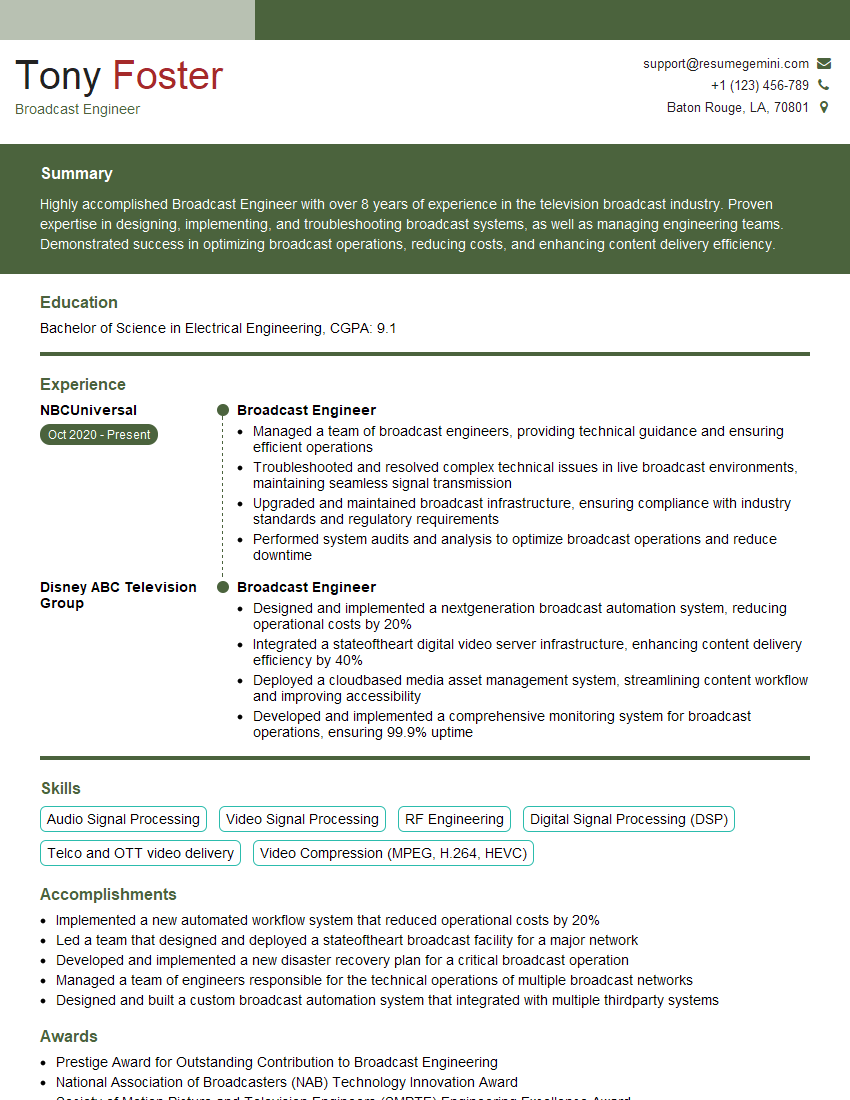
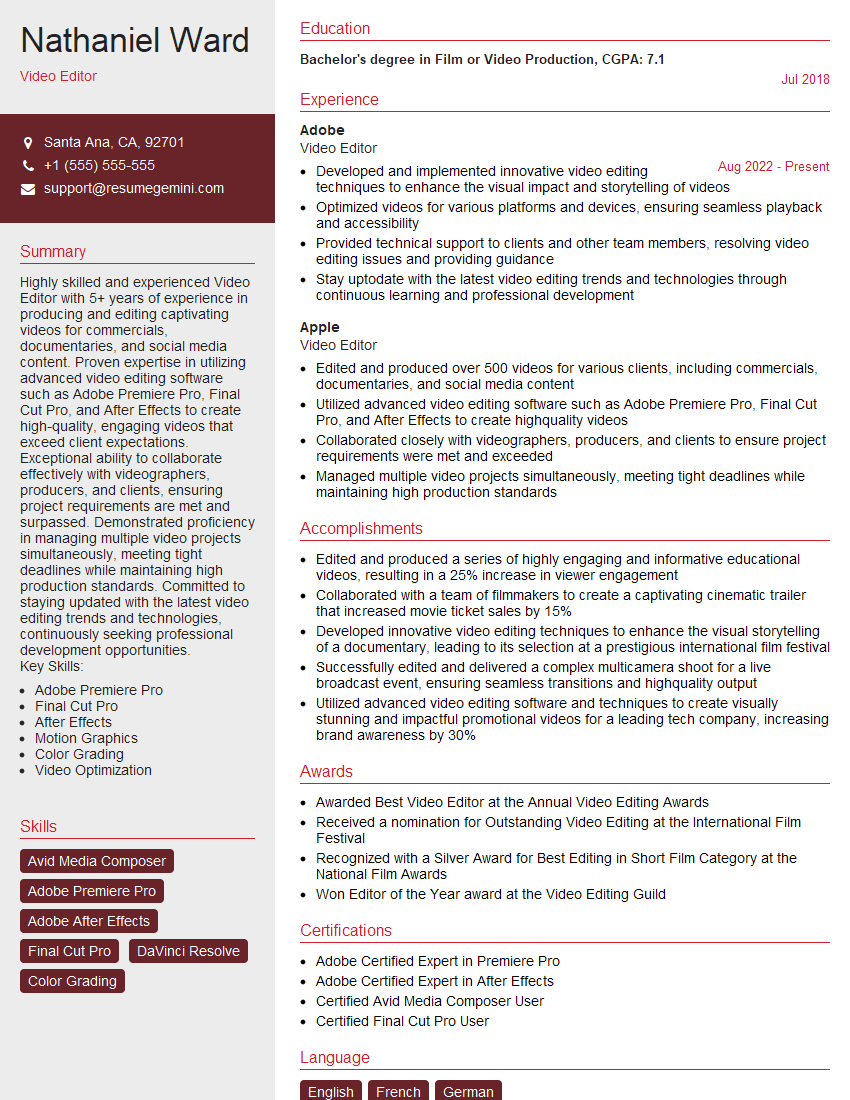
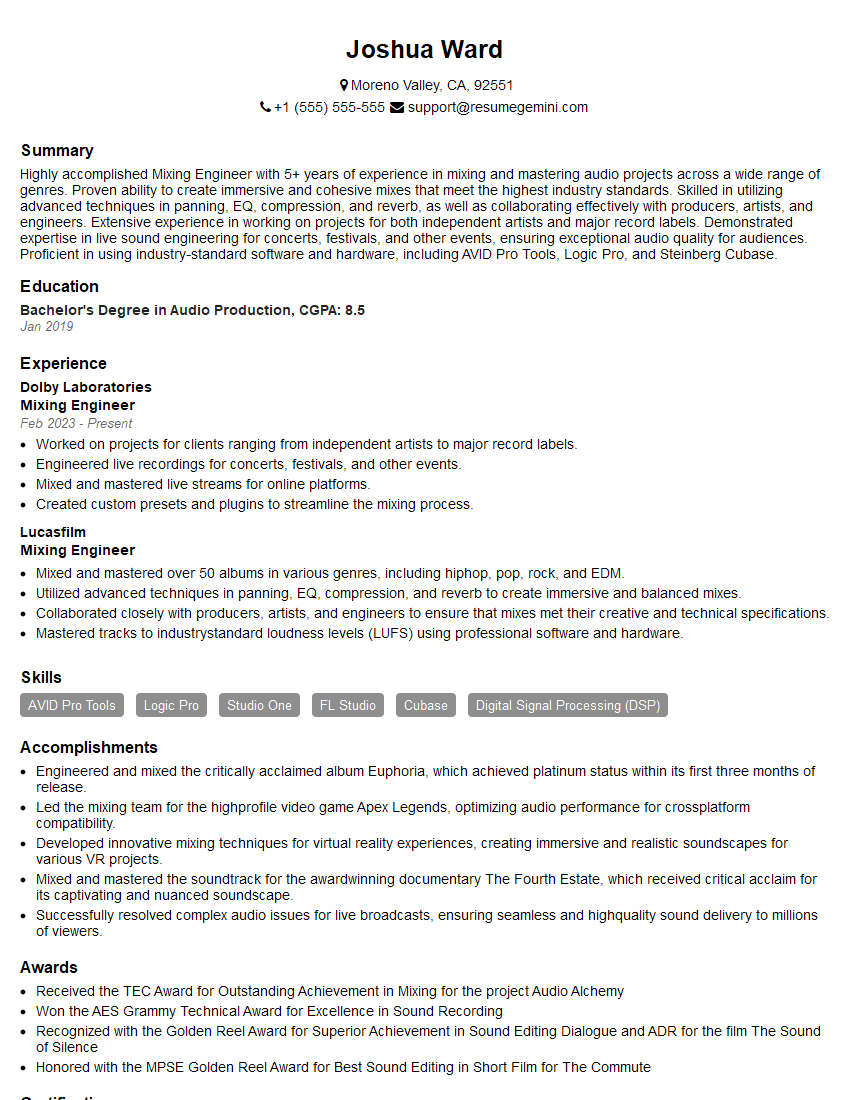
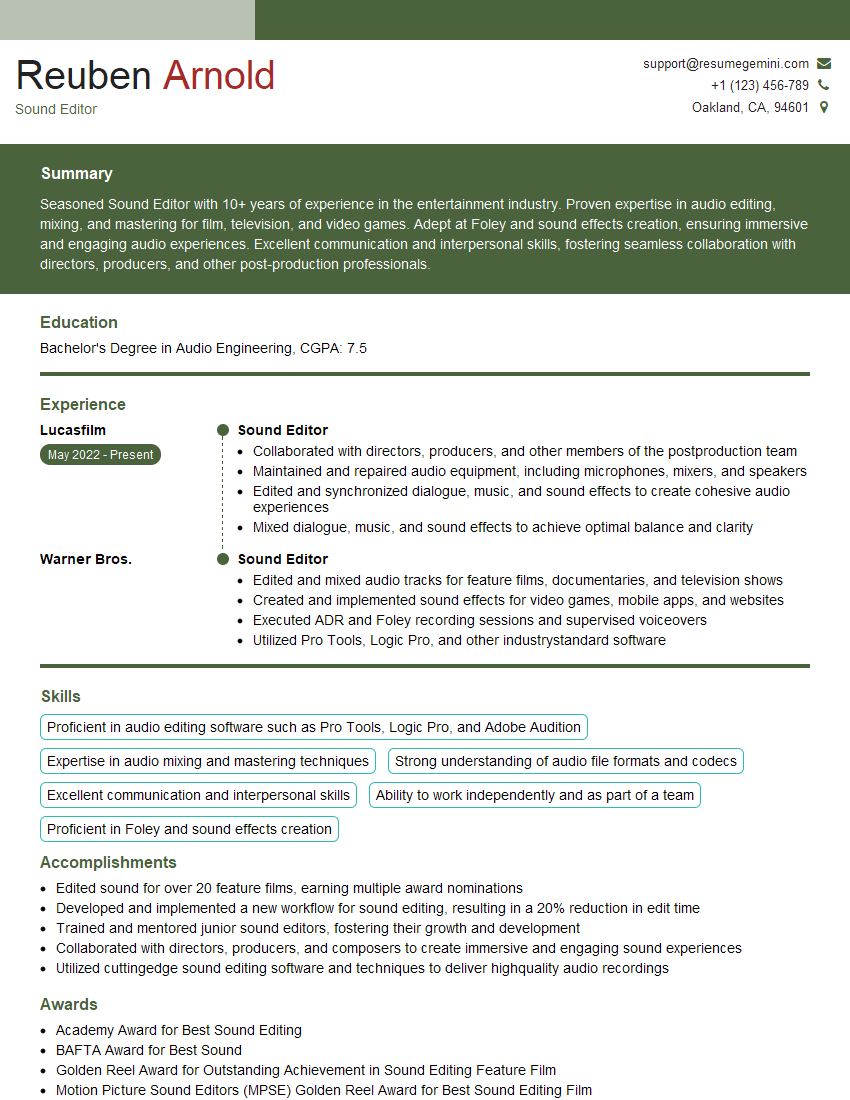
Mastering recording and editing skills opens doors to exciting and diverse career opportunities in music production, film and television, podcasting, and more! To maximize your job prospects, it’s crucial to create a professional, ATS-friendly resume that showcases your expertise. ResumeGemini is a trusted resource that can help you build a compelling resume that stands out. We provide examples of resumes tailored to the Recording and Editing field to help guide your process.
Explore more articles
Users Rating of Our Blogs
Share Your Experience
We value your feedback! Please rate our content and share your thoughts (optional).
What Readers Say About Our Blog
Hi, I represent an SEO company that specialises in getting you AI citations and higher rankings on Google. I’d like to offer you a 100% free SEO audit for your website. Would you be interested?
good
