Preparation is the key to success in any interview. In this post, we’ll explore crucial Recording Studio Experience interview questions and equip you with strategies to craft impactful answers. Whether you’re a beginner or a pro, these tips will elevate your preparation.
Questions Asked in Recording Studio Experience Interview
Q 1. Describe your experience with Pro Tools or another DAW.
My experience with Pro Tools spans over a decade. I’m proficient in all aspects, from basic session setup and recording to advanced mixing, editing, and mastering techniques. I’ve used it extensively for a wide range of projects, including albums, EPs, commercials, and podcasts. I’m comfortable navigating its complex features, such as MIDI editing, automation, and using various plug-ins. For example, I recently used Pro Tools to record and mix a jazz quartet album, meticulously capturing the nuances of each instrument while managing complex routing and effects chains. My workflow typically involves meticulous organization of tracks, utilizing color-coding and clear naming conventions for easy navigation and recall during later stages of production. Beyond Pro Tools, I have experience with Logic Pro X and Ableton Live, allowing me to adapt to various studio environments.
Q 2. Explain the difference between mixing and mastering.
Mixing and mastering are distinct yet interconnected stages in audio post-production. Mixing focuses on balancing and shaping individual tracks within a song to create a cohesive sonic image. It involves adjusting levels, EQ, compression, and using effects to enhance the overall sound. Think of it as sculpting each instrument’s contribution to the overall piece. Mastering, on the other hand, is the final stage where the entire mixed song is polished for optimal playback across various systems. It addresses the overall loudness, dynamics, stereo imaging, and ensures consistent sound quality regardless of whether it’s played on headphones, car speakers, or a high-end system. It’s like putting the finishing touches on a painting, ensuring the colors are vibrant and the overall composition is balanced.
For instance, during mixing, I might focus on bringing out the clarity of a vocalist’s performance by using EQ and compression. During mastering, I would focus on optimizing the entire mix for loudness while preserving the dynamic range to prevent listener fatigue. The goal is that it sounds fantastic across any listening environment.
Q 3. What are your preferred methods for noise reduction and audio restoration?
My preferred methods for noise reduction and audio restoration vary depending on the type and severity of the issue. For general noise reduction, I rely on spectral editing tools like those found in iZotope RX or similar plug-ins within Pro Tools. These allow for precise removal of unwanted noise without affecting the desirable audio. I also frequently utilize gate and expansion techniques for handling consistent low-level noise. For more complex restoration tasks, such as removing clicks, pops, or hum, I often use a combination of these tools with manual editing techniques to refine the results. For example, when restoring an old vinyl record, I might first use a de-clicker plug-in, then manually remove any remaining artifacts using spectral editing.
The key is a careful, multi-step approach. Aggressive noise reduction can sound unnatural, so a subtle, iterative process is usually preferable to achieving a transparent and natural-sounding result.
Q 4. How do you troubleshoot common recording studio technical issues?
Troubleshooting in a recording studio requires a systematic approach. I start by identifying the problem precisely. Is it a software issue, a hardware malfunction, or a connection problem? My strategy involves checking the obvious first – are cables securely connected? Is the power on? Are drivers up-to-date? If it’s a software issue, I’ll try restarting the computer and the DAW. If the problem persists, I systematically work through potential causes, such as checking signal flow, levels, and configurations. I also leverage online resources and forums to find solutions to unusual problems. I always back up my session regularly as well to avoid data loss.
One time, during a live recording, the audio interface suddenly stopped working. After checking connections and power, I quickly switched to a backup interface, minimizing downtime and ensuring the session was not completely compromised. Documenting issues and solutions is also crucial for future reference.
Q 5. What microphone techniques are you familiar with?
I’m familiar with a wide range of microphone techniques, including:
- Cardioid polar patterns for isolating a sound source while minimizing bleed from other instruments.
- Omnidirectional techniques for capturing ambience and a natural spacious sound.
- Stereo techniques (XY, AB, MS) to capture a realistic stereo image.
- Close miking for detailed and intimate sound.
- Room miking for capturing the natural ambience of the recording space.
- Multiple microphone techniques for achieving a layered sound and improved flexibility in the mix.
My choice of technique depends on the source, the desired sound, and the acoustic environment. The selection of microphone and microphone placement is paramount in capturing a quality recording.
Q 6. Describe your experience with different microphone types (e.g., condenser, dynamic).
I have extensive experience with both condenser and dynamic microphones. Condenser microphones are generally more sensitive and offer a wider frequency response, making them ideal for capturing delicate nuances in instruments like acoustic guitars and vocals. However, they are more susceptible to handling noise. Dynamic microphones, on the other hand, are more rugged, handle high sound pressure levels better, and are less prone to handling noise, making them suitable for loud instruments like drums and amplified guitars. They often provide a warmer, fuller tone.
For example, I would choose a large-diaphragm condenser microphone for recording a vocalist’s performance, capturing subtle details and a wider frequency range. For recording a snare drum, I might opt for a dynamic microphone to handle the high sound pressure levels without distortion.
Q 7. How do you handle difficult clients or musicians?
Handling difficult clients or musicians requires patience, diplomacy, and strong communication skills. I begin by actively listening to their concerns and understanding their vision for the project. Open and honest communication is key. I try to explain technical limitations or suggest alternative approaches that maintain the artistic integrity of the project. Building rapport through mutual respect is crucial. Setting clear expectations upfront regarding timelines, budgets, and creative direction helps prevent conflicts down the road. If disagreements arise, I try to find a collaborative solution that satisfies everyone involved. Sometimes, a compromise is necessary, but the focus is always on achieving the best possible outcome for the project.
In one instance, a musician had unrealistic expectations for turnaround time. Through transparent and collaborative communication, we adjusted expectations and developed a feasible schedule, maintaining a positive working relationship.
Q 8. What is your experience with signal flow and routing in a studio environment?
Signal flow and routing are fundamental to any recording studio. Think of it like a water system; you need to control the flow of audio from its source (microphone, instrument) to its destination (mixer, DAW, effects processor). Understanding this flow is crucial for creating a clean, organized, and efficient workflow. In a typical studio, the signal might travel from a microphone, through a preamp, then into a compressor, an equalizer, and finally to a digital audio workstation (DAW) for recording and processing. Routing involves carefully selecting the path the signal takes at each stage. For example, I might send the vocal signal to a reverb processor while simultaneously sending a copy to a separate compressor for parallel processing. Poor routing can lead to unwanted noise, feedback, or signal degradation. I’m proficient in both analog and digital routing, and experienced with patching various signal paths to achieve specific effects.
A practical example would be recording drums. I would route each drum individually (kick, snare, toms, cymbals, etc.) to separate channels on the mixing console. This allows me to independently apply effects and levels to each drum, creating a balanced and dynamic drum sound. I’d also use aux sends to route specific drums to reverb or delay units for added depth and ambience.
Q 9. Explain your understanding of EQ, compression, and reverb.
EQ, compression, and reverb are three essential tools in audio processing. EQ (Equalization) shapes the tonal balance of a sound by boosting or cutting frequencies. Imagine a sculptor shaping clay; EQ shapes the sound’s frequency profile to create a specific tonality. Compression reduces the dynamic range of a signal, making quiet parts louder and loud parts quieter. Think of it like leveling out a landscape, making the peaks and valleys less extreme. Reverb simulates the sound of a space, adding depth, ambience, and a sense of realism. Imagine the sound of your voice in a large cathedral – that’s reverb.
For instance, I might use EQ to cut out muddiness in the low-end of a bass guitar, add clarity to a vocal track by boosting the high-mids, or shape the sound of a drum by boosting specific frequencies. I would use compression to control the dynamics of a vocal, keeping it consistent and preventing peaks from clipping, or to add punch and weight to a bass drum. Finally, I’d use reverb to add spaciousness to a vocal in a ballad or to create a sense of atmosphere in a background track. I always use these tools judiciously, ensuring they enhance the sound without creating unnatural artifacts.
Q 10. How do you approach achieving a specific sonic aesthetic in a mix?
Achieving a specific sonic aesthetic is a multifaceted process. It begins with a clear understanding of the desired sound – warm and vintage, crisp and modern, or dark and brooding, for example. This understanding guides every decision made during the recording and mixing process. For example, if the aim is a warm, vintage sound, I would opt for analog equipment like tape machines and vintage microphones, and choose plugins that emulate that style.
My approach involves careful attention to detail throughout the entire production. This includes microphone selection, preamplification, signal routing, instrument choice, and the mindful use of EQ, compression, reverb, and other audio effects. I would carefully consider the arrangement and instrumentation to ensure they support the desired sonic character. A well-defined sonic goal ensures consistency in decision-making throughout mixing and mastering, preventing a haphazard or disorganized final product.
For example, if I am working on a project that requires a ’90s grunge sound, I’d focus on using distorted guitars with a raw, unpolished sound; I’d also use compression to create a thick, heavy bottom end, and possibly include a touch of tape saturation for that vintage warmth. It’s a holistic process.
Q 11. What is your familiarity with outboard gear (e.g., compressors, equalizers)?
I have extensive experience with outboard gear, including a range of compressors (such as the LA-2A, 1176, and DBX 160), equalizers (like Pultec EQP-1A and API 550A), and other effects processors. I appreciate the character and unique sonic qualities that analog gear can provide. While digital plugins offer versatility and convenience, I find that analog gear often imparts a richness and warmth that is difficult to replicate digitally.
Working with outboard gear involves a deeper understanding of signal flow and impedance matching. It requires a more hands-on approach, with careful attention to gain staging and levels. I am comfortable using patch bays, connecting various pieces of equipment, and troubleshooting any issues that may arise. This practical experience allows me to make informed decisions about the type of equipment to use based on the specific requirements of a project. I often combine the best features of both analog and digital processing to get the desired results.
Q 12. Describe your workflow for editing dialogue in post-production.
My dialogue editing workflow typically begins with meticulous cleanup. This involves removing unwanted noise and pops, clicks, and other artifacts from the audio. I use a variety of techniques for this such as spectral editing and noise reduction plugins. Then, I focus on timing and synchronization, ensuring that the dialogue is correctly aligned with the picture.
Next comes the process of improving clarity and intelligibility. This might involve using EQ to boost certain frequencies and reduce others. I might also use de-essing tools to remove harshness from sibilants (s, sh, etc.) sounds. Finally, I use compression to control dynamics and ensure a consistent level. Throughout the process, I carefully listen for any unnatural artifacts and ensure seamless transitions between takes, often utilizing crossfades. A common problem I often encounter during dialogue editing is background noise or room tone inconsistencies. This usually means creatively utilizing noise reduction tools and editing techniques to preserve the audio’s natural character while removing unwanted noise.
Q 13. How do you ensure the quality and consistency of audio recordings?
Ensuring audio quality and consistency involves a multi-stage approach, starting from the recording phase. Proper microphone technique, placement, and gain staging are crucial for achieving a clean signal with minimal noise. I always check my equipment and cables, and meticulously monitor levels to prevent clipping or distortion during recording. I also ensure the recording environment is optimized to minimize unwanted reflections and background noise.
During post-production, I employ various techniques to maintain and improve quality, including noise reduction, equalization, and dynamic processing. I am attentive to detail, checking for any inconsistencies in levels, timing, or audio quality. The use of digital audio workstations allows for non-destructive editing, ensuring that all my actions are reversible. I also regularly use monitoring techniques like metering and waveform analysis to maintain consistent output. When working with multiple sessions or personnel, standardized file management systems and cloud-based solutions ensure collaborative workflows and prevent errors or inconsistencies.
Q 14. What is your experience with different audio formats and sample rates?
I’m familiar with a wide range of audio formats and sample rates. Common formats I use include WAV (uncompressed, high quality), AIFF (another uncompressed format), and MP3 (compressed, for distribution). Sample rates commonly used are 44.1 kHz (CD quality), 48 kHz (standard for film and television), 88.2 kHz, and 96 kHz (higher resolution for mastering). The choice of format and sample rate depends on the project’s requirements and intended use. For archival purposes or mastering, higher sample rates are preferable to preserve detail. For distribution and streaming, compressed formats are more practical due to their smaller file sizes.
My experience includes handling different bit depths as well, from 16-bit to 24-bit. Higher bit depth allows for greater dynamic range and detail, reducing the likelihood of quantization noise. I understand the implications of each format and sample rate, choosing the appropriate settings to optimize quality and storage space. I would not, for instance, use an MP3 format for archiving mastering work, as its compression would result in a significant loss of audio quality.
Q 15. How do you manage multiple projects simultaneously in a studio environment?
Managing multiple projects simultaneously in a studio requires meticulous organization and efficient time management. Think of it like a conductor leading an orchestra – each project is a different piece of music, demanding specific attention and resources.
- Project Management Software: I utilize dedicated software like Asana or Trello to create individual project boards, outlining tasks, deadlines, and assigned personnel. This allows me to track progress across all projects at a glance.
- Dedicated Workspaces: Physically or virtually separating project files helps prevent accidental overwriting or confusion. This could involve different folders on my hard drive or even dedicated sessions within my DAW.
- Prioritization and Scheduling: A clear schedule is crucial. I prioritize projects based on deadlines and client needs, allocating specific time blocks for each. This prevents feeling overwhelmed and ensures each project receives adequate attention.
- Regular Check-ins: I schedule regular check-ins with myself and the team to review progress, address roadblocks, and re-evaluate priorities as needed. This proactive approach keeps projects on track and allows for quick adjustments.
For example, I might dedicate Monday mornings to mixing Project A, Tuesday afternoons to tracking vocals for Project B, and Wednesday to mastering Project C. This structured approach ensures efficiency and minimizes project overlap.
Career Expert Tips:
- Ace those interviews! Prepare effectively by reviewing the Top 50 Most Common Interview Questions on ResumeGemini.
- Navigate your job search with confidence! Explore a wide range of Career Tips on ResumeGemini. Learn about common challenges and recommendations to overcome them.
- Craft the perfect resume! Master the Art of Resume Writing with ResumeGemini’s guide. Showcase your unique qualifications and achievements effectively.
- Don’t miss out on holiday savings! Build your dream resume with ResumeGemini’s ATS optimized templates.
Q 16. Describe your knowledge of studio acoustics and treatment.
Studio acoustics are fundamental to achieving a high-quality recording. Understanding and treating the acoustic environment is like sculpting the sound itself. A poorly treated room will lead to muddy low frequencies, harsh reflections, and an overall unbalanced sound.
- Room Modes: These are resonant frequencies determined by the room’s dimensions. Addressing them often involves bass traps in corners to absorb low-frequency energy.
- Reflection Points: These are surfaces where sound waves bounce off, creating unwanted echoes or coloration. Strategic placement of diffusion panels and absorption panels helps manage these reflections.
- Acoustic Treatment Materials: The choice of materials is critical. Porous absorbers (like foam) absorb sound energy, while diffusion panels scatter sound, creating a more natural and spacious sound. The right combination depends on the room’s size and shape.
I always begin with detailed room analysis, often using acoustic measurement software and techniques. This allows me to identify problematic frequencies and reflection points, guiding the selection and placement of acoustic treatment materials. For instance, in a live room, diffusion is prioritized to create a sense of space, while a control room requires more absorption to minimize unwanted reflections and create a cleaner listening environment.
Q 17. What are your preferred methods for creating studio ambiance?
Creating studio ambiance is about shaping the emotional landscape of a recording, beyond just the technical aspects. It’s akin to setting the stage for a performance.
- Reverb and Delay: These effects are the backbone of ambiance. Reverb simulates the natural reflection of sound in a space, while delay adds echoes and rhythmic texture. I carefully choose reverb types (plate, hall, room) to match the desired mood.
- Environmental Soundscapes: Subtle additions of environmental sounds – rain, wind, distant city noise – can add depth and realism. These should be tastefully applied, never overpowering the main recording.
- Microphone Placement: Strategic microphone placement captures the natural ambience of a room. For instance, recording vocals with a room microphone captures some of the room’s natural reverberation.
- Sound Design: Using synthesizers or other instruments, I sometimes create custom soundscapes to enhance the emotional impact. For example, I could use a low, resonant drone to evoke a sense of unease.
Recently, I worked on a project requiring a dreamy, ethereal ambiance. I achieved this using a large hall reverb with a very long decay time, combined with subtle layers of delayed synth pads and distant sounds of crickets.
Q 18. What is your experience with digital audio workstations (DAWs) and plugins?
My experience with DAWs and plugins is extensive. Proficiency in these tools is paramount for modern music production. Think of the DAW as the canvas, and plugins as the paintbrushes and colors.
- DAW Proficiency: I’m proficient in Pro Tools, Logic Pro X, and Ableton Live. Each DAW has its strengths, and I choose the appropriate one based on the project’s requirements.
- Plugin Expertise: I have a deep understanding of various plugins, including equalizers, compressors, reverbs, delays, synthesizers, and virtual instruments. My knowledge extends to both hardware emulation and innovative digital effects.
- Workflow Optimization: I’m always seeking to optimize my workflow to maximize efficiency. This includes creating custom templates, using keyboard shortcuts, and automating repetitive tasks.
For example, in a recent project, I utilized a combination of Waves plugins for dynamic processing and UAD plugins for analog emulation, resulting in a warm and punchy sound. My familiarity with various plugin manufacturers allows me to choose the tools best suited to the specific sonic goals of each project.
Q 19. How do you collaborate effectively with other studio personnel?
Effective collaboration is crucial in a studio environment. It’s a team effort, much like building a house – everyone has a specific role, and communication is key.
- Clear Communication: Open and honest communication is paramount. Regular meetings, email updates, and shared project files ensure everyone is on the same page.
- Respectful Feedback: Constructive criticism and respectful feedback are essential. I value the input of my colleagues, and I strive to provide thoughtful and helpful feedback in return.
- Defined Roles and Responsibilities: Clearly defined roles and responsibilities minimize confusion and ensure everyone knows their contribution to the overall project.
- Shared Vision: A shared artistic vision is essential. Open discussion helps to refine the creative direction and ensure everyone is working towards a common goal.
In one particular project, I collaborated closely with a sound engineer who specialized in acoustic treatment. His expertise significantly improved the overall quality of our recordings. Our open communication ensured we made informed decisions about the acoustic treatment and the overall sonic direction.
Q 20. Explain your understanding of audio metering and levels.
Understanding audio metering and levels is critical for achieving a professional-sounding mix. It’s like balancing the flavors in a dish – too much of one ingredient, and the whole thing is ruined.
- Peak Meters: These indicate the highest level of the signal. It’s crucial to keep peaks below 0dBFS (digital full scale) to avoid digital clipping, which introduces harsh distortion.
- RMS (Root Mean Square) Meters: These measure the average signal level over time, providing a better indication of overall loudness. Maintaining appropriate RMS levels is important for consistent loudness across the mix.
- LUFS (Loudness Units relative to Full Scale): This is a standardized loudness measurement, ensuring consistent playback loudness across different platforms and devices. Compliance with LUFS standards is crucial for broadcasting and streaming.
- Gain Staging: This involves setting appropriate levels throughout the signal chain, ensuring the signal isn’t too weak or too strong at any point. Proper gain staging prevents noise buildup and distortion.
I carefully monitor all these parameters throughout my workflow. For example, I might use an LUFS meter to ensure my master track adheres to streaming service standards, and I use peak meters to prevent clipping during recording and mixing.
Q 21. What are your strategies for archiving audio files and projects?
Archiving audio files and projects is crucial for long-term preservation and accessibility. It’s like keeping a well-organized library – you need to know exactly where everything is when you need it.
- Redundant Storage: I use a redundant storage system, backing up all audio files and projects to multiple hard drives, cloud storage, or a combination of both. This protects against data loss due to hard drive failure.
- File Organization: A clear and consistent file naming convention is essential. I use a hierarchical system, organizing files by project, date, and file type.
- Metadata: I always include detailed metadata with each file, including project name, date, client information, and session details. This simplifies searching and retrieving specific files later.
- Regular Backups: Regular backups are crucial. I perform incremental backups frequently, ensuring that any changes are automatically saved.
For example, I typically use a RAID system for local storage and cloud services like Backblaze for offsite backup. This multi-layered approach ensures that I have multiple copies of my valuable audio assets, protecting against potential data loss.
Q 22. How do you handle tight deadlines and pressure in a studio setting?
Handling tight deadlines in a recording studio requires a proactive and organized approach. It’s like conducting a highly choreographed dance – every move needs to be precise and efficient. First, I always begin with a detailed schedule, breaking down the project into manageable tasks with realistic timelines. This allows me to prioritize effectively and identify potential bottlenecks early. Communication is crucial; I maintain constant contact with the client and the artist, keeping them updated on progress and addressing any concerns promptly. When pressure mounts, I focus on staying calm and methodical, delegating tasks when possible and utilizing time-management techniques like the Pomodoro Technique to maintain focus. For example, on a recent project with a demanding deadline for a jingle, we meticulously planned each recording session, allocated specific time slots for each instrument, and prepared all necessary materials in advance. This enabled us to complete the project on time and to the client’s satisfaction.
Q 23. Describe your experience with various recording techniques (e.g., close miking, ambient recording).
My experience encompasses a wide range of recording techniques. Close miking, for instance, involves placing microphones very close to the sound source to capture a detailed and intimate sound, minimizing room ambience. This is ideal for instruments like acoustic guitars or vocals where clarity is paramount. Conversely, ambient recording focuses on capturing the natural sound of a space – think of a large concert hall or a cavernous church. This technique is excellent for adding atmosphere and depth to a recording, giving it a unique sonic signature. I’ve utilized these techniques extensively, from recording intimate singer-songwriter sessions using close miking techniques on vocals and acoustic guitar, to capturing the grandeur of a string quartet in a large studio space employing numerous spaced microphones for a rich ambient sound. The choice of technique always depends on the desired sonic outcome, the instruments involved, and the overall aesthetic of the recording.
Q 24. What is your experience with MIDI and virtual instruments?
MIDI (Musical Instrument Digital Interface) and virtual instruments are indispensable tools in modern recording. My proficiency extends to programming MIDI sequences, creating complex arrangements using various DAWs (Digital Audio Workstations), and integrating virtual instruments seamlessly into my productions. I’m comfortable working with a wide range of virtual instruments, from realistic orchestral sample libraries like Spitfire Audio to more experimental synths and effects. For instance, on a recent electronic music project, I used Ableton Live to program intricate MIDI patterns, layered various synths and drum machines, and used virtual effects processing to sculpt the final sound. Knowing how to effectively utilize MIDI and virtual instruments allows for immense creative flexibility, cost-effectiveness, and speed in the recording process. It’s like having a whole orchestra or band at your fingertips.
Q 25. Explain your process for creating a professional studio mix.
Creating a professional studio mix is a meticulous process. Think of it as sculpting a sonic masterpiece. My process typically involves these key steps: 1. Editing and Prep: I meticulously edit individual tracks, correcting timing issues, removing unwanted noise, and ensuring proper gain staging. 2. Gain Staging and EQ: I carefully adjust the levels of each track and use equalization to shape the frequency response, ensuring a balanced mix that sits well in the stereo field. 3. Compression and Dynamics: Compression controls the dynamic range, making the mix more consistent and punchy, while dynamic processing tools like gates and expanders help manage background noise. 4.Reverb and Delay: Reverb and delay are crucial for creating depth and space, and I use these effects judiciously to add atmosphere and realism. 5.Panning and Stereo Imaging: Careful placement of instruments in the stereo field creates width and interest, and enhances the overall clarity of the mix. 6.Automation: Automating parameters such as volume, pan, and effects allows for dynamic changes and movement throughout the mix, enhancing the musicality. 7.Final Polish and Mastering Prep: Finally, I listen critically to ensure that the mix is balanced, and prepares the track for mastering. Example code snippet (Illustrative, DAW specific syntax varies): send track 1 to aux reverb bus; apply compressor to vocals, ratio: 4:1, threshold: -20dB.
Q 26. How do you maintain a clean and organized workspace?
A clean and organized workspace is essential for efficient and creative work. My approach combines practical organization with a mindful workflow. I begin each session by decluttering my physical and digital spaces, ensuring all cables are neatly organized and digital files are appropriately labeled and categorized within the DAW. I use color-coding for tracks within the DAW and maintain a system for archiving completed projects. Think of it as a painter keeping their brushes organized – it allows for better concentration and flow. Regular maintenance and cleaning are also paramount. A tidy studio prevents accidents and ensures equipment remains in optimal condition, contributing to a positive and professional working environment.
Q 27. What is your understanding of different monitoring techniques?
Monitoring is crucial for accurate mixing and mastering. It’s like having a highly calibrated pair of eyes for your music. I utilize several techniques: 1. Near-field monitoring: This uses high-quality studio monitors placed relatively close to the listener, providing accurate representation of the sound. 2. Reference tracks: I often listen to professionally mixed songs in the same genre to have a benchmark for comparison, ensuring my mix is competitive. 3.Different listening environments: I try to listen to the mix on different playback systems (headphones, car stereo, etc.) to check for issues related to frequency response and dynamic range that might not be evident on my main monitoring system. 4.Calibration: Regular calibration of monitors using specialized software or tools helps maintain consistency in my monitoring, preventing inaccurate judgments. This comprehensive approach ensures the final product translates well across various playback systems.
Q 28. Describe your experience with quality control and troubleshooting in mastering.
Quality control and troubleshooting during mastering are critical. It’s the final polish before release. My process starts with listening critically for any issues in the dynamic range, frequency balance, stereo imaging, and overall loudness. I utilize tools like spectrum analyzers and loudness meters to objectively assess the quality of the master. Troubleshooting usually involves addressing issues such as unwanted noise, clipping, or inconsistencies in frequency response. For example, a harshness in the high frequencies may require subtle EQ adjustments or dynamic processing. I rigorously test the master on different systems (e.g., headphones, different speakers) to check its compatibility across various platforms. The goal is to ensure a consistent, high-quality final product that meets professional standards and translates effectively across all listening environments.
Key Topics to Learn for Recording Studio Experience Interview
- Microphone Techniques: Understanding polar patterns (cardioid, omni, figure-8), placement strategies for various instruments and vocals, and microphone selection based on the desired sound.
- Signal Flow and Routing: Practical application involves tracing the audio path from instrument/microphone to the final output, troubleshooting signal issues, and understanding the role of different processing units (preamps, EQ, compressors).
- Digital Audio Workstations (DAWs): Proficiency in at least one DAW (Pro Tools, Logic Pro X, Ableton Live, etc.) including track management, editing, mixing, and mastering techniques.
- Audio Editing and Mixing: Practical application includes tasks like noise reduction, editing takes, applying EQ and compression to achieve a balanced mix, and understanding the concepts of gain staging.
- Studio Equipment and Hardware: Familiarity with various recording equipment such as interfaces, converters, monitors, and outboard gear, including their functionality and limitations.
- Acoustic Treatment and Room Acoustics: Understanding the impact of room acoustics on sound quality, and the purpose and application of acoustic treatments (bass traps, diffusion, absorption).
- Problem-solving in the Studio: Troubleshooting technical issues, identifying and resolving audio problems, and adapting to unforeseen circumstances during recording sessions.
- Collaboration and Communication: Effective communication with musicians, producers, and engineers in a studio environment. Understanding the importance of teamwork and professionalism.
Next Steps
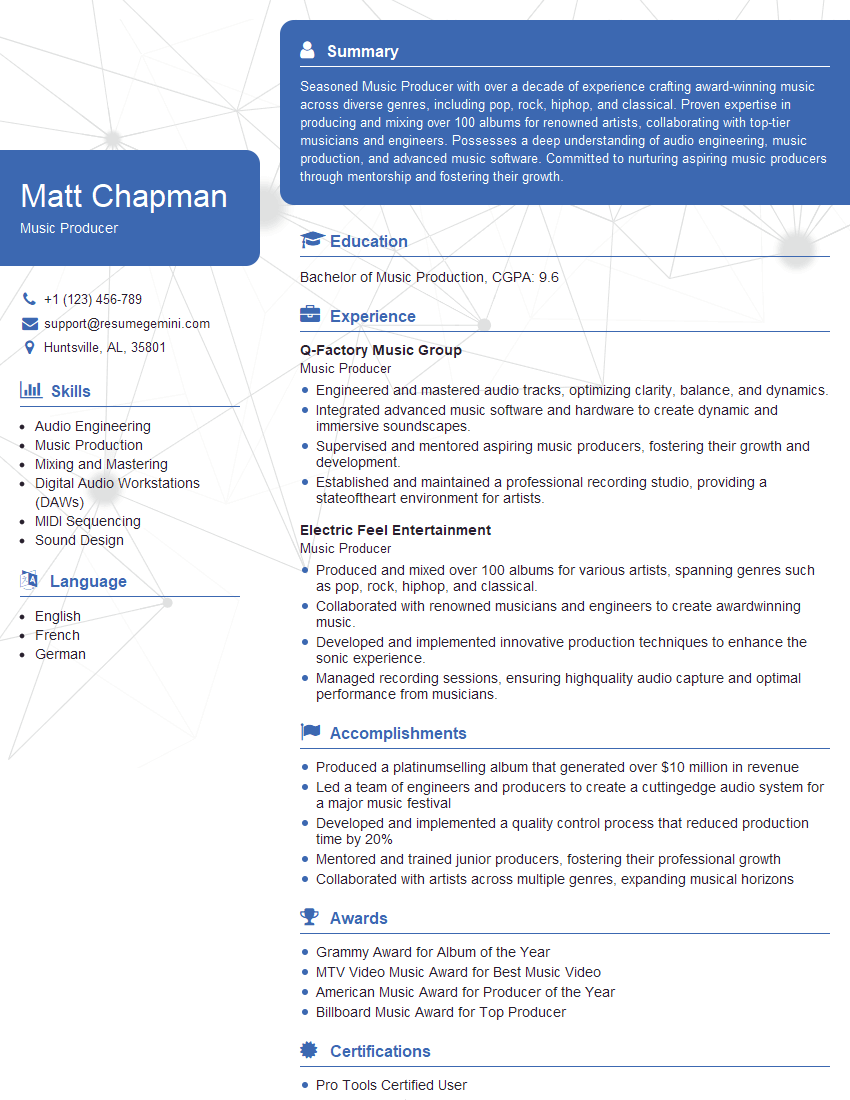
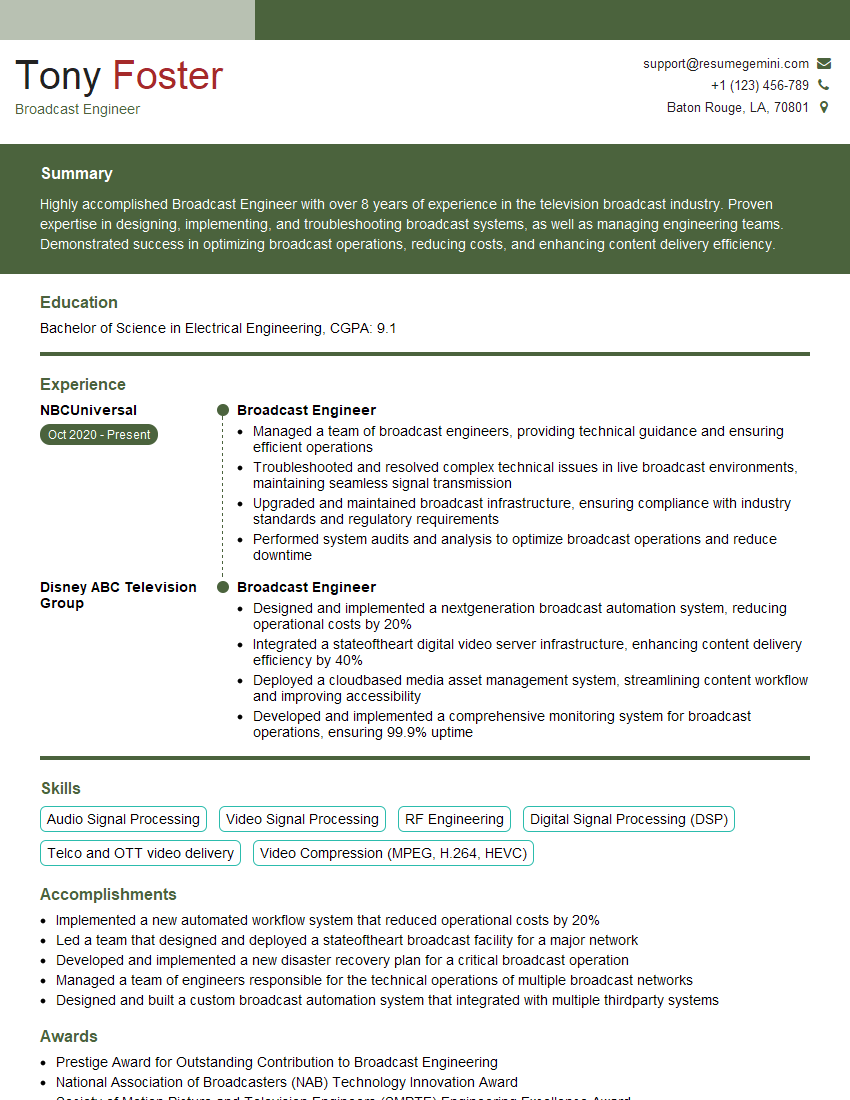
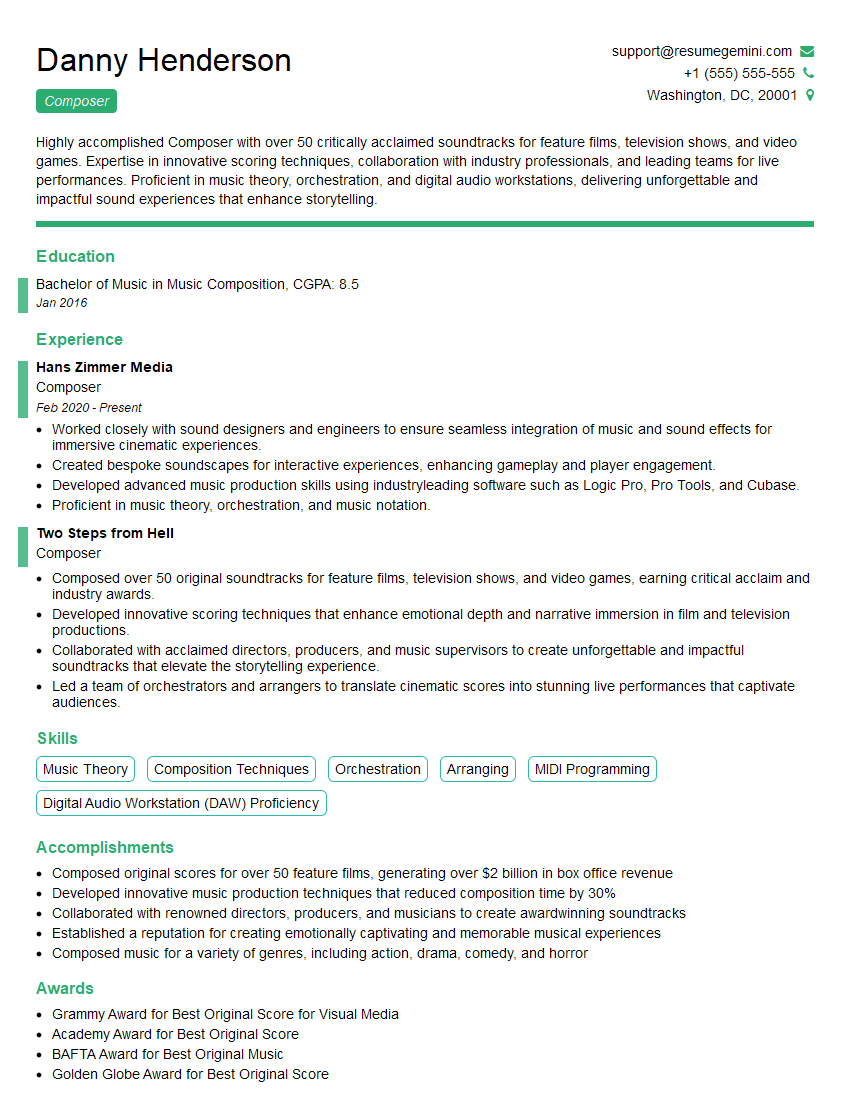
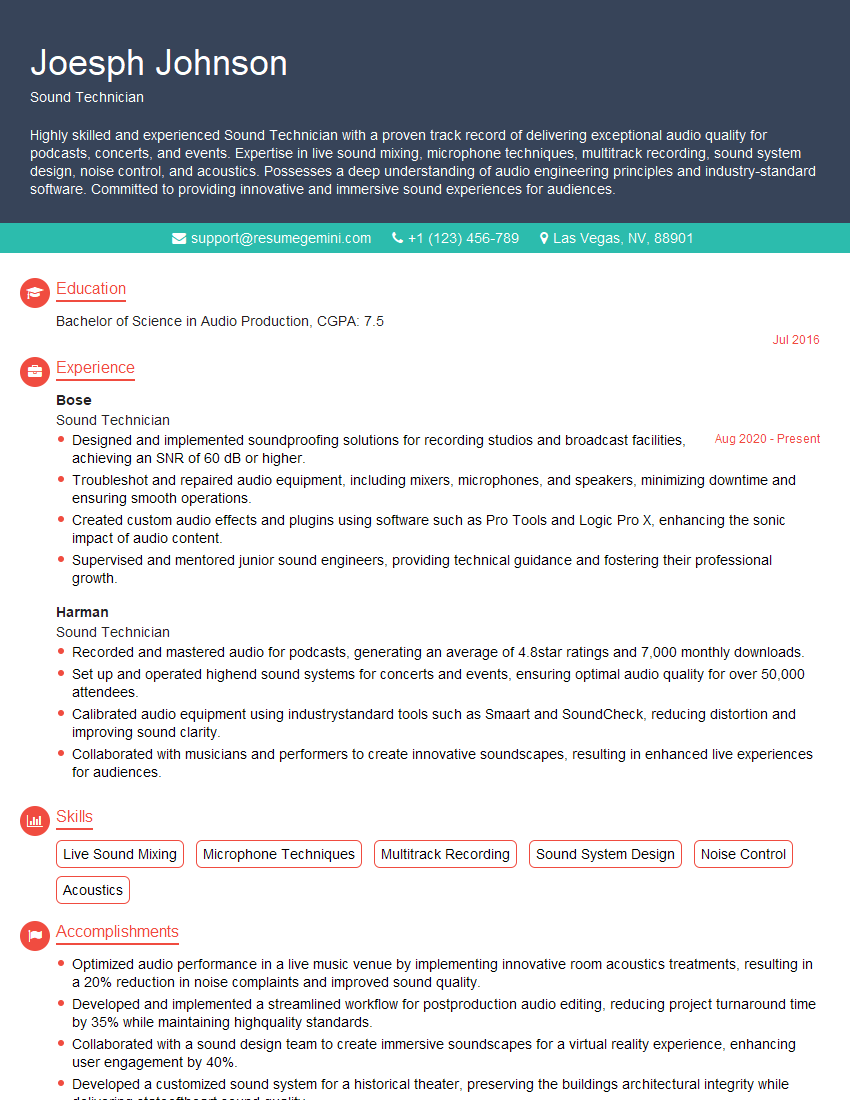
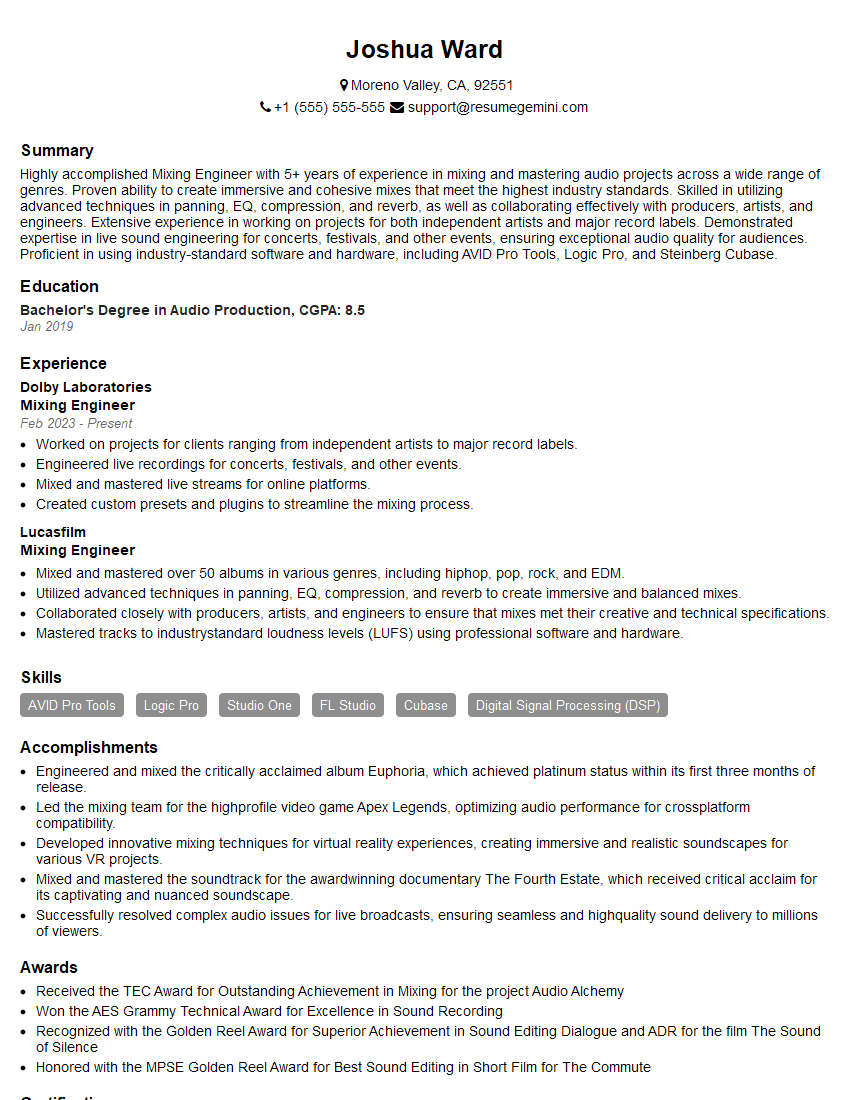
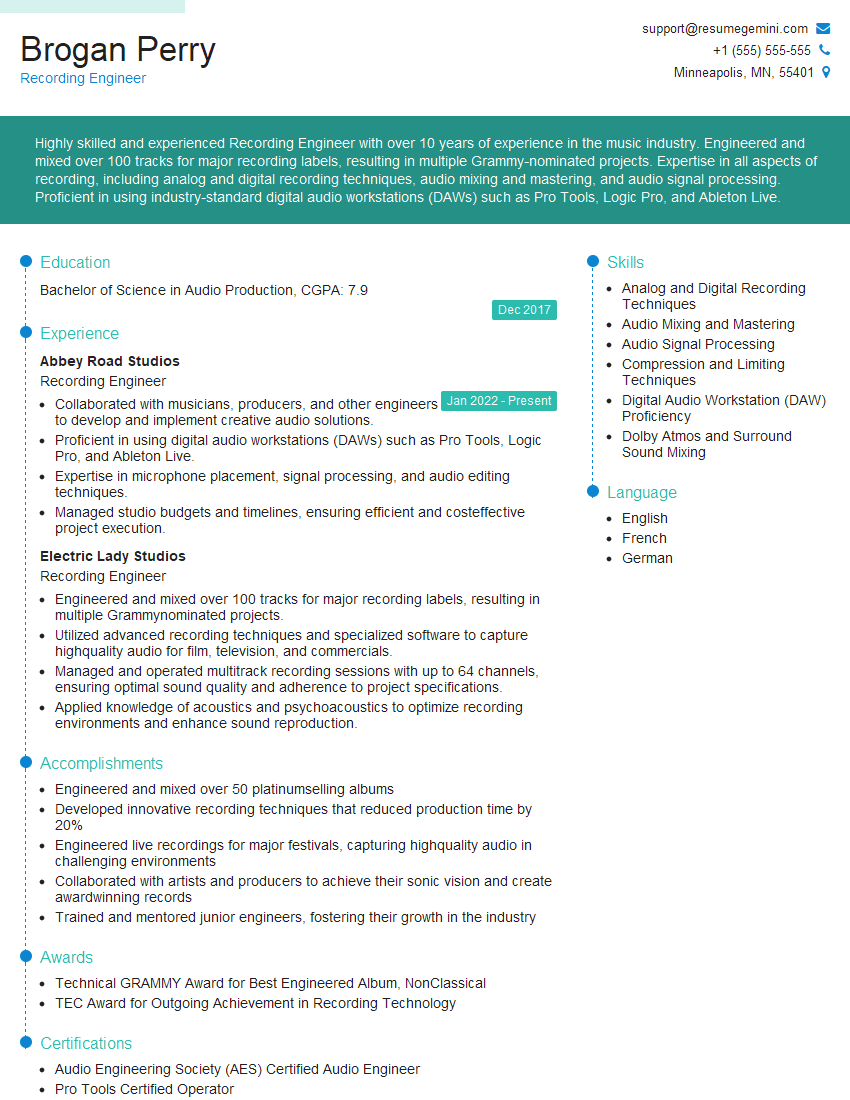
Mastering recording studio experience is crucial for a successful career in audio engineering, music production, or related fields. A strong understanding of these technical skills and professional practices will significantly boost your job prospects. To maximize your chances, create an ATS-friendly resume that highlights your skills and accomplishments effectively. ResumeGemini is a trusted resource that can help you build a professional resume tailored to the specific requirements of the job market. Examples of resumes tailored to Recording Studio Experience are available to guide you through the process.
Explore more articles
Users Rating of Our Blogs
Share Your Experience
We value your feedback! Please rate our content and share your thoughts (optional).
What Readers Say About Our Blog
Hi, I represent an SEO company that specialises in getting you AI citations and higher rankings on Google. I’d like to offer you a 100% free SEO audit for your website. Would you be interested?
good
