The thought of an interview can be nerve-wracking, but the right preparation can make all the difference. Explore this comprehensive guide to Rolled hem stitch interview questions and gain the confidence you need to showcase your abilities and secure the role.
Questions Asked in Rolled hem stitch Interview
Q 1. Describe the process of creating a rolled hem stitch.
Creating a rolled hem involves neatly encasing the raw edge of a fabric within a tiny, rolled fold. It’s a delicate but incredibly effective finish, often used for sheer fabrics or where a barely-there hem is desired. The process generally involves three steps: rolling, stitching, and securing. First, you carefully roll the raw edge inwards, creating a tiny tube. This can be done by hand, using a pin to guide the roll, or with specialized tools like a rolled-hem foot for a sewing machine. Second, you stitch very close to the rolled edge to secure the roll in place. Finally, you might reinforce the stitching at the beginning and end to prevent unraveling. Think of it like making a tiny, delicate tube of fabric then sewing that tube closed.
- Hand-rolled hem: This is done using a needle and thread, and involves manually rolling the fabric and stitching it in place, offering great control and precision for delicate fabrics.
- Machine-rolled hem: Requires a special rolled-hem foot for your sewing machine. This foot guides the fabric into the correct roll shape while stitching, making the process considerably faster. The result is a uniformly neat finish.
Q 2. What types of fabrics are best suited for a rolled hem?
Rolled hems are best suited for lightweight, sheer fabrics such as chiffon, voile, organza, and silk. These fabrics, because of their delicate nature, benefit from a hem that adds minimal bulk. Heavier fabrics like denim or canvas would be too bulky and difficult to roll neatly. The rolled hem’s subtle appearance complements the airy nature of these finer materials. I’ve often used it on bridal veils and delicate lingerie where a minimal hem is crucial to maintain drape and avoid unnecessary weight.
Q 3. What are the advantages and disadvantages of using a rolled hem?
Rolled hems offer several advantages. Their minimal bulk is aesthetically pleasing, particularly on sheer fabrics. They are incredibly durable when done correctly, resisting unraveling and fraying. However, they can be time-consuming, especially by hand, and require a bit of finesse to execute flawlessly. Furthermore, this stitch isn’t suitable for heavy or bulky materials.
- Advantages: Minimal bulk, neat appearance, durable finish, excellent for sheer fabrics.
- Disadvantages: Time-consuming, requires practice to master, not suitable for all fabrics.
Q 4. How do you adjust your sewing machine for a rolled hem stitch?
Adjusting your sewing machine for a rolled hem necessitates the use of a specialized rolled-hem foot. These feet have a small guide that helps to roll the fabric’s edge neatly before stitching. You’ll typically need to reduce the stitch length to a very small setting (often between 0.5 and 1 mm), depending on your fabric. It’s crucial to follow your machine’s manual for specific instructions, as the attachment and adjustment processes vary between brands. Additionally, you might want to adjust the presser foot pressure for a smoother roll. Too much pressure can cause puckering while too little may cause uneven rolling.
Q 5. What needle size and thread type would you use for a rolled hem on delicate fabric?
For a rolled hem on delicate fabric, I would use a very fine needle, size 70/10 or even a size 60/8, depending on the fabric’s weight. A sharp needle minimizes damage and reduces the risk of snagging. The thread should also be fine and high quality, ideally a 100% polyester or silk thread that matches the fabric’s color. I find that using a lightweight, high-quality thread ensures smooth stitching without compromising the integrity of the fabric.
Q 6. Explain how to prevent puckering when creating a rolled hem.
Puckering in a rolled hem is a common problem, often caused by uneven rolling, improper tension, or too much pressure from the presser foot. To prevent this, make sure the fabric is consistently rolled to the same width. Use small, even stitches. Test the stitch length and tension on a scrap piece of fabric before beginning your work. If using a sewing machine, reduce the presser foot pressure to minimize fabric distortion. If you are hand-rolling, be patient, consistent, and try using a smaller stitch.
Q 7. How do you adjust the stitch length for a rolled hem?
The stitch length for a rolled hem should be very short, usually between 0.5 and 1 mm. A shorter stitch creates a more secure and neater finish. Longer stitches might cause the rolled hem to unravel or look uneven. Always test your stitch length on a scrap of fabric first to find the ideal setting for your fabric and machine. Remember that adjustments may be required depending on the fabric’s weight and the type of rolled hem foot being used.
Q 8. What are some common problems encountered while creating a rolled hem, and how do you fix them?
Common problems encountered while creating a rolled hem often stem from inconsistencies in fabric handling and machine settings. Uneven rolling is the most frequent issue, resulting in a bumpy or lumpy finish. This can be caused by inconsistent feeding of the fabric, a poorly adjusted stitch length, or using the wrong needle or thread. Another common problem is the rolled hem unraveling; this happens if the rolled edge isn’t secured properly. Lastly, puckering can occur if the fabric is too thick or the tension isn’t balanced correctly.
- Uneven Rolling: Solution: Check your fabric feed, ensure consistent tension on the fabric, and adjust the stitch length to a smaller setting for better control. Practice rolling a small piece of fabric first to get a feel for the process and find the optimal stitch length.
- Unraveling: Solution: Secure the rolled edge with a small backstitch at the beginning and end. Consider using a slightly heavier thread or using a lightweight interfacing to reinforce the rolled edge.
- Puckering: Solution: Reduce the tension on the machine, try a different needle, or use a thinner thread. If the fabric is very thick, consider using a rolled hem foot designed for heavier fabrics or even pre-pressing the edge to encourage a smoother roll.
Q 9. How does the fabric’s weight affect your rolled hem technique?
Fabric weight significantly impacts the rolled hem technique. Lightweight fabrics, such as silk or chiffon, roll easily and require minimal effort. However, they might require a finer needle and thread to avoid puckering. Medium-weight fabrics, like cotton lawn or voile, also roll well with a standard rolled hem foot. Heavy fabrics, such as denim or canvas, are difficult, if not impossible, to roll hem effectively. The fabric’s stiffness can hinder the ability to create a clean, consistent roll. For heavy fabrics, alternative hems, like a double-fold hem or a narrow hem with a covering stitch, might be more suitable.
I often pre-press the edge of heavier fabrics to give it a little more structure before rolling, making it easier to manage and maintain an even roll. Sometimes a slightly smaller stitch length can improve results as well. However, attempting a rolled hem with extremely thick fabrics usually results in poor quality.
Q 10. Explain different methods of creating a rolled hem (e.g., by hand, with a machine, with a serger).
Creating a rolled hem can be done in several ways, each with its own advantages and disadvantages:
- Hand-rolled hem: This traditional method involves hand-rolling the fabric edge and securing it with a slip stitch. It’s time-consuming but yields exquisite results, especially for delicate fabrics. It offers the most control.
- Machine-rolled hem: This method utilizes a specialized rolled hem foot and requires practice to master. It’s significantly faster than hand-rolling and appropriate for a range of fabric weights, depending on the foot’s capabilities. This is my preferred method for most projects.
- Serger-rolled hem: A serger can create a rolled hem, offering a finished edge in one pass. It’s ideal for projects where speed and durability are paramount. However, the rolled hem created by a serger is typically thicker and less delicate than those created by hand or machine, making it unsuitable for some fabrics and styles.
Choosing the method depends on the fabric, the desired finish, and the available tools. For instance, I’d choose hand-rolled for a delicate silk garment, and a serger for a casual cotton dress.
Q 11. Describe how you would troubleshoot a rolled hem that is uneven or inconsistent.
Troubleshooting an uneven or inconsistent rolled hem involves a systematic approach. First, inspect the fabric feed; ensure it’s moving smoothly and consistently into the machine. A jerky or uneven feed will result in an uneven hem. Next, check the tension—both the machine’s upper and bobbin tension—adjusting as needed for the fabric. A needle that’s dull or improperly sized can also cause problems; change it if necessary. If the roll itself is uneven, it might be due to irregular rolling before stitching—in this case, take the time to redo the rolling.
Sometimes, the problem is in the fabric itself. If the fabric is unusually thick or thin in certain spots, that’s likely to translate to inconsistencies in the finished hem.
Sometimes, simply re-sewing the hem with a fresh piece of thread will solve minor unevenness. If the problem persists, it’s a sign that some aspect of the process needs refinement. Practice and attention to detail are crucial for achieving a flawless rolled hem.
Q 12. How do you achieve a professional finish with a rolled hem?
Achieving a professional finish with a rolled hem requires attention to detail and the right tools. Start by preparing the fabric; pressing the edge to create a crisp, even roll is key. Use a sharp needle appropriate for the fabric, and choose a thread that complements the fabric’s color and weight. Ensure proper tension on your machine to avoid puckering or stretching. The rolled hem foot plays a critical role; use one designed for the fabric weight. For hand-rolled hems, a consistent, nearly invisible slip stitch will make the hem appear neat. For machine rolled hems, pay attention to maintaining a consistent fabric feed.
Finally, press the finished hem gently to set it in place. A light steaming can further enhance the appearance.
Q 13. What is the difference between a rolled hem and a blind hem?
The key difference between a rolled hem and a blind hem lies in how the raw edge is finished. A rolled hem encloses the raw edge of the fabric within itself, creating a narrow, almost invisible hem. A blind hem, on the other hand, folds the fabric’s edge over and stitches it invisibly to the garment’s underside, leaving the raw edge enclosed but not visible from the right side.
Think of it this way: a rolled hem is like rolling up a newspaper to make it compact, while a blind hem is like neatly folding a piece of paper and tucking it away.
Q 14. How do you measure the width of a rolled hem?
Measuring the width of a rolled hem is best done after it’s finished, since it’s difficult to predict beforehand, depending on the fabric and rolling technique. Use a ruler or measuring tape and carefully measure the finished hem’s width from the raw edge of the fabric to the outer edge of the stitching line. It’s usually expressed as a fraction of an inch (e.g., 1/8 inch, 1/4 inch).
Q 15. What safety precautions should be taken when using a sewing machine to create a rolled hem?
Safety is paramount when working with sewing machines. Before starting any rolled hem, always ensure your machine is unplugged unless actively sewing. Keep your fingers well clear of the needle and presser foot, using a seam guide or finger guard if needed, especially when working with delicate fabrics. Regularly inspect your machine for any loose parts or frayed cords. Wear appropriate clothing – avoid loose sleeves or jewelry that could get caught. It’s also crucial to have good lighting to ensure clear visibility of your work and prevent eye strain. Finally, always keep your workspace clean and organized to prevent accidents.
Career Expert Tips:
- Ace those interviews! Prepare effectively by reviewing the Top 50 Most Common Interview Questions on ResumeGemini.
- Navigate your job search with confidence! Explore a wide range of Career Tips on ResumeGemini. Learn about common challenges and recommendations to overcome them.
- Craft the perfect resume! Master the Art of Resume Writing with ResumeGemini’s guide. Showcase your unique qualifications and achievements effectively.
- Don’t miss out on holiday savings! Build your dream resume with ResumeGemini’s ATS optimized templates.
Q 16. Explain the importance of proper tension in creating a rolled hem.
Proper tension is the cornerstone of a beautiful, even rolled hem. Too loose, and the hem will be bulky and uneven. Too tight, and the fabric will pucker or break. The ideal tension allows the fabric to roll neatly and consistently, creating an almost invisible finish. Different fabrics require different tension settings. Lighter fabrics often need lower tension, while heavier fabrics may require a slightly higher setting. You fine-tune this through your machine’s tension dial. Start with the manufacturer’s recommended setting for rolled hems, then adjust incrementally until you achieve the desired result. A test swatch is incredibly helpful. Think of it like Goldilocks and the porridge – you want the tension to be ‘just right’.
Q 17. How do you adapt your rolled hem technique for different types of sewing machines?
The approach to creating a rolled hem varies slightly depending on the sewing machine. Some machines have a dedicated rolled hem foot, simplifying the process considerably. Others may require the use of a narrow rolled hem foot or even a standard zigzag stitch. Machines with adjustable stitch width and length provide more control. For instance, a machine with a rolled hem foot typically requires minimal adjustment – you primarily focus on thread tension and feed speed. If you’re using a zigzag stitch to mimic a rolled hem, careful adjustment of the stitch width and length is essential for creating the desired rolled effect. Always consult your machine’s manual for specific instructions on rolled hem techniques.
Q 18. How would you determine the appropriate stitch length for different fabric types when creating a rolled hem?
Stitch length is crucial for a successful rolled hem. A shorter stitch length creates a more secure and durable hem, ideal for heavier fabrics that might stretch or fray. A longer stitch length can be suitable for lighter, more delicate fabrics where a less dense seam is acceptable. Experiment on a scrap of the fabric is key. For instance, a sheer silk might require a stitch length of 1.5 – 2.0mm, while a sturdy cotton might need a shorter 1.0 – 1.5mm stitch. Too long a stitch, and the hem may unravel; too short, and it might create excessive tension and puckering. Always start with a medium setting and adjust accordingly based on the fabric’s weight and weave. Think of it like tailoring a suit – you wouldn’t use the same stitch length for a linen shirt as for a heavy wool overcoat.
Q 19. How do you maintain your sewing machine to ensure optimal performance for rolled hem stitching?
Regular maintenance is essential for optimal performance when creating rolled hems. This includes regularly cleaning the bobbin area, removing lint and dust build-up, and oiling the machine according to the manufacturer’s instructions. Ensure the needle is sharp and correctly inserted – a dull or incorrectly inserted needle can lead to skipped stitches or broken needles. Regularly check the timing of your machine, making sure all the moving parts are working smoothly together. A properly maintained machine operates smoothly, leading to consistent stitch quality crucial for precision work like rolled hems. A well-maintained machine also reduces the chances of frustrating breakdowns mid-project.
Q 20. Explain the process of troubleshooting a broken needle during rolled hem stitching.
A broken needle during rolled hem stitching is frustrating but fixable. First, ensure the machine is unplugged. Carefully remove the broken needle using needle nose pliers –avoiding touching the sharp edges. Examine the area around the needle plate for any bent or damaged parts. Inspect the fabric carefully for any damage caused by the broken needle. Replace the needle with a new needle of the correct size and type, ensuring it is correctly inserted into the needle clamp. Then, test the machine on a scrap fabric piece before continuing with your project. A bent needle is often a sign of a deeper issue, so check for anything obstructing the needle or causing it to strike fabric unevenly. If needles keep breaking, this might indicate a problem with the timing of your sewing machine and would require professional attention.
Q 21. How can you identify and correct skipped stitches in a rolled hem?
Skipped stitches in a rolled hem are usually caused by inconsistent fabric feed or incorrect tension. First, examine the fabric to see if there are any areas of extra thickness or density – these can disrupt the feed. Try using a thinner needle appropriate for the fabric type to allow the fabric to flow through the machine easier. Check the tension settings – if too tight, the fabric may be puckered, causing skipped stitches. Try lowering the tension slightly. If the problem persists, ensure the feed dogs are clean and working correctly. If the problem persists after these checks, it’s advisable to seek a qualified technician for assessment and potential machine adjustment.
Q 22. How do you ensure the rolled hem is durable and resistant to unraveling?
The durability of a rolled hem hinges on proper fabric preparation and stitching technique. Think of it like building a strong rope – you need each strand (thread) securely interwoven. To prevent unraveling, we begin by using a high-quality, fine-gauge needle appropriate for the fabric weight. This minimizes damage to the fibers, ensuring a clean, even roll. Next, the fabric should be pre-treated to reduce fraying; this often involves a quick press and possibly a light spray of sizing, depending on the material.
The stitching itself is critical. A tight, consistent stitch length, usually between 10 and 14 stitches per inch (SPI), creates a robust seam. Finally, a careful press after stitching helps to set the hem and reinforce the stitch, further preventing unraveling. I often recommend using a tailor’s ham and point presser for crisp, even results. For exceptionally delicate fabrics or where maximum durability is paramount, I’ll sometimes use a very fine thread for the rolled hem, followed by a close-running zig-zag stitch on the right side for added security. This approach is particularly useful on sheer fabrics where the rolled hem is highly visible.
Q 23. Describe your experience working with different types of rolled hem finishes.
My experience encompasses a wide range of rolled hem finishes, tailored to different fabric types and project requirements. I’ve worked extensively with traditional rolled hems on lightweight fabrics like chiffon and voile, where the delicate, almost invisible seam is paramount. For heavier materials such as cotton lawn or silk, I often employ a slightly wider rolled hem, achieving a more substantial, defined edge. I’ve also worked with rolled hems on curved seams, requiring careful manipulation to maintain a consistent roll (more on this in a later answer). In the past I’ve adapted techniques to incorporate decorative elements into the rolled hem, such as using contrasting thread or adding beads for embellishment. The choice of finish always depends on the final look and feel desired for the garment or project.
Q 24. What are some common mistakes to avoid when creating a rolled hem?
Common mistakes when creating a rolled hem often stem from improper preparation or inconsistent technique. One frequent error is using a needle that’s too large or dull for the fabric; this can lead to skipped stitches, broken threads, and overall fragility. Another is failing to properly roll the fabric edge consistently – an uneven roll will result in an unsightly, inconsistent hem.
- Inconsistent rolling: Practicing on scrap fabric first can help develop a steady hand.
- Incorrect stitch length: Too long a stitch can result in a loose, unstable hem, while too short can make the stitching appear heavy and cause the fabric to pucker.
- Forgetting to press: Pressing after stitching is vital for setting the hem and reducing the risk of unraveling.
- Ignoring fabric type: The rolled hem technique may need adjustments for different fabrics.
These problems can be avoided through meticulous preparation, practice, and attention to detail throughout the process. Think of it like baking a cake – precise measurements and careful execution are essential for a perfect result!
Q 25. How do you adapt your rolled hem technique for curved seams?
Adapting the rolled hem technique for curved seams requires a bit more finesse and patience. Instead of feeding the fabric straight through the machine, you’ll need to gently guide the fabric around the curve, maintaining a consistent roll as you go. This is where practice becomes particularly important. I often use small, controlled movements, constantly monitoring the fabric’s placement to prevent puckering or unevenness.
For very tight curves, it might be helpful to clip the fabric seam allowance slightly before rolling to facilitate the curve. Think of it as easing the fabric into place – you want the hem to flow smoothly around the contour. In certain cases, hand-rolling a small section of the curve before machine stitching can give you better control over the result. This step can be particularly useful when working with heavy fabrics.
Q 26. Describe your experience with different types of rolled hem presser feet.
My experience with rolled hem presser feet is extensive. I’ve used various types, ranging from basic, single-fold feet to more advanced, adjustable feet that allow for different hem widths. The key is choosing a foot that matches the fabric’s weight and the desired hem size. A narrow-rolled hem foot is generally preferred for fine fabrics and delicate hems, while wider feet are used for heavier materials. Adjustable feet offer great versatility, allowing you to create a variety of hem widths with a single foot. Furthermore, I’ve also experienced the differences between automatic and manual rolled hem feet – automatic feet require less manual manipulation and can be beneficial for long seams, while manual feet give more control for intricate tasks.
Each presser foot type has its advantages and disadvantages, and the selection ultimately depends on the project and one’s level of comfort. Some feet can be quite challenging to use in the beginning, but the improvement in ease and efficiency is noticeable.
Q 27. How would you teach someone else to perform a rolled hem stitch?
Teaching someone to perform a rolled hem stitch involves a structured, hands-on approach. I start with a clear demonstration of the technique, emphasizing proper fabric preparation, needle selection, and stitch length. We practice rolling the fabric edge consistently on a scrap piece of fabric until a uniform roll is achieved. Then, we move on to the machine stitching, focusing on even feeding and consistent tension. I encourage students to work slowly and carefully at first.
I emphasize the importance of pressing throughout the process and explain how to troubleshoot common problems like puckering or uneven hems. Throughout the session I provide individualized feedback and guidance, ensuring each student understands and can execute the technique correctly. It’s important that they feel confident and competent to work independently. Practice is vital – repeating the process on a variety of fabrics helps to develop the necessary skill.
Q 28. Describe a time you had to troubleshoot a rolled hem issue in a production setting.
During a large production run of silk scarves, we encountered a recurring issue with inconsistent rolled hems. The problem wasn’t immediately apparent, but after careful investigation, we discovered that the tension on the sewing machines was slightly off, leading to uneven stitch formation and consequently, uneven hems. It was a subtle discrepancy but significantly affected the final product’s quality.
To solve the issue, we systematically calibrated each machine, carefully adjusting the tension dials until we achieved uniform stitch length and hem consistency. The solution was simple, but it required methodical troubleshooting and a keen understanding of the sewing equipment. This experience highlighted the importance of regular machine maintenance and the need for meticulous attention to detail in a high-volume production setting. The success emphasized the importance of proactive monitoring and immediate adjustment rather than relying on quality control at the end of the production.
Key Topics to Learn for Rolled Hem Stitch Interview
- Understanding the Rolled Hem Stitch Technique: Mastering the fundamental hand and machine techniques, including variations like narrow and wide rolled hems.
- Fabric Selection and Suitability: Identifying appropriate fabric types for rolled hems and understanding the limitations of the stitch on different materials. This includes considering fabric weight and drape.
- Equipment and Tools: Familiarity with essential tools and machinery required for creating professional rolled hems, both by hand and machine. This may include specific sewing machine feet or needles.
- Practical Applications and Use Cases: Demonstrating knowledge of diverse applications, such as lingerie, fine garments, delicate fabrics, and other specific areas where a rolled hem is preferred.
- Troubleshooting Common Issues: Identifying and resolving common problems like uneven stitching, puckering, or difficulty rolling thin fabrics. This demonstrates practical experience and problem-solving skills.
- Advanced Techniques and Variations: Exploring different methods and techniques to enhance the rolled hem, such as using different threads or finishes.
- Quality Control and Finishing: Understanding the importance of neatness, precision, and consistent stitching in achieving a professional rolled hem finish.
Next Steps
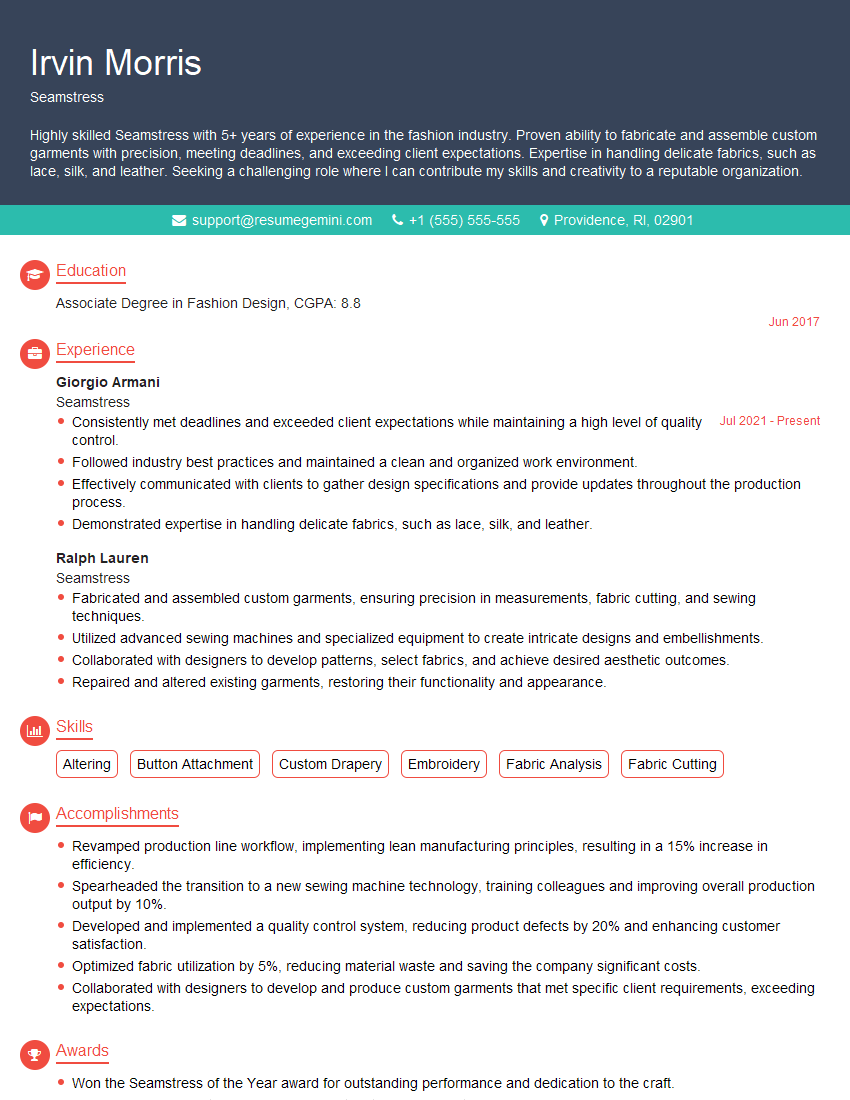
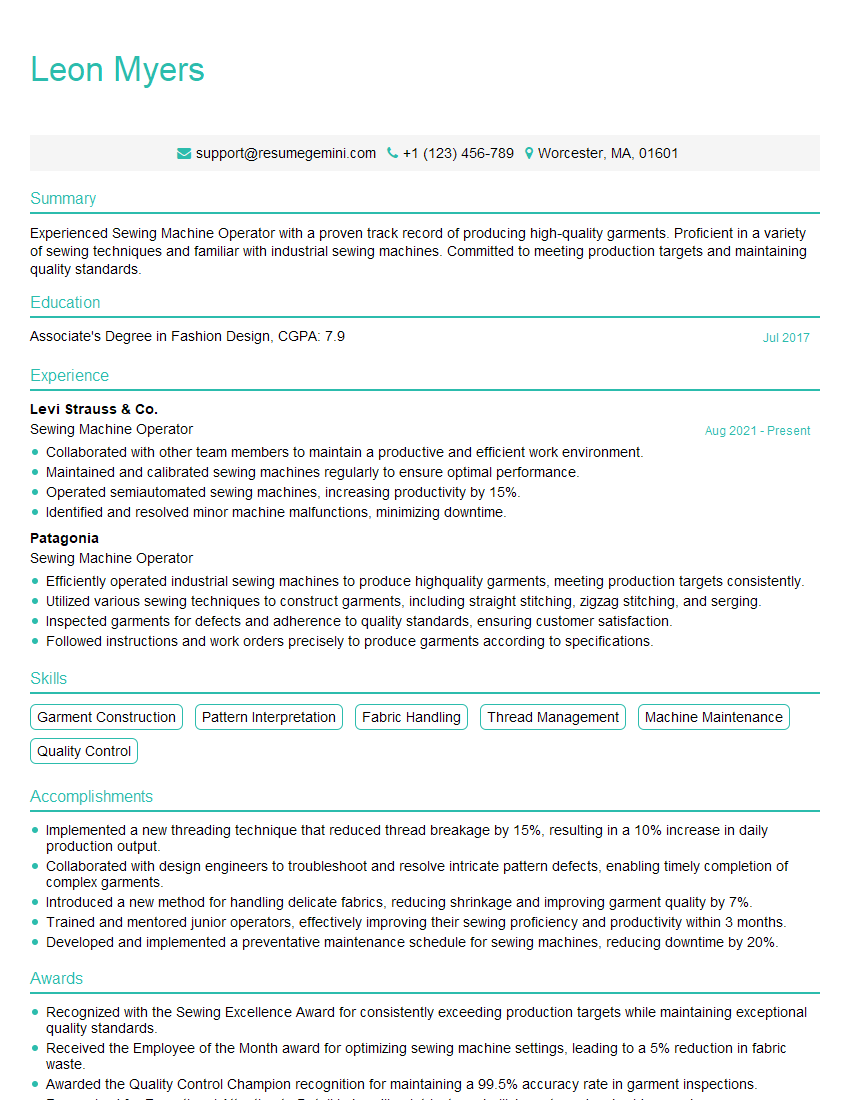
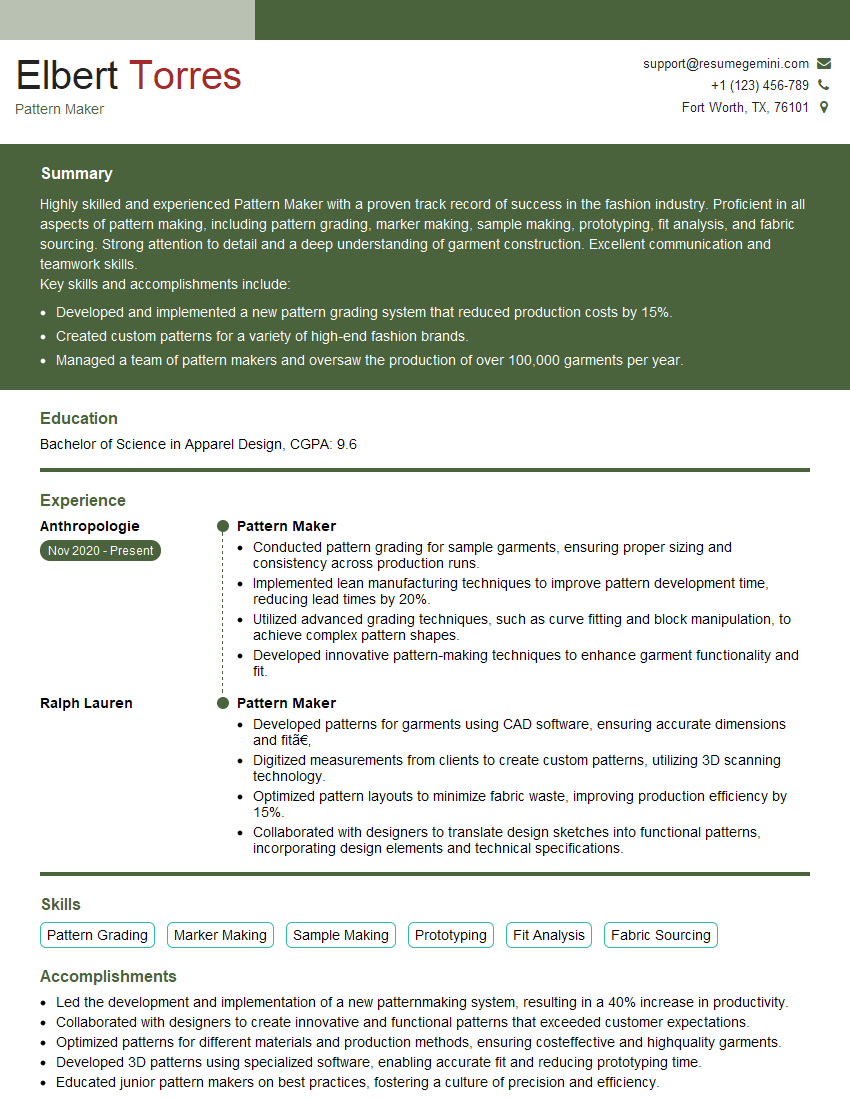
Mastering the rolled hem stitch opens doors to exciting opportunities in the garment industry, showcasing your precision and attention to detail. A strong understanding of this technique is highly valued by employers seeking skilled and versatile sewers. To maximize your job prospects, crafting an ATS-friendly resume is crucial. ResumeGemini is a trusted resource that can help you build a professional resume that highlights your skills and experience effectively. Examples of resumes tailored to Rolled Hem Stitch expertise are available to help guide you.
Explore more articles
Users Rating of Our Blogs
Share Your Experience
We value your feedback! Please rate our content and share your thoughts (optional).
What Readers Say About Our Blog
Hello,
We found issues with your domain’s email setup that may be sending your messages to spam or blocking them completely. InboxShield Mini shows you how to fix it in minutes — no tech skills required.
Scan your domain now for details: https://inboxshield-mini.com/
— Adam @ InboxShield Mini
Reply STOP to unsubscribe
Hi, are you owner of interviewgemini.com? What if I told you I could help you find extra time in your schedule, reconnect with leads you didn’t even realize you missed, and bring in more “I want to work with you” conversations, without increasing your ad spend or hiring a full-time employee?
All with a flexible, budget-friendly service that could easily pay for itself. Sounds good?
Would it be nice to jump on a quick 10-minute call so I can show you exactly how we make this work?
Best,
Hapei
Marketing Director
Hey, I know you’re the owner of interviewgemini.com. I’ll be quick.
Fundraising for your business is tough and time-consuming. We make it easier by guaranteeing two private investor meetings each month, for six months. No demos, no pitch events – just direct introductions to active investors matched to your startup.
If youR17;re raising, this could help you build real momentum. Want me to send more info?
Hi, I represent an SEO company that specialises in getting you AI citations and higher rankings on Google. I’d like to offer you a 100% free SEO audit for your website. Would you be interested?
Hi, I represent an SEO company that specialises in getting you AI citations and higher rankings on Google. I’d like to offer you a 100% free SEO audit for your website. Would you be interested?
good
