The thought of an interview can be nerve-wracking, but the right preparation can make all the difference. Explore this comprehensive guide to Roller Painting interview questions and gain the confidence you need to showcase your abilities and secure the role.
Questions Asked in Roller Painting Interview
Q 1. What types of rollers are best suited for different paint types (e.g., latex, oil-based)?
Choosing the right roller cover is crucial for a professional finish. The paint type significantly impacts this choice. For water-based paints like latex, a synthetic roller cover is ideal. These are made from materials like polyester or nylon and won’t absorb the water excessively, leading to a smoother, more even application. They also clean up easily with soap and water. On the other hand, oil-based paints benefit from natural fiber roller covers, typically made from lambswool or mohair. These fibers hold more paint and are better at releasing it onto the surface, which is especially helpful with the thicker consistency of oil-based paints. Lambswool is prized for its exceptional smoothness but is more expensive. Choosing the wrong type can result in uneven coverage, visible streaks, or difficulty in cleaning.
- Latex Paint: Synthetic roller covers (polyester, nylon)
- Oil-Based Paint: Natural fiber roller covers (lambswool, mohair)
Q 2. Explain the proper technique for cutting in before rolling.
Cutting in—painting the edges and corners before rolling—requires precision. It’s the foundation for a professional-looking paint job. I always start by using a high-quality angled sash brush, ensuring it’s loaded with enough paint without being overloaded, which can lead to drips. The goal is to create a smooth, even line about 2-3 inches wide along the edges (trim, window frames, etc.). The key is to work methodically and not rush. I use short, light strokes, feathering the paint into the adjacent surface. This technique minimizes lap marks and ensures there’s no visible demarcation between the cut-in section and the rolled area. A steady hand and consistent pressure are vital; practice makes perfect! Remember to clean your brush regularly to maintain a clean edge.
Q 3. How do you achieve a smooth, even finish with a roller?
Achieving a smooth, even finish with a roller depends on several factors. Proper preparation of the surface is paramount: a clean, well-primed surface is crucial. Using enough paint on the roller without overloading it is key. Think of it like writing with a pen: too little ink leaves gaps, too much causes blobs. I generally apply the paint in a ‘W’ or ‘M’ pattern, overlapping each stroke by about half the width of the roller. This ensures consistent coverage. Avoid excessive pressure, which can lead to uneven paint distribution or roller marks. Finally, a second coat, applied once the first has dried thoroughly, usually completes the job and guarantees an exceptionally smooth surface. Remember to use a quality roller cover suited to your paint type (as discussed earlier).
Q 4. Describe your experience with different roller nap lengths and their applications.
Roller nap length refers to the height of the fibers on the roller cover. Different nap lengths are ideal for various surface textures. A short nap (1/4 inch) is best for smooth surfaces like drywall or primed wood, providing a fine finish with minimal texture. A medium nap (3/8 inch) works well on slightly textured surfaces, like lightly stippled walls, and provides decent coverage. A long nap (1 inch or more) is specifically designed for heavily textured surfaces like stucco or brick, offering deep penetration into the crevices. Using the wrong nap length results in poor paint coverage, visible brush strokes, and a less-than-perfect finish. I always match the nap length to the surface texture for optimal results.
- Short nap (1/4 inch): Smooth surfaces
- Medium nap (3/8 inch): Lightly textured surfaces
- Long nap (1 inch or more): Heavily textured surfaces
Q 5. What are the signs of a poorly mixed paint, and how do you address them?
Poorly mixed paint is a common problem that can ruin a project. Signs include color inconsistencies (streaking or blotchiness), a grainy texture, or poor adhesion. The solution involves thorough mixing. I always use a paint stirrer or a drill attachment with a mixing paddle to ensure even distribution of pigment and binder. For paints that have settled considerably, I sometimes mix them in stages, starting with a slow speed to avoid splashing, then gradually increasing the speed. It’s crucial to scrape the sides and bottom of the can regularly during this process. If the paint is still problematic after thorough mixing, it might be old or damaged and should be replaced.
Q 6. How do you handle different surface textures when roller painting?
Different surface textures demand different approaches. Smooth surfaces are the easiest to paint, but textured surfaces require more attention. As mentioned before, selecting the correct roller nap length is critical here; longer naps for rough textures are essential for optimal coverage. With heavily textured surfaces, I often apply a primer specifically designed to penetrate deeply and provide a uniform base for the topcoat. Multiple coats are sometimes necessary to ensure full coverage and a consistent color. For extremely porous surfaces, a primer-sealer is recommended to prevent excessive paint absorption and to provide better adhesion.
Q 7. What safety precautions do you take when using rollers and paints?
Safety is paramount in any painting project. When using rollers and paints, I always work in a well-ventilated area to minimize exposure to fumes. I wear appropriate personal protective equipment (PPE), including safety glasses or goggles to protect my eyes from paint splashes, and a respirator mask or dust mask when dealing with dust or strong fumes. I also wear gloves to protect my hands. I properly dispose of all paint waste according to local regulations, and always store paint in a safe, out-of-reach place, away from children and pets. Finally, I make sure to clean up spills immediately to prevent accidents.
Q 8. How do you clean and maintain your rollers after use?
Cleaning your rollers properly is crucial for extending their lifespan and preventing paint from hardening inside. The process depends on the type of paint used. For water-based paints (latex, acrylic), it’s straightforward. For oil-based paints, it requires a bit more effort.
- Water-Based Paints: Immediately after use, run the roller under warm, running water until the paint is mostly rinsed out. Then, work the roller back and forth on a piece of scrap cardboard or a paint tray, squeezing out as much water and paint as possible. Finally, allow it to air dry completely before storing it. I usually let it dry completely overnight.
- Oil-Based Paints: This requires a solvent like mineral spirits or paint thinner. Rinse the roller in the solvent until the paint is removed. Use caution and always work in a well-ventilated area. Next, wash it thoroughly with soap and water to remove any remaining solvent. Finally, let it dry thoroughly before storage.
- Roller Cover Storage: Once completely dry, store your roller cover in a plastic bag or container to protect it from dust and debris. This prevents it from absorbing moisture and becoming unusable.
I’ve had several instances where neglecting proper cleaning resulted in ruined roller covers that needed replacement. Always prioritize thorough cleaning – it saves you money and time in the long run.
Q 9. What is your experience with different types of paint sheens?
My experience spans a wide range of paint sheens, each offering distinct aesthetic and functional properties. Understanding these nuances is essential for achieving the desired finish.
- Flat/Matte: This sheen hides imperfections in the wall best but is more difficult to clean. It’s ideal for ceilings or areas where durability is less critical.
- Eggshell: A slightly more durable sheen than flat, offering a subtle, soft glow. It’s a good balance between appearance and washability, popular for living rooms or bedrooms.
- Satin: More durable and washable than eggshell, with a smooth, low-luster finish. It’s often chosen for kitchens or bathrooms due to its cleanability.
- Semi-Gloss: Very durable and washable, offering a noticeable shine. Ideal for trim, doors, and areas prone to frequent cleaning, like hallways.
- Gloss: The highest sheen, offering exceptional durability and washability. Typically used for trim where a high-gloss finish is preferred.
I once used a flat sheen in a kitchen and quickly learned that it wasn’t practical due to its susceptibility to stains. Now, I always carefully consider the sheen based on the location and purpose of the room.
Q 10. Describe your process for preparing a surface before roller painting.
Surface preparation is the most critical step in roller painting, directly impacting the final finish and longevity of the paint job. A poorly prepped surface can lead to peeling, cracking, or uneven paint application. My process involves these key stages:
- Cleaning: Thoroughly clean the surface to remove dirt, dust, cobwebs, grease, and loose paint. I use appropriate cleaners depending on the surface material, ensuring they are completely dry before proceeding.
- Repairing: Fill any holes, cracks, or imperfections using spackling compound or wood filler, allowing ample drying time and sanding smooth.
- Sanding: Sand any rough surfaces to create a smooth, even base for painting. I use varying grits of sandpaper, starting with coarser grits for larger imperfections and finishing with finer grits for a flawless surface.
- Priming (if necessary): Applying a primer ensures better adhesion of the paint, particularly on bare wood, porous surfaces, or when covering dark colors with lighter ones. It can also help prevent bleed-through of stains.
- Caulking: Use caulk to seal gaps and cracks around trim, windows, and doors, creating a clean, professional look.
I remember one job where I rushed the surface preparation. The result was a patchy, uneven paint finish that required significant rework. It reinforced the importance of dedicated prep work.
Q 11. How do you determine the correct amount of paint needed for a job?
Accurately determining paint quantity is crucial to avoid both shortages and excessive waste. I use a combination of methods for calculating the required amount.
- Measuring the area: Calculate the total square footage of the surface to be painted. This is done by measuring length and width of each section and multiplying.
- Considering the paint coverage: Check the paint can for its coverage rating (typically square feet per gallon). Different paints have different coverages, so pay close attention.
- Accounting for coats: Multiply the total square footage by the number of coats needed (usually 2 coats for interior walls). This gives you the total square footage to be painted.
- Adding extra: It’s always prudent to add an extra 10-15% to account for variations in surface absorption, waste, and unforeseen circumstances.
For example, if a room has 400 square feet and the paint covers 400 square feet per gallon, and two coats are required, you’d need 2 gallons (400 sq ft * 2 coats / 400 sq ft/gallon). Adding 10% extra, you’d buy approximately 2.2 gallons.
Q 12. What techniques do you use to minimize roller marks or lap marks?
Minimizing roller marks or lap marks, often called ‘holidays’, is paramount for a professional finish. It requires careful technique and a few key strategies.
- Consistent Wet Edge: Maintain a “wet edge” by overlapping each roller stroke slightly, ensuring that the paint remains wet and blends seamlessly with the previous stroke. Don’t let any section dry before applying the next.
- Proper Loading: Don’t overload the roller. Too much paint leads to drips and runs, while too little results in patchy coverage. Dip the roller into the paint tray only partially, ensuring even distribution and preventing clumps.
- Even Pressure: Maintain consistent pressure across each stroke, avoiding heavier pressure in some areas and lighter pressure in others.
- Roller Technique: Use smooth, consistent strokes, working in long, even passes. Avoid short, choppy strokes, which can lead to visible marks.
- Multiple thin coats: Two or more thin coats are generally better than one thick coat. The thicker coat takes longer to dry and is more likely to result in lap marks and brush strokes.
Practicing on a scrap piece of plywood helps develop your technique. I’ve found this significantly improves efficiency and final results.
Q 13. How do you handle spills or paint splatters?
Spills and splatters are inevitable, but quick action minimizes their impact. My approach involves these steps:
- Immediate Action: Address spills immediately before the paint dries. The longer you wait, the harder it is to clean.
- Appropriate Cleaning Agent: Use the correct cleaning agent for the paint type (water for water-based paints, mineral spirits or paint thinner for oil-based paints). Always follow the manufacturer’s instructions for cleaning.
- Gentle Scrubbing: For washable surfaces, gently scrub the affected area with a soft cloth or sponge, working from the outside of the spill inward to prevent spreading. Avoid harsh scrubbing, which can damage the surface.
- Protect Surrounding Areas: If a larger spill occurs, use drop cloths or plastic sheeting to protect surrounding surfaces while cleaning.
- For Dry Spills: If paint dries on the surface, you may need a paint scraper or putty knife to gently remove the dried paint. Afterward, use a suitable cleaner to remove any remaining residue.
I had a close call once where a can of paint tipped over, and I reacted quickly. With immediate action, the spill didn’t leave any lasting impact on the freshly painted walls.
Q 14. How do you manage multiple coats of paint efficiently?
Efficiently managing multiple coats requires planning and systematic work.
- Allow Sufficient Drying Time: The most crucial aspect is allowing each coat to dry completely before applying the next. Refer to the paint can’s instructions for drying time – this can vary depending on factors like temperature and humidity. Rushing this step can compromise the final finish and lead to peeling or cracking.
- Organized Approach: Divide the area into sections and paint each section completely before moving to another. This keeps the wet edge consistent and helps in managing the drying time efficiently.
- Maintain Clean Tools: Clean your rollers and brushes between coats, preventing contamination and ensuring a smooth application. This is especially important when using different paint colors.
- Strategic Work Flow: Plan the order in which you’ll paint the different sections of the room to optimize the drying time and minimize the risk of accidentally touching a wet area before it’s completely dry.
In large projects, I’ve divided the rooms into quadrants, painting one section completely with all coats before moving to the next, allowing adequate drying between coats. This strategy makes the whole process more efficient and organized.
Q 15. Describe your experience working from scaffolding or ladders.
Safety is paramount when working at heights. My experience with scaffolding and ladders spans over 10 years, encompassing a wide range of projects, from small residential touch-ups to large-scale commercial jobs. I’m fully proficient in setting up, inspecting, and safely using both scaffolding and ladders of various types, always adhering to strict safety regulations. This includes ensuring proper leveling, secure footing, and appropriate fall protection. I’ve worked on everything from simple step ladders for minor touch-ups to complex scaffold systems for multi-story buildings. For example, on a recent project renovating a Victorian home, we used a system scaffold to safely access the high ceilings and intricate cornices. Regular inspections and adherence to weight limits are critical, and I always double-check everything before commencing work at any height.
Career Expert Tips:
- Ace those interviews! Prepare effectively by reviewing the Top 50 Most Common Interview Questions on ResumeGemini.
- Navigate your job search with confidence! Explore a wide range of Career Tips on ResumeGemini. Learn about common challenges and recommendations to overcome them.
- Craft the perfect resume! Master the Art of Resume Writing with ResumeGemini’s guide. Showcase your unique qualifications and achievements effectively.
- Don’t miss out on holiday savings! Build your dream resume with ResumeGemini’s ATS optimized templates.
Q 16. What are the challenges of working with different types of wall surfaces (e.g., plaster, drywall)?
Different wall surfaces present unique challenges. Plaster, for instance, can be porous and absorb paint unevenly, leading to blotchiness unless properly primed. Drywall, while more uniform, can have seams that require careful filling and sanding before painting to avoid visible imperfections. Smooth surfaces like concrete may require a specialized primer to ensure proper adhesion. I address these challenges by selecting the appropriate primer and paint for each surface. For highly porous plaster, I might use a high-coverage primer designed for maximum penetration. With drywall, I meticulously fill and sand seams, ensuring a flawlessly smooth finish before applying the top coat. My experience allows me to identify the type of surface quickly and select the correct materials and techniques to achieve a professional finish.
Q 17. How do you achieve a uniform color across large surfaces?
Achieving a uniform color across large surfaces requires a systematic approach. This includes proper preparation – ensuring the surface is clean, smooth, and primed – and a consistent painting technique. I typically work in manageable sections, ensuring each section is fully covered before moving to the next, overlapping slightly to avoid noticeable lap marks. The ‘wet-on-wet’ technique, where you maintain a wet edge as you progress, is crucial for preventing visible seams. Using a roller with a high-quality nap appropriate for the surface and paint viscosity ensures even distribution. I also use a high-quality roller frame and tray for optimal paint application and to ensure that the paint is flowing consistently. Finally, adequate lighting is key to identifying any inconsistencies throughout the process.
Q 18. What is your experience with using primers and sealers?
Primers and sealers are essential for a long-lasting, professional finish. My experience encompasses a wide range of primers, including oil-based primers for sealing stains, and water-based primers for improved adhesion. Sealers prevent moisture damage and improve the longevity of the final paint job. The choice depends on the substrate and the type of paint being used. For instance, on a new drywall, a sealant may be unnecessary, but a primer is essential to ensure the paint adheres properly. However, on old, porous plaster, a good quality sealer would be critical before applying the primer and paint, blocking stains and providing a better surface for the top coat. I select the appropriate primer and sealer based on thorough assessment of the substrate.
Q 19. Describe your experience with various paint application techniques (e.g., back rolling).
I’m proficient in various paint application techniques. Back rolling, for instance, involves using a smaller roller to apply paint to a section, followed by a larger roller to even out the application and remove any excess paint. This technique delivers a smooth and even finish, minimizing brush strokes. I also use techniques like cutting in – using a brush to apply paint along edges and corners – to ensure a professional-looking finish. Other techniques include stippling (applying paint with a dabbing motion) for textured effects or spraying for large, even coverage. The choice of technique depends on the project’s requirements, the type of paint being used, and the surface being painted.
Q 20. How do you ensure proper ventilation while painting?
Proper ventilation is crucial for both the health of the painter and the quality of the paint job. I always ensure adequate ventilation in the area by opening windows and doors whenever possible. In confined spaces or when using paints with strong fumes, I use respirators and fans to circulate air and remove volatile organic compounds (VOCs). For larger jobs, I may even bring in industrial-grade ventilation systems. Always checking the paint’s Safety Data Sheet (SDS) for ventilation recommendations is critical. Failing to provide adequate ventilation can lead to health problems and negatively impact the drying process of the paint.
Q 21. How do you deal with difficult customers or unexpected problems on a job site?
Dealing with difficult customers or unexpected problems is a normal part of the job. My approach focuses on clear communication and problem-solving. If a customer has concerns, I listen carefully, explain my process, and address their issues professionally. For unexpected problems, like discovering hidden damage or unforeseen complications, I assess the situation, explore solutions, and discuss them transparently with the customer. My focus is on maintaining professionalism, ensuring that the customer feels heard and valued. This often involves proposing realistic solutions and explaining any associated costs or timelines honestly and upfront. For example, discovering water damage behind a wall requires a conversation with the customer to explain the need for repairs before painting can proceed.
Q 22. Describe your experience with different roller frames and their advantages.
Roller frames are the backbone of any roller painting project, and choosing the right one significantly impacts the final result. My experience encompasses a wide range, from basic to specialized frames. The most common are:
- Standard Frames: These are your workhorses, affordable and suitable for most painting tasks. They offer good maneuverability and are easy to clean. I frequently use these for large, flat surfaces like walls.
- Caged Frames: These have a cage-like structure that holds the roller cover more securely, preventing shedding and splatter, especially beneficial with thicker paints or textured surfaces. I prefer these for ceilings or areas where precision is crucial.
- Extendable Frames: These are invaluable for reaching high ceilings or hard-to-access areas without the need for ladders. However, they can sometimes be slightly less stable than shorter frames, so a steady hand is needed.
- Specialty Frames: Frames designed for specific tasks, such as angled frames for corners or small, detailed frames for trim work, round out my toolkit. I often use angled frames to neatly paint the edges of walls, minimizing the need for tedious touch-ups.
Ultimately, the best frame depends on the project’s specifics. For instance, a large room might benefit from an extendable frame, while trim work necessitates a smaller, more precise frame. The key is understanding the nuances of each type and selecting the right tool for the job.
Q 23. What is your familiarity with various paint brands and their characteristics?
My familiarity with paint brands extends across numerous lines, each with distinct characteristics. I’ve worked extensively with brands like Benjamin Moore, Sherwin-Williams, and Behr, understanding their different formulations and how they perform on various surfaces. For example:
- Benjamin Moore Aura: Known for its exceptional coverage and low odor, making it ideal for interior projects, especially in homes with sensitive occupants. I’ve used this on multiple high-end projects where the client prioritized quality and minimal fumes.
- Sherwin-Williams Emerald: A durable, high-performance paint suitable for both interior and exterior applications. Its resistance to fading and mildew makes it a go-to choice for exterior jobs in harsh climates. I’ve used this on countless projects where longevity and weather protection were paramount.
- Behr Premium Plus Ultra: Offers an excellent balance of quality and affordability, making it suitable for a broad range of projects. It’s a reliable choice when budget is a consideration without sacrificing quality.
Beyond the brand, I consider factors like sheen (matte, eggshell, satin, etc.), color, and the specific type of paint (latex, oil-based, etc.) The choice depends entirely on the surface being painted and the desired outcome. For instance, high-gloss paint is not ideal for walls with imperfections. My experience allows me to make informed recommendations based on the project’s needs and the client’s preferences.
Q 24. How do you estimate the time required for a painting project?
Estimating painting time involves a multi-step process. I start by carefully assessing the area to be painted, noting the surface area, number of coats required, and the complexity of the project (e.g., trim work, intricate designs). I typically break down the project into smaller tasks:
- Surface Preparation: This includes cleaning, patching, sanding, and priming. The extent of preparation drastically affects overall time.
- Painting: This accounts for the actual application of paint, which varies depending on the surface area and the type of paint used.
- Cleanup: This involves cleaning brushes, rollers, and the work area. This step should always be factored in.
I then consult my experience and historical data for similar projects to determine a reasonable timeframe for each task. For example, I know that painting a 10×12 room with two coats of paint usually takes approximately 4-6 hours. Adding surface preparation and clean up, the total time could be 6-8 hours or more depending on the complexity of the preparation needed. Finally, I add a contingency buffer to account for unexpected delays or challenges. Transparent communication with the client regarding the estimated timeframe is crucial to manage expectations.
Q 25. What tools beyond rollers are essential for a successful paint job?
Beyond rollers, a successful paint job relies on a well-equipped toolkit. Essential tools include:
- Paint Trays and Liners: For efficient paint loading and dispensing.
- Brushes: Various sizes and types (angle brushes, sash brushes) for cutting in edges and detailed work.
- Putty Knives and Sandpaper: For surface preparation, patching imperfections, and smoothing surfaces.
- Drop Cloths and Painter’s Tape: Protecting surfaces and achieving clean lines.
- Extension Pole: For high ceilings or hard-to-reach areas.
- Roller Cover Cleaner: For prolonging the life of roller covers and maintaining efficiency.
- Safety Equipment: Gloves, eye protection, and respirators, especially when working with strong-smelling paints.
Proper tool selection ensures efficiency, professional finish, and above all, safety. For example, using the right size brush will ensure clean edges and save time, preventing the need for rework.
Q 26. What is your approach to maintaining a clean and organized work area?
Maintaining a clean and organized work area is paramount to efficiency and safety. My approach starts before I even begin painting:
- Protective Covering: Thoroughly covering floors, furniture, and any surfaces not being painted with drop cloths and painter’s tape is step one. This prevents accidents and saves cleanup time.
- Designated Areas: I organize my paint cans, brushes, and other tools in a clearly defined area to minimize clutter and confusion. This allows for easy access to what I need, reducing disruptions during the job.
- Regular Cleanup: Throughout the painting process, I regularly clean up spills and excess paint, making sure to dispose of waste responsibly. This prevents accidents, improves safety, and ensures a smooth workflow.
- Final Cleanup: Once the painting is complete, I thoroughly clean the area, removing all drop cloths, tape, and disposing of any leftover materials. I strive to leave the workspace cleaner than I found it.
A well-maintained workspace contributes to a professional appearance, enhances safety, and demonstrates respect for the client’s property. A cluttered workspace leads to mistakes, slowing down the job and possibly causing damage.
Q 27. How do you handle different weather conditions during an exterior painting job?
Exterior painting presents unique challenges due to variable weather conditions. My approach involves careful planning and adaptation:
- Weather Monitoring: Before and during the job, I closely monitor weather forecasts, postponing work if necessary to avoid rain, excessive heat, or strong winds. These conditions can ruin paint application and compromise the longevity of the project.
- Appropriate Materials: I select paints and primers specifically designed for exterior use and appropriate for the existing climate. I might opt for paints with mildew resistance in humid climates or those formulated for extreme temperatures.
- Timing: I plan the job to take advantage of favorable weather windows, prioritizing the painting process in a way that safeguards the integrity of the paint application.
- Protective Measures: In case of unexpected weather changes, I use protective covers or tarps to shield the freshly painted surfaces from the elements, preventing rain damage or premature drying that can result in cracking.
For example, if high winds are predicted, I may choose to prioritize certain walls and protect already painted areas in order to avoid compromising the outcome.
Q 28. Describe your experience with using specialized rollers for textured effects.
My experience includes using specialized rollers to achieve a variety of textured effects. These rollers come in different patterns and materials, allowing for creative control:
- Sponge Rollers: Create a slightly textured, speckled finish, commonly used for a more relaxed, less formal look.
- Fabric Rollers: Offer a wide range of textures, from subtle stippling to more pronounced patterns, depending on the fabric used. The type of fabric will heavily influence the final texture.
- Pattern Rollers: These rollers are designed to replicate specific patterns, such as wood grain or stucco, adding visual interest to walls and other surfaces.
The key to success with textured rollers is proper technique and paint consistency. Too much paint will result in an uneven, sloppy look. I often practice the rolling technique on a scrap piece of material to achieve the desired outcome, and then proceed with the main project.
Key Topics to Learn for Roller Painting Interview
- Surface Preparation: Understanding different surface types (plaster, wood, drywall), appropriate cleaning methods, and priming techniques for optimal paint adhesion.
- Roller Selection: Choosing the right roller cover (nap length) based on paint type (e.g., latex, oil-based) and surface texture for efficient and even application.
- Paint Application Techniques: Mastering proper rolling techniques like “W” patterns, back-rolling, and edge cutting to achieve a professional, seamless finish.
- Paint Consistency & Management: Understanding how to thin paint appropriately, manage paint spills, and maintain consistent paint flow throughout the project.
- Health & Safety: Knowing and applying proper safety procedures including ventilation, personal protective equipment (PPE) use, and waste disposal.
- Troubleshooting Common Issues: Identifying and resolving problems like lap marks, roller splatter, uneven coverage, and paint bubbling.
- Efficiency & Productivity: Optimizing workflow for speed and quality, including techniques for large-scale projects and managing material usage.
- Cleaning & Maintenance: Proper cleaning of rollers and equipment after each project to ensure longevity and prevent cross-contamination.
- Different Paint Types and Finishes: Understanding the properties of various paint types (e.g., gloss, matte, satin) and their suitability for different applications.
Next Steps
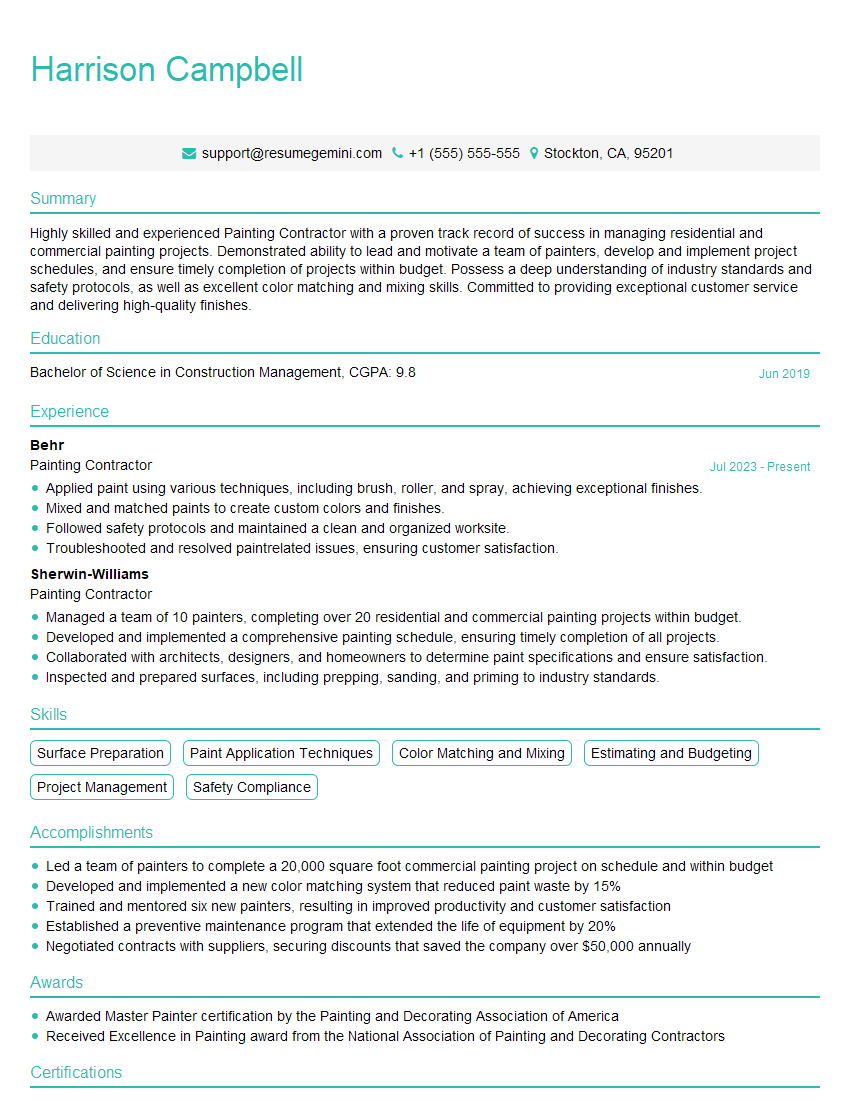
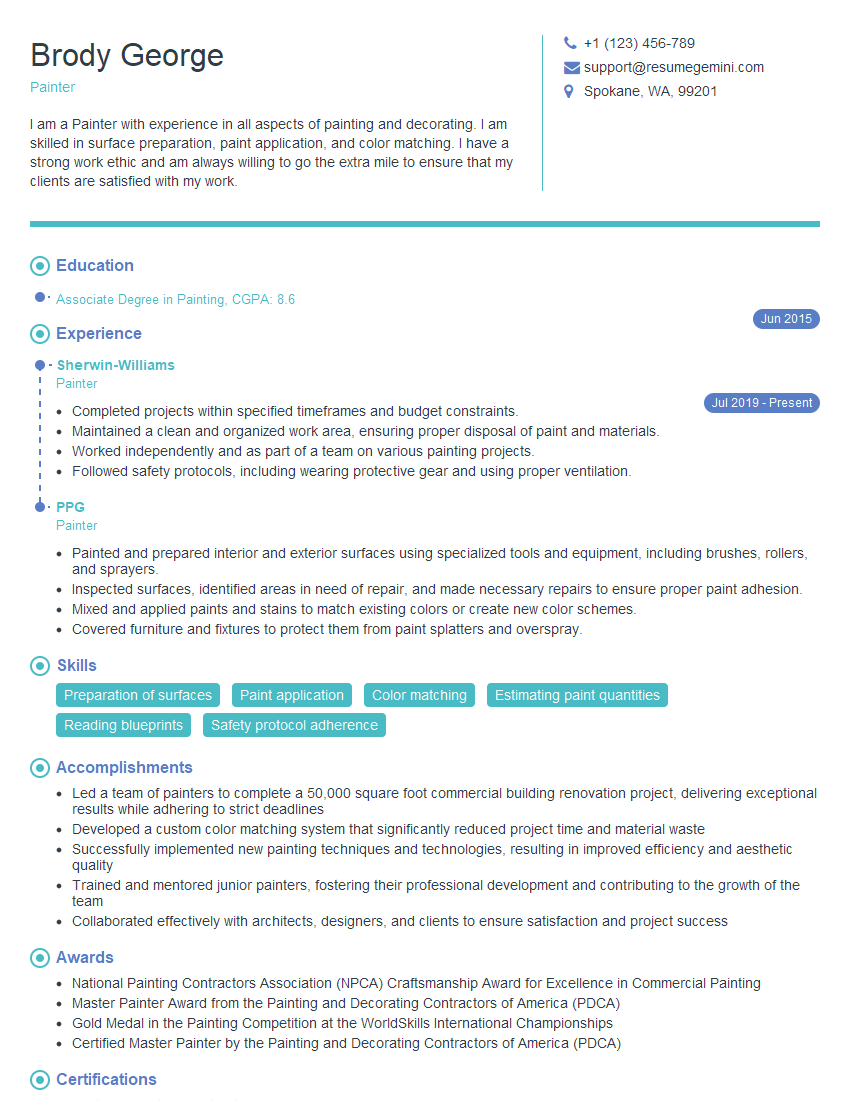
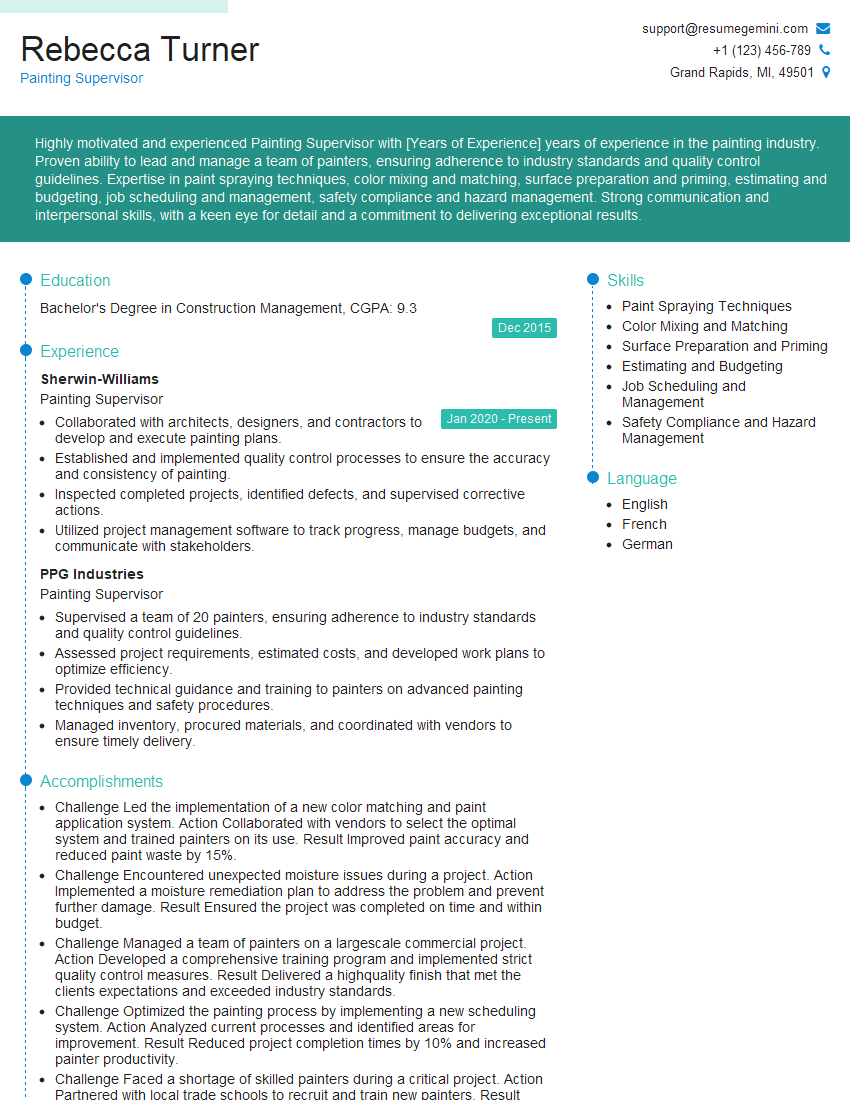
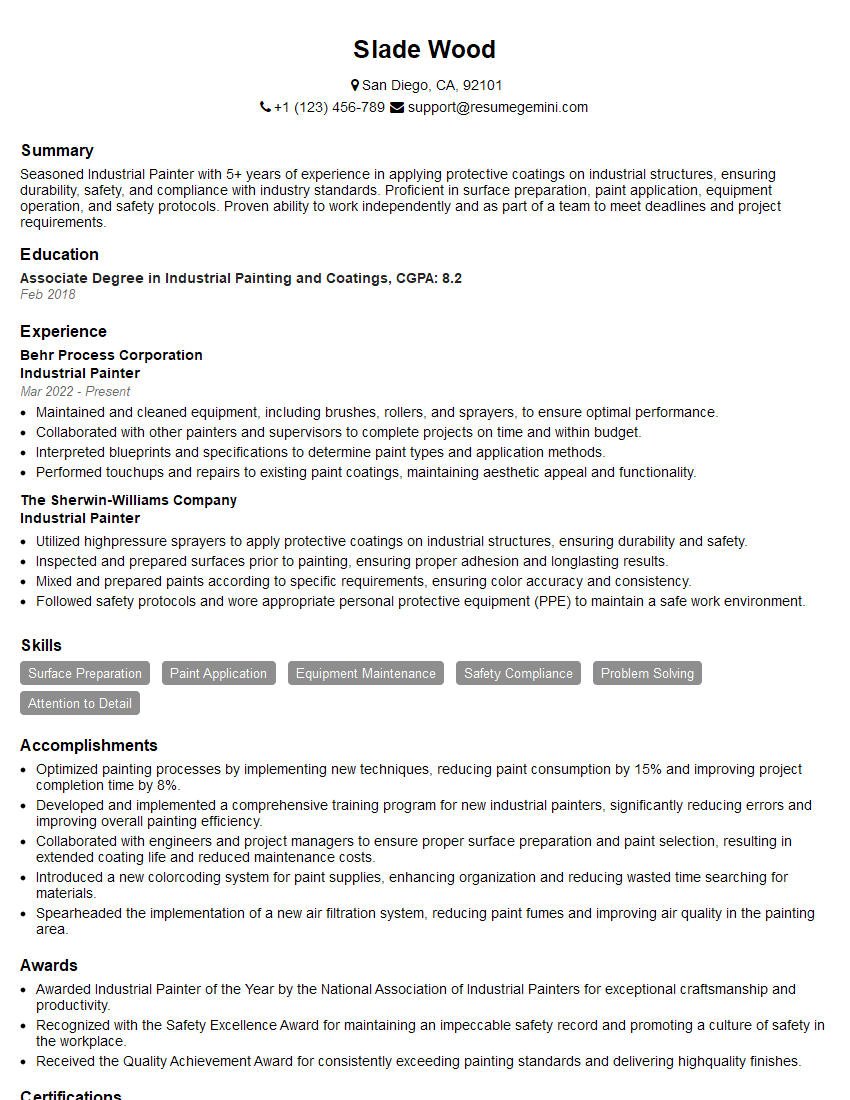
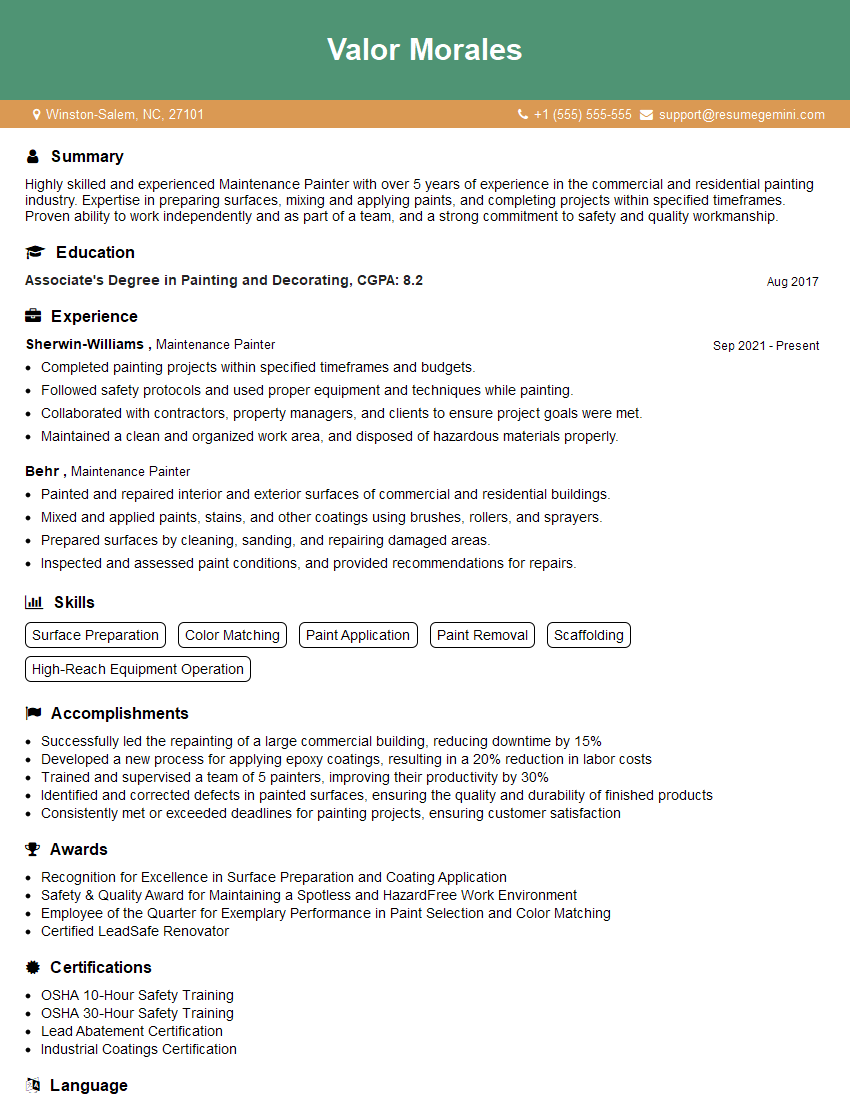
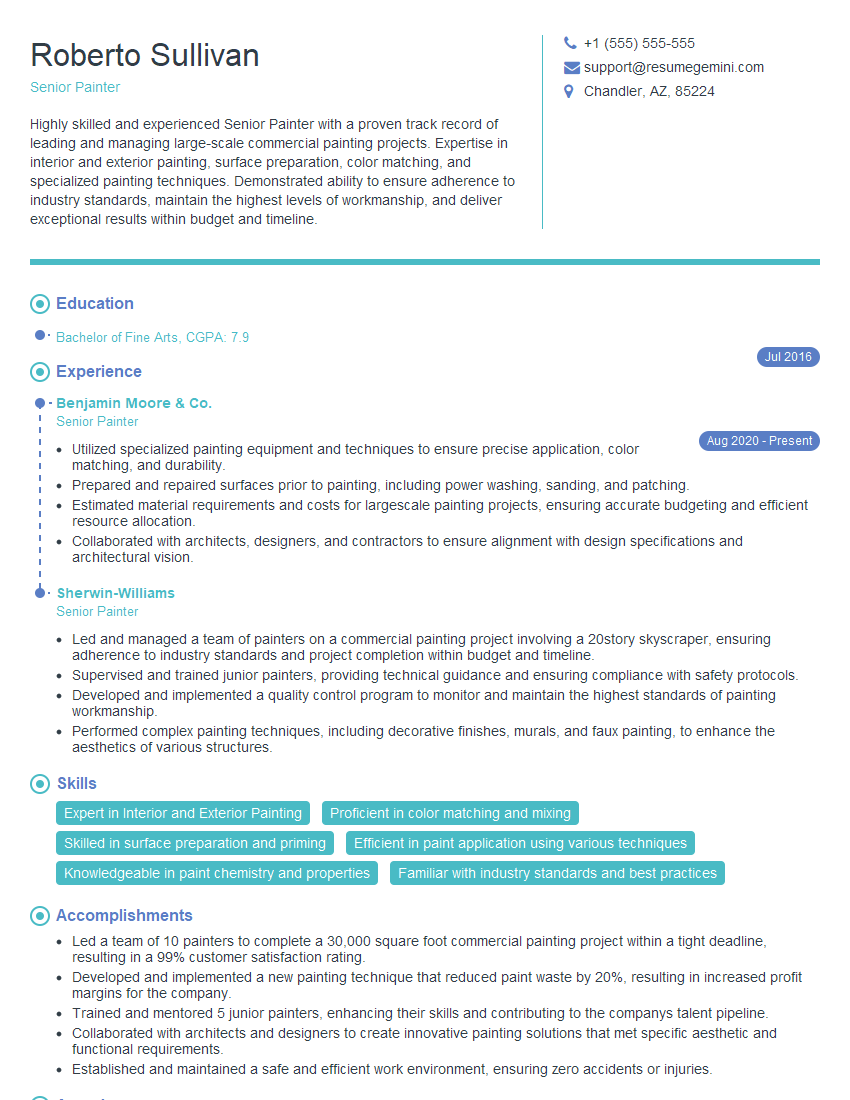
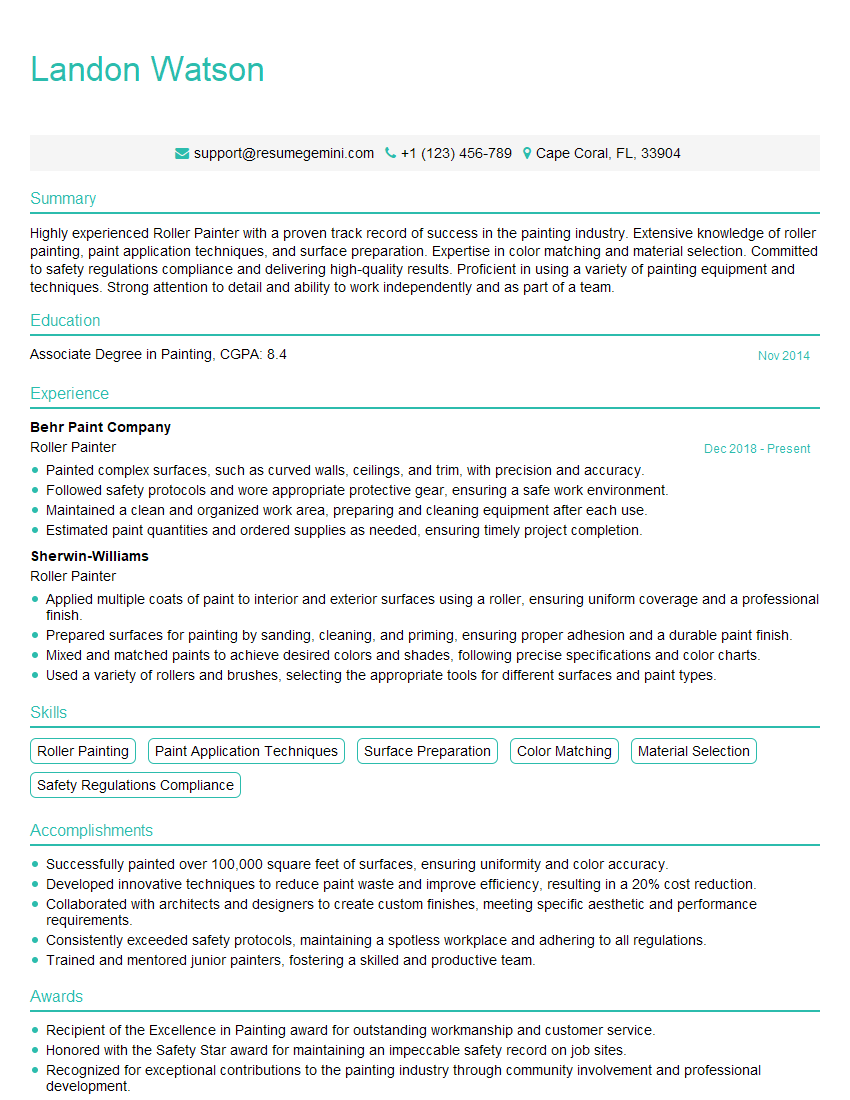
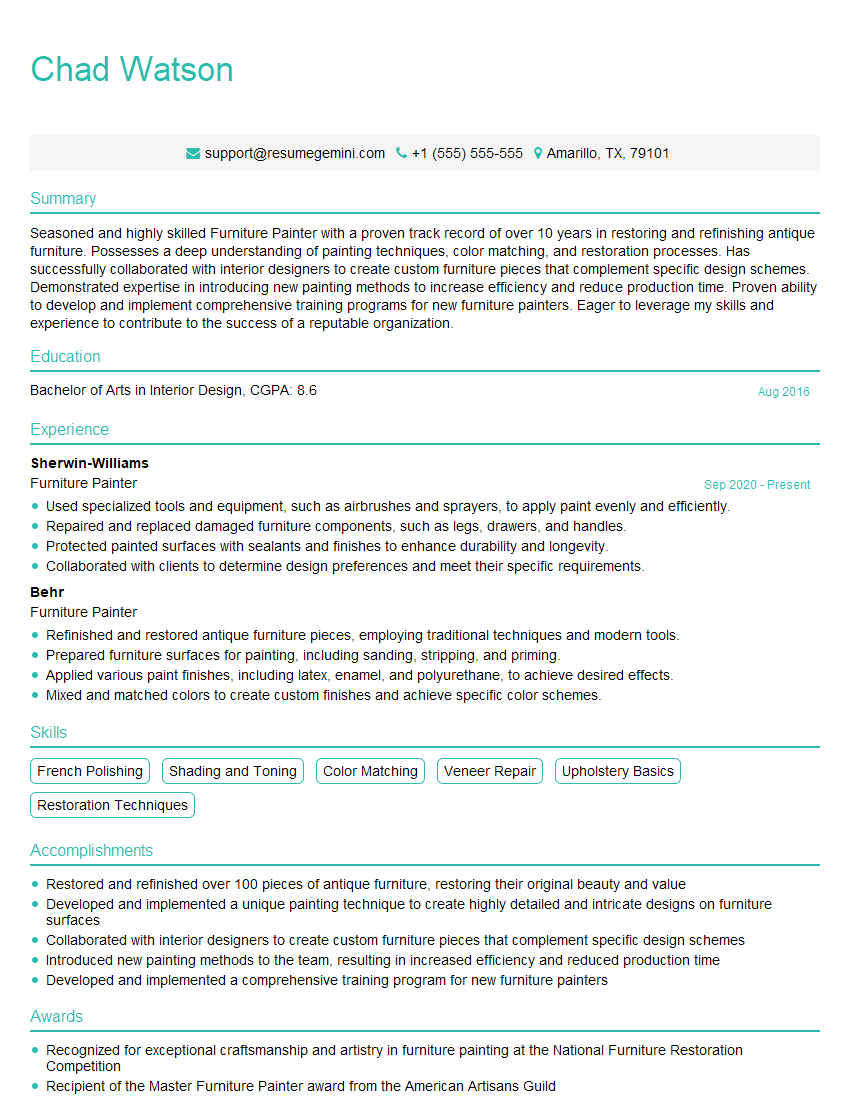
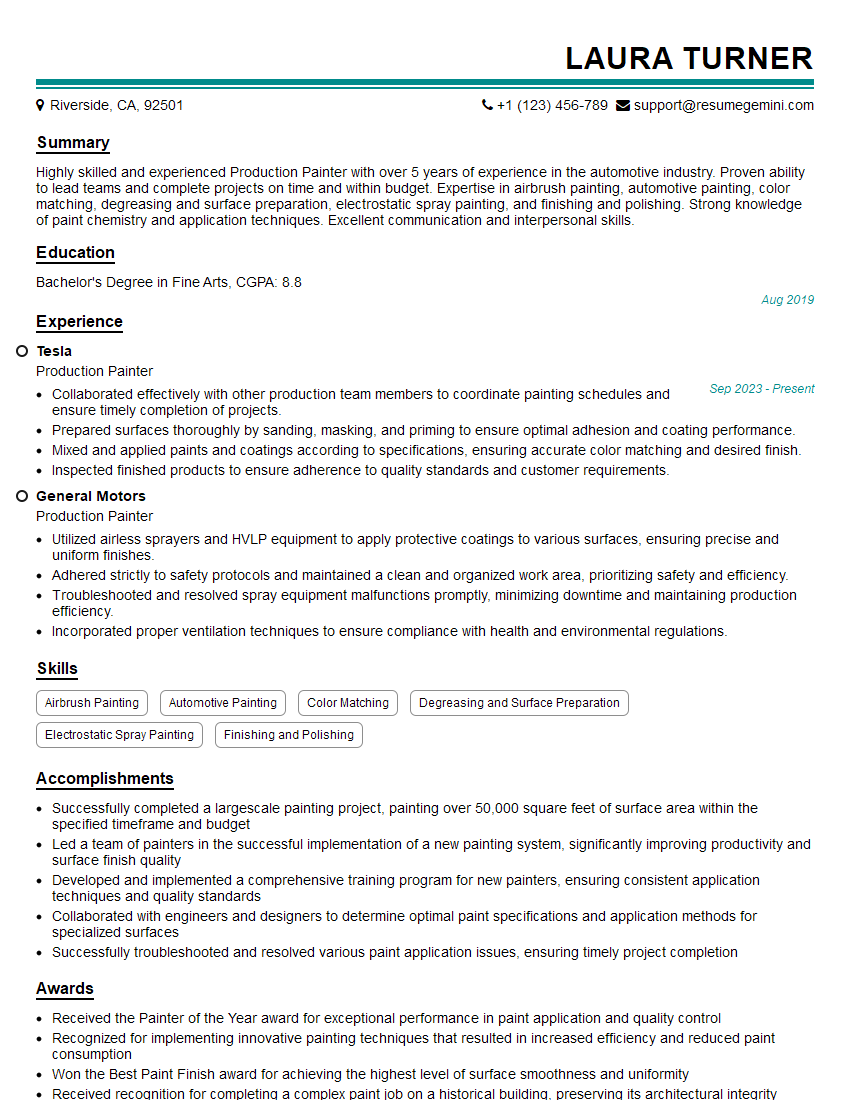
Mastering roller painting opens doors to diverse opportunities in construction, painting contracting, and home improvement. A strong understanding of these techniques demonstrates professionalism and skill, enhancing your value to potential employers. To significantly improve your job prospects, creating an ATS-friendly resume is crucial. ResumeGemini is a trusted resource to help you build a professional and impactful resume that gets noticed by recruiters. Examples of resumes tailored specifically to the roller painting field are available to guide you. Take advantage of these resources to present your skills and experience in the best possible light.
Explore more articles
Users Rating of Our Blogs
Share Your Experience
We value your feedback! Please rate our content and share your thoughts (optional).
What Readers Say About Our Blog
good
