Every successful interview starts with knowing what to expect. In this blog, we’ll take you through the top Seaming and Stitching interview questions, breaking them down with expert tips to help you deliver impactful answers. Step into your next interview fully prepared and ready to succeed.
Questions Asked in Seaming and Stitching Interview
Q 1. What types of seams are you proficient in (e.g., French seam, flat-felled seam, welt seam)?
I’m proficient in a wide range of seam types, each chosen strategically based on the garment’s design and fabric. Some of my most frequently used include:
- French Seam: This seam is known for its clean, elegant finish, perfect for fine fabrics like silk or linen. It encloses all raw edges, resulting in a durable and aesthetically pleasing seam. I often use this for blouses and dresses where a high-quality finish is paramount.
- Flat-Felled Seam: This incredibly strong seam is ideal for durable garments like jeans or workwear. The process involves encasing one seam allowance within the other, creating a smooth, flat seam that can withstand considerable wear and tear. I’ve used this extensively in denim projects.
- Welt Seam: This seam provides a professional finish, particularly useful in tailored garments such as jackets. The clean lines of the welt seam add to the overall structure and sophistication of the finished piece. I often use this for pockets and sleeve constructions.
- Seam types I also frequently utilize are: Overlocked seams for their speed and durability in stretchy fabrics, and bound seams for a high end look on curved edges.
My selection depends on factors such as fabric weight, garment type, desired aesthetic, and the desired level of durability.
Q 2. Describe your experience with different sewing machine types (e.g., lockstitch, overlock, coverstitch).
My experience encompasses a variety of sewing machine types, each suited for different tasks and fabrics:
- Lockstitch Machines: These are my workhorses, excellent for most general sewing tasks. I’m adept at using them for straight stitching, zigzag stitching, and various decorative stitches. The precision and control they offer are vital for clean seams and accurate construction.
- Overlock (Serger) Machines: These machines are indispensable for finishing seams quickly and preventing fraying. Their ability to cut, stitch, and overcast simultaneously is crucial for efficiency, especially when working with knit fabrics. I use them extensively for creating professional-looking edges and preventing unraveling.
- Coverstitch Machines: These machines excel at creating professional-looking hems and decorative stitching on knit fabrics. The resulting stitch is durable, elastic, and aesthetically pleasing. I often use these for hems and decorative details on t-shirts and leggings.
I’m comfortable adapting my technique to different machine types and adjusting settings to suit various fabrics and projects.
Q 3. How do you troubleshoot common sewing machine problems (e.g., skipped stitches, broken needles)?
Troubleshooting sewing machine issues is a routine part of my work. My approach is systematic and efficient. Here’s how I handle common problems:
- Skipped Stitches: This often indicates problems with the needle, thread tension, or bobbin winding. I start by checking the needle for damage (bent, dull, or incorrect type), then I examine the thread for knots or tangles and adjust the tension settings. Finally, I inspect the bobbin case and the bobbin itself for proper placement and winding.
- Broken Needles: These are usually caused by hitting pins, using the wrong needle size for the fabric, or forcing the machine. I always carefully inspect the fabric for pins and ensure I’m using the correct needle size for the material. I’ve learned the importance of taking my time and allowing the machine to do its job.
- Other Issues: Other common issues include inconsistent stitch length, tension problems, or the machine not feeding properly. My troubleshooting strategy involves systematically checking thread tension, needle position, stitch length settings, the machine’s feed dogs, and the presser foot pressure.
In many instances, a quick inspection and adjustment can resolve the issue; for more serious mechanical problems, I know when to seek professional assistance.
Q 4. Explain your understanding of stitch density and its impact on garment durability.
Stitch density refers to the number of stitches per inch (SPI). A higher SPI equates to more stitches packed into a given space. This directly impacts the garment’s durability and strength.
Impact on Durability: A higher stitch density results in a stronger, more resistant seam. The stitches are closer together, creating a more secure bond between fabric layers. This is crucial in areas that experience stress, such as seams on activewear or heavy-duty garments. A lower stitch density, on the other hand, can lead to weaker seams that are prone to tearing or unraveling.
Example: Imagine comparing a button sewn on with a low SPI versus one sewn with a high SPI. The one with the higher SPI is less likely to rip off under stress.
Q 5. How do you ensure consistent stitch length and tension while sewing?
Maintaining consistent stitch length and tension is key to high-quality sewing. My approach involves a combination of machine settings and mindful sewing practices:
- Correct Machine Settings: I always start by selecting the appropriate stitch length and tension settings for the fabric type and project. These settings are adjusted based on the fabric weight and type. Thicker fabrics often require a longer stitch length and potentially a looser tension.
- Proper Threading: Ensuring the machine is correctly threaded is crucial. Incorrect threading can lead to inconsistent tension. I always double-check the threading path to avoid issues.
- Regular Maintenance: Keeping the machine clean and lubricated is essential. A well-maintained machine works more smoothly and consistently.
- Consistent Speed: Sewing at a slow, steady pace helps to maintain consistent stitch length and tension, especially when dealing with delicate or tricky fabrics.
Practicing these techniques helps to produce consistent results and avoids frustrating inconsistencies in the finished product. A test piece is always advisable before starting the project.
Q 6. What are your preferred methods for finishing seam allowances?
Finishing seam allowances is a crucial step in creating professional-looking and durable garments. My preferred methods depend on the fabric and the garment type:
- Serging/Overlocking: This is my go-to method for many projects. It provides a clean, professional finish, preventing fraying and adding durability, particularly useful for knit fabrics. Serging neatly seals the seam allowance.
- Zigzag Stitch: For woven fabrics, a zigzag stitch can effectively prevent fraying. I often use this for delicate fabrics where serging might be too harsh.
- Pinking Shears: For less visible seam allowances or where a slightly more rustic look is desired, pinking shears create a decorative edge that helps to reduce fraying.
- Binding: A bias binding provides a neat and professional finish. Often used on curved edges or where a high-quality finish is needed.
The choice of method is always deliberate, balancing the aesthetic requirements of the garment with the practical needs of the fabric.
Q 7. Describe your experience with different fabric types and their sewing requirements.
Experience with diverse fabric types is fundamental to successful sewing. My understanding includes:
- Woven Fabrics: These fabrics (cotton, linen, silk, wool) have a distinct weave structure, requiring different needle sizes and stitch lengths. Cotton and linen are relatively easy to work with, while silk and wool require more care due to their delicacy. For wovens, I often use lockstitch machines.
- Knit Fabrics: These fabrics (jersey, interlock, rib knit) have a stretchy nature, necessitating different needle types (ballpoint needles are essential to avoid damaging the fabric) and stitch types. Overlock and coverstitch machines are common for knit projects, offering suitable stretch and seam durability.
- Other Fabrics: I’m familiar with working with leather, suede, vinyl, and other specialty fabrics, understanding that each requires specific needles, techniques, and sometimes specialized machine feet to prevent damage.
My fabric knowledge helps to not only choose the correct machine and settings but also anticipates potential challenges and selects the most appropriate seam types for the best results.
Q 8. How do you identify and correct common sewing errors (e.g., puckering, uneven seams)?
Identifying and correcting sewing errors is crucial for producing high-quality garments. Think of it like baking a cake – if you don’t address mistakes early, the final product suffers. Common errors like puckering and uneven seams usually stem from tension issues, improper fabric handling, or incorrect stitch selection.
- Puckering: This often happens when the top and bobbin tensions are mismatched, causing the fabric to bunch up. To fix it, I’d first check the tension dials on my machine, adjusting them until the stitches are even and the fabric lies flat. Sometimes, the problem lies in the fabric itself; using a walking foot can help feed delicate fabrics evenly. If the puckering is localized, gently easing the fabric during stitching can resolve the issue.
- Uneven Seams: Uneven seams result from inconsistent fabric feeding, improper needle placement, or incorrect stitch length. I address this by ensuring the fabric is properly aligned under the needle, using a consistent feeding speed, and checking the stitch length setting on my machine. If the problem persists, I might check my needle for damage or replace it to ensure a clean stitch.
- Other Errors: Broken stitches might indicate a bent or dull needle; skipped stitches often point to improper threading or tension. I always troubleshoot methodically, checking each potential source of error one by one.
Ultimately, correcting sewing errors involves a combination of understanding the mechanics of the sewing machine, meticulous fabric handling, and careful attention to detail.
Q 9. How do you maintain your sewing equipment to ensure optimal performance?
Maintaining my sewing equipment is paramount for ensuring consistent, high-quality work. A well-maintained machine is a happy machine! My routine includes:
- Regular Cleaning: I regularly remove lint and dust from the bobbin case, feed dogs, and other areas of the machine using a brush or compressed air. Lint build-up can cause malfunctions and inconsistent stitching.
- Lubrication: I lubricate the moving parts of the machine according to the manufacturer’s instructions. This prevents friction and wear, extending the life of the machine and ensuring smooth operation.
- Needle Checks: I frequently check my needles for damage – bent or dull needles can cause skipped stitches, broken threads, or damage to the fabric. I replace needles regularly or whenever I notice any signs of wear.
- Tension Adjustments: I regularly check and adjust the tension on my machine, ensuring it remains consistent across different fabrics and sewing tasks.
- Proper Storage: When not in use, I cover my machine to prevent dust accumulation and store it in a clean, dry environment.
Preventive maintenance significantly reduces downtime and prolongs the lifespan of my sewing equipment, resulting in cost savings and consistent performance. I find that investing a little time in maintenance saves a lot of time and frustration in the long run.
Q 10. What safety precautions do you follow while operating sewing machinery?
Safety is my top priority when operating sewing machinery. I adhere strictly to a set of safety protocols:
- Proper Machine Operation: I ensure I fully understand the machine’s functionality and operating instructions before use. I always follow the manufacturer’s safety guidelines.
- Protective Gear: I wear safety glasses to protect my eyes from flying debris and use finger guards to prevent needle injuries.
- Careful Handling: I use caution when handling needles and pins, keeping them pointed down and away from myself when not in use. I keep my work area tidy and free of clutter to avoid accidents.
- Machine Maintenance: I never attempt repairs or adjustments to the machine while it is plugged in. I always disconnect the power supply before cleaning or lubricating the machine.
- Emergency Preparedness: I know where the nearest emergency stop button is and am familiar with the emergency procedures in case of an accident.
Following these safety precautions ensures a safe and productive work environment. Prevention is always better than cure!
Q 11. What is your experience with pattern reading and interpretation?
I have extensive experience in pattern reading and interpretation. Pattern reading is like decoding a map to build a garment. My skills encompass understanding various pattern markings, making adjustments for fit, and choosing suitable fabrics. I can easily identify seam allowances, notches, grainlines, and other essential markings. I am proficient in altering patterns to accommodate different body types or design preferences. I’m comfortable working with both commercial patterns and creating my own patterns using drafting techniques. For example, I’ve successfully adapted a standard dress pattern to create a custom maternity dress using advanced pattern manipulation skills. This required accurate understanding of the design elements, fitting adjustments, and careful attention to detail.
Q 12. Describe your experience with industrial sewing machines.
My experience with industrial sewing machines is considerable. I’m proficient in operating various types of industrial machines, including single-needle, double-needle, overlock, and coverstitch machines. I understand their unique features and capabilities, such as high-speed stitching, heavy-duty construction, and specialized functions for different sewing tasks. I have hands-on experience setting up industrial machines for different projects, such as mass production runs or specialized stitching techniques. For instance, I’ve worked extensively on a high-speed industrial sewing machine for producing large batches of uniform pants, optimizing settings for both speed and stitch quality.
Q 13. What is your experience working with different needle sizes and types?
Choosing the right needle is essential for successful sewing, like choosing the right tool for a specific job. My experience covers a wide range of needle sizes and types. I understand the relationship between needle size, fabric type, and stitch quality. For example, I know that fine needles are used for delicate fabrics like silk, while heavier needles are required for thicker materials like denim. I’m also familiar with different needle points, such as sharp, ballpoint, and stretch needles, each designed for specific fabric types. Selecting the correct needle significantly impacts stitch quality and prevents needle breakage or fabric damage. I can assess a fabric and instantly determine which needle size and type would be most appropriate.
Q 14. How familiar are you with different thread types and their applications?
I possess in-depth knowledge of various thread types and their applications. Think of thread as the paint to your canvas; the right thread is essential for the desired outcome. My experience includes working with cotton, polyester, silk, rayon, and other specialty threads. I understand the properties of different threads, such as strength, elasticity, and sheen, and I can select the appropriate thread based on the fabric and sewing task. For example, I’d use a strong polyester thread for seams in durable garments and a finer silk thread for delicate embroidery work. I also understand the importance of thread consistency and color matching for high-quality results. My expertise includes managing thread tension and preventing thread breakage during sewing operations.
Q 15. Explain your experience with quality control checks in a sewing environment.
Quality control in sewing is paramount. It’s a multi-stage process ensuring the final product meets the highest standards. My experience involves implementing and overseeing checks at various stages, starting from fabric inspection for flaws like holes or inconsistencies in weave, to in-process checks during cutting and sewing, and finally, a rigorous final inspection before packaging.
For example, I’ve implemented a system using checklists for each stage, where operators mark off completed tasks and identify any defects. This allows for immediate correction and prevents defects from propagating through the production line. We also utilize statistical process control (SPC) charts to monitor key metrics like stitch count per inch and seam strength, helping us identify and address potential issues proactively before they become major problems.
Another crucial aspect is regular calibration of sewing machines to ensure consistent stitch length and tension. A poorly calibrated machine can lead to skipped stitches, broken threads, or inconsistent seam strength, all impacting quality. I’ve personally trained operators on machine maintenance and troubleshooting, reducing downtime and improving product quality.
Career Expert Tips:
- Ace those interviews! Prepare effectively by reviewing the Top 50 Most Common Interview Questions on ResumeGemini.
- Navigate your job search with confidence! Explore a wide range of Career Tips on ResumeGemini. Learn about common challenges and recommendations to overcome them.
- Craft the perfect resume! Master the Art of Resume Writing with ResumeGemini’s guide. Showcase your unique qualifications and achievements effectively.
- Don’t miss out on holiday savings! Build your dream resume with ResumeGemini’s ATS optimized templates.
Q 16. What are your methods for ensuring the accuracy and consistency of seams?
Accuracy and consistency in seams are achieved through a combination of meticulous techniques and process control. It begins with precise pattern making and cutting, using accurate measurements and high-quality cutting tools. Next, careful attention to machine settings (stitch length, tension, and needle type) is vital. Different fabrics require different settings; for instance, delicate silks require a fine needle and lower tension to avoid fabric damage.
I regularly use templates and guides during sewing to ensure consistent seam allowances. Moreover, consistent pressing after each sewing step is essential to maintain the integrity and flatness of seams. For instance, when working with curved seams, pressing helps to create smooth curves and avoid puckering. Finally, thorough quality checks are performed throughout and after the process, employing tools like seam gauges to verify seam allowances and visual inspection to detect any flaws.
Think of it like baking a cake: the precise measurements of ingredients (fabric and pattern) and consistent baking temperature (machine settings) are crucial for a consistently delicious outcome (high-quality seam). A single error in any step can dramatically impact the final product.
Q 17. How do you handle large-scale production sewing tasks?
Handling large-scale production involves strategic planning, efficient workflow, and effective team management. This includes breaking down the task into smaller, manageable units, assigning tasks to different teams based on expertise, and establishing clear timelines with milestones. I’ve successfully managed large-scale sewing projects using the Lean Manufacturing principles, focusing on eliminating waste and optimizing the workflow.
For instance, in a recent project involving the production of 10,000 units of a particular garment, we utilized a modular assembly line, where each team specialized in a specific stage of production (e.g., sleeve attachment, collar sewing). This division of labor not only accelerated the production but also ensured higher quality control as each team became highly proficient in its specific task. Regular progress meetings and effective communication are crucial for keeping everyone aligned and on track.
Furthermore, efficient inventory management is key to avoid delays caused by material shortages. A well-organized system for fabric storage, thread management, and spare parts is vital for maintaining a smooth and continuous production process.
Q 18. Describe your experience with working to tight deadlines.
Meeting tight deadlines requires excellent time management, efficient resource allocation, and a proactive approach to problem-solving. My experience shows that prioritizing tasks based on urgency and difficulty is crucial. This involves creating realistic schedules, identifying potential bottlenecks early on, and having contingency plans in place to address unforeseen challenges. Communication with the team is paramount to ensure everyone is aware of the timelines and responsibilities.
For example, in a project with a two-week deadline, I prioritized the most time-consuming steps first and allocated resources accordingly. Regular check-ins with the team allowed us to identify and address any delays promptly. If a specific task was falling behind, we would re-allocate resources or identify alternative solutions to stay on schedule. It’s often a matter of finding the right balance between speed and quality; cutting corners might seem like a quick solution but it often leads to more work later on.
Working under pressure requires a calm and organized approach. Effective delegation, clear communication, and proactive problem-solving are essential for delivering high-quality work within the given time frame.
Q 19. How do you manage fabric waste in your sewing process?
Minimizing fabric waste is crucial for both economic and environmental reasons. My approach involves careful planning and execution at every stage of production. This starts with accurate pattern making, optimizing the layout of patterns on fabric to minimize cutting waste. Computer-aided design (CAD) software can be incredibly helpful in this area, allowing for precise pattern placement and efficient material utilization.
During the cutting process, I employ techniques like nesting patterns efficiently to reduce waste and ensure optimal use of fabric. Furthermore, we use fabric scraps for smaller projects or donate them to organizations that reuse fabric scraps. I also maintain a system for tracking fabric usage and identifying areas where waste is prevalent, allowing for continuous improvement.
Proper training of operators in cutting techniques, combined with regular monitoring of waste levels, can significantly reduce fabric waste. Think of it like solving a puzzle: efficient pattern placement is about fitting the pieces together to minimize unused areas.
Q 20. What software or systems are you proficient in related to sewing (e.g., CAD, PLM)?
I’m proficient in several software and systems relevant to the sewing industry. My experience includes using CAD (Computer-Aided Design) software for pattern making and grading. I use this software to create precise patterns, generate cutting layouts, and manage design modifications. This digital approach significantly improves efficiency and reduces errors compared to manual methods. I’m also familiar with PLM (Product Lifecycle Management) systems, using them to manage the entire lifecycle of a product, from design to production and beyond. This allows for seamless collaboration across different teams and processes.
For example, I’ve used Gerber Technology’s Accumark for pattern design and grading, and a PLM system to track the production process and manage material inventory. These systems enable enhanced collaboration, data-driven decision-making, and ultimately, better product quality and efficiency.
Proficiency in these software systems allows for faster turnaround times, improved accuracy, and greater control over the entire production process.
Q 21. How do you deal with challenging fabrics (e.g., silk, leather, heavy canvas)?
Working with challenging fabrics like silk, leather, and heavy canvas requires specialized techniques and equipment. For delicate fabrics like silk, I use fine needles, appropriate thread types, and lower machine tension to prevent breakage and damage. Specialized sewing machine needles and presser feet are crucial for obtaining smooth, even stitches. I would adjust my stitch length and width accordingly to suit the material’s drape and thickness.
Leather requires specialized needles and thread that can pierce the hide without causing damage. I might use a walking foot attachment on my sewing machine for even feeding and to avoid puckering. Heavy canvas requires stronger needles and thread, and may necessitate more powerful sewing machines with robust mechanisms to handle the material’s thickness.
In each case, careful preparation, appropriate tools, and knowledge of the fabric’s properties are essential for achieving clean, durable seams. It’s about adapting techniques and using the right tools for the job, much like selecting the right tool for a particular carpentry task.
Q 22. Explain your approach to problem-solving when encountering unexpected issues during sewing.
My approach to problem-solving during sewing involves a systematic process. First, I carefully examine the issue, identifying the exact point of failure. Is the seam puckering? Is the fabric tearing? Is the machine malfunctioning? Then, I systematically rule out potential causes. For example, if a seam is puckering, I’ll check my tension settings, needle size, stitch length, and fabric type. If the issue persists, I’ll try a different needle, thread, or even a different stitch. I document each step I take, along with the results, which helps in future troubleshooting. I’m a firm believer in seeking help when necessary – consulting online resources, experienced colleagues, or even the sewing machine manual. The key is a methodical approach that combines analysis, experimentation, and resourcefulness.
For instance, once I was working on a delicate silk garment, and the fabric kept tearing at the seams despite my using a fine needle and slow stitch speed. After meticulously checking my tension and needle, I realized the problem was the type of thread I was using – it was too coarse for the silk. Switching to a finer, silk thread immediately resolved the issue.
Q 23. What is your understanding of ergonomic best practices for sewing?
Ergonomic best practices in sewing are crucial for preventing injuries and maintaining efficiency. This includes maintaining good posture, avoiding hunching over the machine, and taking regular breaks. I always ensure my sewing machine is at a comfortable height, allowing my elbows to be bent at a 90-degree angle. I use a well-lit workspace to minimize eye strain and keep my tools organized and within easy reach to prevent awkward movements. Proper lighting is key, and I often use a task lamp to supplement ambient lighting. Additionally, I use ergonomic tools like a foot pedal to control the machine speed and avoid hand fatigue.
Using specialized ergonomic chairs and footrests further reduces strain. Regular stretching exercises throughout the day help prevent stiffness and muscle fatigue. It’s all about creating a workspace that supports a natural posture and reduces strain on the body.
Q 24. How do you stay updated on the latest techniques and trends in sewing?
Staying updated on the latest techniques and trends in sewing requires a multifaceted approach. I regularly subscribe to sewing magazines like Threads and Burda Style. I actively participate in online sewing communities and forums, where I can interact with other sewists and learn from their experiences. Attending workshops and conferences provides hands-on training and networking opportunities. I also follow influential sewists and designers on social media platforms like Instagram and YouTube, gaining insights into new techniques, tools, and fabric choices. Following industry blogs and websites focused on sewing technology and design keeps me abreast of innovations in the field.
Q 25. Describe a time you had to troubleshoot a complex sewing issue.
During a recent project involving intricate embroidery on a leather jacket, I encountered a significant challenge. The leather was extremely stiff, and the needle kept breaking while trying to stitch through several layers. I initially tried different needle types and sizes, adjusting the tension and speed of the machine, but the issue persisted. After analyzing the problem, I realized the stiff leather required a specialized needle designed for heavy-duty fabrics. I also realized I needed to use a walking foot attachment to ensure even feed of the leather. Once I made these changes, the issue was resolved, and I was able to complete the embroidery successfully.
Q 26. What is your experience working with different sewing machine attachments?
I have extensive experience with a variety of sewing machine attachments. I’m proficient in using different presser feet, including zipper feet, buttonhole feet, and walking feet. I’m also comfortable using specialized attachments such as quilting feet, embroidery feet, and gathering feet. Each attachment serves a specific purpose, and understanding their applications is crucial for efficient and high-quality sewing. I regularly use these attachments depending on the project requirements – a walking foot for heavy fabrics, a zipper foot for installing zippers, and so on. Knowing how to change and properly utilize these attachments contributes to my ability to work on a wide variety of projects with great precision.
Q 27. Describe your experience with hand stitching techniques.
Hand stitching is a fundamental skill I’ve honed over many years. I am proficient in various hand stitches including running stitch, backstitch, slip stitch, blanket stitch, and French seams. My experience extends to different fabrics, from delicate silks and fine linens to sturdy denim and leather. I understand the nuances of selecting the appropriate needle and thread based on fabric weight and project requirements. Hand stitching isn’t just about the technical skills, but it’s about the precision and attention to detail, which is essential for creating durable and aesthetically pleasing seams, especially in areas where machine sewing might be difficult.
For example, hand stitching is crucial for attaching linings, creating invisible closures, or adding decorative elements to garments. The control and precision of hand sewing are unmatched in many cases.
Q 28. How do you maintain consistent quality across large batches of production?
Maintaining consistent quality across large batches is achieved through a combination of standardized procedures, meticulous quality control, and a commitment to precision. I start by meticulously setting up the sewing machines – ensuring consistent tension, stitch length, and needle size. I carefully inspect the fabric before starting the sewing process to identify any flaws or inconsistencies. During production, I periodically check the quality of the stitching – looking for inconsistencies in stitch length, skipped stitches, or any imperfections. I use checklists and quality control protocols to maintain consistency across different batches. If any issues are detected, immediate corrective actions are implemented to ensure the quality is maintained. Regular maintenance of the sewing machines is also crucial in ensuring they continue to operate optimally and produce consistent results.
One example is using a template to ensure uniform cutting of fabric pieces before assembly. This reduces variability and ensures that every item is identical in size and shape.
Key Topics to Learn for Seaming and Stitching Interview
- Machine Operation & Maintenance: Understanding different sewing machine types, their functionalities, and basic troubleshooting procedures. This includes preventative maintenance and recognizing common malfunctions.
- Seam Types & Applications: Mastering various seam types (e.g., French seams, flat-felled seams, welt seams) and their suitability for different fabrics and garments. Be prepared to discuss the advantages and disadvantages of each.
- Stitch Selection & Properties: Knowing the properties of different stitches (e.g., straight stitch, zigzag stitch, overlock stitch) and selecting the appropriate stitch for specific fabrics and sewing tasks. Understand stitch length and tension adjustments.
- Fabric Knowledge: Demonstrate familiarity with various fabric types (e.g., cotton, silk, linen, synthetics), their properties, and how those properties influence seam construction and stitch selection.
- Pattern Interpretation & Alterations: Show your ability to interpret sewing patterns, understand seam allowances, and make necessary adjustments for a proper fit. Discuss techniques for pattern grading.
- Quality Control & Inspection: Explain your approach to quality control during the sewing process, including identifying and correcting defects. Discuss techniques for inspecting finished seams for strength and durability.
- Safety Procedures & Ergonomics: Highlight your understanding of safe sewing practices, including proper needle handling, machine maintenance for safety, and ergonomic considerations to prevent injury.
- Advanced Techniques (if applicable): Depending on the role, be prepared to discuss more advanced techniques such as topstitching, blind hemming, or specific specialized sewing processes relevant to the job description.
Next Steps
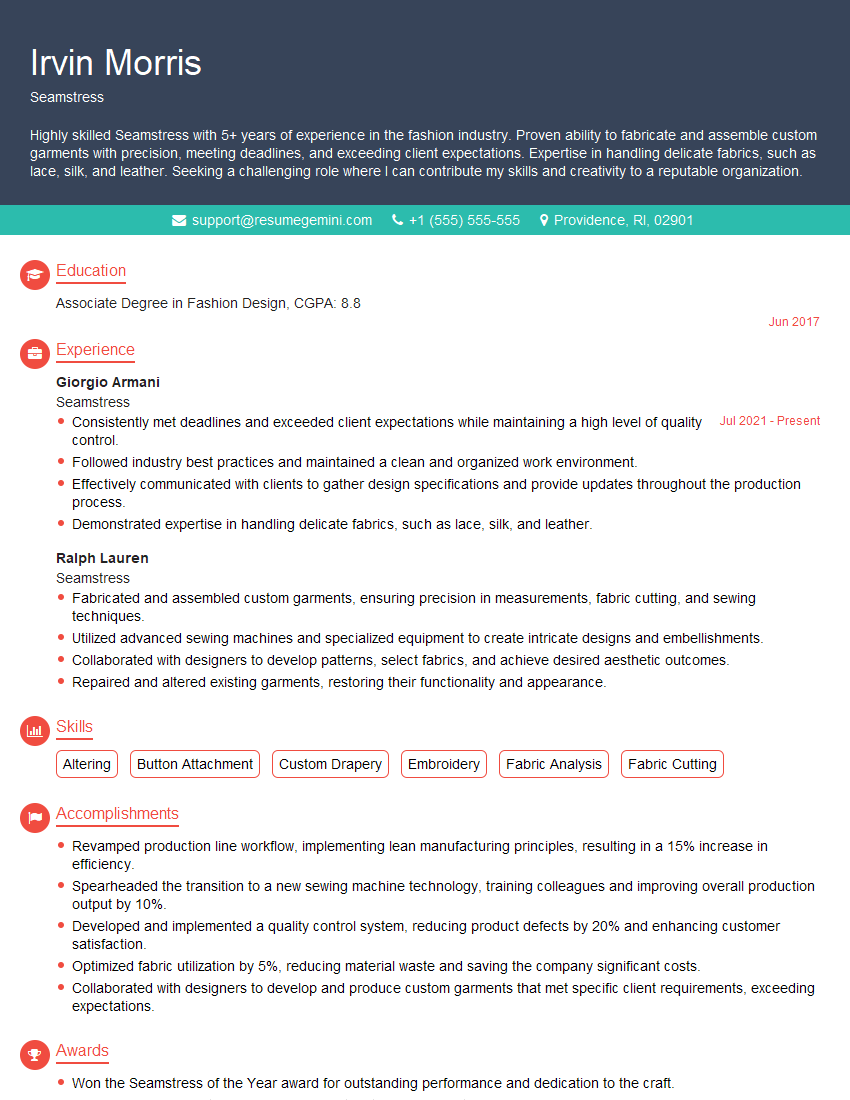
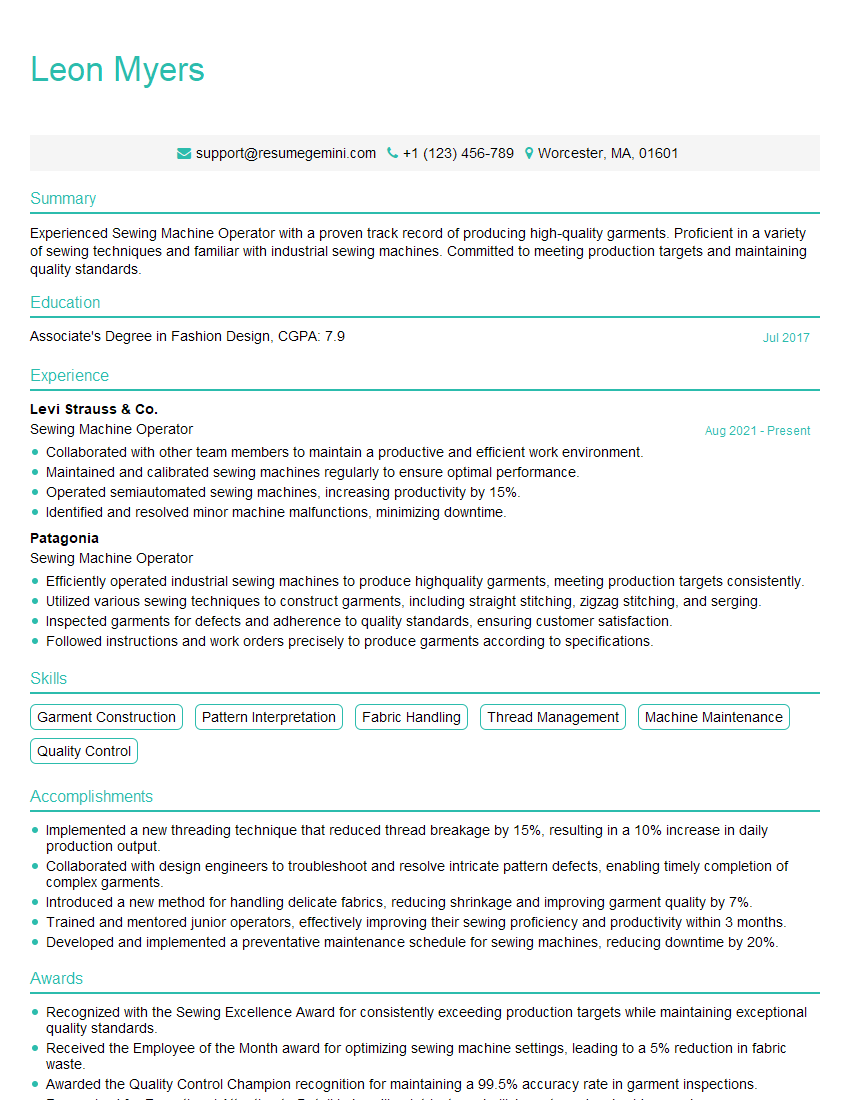
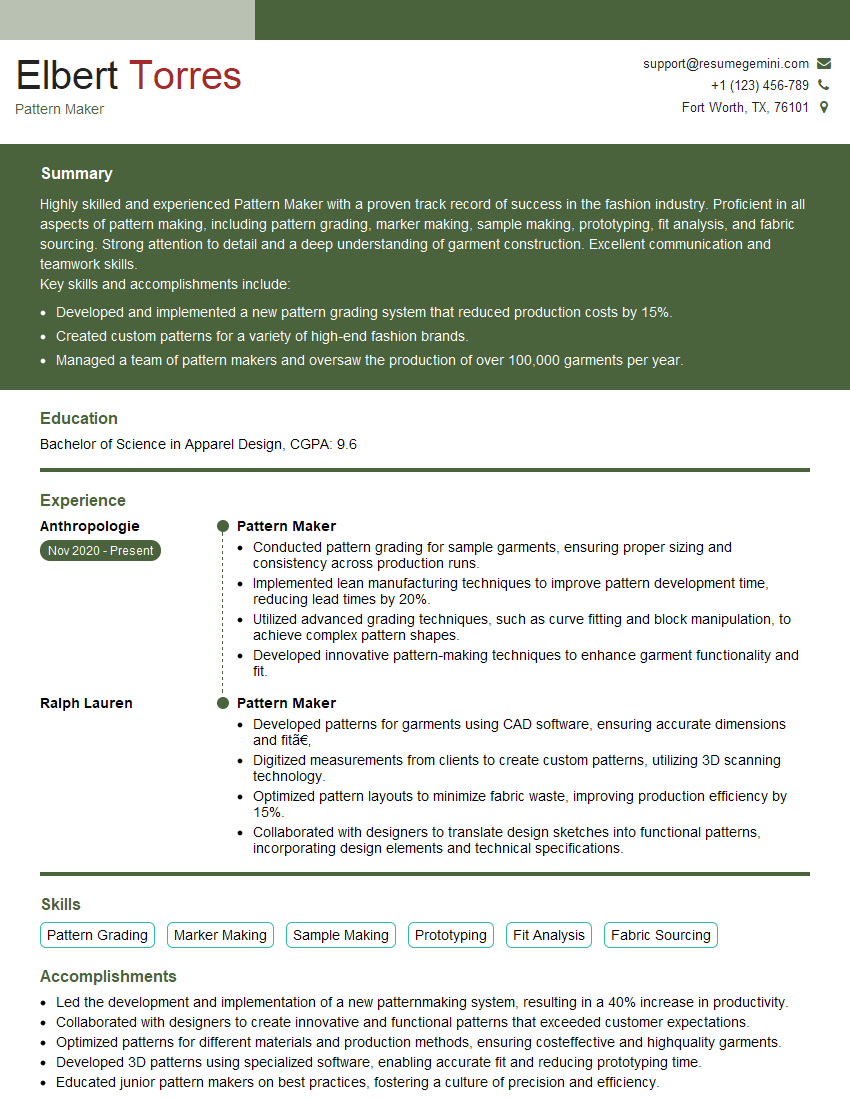
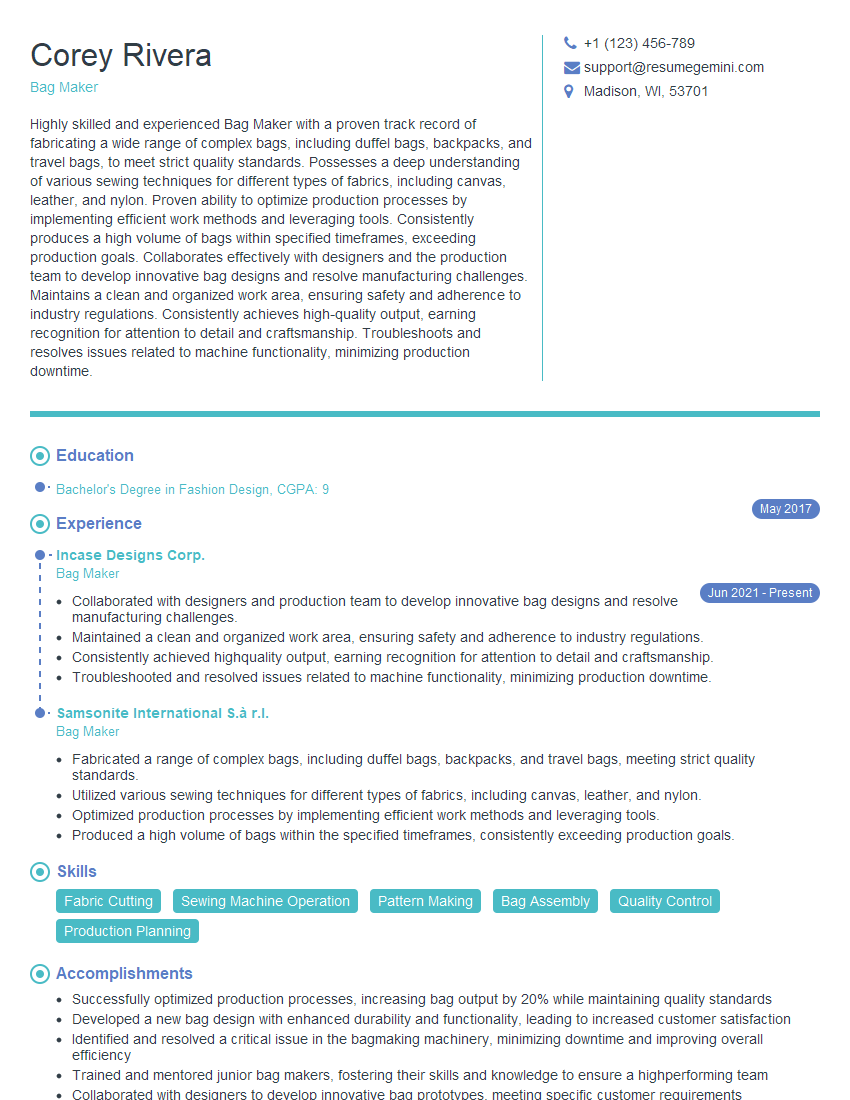
Mastering seaming and stitching techniques is crucial for career advancement in the garment industry. Strong skills in these areas demonstrate precision, attention to detail, and the ability to produce high-quality work. To maximize your job prospects, it’s essential to create an ATS-friendly resume that highlights your expertise. ResumeGemini is a trusted resource to help you build a professional and impactful resume that showcases your skills effectively. Examples of resumes tailored to seaming and stitching positions are available to guide you. Invest the time to create a compelling resume; it’s your first impression on potential employers.
Explore more articles
Users Rating of Our Blogs
Share Your Experience
We value your feedback! Please rate our content and share your thoughts (optional).
What Readers Say About Our Blog
Hello,
We found issues with your domain’s email setup that may be sending your messages to spam or blocking them completely. InboxShield Mini shows you how to fix it in minutes — no tech skills required.
Scan your domain now for details: https://inboxshield-mini.com/
— Adam @ InboxShield Mini
Reply STOP to unsubscribe
Hi, are you owner of interviewgemini.com? What if I told you I could help you find extra time in your schedule, reconnect with leads you didn’t even realize you missed, and bring in more “I want to work with you” conversations, without increasing your ad spend or hiring a full-time employee?
All with a flexible, budget-friendly service that could easily pay for itself. Sounds good?
Would it be nice to jump on a quick 10-minute call so I can show you exactly how we make this work?
Best,
Hapei
Marketing Director
Hey, I know you’re the owner of interviewgemini.com. I’ll be quick.
Fundraising for your business is tough and time-consuming. We make it easier by guaranteeing two private investor meetings each month, for six months. No demos, no pitch events – just direct introductions to active investors matched to your startup.
If youR17;re raising, this could help you build real momentum. Want me to send more info?
Hi, I represent an SEO company that specialises in getting you AI citations and higher rankings on Google. I’d like to offer you a 100% free SEO audit for your website. Would you be interested?
Hi, I represent an SEO company that specialises in getting you AI citations and higher rankings on Google. I’d like to offer you a 100% free SEO audit for your website. Would you be interested?
good
