Feeling uncertain about what to expect in your upcoming interview? We’ve got you covered! This blog highlights the most important Sewing and Upholstery interview questions and provides actionable advice to help you stand out as the ideal candidate. Let’s pave the way for your success.
Questions Asked in Sewing and Upholstery Interview
Q 1. What types of sewing machines are you familiar with?
My experience encompasses a wide range of sewing machines, from basic mechanical models to advanced computerized machines. I’m proficient with both domestic and industrial machines. For example, I frequently use a Singer Heavy Duty 4411 for robust projects like denim and canvas work, and a Brother computerized machine for intricate quilting or embroidery. Industrial machines, like those found in upholstery workshops, are also very familiar to me – specifically, I’ve extensive experience with single-needle and double-needle lockstitch machines for upholstery work. Understanding the nuances of each machine type – its capabilities and limitations – is crucial for selecting the right tool for the job.
Q 2. Explain the different types of stitches and when you would use each.
Stitches are the foundation of sewing. The choice of stitch depends entirely on the project’s needs and the fabric’s characteristics. Here are a few examples:
- Straight Stitch: A basic, strong stitch ideal for seams needing strength, like those in trousers or durable upholstery. It’s also perfect for topstitching.
- Zigzag Stitch: Used for finishing raw edges to prevent fraying, for decorative purposes, or for stretchy fabrics to allow for ease of movement.
- Overlock/Serger Stitch: This stitch cuts and finishes the edges of fabric simultaneously, creating a professional, neat finish. It’s essential when working with knits or fabrics that fray easily, and commonly used in garment construction.
- Blind Stitch: Almost invisible, it’s specifically used for hems and closures where a clean, discreet finish is desired. I frequently use this in upholstery projects, particularly when attaching piping or decorative trim.
- Satin Stitch: A dense, decorative stitch used for embroidery or appliqué. Its beauty lies in the closeness of its stitches. It’s excellent for adding a decorative element to a quilt or upholstery piece.
For instance, when constructing a tailored jacket, I would use a straight stitch for the main seams, a zigzag stitch to finish the seams, and a blind stitch for the hems. In upholstery, I would use a straight stitch or double-needle stitch for strength and a serger for clean edges.
Q 3. How do you determine the appropriate needle and thread for a given fabric?
Choosing the right needle and thread is crucial for achieving high-quality results and preventing damage to the fabric. This selection is based on several factors. The fabric’s weight and type are primary considerations. Lightweight fabrics require fine needles and thin thread, while heavy fabrics, like denim or canvas, need heavier needles and stronger thread. For example, a fine-gauge needle (like size 80/12) is ideal for delicate silk, whereas a heavier-gauge needle (like size 16/100) is used for heavy upholstery fabrics. Thread selection mirrors this: polyester thread is often versatile for many fabrics, while cotton thread is excellent for natural fabrics, and heavier-duty thread like nylon or bonded nylon are better suited for tougher fabrics like leather and canvas. In addition to weight, the needle’s type (e.g., sharp, ballpoint, leather) is also important; ballpoint needles prevent snagging on knit fabrics, while sharp needles work better on woven fabrics.
I always test my needle and thread combination on a scrap of the fabric before starting the main project. This allows me to identify potential issues, like skipped stitches or broken threads, in order to optimize my settings.
Q 4. Describe your experience with different fabric types (e.g., leather, vinyl, cotton).
My experience spans a variety of fabric types, each demanding a unique approach.
- Cotton: A versatile and widely used fabric. I often work with cottons in quilting, garment construction, and upholstery (particularly canvas cotton for strength).
- Leather: Requires specialized needles (leather needles) and thread (often waxed polyester or nylon thread) to prevent damage to the material. This is a popular fabric in upholstery where durability is paramount.
- Vinyl: A durable, waterproof material common in upholstery, requiring heavy-duty needles and strong thread, often using a walking foot to feed the layers evenly. The seam must be strong as it’s often under strain.
- Silk: A delicate fabric that requires extremely fine needles and thread, and delicate handling to avoid damaging its delicate fibers.
- Wool: A medium-weight fabric that can be used in upholstery or garments. I tend to use sharp needles and stronger threads but need to take extra care not to stretch or damage the fabric.
Working with different fabrics has honed my ability to adapt my techniques and equipment to suit the specific properties of each material. I recognize that improper needle or thread selection can quickly ruin a project.
Q 5. How do you measure and cut fabric accurately?
Accurate measuring and cutting are fundamental. I always start with a sharp rotary cutter and self-healing cutting mat to ensure clean cuts. Before cutting, I thoroughly check my pattern pieces for accuracy and then carefully pin them to the fabric, paying close attention to the grain line (the lengthwise direction of the fabric’s yarns). I use a ruler or measuring tape to double-check the placement of the pattern pieces and to ensure that everything is aligned correctly. I prefer to lay my fabric out flat, rather than folding it, where possible, for more accurate cutting and to avoid any distortion or shifting. Any cutting errors early in the process will propagate and affect the overall quality of the final product. Proper marking techniques with tailors chalk or other specialized marking tools are also vital for precise cutting. For curved shapes, I frequently use pattern shears or pinking shears to produce the cleanest and most accurate results. Using a sharp rotary cutter is significantly faster and generally produces more accurate and even cuts for straight lines than fabric shears.
Q 6. What are your methods for pattern making and alteration?
Pattern making and alteration are integral parts of my work. I’m proficient in drafting patterns from scratch using both traditional methods (measuring and calculating) and digital pattern-making software. For alterations, I employ a combination of methods: I often begin by carefully studying the garment or piece for fit issues and then adjust the pattern pieces accordingly, making changes to seam allowances, darts, or the overall shape. Muslin mock-ups (a trial garment made of inexpensive fabric) are invaluable for testing alterations before committing to the final fabric. When altering existing patterns, I start by tracing the pattern piece to avoid damaging the original. Then I make careful incremental adjustments, often using notches and markings to guide me.
For example, if a garment is too tight in the chest area, I would add width to the pattern piece in the chest area and then test the adjustments on a muslin mock-up before cutting the final fabric. I will always test the alterations thoroughly on a sample fabric.
Q 7. Explain your process for preparing a surface for upholstery.
Preparing a surface for upholstery involves several crucial steps to ensure a durable and aesthetically pleasing outcome. First, I thoroughly clean the surface, removing any dust, dirt, or debris. Then, I assess the existing structure and make any necessary repairs. Any damaged areas are repaired to provide a solid foundation for the new upholstery. Next, I apply a suitable padding or underlayment, such as foam, fiberfill, or cotton batting, to provide cushioning and support. The type and thickness of padding will vary depending on the project and desired level of comfort. The chosen padding is carefully cut and secured to the surface to prevent shifting or bunching. Finally, I prepare the fabric – cutting to size, allowing for seam allowances and ensuring the fabric is taut and evenly stretched before stapling or sewing it into place. Each step is vital, and careful preparation goes a long way in achieving a high-quality, professional finish. Rushing this stage can lead to unsatisfactory results.
Q 8. What types of upholstery materials are you familiar with (e.g., foam, webbing, springs)?
My experience encompasses a wide range of upholstery materials. Understanding these materials is crucial for achieving both aesthetic appeal and structural integrity. Here are some key examples:
- Foam: This provides the cushioning and comfort. I work with various densities, from high-resilience foams for seating to softer foams for backrests. The type of foam significantly impacts the feel and lifespan of the piece.
- Webbing: This acts as a supporting layer, distributing weight evenly across the frame. I use jute webbing, which is a durable natural fiber, and sometimes more modern synthetic options depending on the project’s requirements and the client’s budget.
- Springs: These provide support and resilience, particularly in high-traffic areas like seating. I’m proficient with both sinuous springs (those zig-zag springs) and traditional coil springs, choosing the appropriate type based on the furniture’s design and intended use.
- Fiberfill: Used to add softness and shape to cushions. I select from various types including polyester, cotton, or blends.
- Fabric: This is the outermost layer, providing aesthetics and protection. I’ve worked with a wide variety of fabrics, including velvet, linen, leather, microfiber, and more, each requiring different handling techniques.
Choosing the right combination of these materials is essential for creating durable and comfortable upholstery.
Q 9. How do you choose the appropriate foam density for a particular project?
Selecting the appropriate foam density is critical for comfort and longevity. It’s not simply a matter of choosing the thickest foam; the density must be matched to the application. I consider several factors:
- Intended use: A high-density foam (e.g., 40-50 ILD or higher) is necessary for seating that will receive heavy use, like a sofa or armchair, to prevent premature sagging. Lower-density foams (e.g., 20-30 ILD) are suitable for decorative pillows or less-used areas.
- Weight and pressure: Heavier individuals will require a higher-density foam to provide adequate support.
- Aesthetic considerations: While high-density foam is more durable, it may be less plush. A balance between comfort and durability needs to be found.
I often consult foam density charts and manufacturers’ specifications to guide my selections, and I’m also able to assess foam by touch and feel, gained from years of experience.
Q 10. Describe your experience with stapling, tacking, and other upholstery fastening techniques.
Fastening techniques are fundamental to successful upholstery. Each method serves a specific purpose, and mastering them ensures a professional finish.
- Stapling: This is a common method for attaching fabric to the frame. I use a heavy-duty staple gun, ensuring staples are placed evenly and securely to avoid tearing or loosening. The type of staple chosen depends on the fabric and the underlying material.
- Tacking: Tacking, using upholstery tacks and a hammer, provides a more refined, almost invisible finish, particularly useful in visible areas. This demands precision and a careful hand.
- Other techniques: I also employ techniques like stitching (using heavy-duty sewing machines), gluing (using appropriate adhesives), and using specialized clips or fasteners depending on the piece’s construction and the specific needs of the fabric.
For example, I recently reupholstered an antique chair where tacking was essential to preserve its period look. Meanwhile, a modern sofa might benefit from stapling and some strategic stitching for added durability.
Q 11. How do you handle challenging fabrics or patterns?
Working with challenging fabrics or patterns requires patience and planning. I approach this systematically:
- Pre-planning and pattern making: I meticulously measure and create precise patterns, accounting for fabric drape and pattern matching. For intricate designs, I may even create multiple pattern pieces to ensure the pattern aligns properly.
- Understanding fabric properties: Knowing how a fabric drapes, stretches, and behaves is essential. A heavy velvet requires different handling than a lightweight linen.
- Strategic cutting and placement: I take extra care during cutting to avoid mistakes and ensure accurate placement of the pattern. Using weights and clips can help keep the fabric in place during the process.
- Seam allowances: Adequate seam allowances are essential for accurate seams and ease of installation.
For instance, a large-scale floral print demands careful consideration to match the pattern perfectly across the seams, which may involve purchasing extra fabric to allow for alignment.
Q 12. How do you ensure the durability and longevity of your work?
Durability and longevity are paramount. I achieve this through:
- Quality materials: Using high-quality foams, webbing, and fabrics forms the foundation of a durable piece. I always explain the tradeoffs between cost and longevity to clients.
- Proper construction techniques: This ensures that the upholstery is firmly attached to the frame and resists wear and tear. Proper preparation of the frame is critical.
- Careful stitching and fastening: Reinforced seams and secure attachments prevent ripping and loosening over time.
- Protective finishes: For fabrics susceptible to staining or wear, I may apply suitable protective sprays or treatments.
I’ve had clients return years later to express their satisfaction with the lasting quality of my work – that’s the best measure of success.
Q 13. What is your experience with power tools commonly used in upholstery?
Power tools are essential for efficiency and precision in upholstery. My experience includes using:
- Heavy-duty staple guns: These are crucial for quickly and securely attaching fabric to the frame.
- Electric sewing machines: Heavy-duty machines are necessary for handling thick fabrics and multiple layers.
- Rotary cutters: These are used for quick and accurate cutting of fabric, improving efficiency and precision.
- Jigsaw or reciprocating saws: Sometimes needed for modifying or repairing the underlying frame.
Safety is always my priority. I always use appropriate safety gear like eye protection and hearing protection when operating power tools.
Q 14. How do you repair or replace damaged upholstery components?
Repairing or replacing damaged upholstery components involves careful assessment and precise execution.
- Assessment of the damage: I first determine the extent of the damage – whether it’s a small tear, a worn-out cushion, or a more significant structural issue.
- Repair or replacement: For minor damage, I might employ techniques like patching, reinforcing seams, or applying fabric glue. If a component is beyond repair, such as a severely damaged cushion, I’ll replace it using materials that match the existing piece as closely as possible.
- Color matching: When replacing fabric, precise color matching is crucial. I often keep fabric swatches from past projects to facilitate this process.
For example, I recently repaired a tear in an antique chair’s fabric using a patch made from a similar fabric and invisible stitching. The repair was almost seamless, preserving the chair’s historical value.
Q 15. What quality control measures do you employ in your work?
Quality control in sewing and upholstery is paramount for delivering a high-quality, durable product. My approach is multi-faceted, starting even before the needle hits the fabric.
- Fabric Inspection: Before beginning any project, I meticulously inspect the fabric for flaws like holes, inconsistencies in weave, or discoloration. This prevents wasting time and materials on a flawed base.
- Pattern Accuracy: I double-check patterns for accuracy, ensuring all measurements are correct and pieces are cut precisely. A poorly cut pattern leads to ill-fitting final products. I often use pattern weights to ensure accurate cutting.
- Seam Examination: During construction, I regularly inspect seams for even stitching, proper tension, and secure joins. I utilize different seam finishes depending on the fabric type and the garment’s stress points to maximize durability.
- Final Inspection: Once a piece is complete, I conduct a thorough final inspection, checking for any loose threads, uneven seams, or imperfections. I pay attention to the overall fit, finish, and functionality.
- Client Approval (when applicable): For custom projects, client approval is a crucial checkpoint. I regularly show progress photos and seek feedback to ensure the final product aligns perfectly with their expectations.
For example, when reupholstering a vintage chair, I carefully examine the original fabric for clues on how best to construct the new cover, and take note of any unique details or finishing techniques that add to the original’s quality.
Career Expert Tips:
- Ace those interviews! Prepare effectively by reviewing the Top 50 Most Common Interview Questions on ResumeGemini.
- Navigate your job search with confidence! Explore a wide range of Career Tips on ResumeGemini. Learn about common challenges and recommendations to overcome them.
- Craft the perfect resume! Master the Art of Resume Writing with ResumeGemini’s guide. Showcase your unique qualifications and achievements effectively.
- Don’t miss out on holiday savings! Build your dream resume with ResumeGemini’s ATS optimized templates.
Q 16. Explain your experience with different types of sewing machine maintenance.
Maintaining sewing machines is essential for optimal performance and longevity. My experience encompasses various types of machines, from industrial overlockers to domestic straight-stitch models.
- Regular Cleaning: This includes removing lint and dust from the bobbin case, feed dogs, and around the needle plate. I use a small brush and compressed air to do this effectively. Neglecting this can lead to machine jams and broken needles.
- Lubrication: I regularly lubricate moving parts with high-quality sewing machine oil, following the manufacturer’s instructions. This minimizes friction and prevents wear and tear.
- Needle Changes: I replace needles frequently, especially when working with heavy fabrics or noticing skipped stitches. Using the correct needle type for the fabric is crucial.
- Tension Adjustments: I regularly check and adjust the machine’s tension settings to ensure consistent stitch formation. This can vary greatly depending on fabric type and thread weight.
- Timing Adjustments (Advanced): For more advanced maintenance, I can adjust the timing of industrial machines. This usually requires specialized tools and knowledge, and I only undertake it after carefully studying the machine’s manual.
Think of it like maintaining a car: regular servicing extends its lifespan and prevents costly repairs down the road. The same holds true for a sewing machine.
Q 17. How do you troubleshoot common sewing machine problems?
Troubleshooting sewing machine problems requires a systematic approach. I start with the basics and progress to more complex solutions.
- Check the Obvious: Start by checking for simple issues like a full bobbin, broken needle, incorrect threading, or lint buildup.
- Test the Tension: If stitches are uneven or skipping, adjust the upper and lower tension. This involves carefully turning the tension dials, testing after each small adjustment.
- Examine the Needle and Feed Dogs: A bent needle or obstructed feed dogs will prevent smooth stitching. Replace bent needles and clean the feed dogs.
- Check the Timing (Advanced): If the problem persists, and you’re comfortable with more advanced machine maintenance, check the timing of the machine. This usually involves a specialized timing screw adjustment.
- Seek Professional Help: If the problem cannot be easily resolved, it’s time to seek help from a qualified sewing machine technician.
For instance, when I experienced a skipped stitch problem recently, I systematically checked each item on the list. It turned out to be a bent needle, a quick and easy fix.
Q 18. How do you manage your time efficiently on multiple projects?
Managing multiple projects effectively requires a well-structured approach. My strategy involves a combination of planning, prioritization, and efficient workflow.
- Project Prioritization: I list all ongoing projects, assigning deadlines and prioritizing based on urgency and importance. This could involve a Kanban board or simply a prioritized to-do list.
- Time Blocking: I allocate specific time blocks for each project. This helps me focus and avoid multitasking, which can decrease efficiency.
- Batching Similar Tasks: I group similar tasks together to optimize workflow. For instance, I might cut all the fabric for different projects at once, then move on to sewing.
- Regular Check-ins: I regularly review progress on each project, adjusting the schedule if needed. This ensures I stay on track and avoid unexpected delays.
- Delegation (if applicable): If feasible, I delegate certain tasks to assistants, freeing up my time for more complex aspects of projects.
Imagine you’re baking several cakes simultaneously. You wouldn’t start from scratch on each one at the same time. You’d batch similar tasks like mixing batters, prepping toppings, and then baking them.
Q 19. Describe your experience with working from patterns or sketches.
Working from patterns or sketches is fundamental to sewing and upholstery. My experience spans a wide range of styles, from simple designs to intricate patterns.
- Pattern Interpretation: I can read and interpret both commercially produced and handmade patterns. I understand how to adapt patterns to different sizes and body types.
- Sketch Interpretation: I am adept at interpreting sketches and transforming them into workable patterns. This involves understanding scale, measurements, and design elements.
- Pattern Alterations: I can modify existing patterns to fit specific needs or to incorporate design changes, ensuring a proper fit and style.
- Drafting Patterns (Advanced): While not always necessary for every project, I have the skills to draft my own patterns from scratch when a suitable one isn’t available. This involves understanding body measurements and garment construction techniques.
Recently, I had to modify a commercially available sofa cover pattern to accommodate custom-sized cushions. This required careful measurement and adjustment of the pattern pieces to ensure a perfect fit.
Q 20. How do you interpret technical drawings or specifications?
Interpreting technical drawings or specifications is crucial for accurate construction. This requires a thorough understanding of drafting conventions and measurements.
- Understanding Scales: I can accurately interpret scale drawings and convert measurements from drawings to real-world dimensions.
- Identifying Components: I can accurately identify the different components and their relationships within a technical drawing.
- Interpreting Symbols: I understand common symbols and abbreviations used in technical drawings for sewing and upholstery.
- Material Specifications: I can interpret material specifications, such as fabric type, weight, and finish, to select the appropriate materials for the project.
For example, when working on a reupholstering project with a detailed blueprint, I meticulously examine each dimension and component to ensure precision in cutting and assembly.
Q 21. How do you deal with unexpected problems during a project?
Dealing with unexpected problems is an inevitable part of sewing and upholstery. My approach involves a calm, methodical solution.
- Assess the Problem: First, I carefully assess the nature and severity of the problem. Is it a simple fix or something more complex?
- Seek Solutions: I research potential solutions. This could involve consulting reference materials, online resources, or experienced colleagues.
- Implement a Solution: Once I’ve identified a viable solution, I implement it carefully, testing frequently to ensure it solves the issue without creating new problems.
- Document Lessons Learned: After resolving the problem, I document the issue and the solution to prevent future occurrences. This could be a simple note in my project log or a more detailed entry in a knowledge base.
A recent example involved a fabric tear during a particularly challenging upholstery project. I used my experience to creatively patch the tear while maintaining the integrity of the original design. I then documented the repair method to use in similar situations.
Q 22. What safety precautions do you take when using sewing machines and other tools?
Safety is paramount in sewing and upholstery. It’s not just about avoiding injury; it’s about ensuring consistent, high-quality work. My safety protocols begin with machine maintenance: regular cleaning and lubrication prevent malfunctions. Before operating any machine, I always check that needles are securely fastened and in good condition. Bent or damaged needles are a major safety hazard. I also ensure that my workspace is well-lit and free from clutter to avoid tripping hazards.
- Needle safety: I always use the correct needle size for the fabric and thread type, and I dispose of broken needles immediately and carefully (I never just flick them away!).
- Finger protection: I use thimbles when hand-sewing and always keep my fingers well clear of the presser foot when using the sewing machine.
- Eye protection: When working with upholstery staples or cutting heavy fabrics, I wear safety glasses.
- Machine maintenance: I regularly clean and oil my machines to prevent unexpected problems and ensure smooth operation.
- Electrical safety: I always unplug machines before maintenance or cleaning.
These measures might seem basic, but they’re crucial for preventing injuries like needle punctures, cuts, and electrical shocks.
Q 23. Describe a time you had to adapt your techniques to a challenging project.
I once tackled a project involving reupholstering an antique wingback chair with incredibly delicate, hand-woven fabric. The challenge wasn’t just the intricacy of the design; the fabric was incredibly fragile, prone to tearing. My usual techniques, which often involve power tools like staple guns, were simply too aggressive.
To adapt, I painstakingly hand-stitched much of the upholstery, using a very fine needle and thread. This meticulous handwork ensured the fabric’s integrity and prevented any damage. I also employed specialized, low-profile upholstery tacks instead of staples to minimize fabric stress. The result was a beautifully restored chair that maintained its historical character and charm. It required more time, but the final product justified the extra effort.
Q 24. What are your preferred methods for finishing seams and edges?
Finishing seams and edges is crucial for creating professional-looking and durable pieces. My preferred methods depend on the project’s demands and the fabric type.
- Serging/Overlocking: This is my go-to for most seams, especially with woven fabrics, preventing fraying and providing a clean, professional finish. It’s particularly helpful for stretchy fabrics.
- Zigzag stitch: A versatile method for many fabrics, offering a decent level of fray prevention. I might use this for lighter fabrics or as a quick finish when speed is needed.
- French seams: For a high-end finish, I’ll use French seams, encasing the raw edges of the fabric within the seam, creating a beautifully clean and durable finish. Perfect for garments and fine upholstery projects.
- Pinking shears: For edges that aren’t critical for strength, I’ll use pinking shears to prevent fraying – it’s a quick and easy option for simple projects.
- Binding: This is frequently used in upholstery. Bias tape, self-fabric binding, or welting are excellent for finishing edges on cushions and other upholstered pieces.
The choice of method depends on factors such as the fabric weight, stretch, and the overall aesthetic I’m aiming for.
Q 25. How do you maintain a clean and organized workspace?
A clean and organized workspace is essential for both efficiency and safety. My approach is multi-faceted.
- Designated storage: I have specific containers and shelves for everything – from thread and needles to tools and fabric scraps. This prevents clutter and helps me find things quickly.
- Regular cleaning: I clean my workspace daily, removing fabric scraps, sweeping up floor debris, and wiping down surfaces. A tidy space prevents accidents and keeps the work environment pleasant.
- Project organization: For larger projects, I create dedicated areas or utilize project boxes to keep all related materials together.
- Ironing and pressing: I regularly iron and press fabric to keep it neat and prevent wrinkles.
- Ergonomics: My workspace is arranged to promote good posture and minimize strain. This prevents physical fatigue and improves my overall efficiency.
Thinking of my workspace as an extension of myself is crucial – if it’s organized and clean, the work itself flows more smoothly.
Q 26. Describe your understanding of different upholstery styles.
Upholstery styles are diverse, reflecting different historical periods and design aesthetics. Understanding these styles is crucial for effective restoration and creation.
- Traditional styles: These often involve ornate details, deep button tufting, and high-quality materials like velvet or damask. Think Victorian or Edwardian styles.
- Modern styles: These lean towards clean lines, simpler designs, and more contemporary fabrics like linen or microfiber. Mid-century modern is a prime example.
- Contemporary styles: These often incorporate bold colors, unconventional materials, and unique design elements. There’s significant freedom of expression here.
- Specific styles: Styles are often regionally or culturally specific; a Chesterfield sofa versus a Scandinavian chair exemplifies this.
My knowledge encompasses these variations, allowing me to work with different projects and maintain historical accuracy when appropriate.
Q 27. What are your strengths and weaknesses as a sewer and upholsterer?
My strengths lie in my meticulous attention to detail, my proficiency with a variety of sewing and upholstery techniques, and my ability to adapt to challenging projects. I’m also a quick learner and enjoy exploring new materials and styles.
A weakness could be my perfectionism – sometimes I spend too long on small details, which can impact project timelines. However, I’m actively working on balancing my desire for perfection with efficient time management. I’m improving my project planning to mitigate this.
Q 28. Where do you see yourself in five years in this field?
In five years, I envision myself as a highly skilled and sought-after upholsterer, possibly with my own small workshop or collaborating with interior designers on larger projects. I aim to continue expanding my expertise in antique restoration and perhaps explore more specialized upholstery techniques, like automotive upholstery or marine upholstery. Continuous learning and refinement of my skills are key to my long-term goals.
Key Topics to Learn for Your Sewing and Upholstery Interview
- Fabric Selection and Properties: Understanding different fabric types (e.g., cotton, linen, leather, microfiber), their suitability for various projects, and their care instructions. Practical application: Explaining why you chose a specific fabric for a past project.
- Sewing Machine Operation and Maintenance: Proficiency in operating various sewing machines, including industrial models. Knowledge of basic maintenance and troubleshooting. Practical application: Describing your experience with different sewing machine types and resolving minor malfunctions.
- Pattern Making and Cutting: Skills in creating and adapting patterns, accurately cutting fabric, and understanding pattern grading. Practical application: Explaining your process for creating a pattern from scratch or modifying an existing one.
- Upholstery Techniques: Mastery of various upholstery techniques including stapling, tufting, welt cord application, and button covering. Practical application: Describing your experience with different upholstery methods and materials.
- Measuring and Fitting: Precise measurement techniques for furniture and other upholstery projects, ensuring proper fit and functionality. Practical application: Detailing your approach to accurately measuring and fitting upholstery to a piece of furniture.
- Safety Procedures and Best Practices: Understanding and adhering to safety protocols for working with needles, sewing machines, and other tools. Practical application: Describing your safety practices and how you prevent workplace accidents.
- Finishing Techniques: Skills in finishing seams, edges, and other details for a professional and durable finish. Practical application: Showing how your finishing techniques add to the overall quality of your work.
- Problem-solving and Adaptability: Ability to troubleshoot issues during the sewing and upholstery process, adapt to unexpected challenges, and find creative solutions. Practical application: Providing examples of how you overcame challenges in past projects.
Next Steps
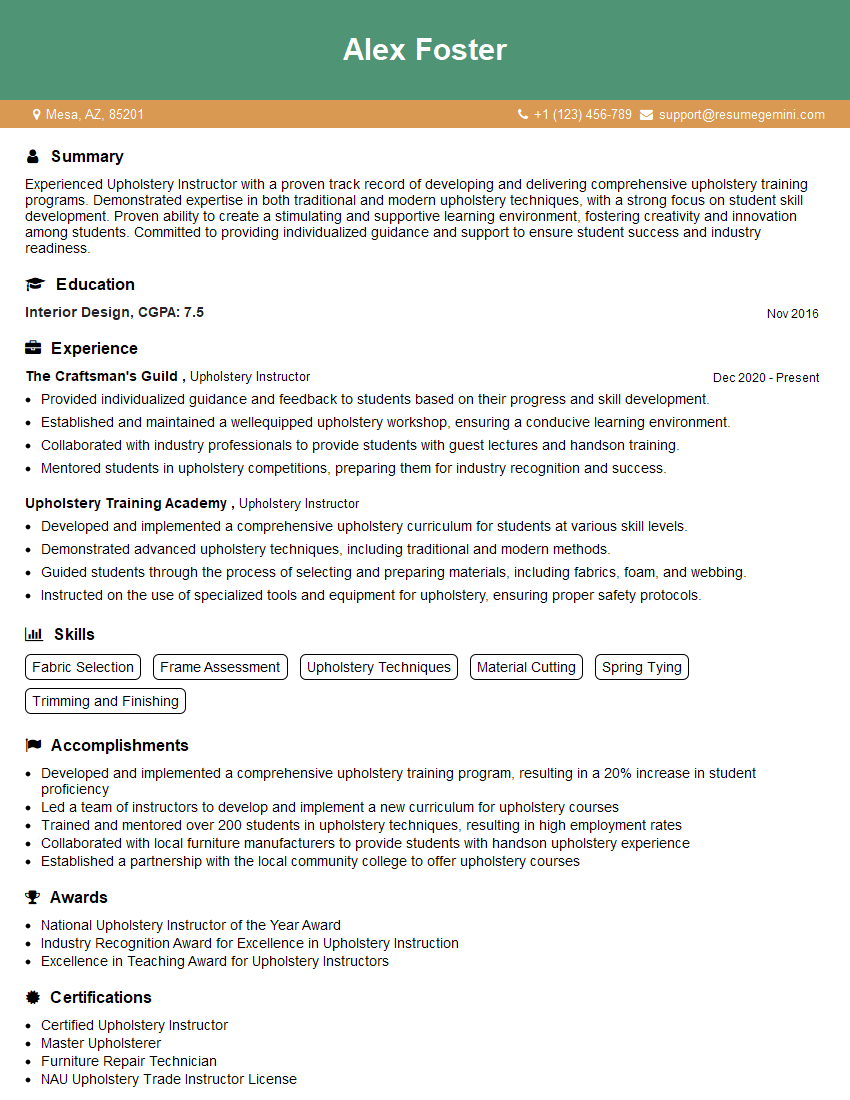
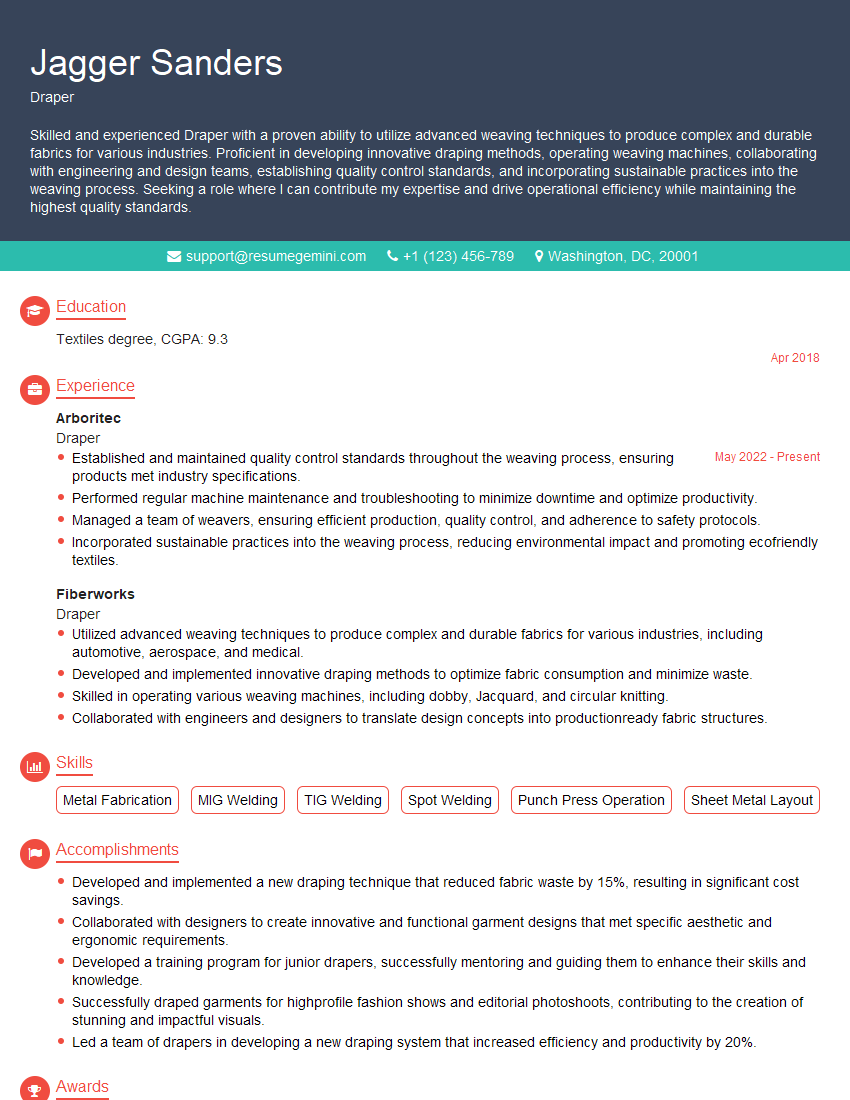
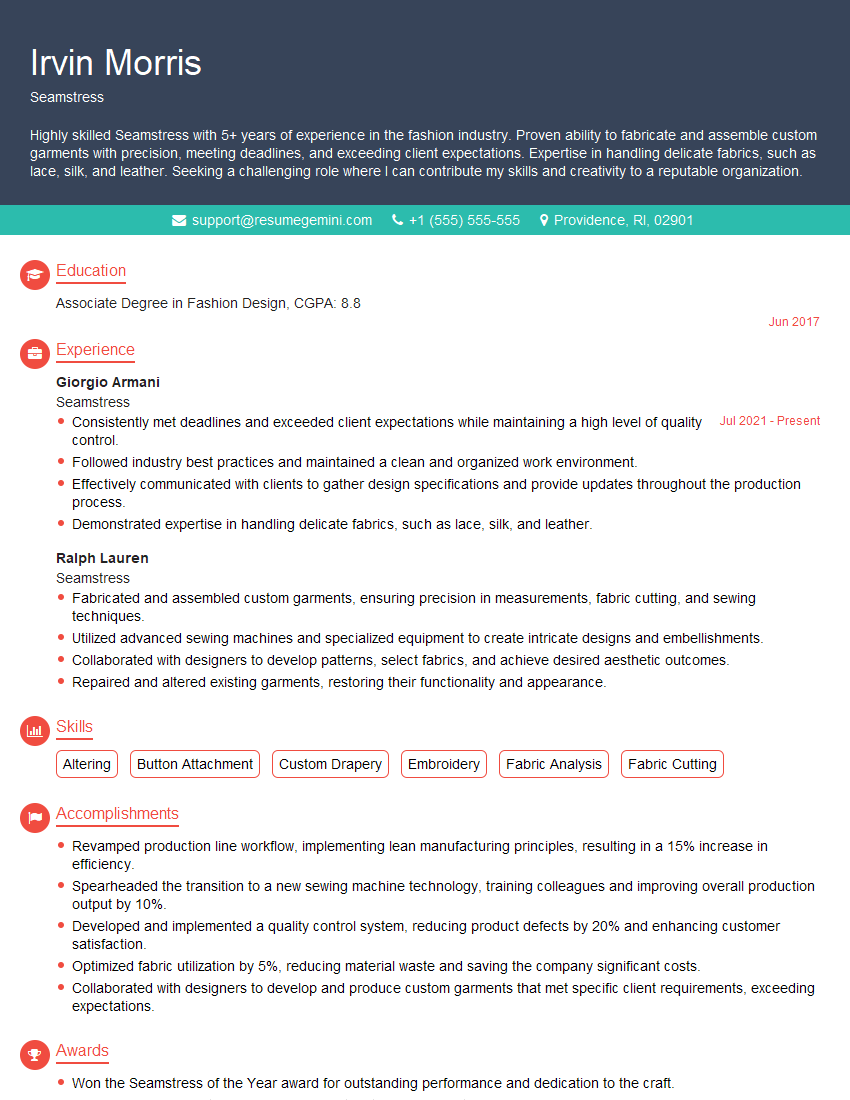
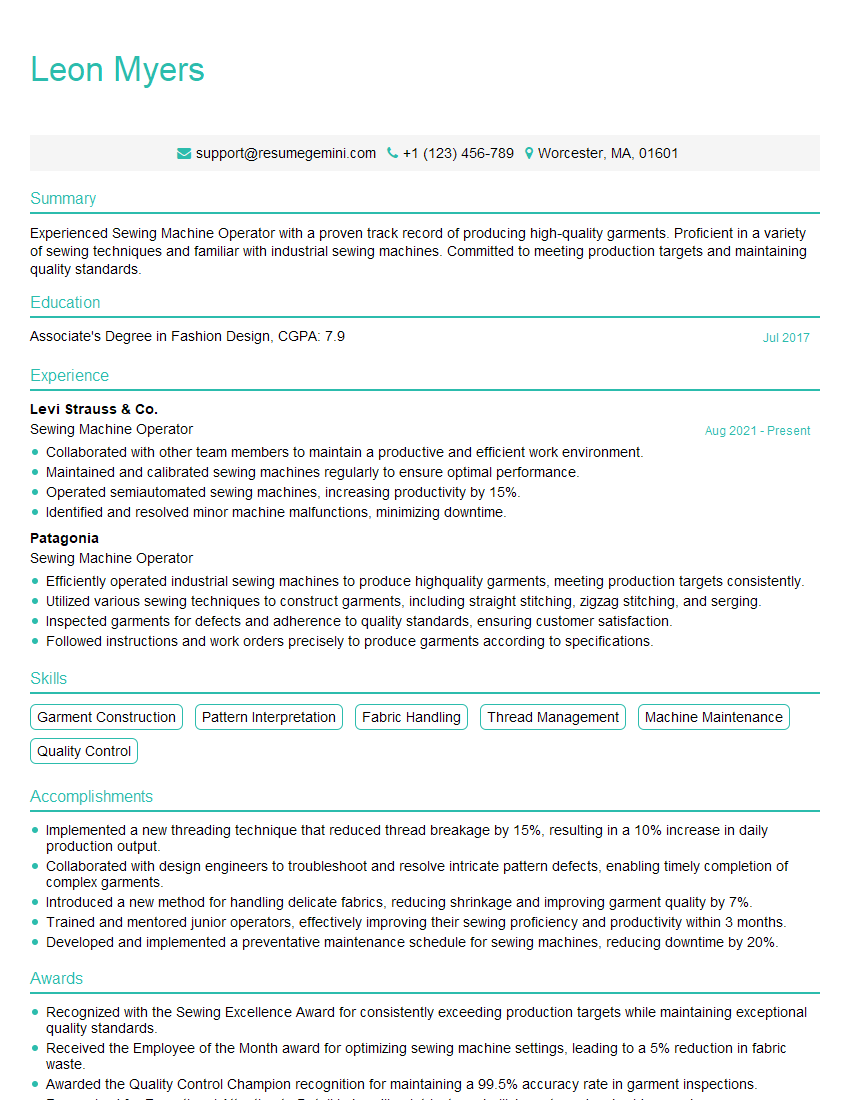
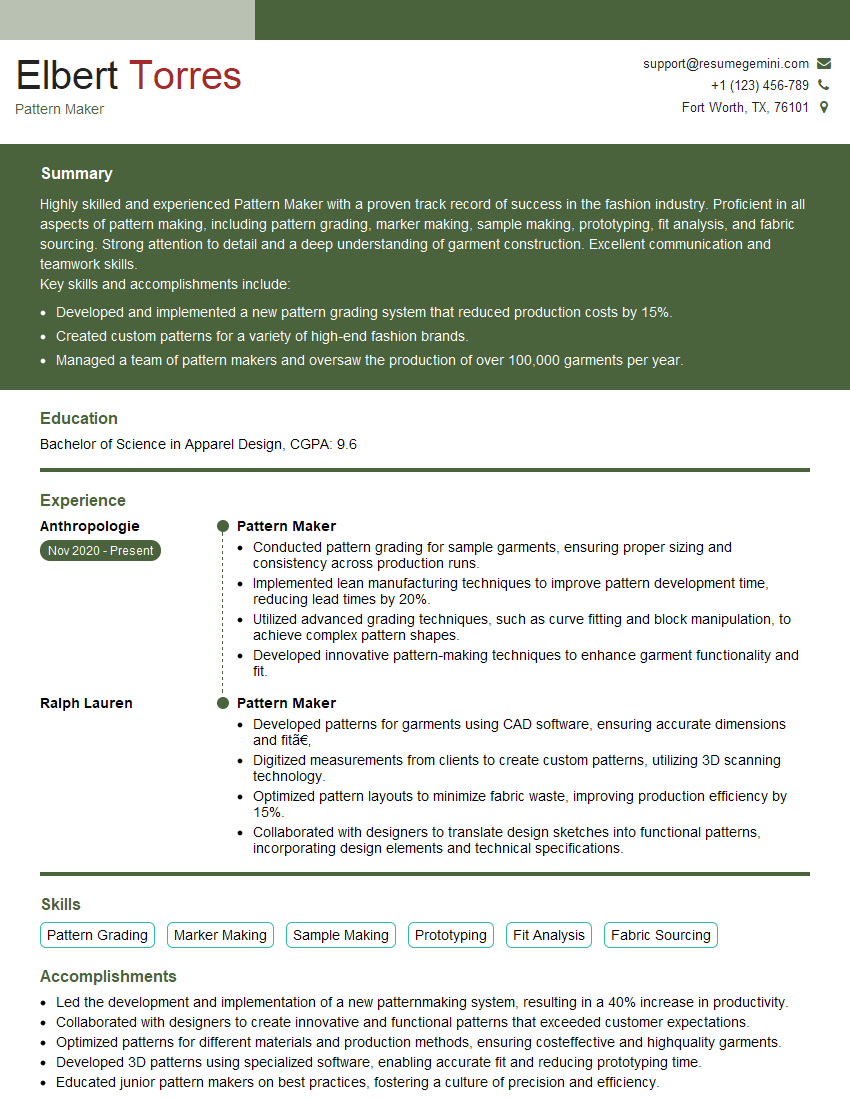
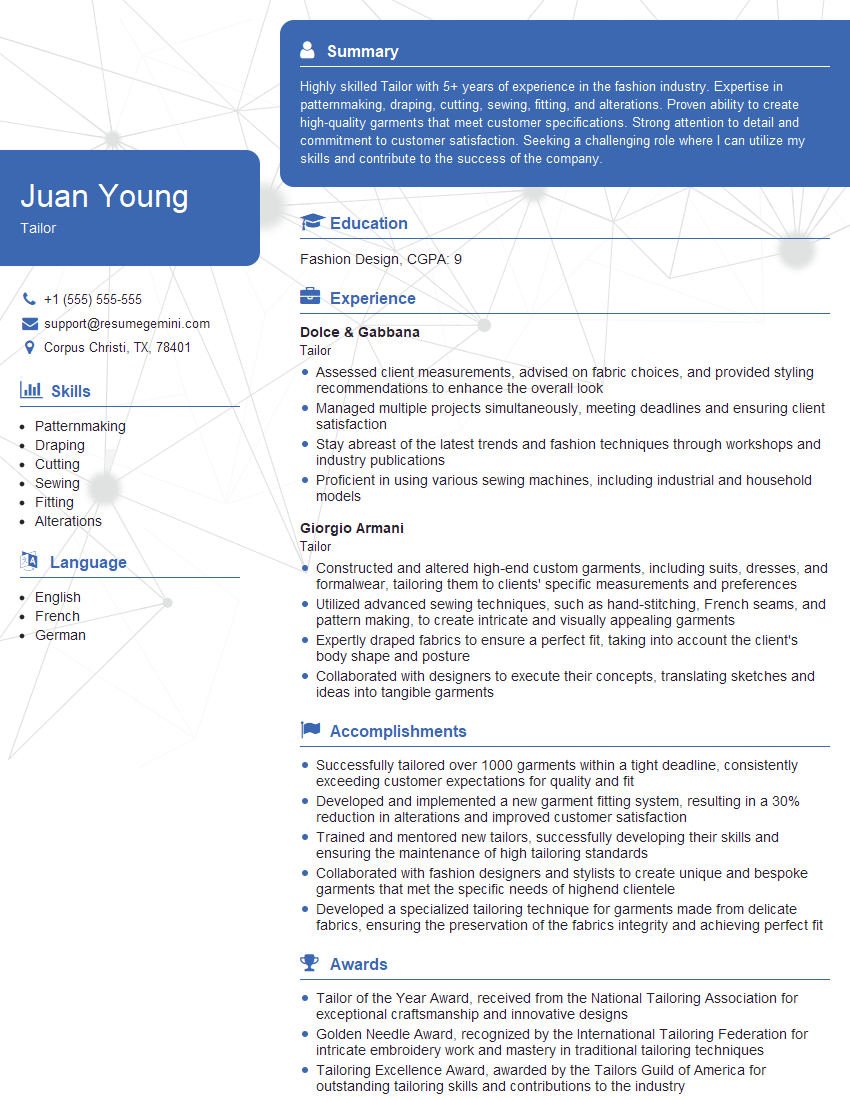
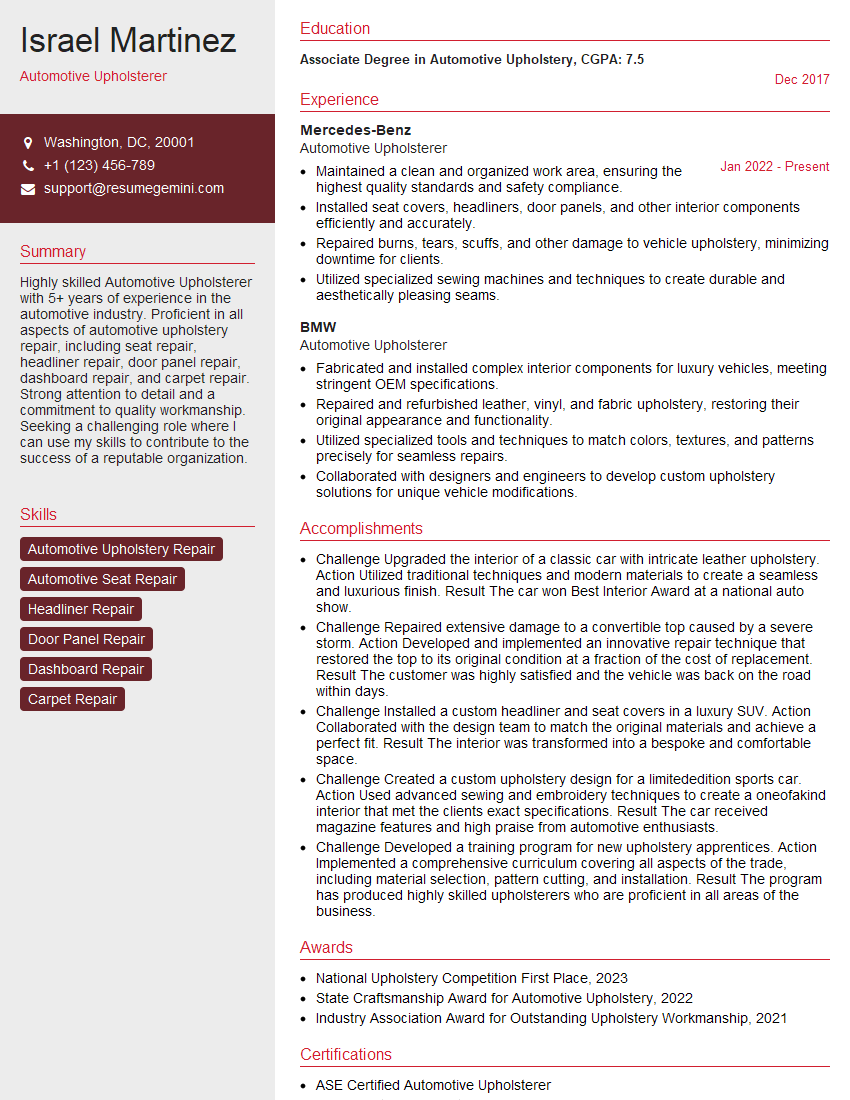
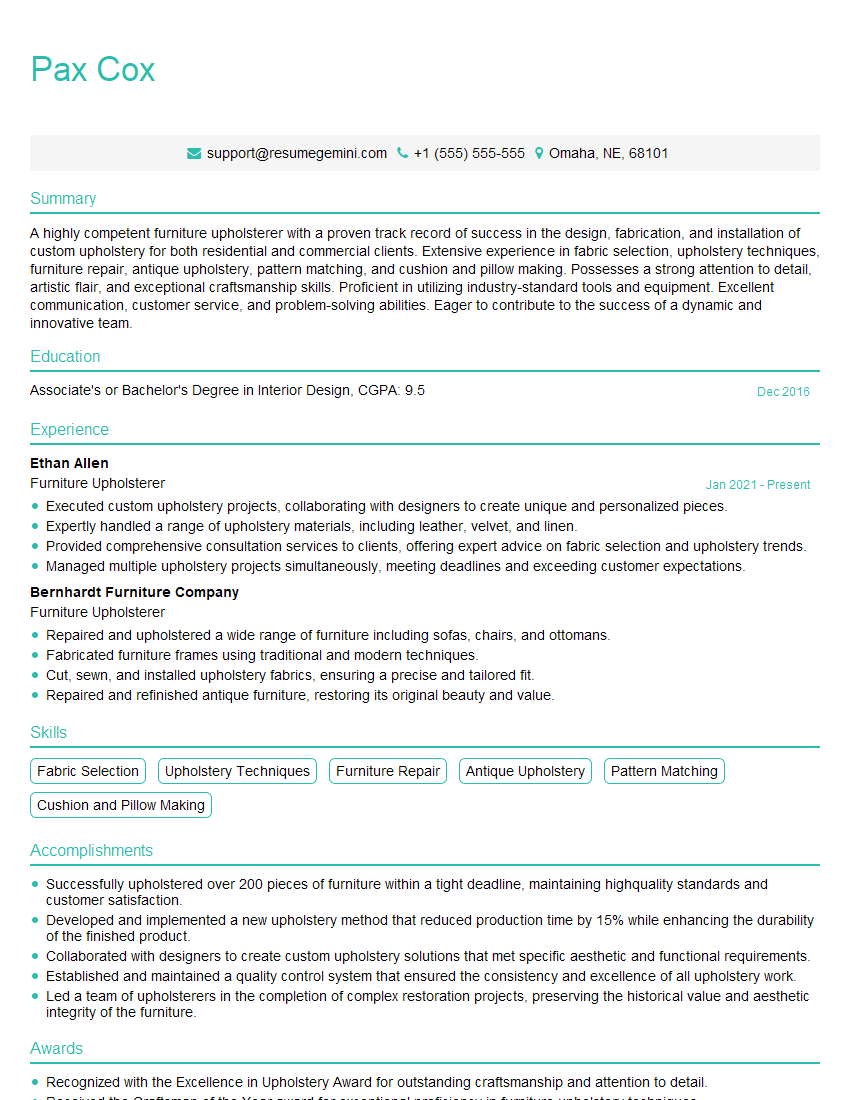
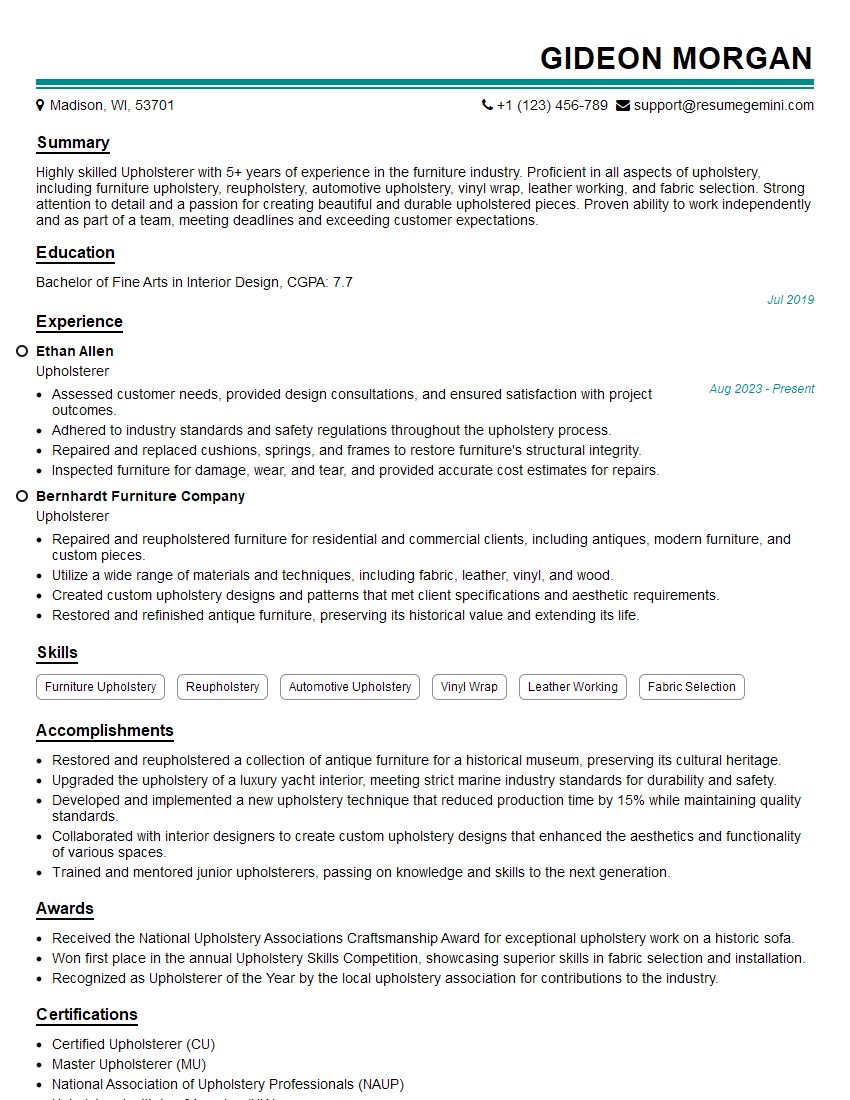
Mastering sewing and upholstery skills opens doors to a rewarding career with diverse opportunities. From custom drapery creation to furniture restoration, your expertise is highly valued. To maximize your job prospects, create an ATS-friendly resume that highlights your achievements and skills effectively. ResumeGemini is a trusted resource for building professional resumes that attract the attention of recruiters. They offer examples of resumes tailored to the Sewing and Upholstery industry to help you present your qualifications in the best possible light. Take the next step towards your dream career – craft a compelling resume that showcases your talents!
Explore more articles
Users Rating of Our Blogs
Share Your Experience
We value your feedback! Please rate our content and share your thoughts (optional).
What Readers Say About Our Blog
Hello,
We found issues with your domain’s email setup that may be sending your messages to spam or blocking them completely. InboxShield Mini shows you how to fix it in minutes — no tech skills required.
Scan your domain now for details: https://inboxshield-mini.com/
— Adam @ InboxShield Mini
Reply STOP to unsubscribe
Hi, are you owner of interviewgemini.com? What if I told you I could help you find extra time in your schedule, reconnect with leads you didn’t even realize you missed, and bring in more “I want to work with you” conversations, without increasing your ad spend or hiring a full-time employee?
All with a flexible, budget-friendly service that could easily pay for itself. Sounds good?
Would it be nice to jump on a quick 10-minute call so I can show you exactly how we make this work?
Best,
Hapei
Marketing Director
Hey, I know you’re the owner of interviewgemini.com. I’ll be quick.
Fundraising for your business is tough and time-consuming. We make it easier by guaranteeing two private investor meetings each month, for six months. No demos, no pitch events – just direct introductions to active investors matched to your startup.
If youR17;re raising, this could help you build real momentum. Want me to send more info?
Hi, I represent an SEO company that specialises in getting you AI citations and higher rankings on Google. I’d like to offer you a 100% free SEO audit for your website. Would you be interested?
Hi, I represent an SEO company that specialises in getting you AI citations and higher rankings on Google. I’d like to offer you a 100% free SEO audit for your website. Would you be interested?
good
