The thought of an interview can be nerve-wracking, but the right preparation can make all the difference. Explore this comprehensive guide to Stencils and Spray Paint interview questions and gain the confidence you need to showcase your abilities and secure the role.
Questions Asked in Stencils and Spray Paint Interview
Q 1. Explain the different types of stencils available and their applications.
Stencils come in a variety of materials and designs, each suited for different applications. The choice depends on the project’s scale, desired finish, and the surface being stenciled.
- Mylar Stencils: These are durable, reusable stencils made from a thin, clear plastic film. They’re ideal for intricate designs and repeated use, commonly found in professional settings and for larger projects. Think of creating multiple copies of a logo on a wall.
- Cardboard Stencils: These are inexpensive and readily available, perfect for one-time use or simpler designs. They’re great for quick projects like decorating a t-shirt or creating a simple pattern.
- Metal Stencils: These are extremely durable and reusable, offering a long lifespan. They are often used for industrial applications or for creating consistently sharp lines over many uses, for instance, in a factory setting marking products.
- Reusable Plastic Stencils: These offer a balance between durability and cost-effectiveness, suitable for various projects and multiple uses, making them popular for home DIY projects and small businesses.
Beyond the material, stencils can also be categorized by their design – from simple geometric shapes to complex, multi-layered artwork. The application is entirely dependent on the stencil’s design and the user’s creative vision.
Q 2. Describe your experience with various spray paint types and their properties.
My experience spans a wide range of spray paint types, each with unique properties influencing the final outcome. Understanding these properties is crucial for achieving desired results.
- Acrylic Spray Paint: This is a versatile and popular choice, quick-drying, and available in a vast array of colors. It adheres well to many surfaces but is less durable than some other options. I often use this for smaller projects or crafting.
- Lacquer Spray Paint: Known for its fast drying time and glossy finish, lacquer spray paint is highly durable, but requires proper ventilation due to strong fumes. It’s ideal for projects demanding a long-lasting, hard-wearing coating.
- Enamel Spray Paint: Enamel paints provide a durable, hard finish that’s very resistant to chipping and scratches. They take longer to dry than acrylic or lacquer but offer superior protection. I’d choose enamel for outdoor furniture or projects exposed to harsh elements.
- Specialty Spray Paints: This category includes paints designed for specific applications like metallic finishes, textured effects, or even paints formulated for certain materials such as plastics or glass. The correct paint greatly impacts a project’s aesthetic and longevity.
Choosing the right spray paint is a crucial step – I always consider the material I’m painting, the desired finish, and environmental conditions to ensure optimal results.
Q 3. How do you prepare a surface for stenciling and spray painting?
Surface preparation is paramount for achieving a smooth, even finish and ensuring the paint adheres properly. Neglecting this step often leads to peeling or uneven color.
- Cleaning: The surface must be thoroughly cleaned to remove dirt, grease, dust, or any previous coatings. I often use a degreaser and then wipe down the surface with a clean, lint-free cloth.
- Priming (Optional but Recommended): Applying a primer creates a uniform surface for the paint to adhere to, particularly on porous materials like wood or uneven surfaces. Primers also help to block stains and improve the overall finish.
- Sanding (If Necessary): If the surface is rough or uneven, sanding smooths it before painting, ensuring a professional finish. A fine-grit sandpaper is best to avoid scratching the surface.
- Masking (If Necessary): Use painter’s tape to protect areas that shouldn’t be painted. This ensures crisp lines and prevents unwanted paint from straying.
Proper surface preparation, while seemingly simple, drastically improves the final result and project longevity.
Q 4. What safety precautions do you take when using spray paint?
Safety is paramount when using spray paint. The fumes can be harmful, and the paint itself is flammable. I always work in a well-ventilated area, preferably outdoors or in a space with good ventilation.
- Respiratory Protection: I always wear a respirator or dust mask rated for spray paint fumes to prevent inhalation of harmful particles.
- Eye Protection: Safety glasses protect my eyes from paint splashes or overspray.
- Gloves: Disposable gloves protect my hands from contact with the paint.
- Fire Safety: I keep a fire extinguisher nearby and avoid spraying near any open flames or ignition sources.
- Proper Disposal: I dispose of empty spray cans according to local regulations – never puncture or incinerate them.
Following these safety precautions ensures a safe and healthy working environment.
Q 5. Explain the process of creating a custom stencil from a design.
Creating a custom stencil involves several steps, from initial design to the final cut. The complexity depends on the design’s intricacy.
- Design Creation: I start with a digital design using software like Adobe Illustrator or a hand-drawn design. The design should be clear and bold, with no overly fine details that might be difficult to cut.
- Material Selection: Choose a stencil material suitable for the design and the number of uses. Mylar is excellent for intricate designs and multiple uses.
- Transferring the Design: For digital designs, I print the design onto the stencil material using a laser printer (inkjet ink bleeds). Hand-drawn designs can be traced onto the material using a lightbox or window.
- Cutting the Stencil: This is typically done using a precision blade, X-ACTO knife, or a stencil cutting machine. Clean, sharp cuts are essential for a crisp finish.
- Testing: Before using the stencil, it’s always good to do a test run on scrap material to check for any issues.
With careful planning and execution, creating a custom stencil allows for unique and personalized projects.
Q 6. How do you achieve consistent coverage and avoid runs when spray painting?
Achieving consistent coverage and preventing runs requires a steady hand and proper technique. It’s a matter of practice and understanding spray paint behavior.
- Test Spray: Always test the spray pattern on a scrap piece of material to get a feel for the paint flow and adjust the distance accordingly.
- Consistent Distance: Maintain a consistent distance (usually around 12-18 inches) between the can and the surface to achieve a uniform spray.
- Short, Overlapping Strokes: Use short, quick, and overlapping strokes to ensure complete coverage. Avoid long, continuous strokes that can cause runs.
- Light Coats: Apply multiple thin coats rather than one heavy coat. This allows each coat to dry properly and prevents runs. Let each coat dry completely before applying the next.
- Even Pressure: Maintain consistent pressure on the spray can to ensure an even flow of paint.
Practice makes perfect – experimenting with different techniques and observing the results will improve your ability to achieve a flawless finish.
Q 7. Describe your experience with different spray paint application techniques.
My experience includes various techniques, each offering a distinct aesthetic and suitability for different projects.
- Standard Spraying: The most common method, involving holding the can at a consistent distance and applying short, overlapping strokes.
- Dry Brushing: A technique where a very small amount of paint is applied with light strokes, creating a textured, distressed look. This often involves using a stencil with a very light amount of paint in the can.
- Layering: Applying multiple colors or shades in thin layers to create depth and complexity, like creating gradients or shading effects.
- Stenciling: Precisely applying paint within the confines of a stencil, achieving sharp, clean lines and designs. This can involve multiple color applications and masking to layer elements.
- Specialty Nozzles/Tips: Utilizing specialty nozzles on the spray can can create different paint textures or patterns, from fine mist to thicker, more textured applications.
The choice of technique depends largely on the desired outcome and the complexity of the design.
Q 8. How do you clean and maintain your spray painting equipment?
Cleaning and maintaining spray painting equipment is crucial for longevity and consistent results. Think of it like maintaining a precision instrument – regular care prevents problems down the line.
- Immediately after use: Immediately after each spray painting session, disassemble your spray gun and clean it thoroughly. Use the appropriate thinner or solvent recommended by the paint manufacturer to flush out all paint residue from the nozzle, air cap, and fluid cup. A dedicated cleaning brush can help remove stubborn clogs.
- Regular maintenance: Beyond immediate cleaning, schedule regular maintenance checks. This involves inspecting for wear and tear on parts like the nozzle and seals, and replacing them as necessary. A well-lubricated spray gun operates more smoothly and delivers a finer spray.
- Storage: Store your spray gun and equipment in a clean, dry place. Keep them covered to prevent dust accumulation and corrosion. Never store with paint still inside the equipment.
- Compressor maintenance: If you’re using an air compressor, ensure it’s well-maintained too. This includes regular oil changes and filter replacements to prevent contamination of the air supply.
For example, I once neglected to clean my spray gun thoroughly after using a metallic automotive paint, resulting in a clogged nozzle the following day, costing me valuable time and materials. Now, I make it a strict practice to clean immediately after every job.
Q 9. How do you handle color mixing and matching for spray painting projects?
Color mixing and matching for spray painting is an art and a science. Accuracy is key for achieving the desired result, whether it’s matching a specific Pantone color or creating a custom shade.
- Understanding color theory: A strong understanding of color theory – primary, secondary, and tertiary colors – is fundamental. Knowing how colors interact and the effect of varying ratios of different pigments is crucial for successful mixing.
- Using color charts and formulas: Many paint manufacturers provide color charts and precise formulas for mixing specific colors. Following these meticulously is crucial for consistency.
- Test sprays: Always perform test sprays on a sample surface before committing to the final project. Lighting conditions can significantly impact how a color appears; test in similar lighting as the final piece.
- Gradual mixing: When mixing custom colors, start with small amounts and gradually add more pigment until you reach the desired shade. This prevents overshooting and avoids wasting paint.
- Mixing containers: Use clean, dedicated containers for mixing, to avoid contamination and maintain accuracy.
In one project, I had to perfectly match the color of an existing logo for a corporate building. I used a spectrophotometer to precisely measure the existing color and then followed the paint manufacturer’s mixing instructions meticulously. Multiple test sprays helped ensure I reached the perfect match.
Q 10. What are the common problems encountered during stenciling and spray painting, and how do you solve them?
Stenciling and spray painting present unique challenges. Addressing them proactively is vital for a successful outcome.
- Paint bleed: Paint bleeding under the stencil is a common issue. Solutions include using a low-pressure spray gun, ensuring the stencil is securely adhered to the surface (using painter’s tape is helpful), and applying thin, even coats.
- Uneven paint application: Inconsistencies in the spray can lead to uneven coverage. Maintaining a consistent distance between the spray gun and the surface, using proper spray technique (overlapping passes), and ensuring the spray gun is properly adjusted are key.
- Stencil damage: Stencils can be damaged by aggressive spray pressure or improper handling. Use appropriate materials, handle them with care, and consider using multiple stencils for large projects to extend their life.
- Masking issues: Improper masking can lead to paint getting where it shouldn’t. Use high-quality masking tape and carefully apply it to ensure a clean edge.
In a recent mural project, I encountered significant paint bleed due to high humidity. Switching to a faster drying paint and using a lower spray pressure solved the problem immediately.
Q 11. Explain your experience with different stencil materials (e.g., mylar, vinyl).
My experience encompasses various stencil materials, each with its strengths and weaknesses.
- Mylar: Mylar stencils are durable, reusable, and relatively inexpensive. They are great for multiple uses and intricate designs. However, they can be more challenging to cut.
- Vinyl: Vinyl stencils are also very durable and highly reusable, but they tend to be slightly more expensive than mylar. They’re quite easy to clean. Their smooth surface facilitates excellent paint release.
- Other materials: I’ve also worked with stencil materials like acetate and reusable adhesive stencils, each suited to different needs and project scales.
For example, in a large-scale project involving repetitive designs, I opted for durable vinyl stencils for their reusability, while for a one-off project with intricate details, I used a mylar stencil that allowed for precision cutting.
Q 12. How do you manage overspray and minimize paint waste?
Managing overspray and minimizing paint waste are essential for efficiency and environmental responsibility.
- Proper spray technique: Practicing proper spray technique, including maintaining a consistent distance from the surface and using smooth, controlled movements, significantly reduces overspray.
- Protective covering: Thoroughly covering surfaces around the work area with drop cloths or plastic sheeting minimizes paint waste and protects the surrounding environment.
- Ventilation: Adequate ventilation removes paint fumes and reduces the chance of overspray settling onto unwanted surfaces.
- Backdrops: Using a backdrop that can collect and reuse paint can reduce waste. Consider using cardboard or other material behind the work area.
- Small batches: Mixing only the paint needed for the immediate task prevents large quantities from being wasted.
I once minimized overspray by using a spray booth which created a contained area for the spraying process with efficient ventilation.
Q 13. Describe your experience working with large-scale spray painting projects.
Large-scale spray painting projects require meticulous planning, execution, and teamwork.
- Project scoping: Thorough planning is essential. This includes defining the project’s scope, creating detailed designs and layouts, sourcing necessary materials, and allocating sufficient time and resources.
- Teamwork: Large-scale projects often involve a team, requiring clear communication, defined roles, and coordination.
- Staging: Breaking down the project into manageable stages facilitates better control and quality assurance.
- Equipment: Using appropriate high-capacity equipment like larger spray guns and compressors optimizes efficiency.
- Health and safety: Adhering to safety regulations, including proper ventilation and personal protective equipment (PPE), is paramount in large-scale projects.
One memorable project was painting a large mural on a building facade. We used scaffolding for access, a team of three, and multiple days to complete the project successfully. Proper planning and teamwork were crucial for the project’s success.
Q 14. How do you ensure the longevity and durability of your stencil work?
Ensuring the longevity and durability of stencil work involves careful material selection and application techniques.
- High-quality materials: Choosing durable stencil materials like vinyl or high-quality mylar is crucial. These materials withstand repeated use and resist damage.
- Proper cleaning: Thoroughly cleaning the stencils immediately after use with appropriate solvents prevents paint buildup and extends their lifespan.
- Appropriate storage: Storing stencils in a clean, dry, and protected environment prevents damage and degradation.
- Protective coatings: Applying a clear sealant to the final artwork can further protect against the elements and enhance its durability.
- Paint selection: Choosing high-quality, weather-resistant paints is essential for longevity, especially for outdoor installations.
For instance, I once preserved a stencil design for years by using high-quality vinyl, cleaning it meticulously after each use, and storing it flat in a protective sleeve. This allowed me to reuse it for multiple projects.
Q 15. What software or tools do you use for designing stencils?
Designing stencils involves a blend of artistic vision and technical precision. My go-to software for stencil creation is Adobe Illustrator. Its vector-based nature allows for crisp, clean lines and easy scaling without loss of quality, crucial for producing stencils that yield sharp spray-painted results. I also utilize CorelDRAW, particularly when working with more complex designs requiring intricate curves and details. For simpler stencils, I sometimes use freehand sketching followed by careful digitization, ensuring smooth lines are maintained. Beyond software, a good quality vinyl cutter is essential for accurately transferring the digital design onto stencil material, typically mylar or reusable stencil film. The choice of software depends on the complexity of the design and my personal preference for the interface; both Illustrator and CorelDRAW provide the tools needed to create professional-quality stencils.
Career Expert Tips:
- Ace those interviews! Prepare effectively by reviewing the Top 50 Most Common Interview Questions on ResumeGemini.
- Navigate your job search with confidence! Explore a wide range of Career Tips on ResumeGemini. Learn about common challenges and recommendations to overcome them.
- Craft the perfect resume! Master the Art of Resume Writing with ResumeGemini’s guide. Showcase your unique qualifications and achievements effectively.
- Don’t miss out on holiday savings! Build your dream resume with ResumeGemini’s ATS optimized templates.
Q 16. Explain your process for troubleshooting issues with stencil adhesion.
Troubleshooting stencil adhesion is a common challenge. My first step involves identifying the cause. Is the surface clean? Dirt, grease, or dust will drastically reduce adhesion. I always begin with a thorough cleaning using a suitable solvent for the surface material—isopropyl alcohol for most surfaces, mineral spirits for oily surfaces. Next, I check the stencil material. Is it properly applied? Bubbles or wrinkles will prevent good contact. If the issue persists, I evaluate the adhesive used. Low-tack adhesives offer repositionability but may not provide sufficient hold. I may switch to higher-tack adhesive or apply a thin coat of adhesive spray for extra grip. For curved surfaces, I might use a flexible stencil material like a reusable stencil film and apply gentle pressure during spraying. Temperature also plays a role; very hot or cold surfaces can reduce adhesion. Finally, if the paint itself is the issue (too thin, or improper drying time), I’ll adjust the paint viscosity and/or drying time accordingly. The key is systematic elimination of potential issues.
Q 17. How do you adapt your techniques for different surfaces (e.g., wood, metal, fabric)?
Adapting stenciling techniques to various surfaces is paramount. Wood requires a smooth, prepared surface – sanding and priming are often necessary to ensure even paint adhesion. On porous woods, I might apply a sealer to prevent the paint from soaking in too deeply. Metal surfaces need degreasing with a solvent before stenciling to remove any oils or residues. I often use a high-quality automotive primer to prepare the surface for superior paint adhesion. Fabric, particularly delicate fabrics, requires a different approach entirely. I use fabric-specific stencils and paints, often opting for acrylic or fabric paints. The stenciling process is usually gentler, using a softer touch and possibly a sponge or brush instead of spray paint for more controlled application. The key to success is always selecting the appropriate materials and adjusting the application method to suit the substrate’s properties.
Q 18. What are the different types of spray paint nozzles and their uses?
Spray paint nozzles come in a variety of types, each designed for a specific purpose.
- Low-pressure nozzles produce a fine, even mist ideal for creating smooth, even coats and shading. They are less likely to cause runs or drips, particularly on vertical surfaces. They’re my choice for fine detail work and multi-layered projects.
- High-pressure nozzles deliver a concentrated spray with more force and provide broader coverage, making them suitable for large areas or applying thick coats of paint quickly. However, they require greater control to prevent overspray and are often used for base coats or quick coverage jobs.
- Fan nozzles create an adjustable fan-shaped spray pattern. This versatility allows for precise control of width and makes them highly adaptable. I regularly use this nozzle type for borders, stripes, or shading effects.
- Wide-angle nozzles deliver a broader spray pattern than fan nozzles ideal for covering large areas rapidly, but precise control is more challenging.
Q 19. How do you determine the appropriate paint pressure for various projects?
Determining the appropriate paint pressure is crucial for achieving a quality finish. Too little pressure leads to uneven coverage and dry spray, while excessive pressure causes runs, drips, and overspray. The best approach is experimentation. I usually start with the lowest pressure setting and gradually increase it, observing the result on a test area. For delicate work or fine details, I prefer low pressure. With larger areas, moderate pressure usually suffices. I also consider the type of paint used; some paints require higher pressure for optimal atomization than others. Airless sprayers generally require higher pressure compared to aerosol cans. The most reliable method for finding the perfect pressure is practice, experience and observation.
Q 20. Explain your experience with masking techniques for precise spray painting.
Masking is essential for achieving precise results in spray painting. For simple masking, I use painter’s tape, which provides clean lines and easy removal. For curved surfaces or more intricate designs, I use masking film, which conforms to complex shapes better. I always ensure that the tape or film is firmly pressed down to prevent paint bleed-through. For extremely fine details, low-tack masking tape or specialized fine-line masking tape prevents lifting or tearing. Sometimes, a combination of masking methods may be needed for achieving a perfect finish, e.g., using tape for straight lines and masking film for curved areas. The effectiveness of masking is directly proportional to the care and precision taken in its application. Remember, proper preparation significantly reduces the risk of paint bleed.
Q 21. Describe your experience with multi-layer spray painting techniques.
Multi-layer spray painting is frequently used to achieve depth and richness of color, or to create special effects such as gradients. My process usually begins with a base coat – often a primer or a light, even coat of the primary color – to ensure a uniform surface. Subsequent layers can be added to build color intensity or to add subtle shading. Between each coat, I allow for sufficient drying time to avoid lifting or smudging. This also improves the final finish. For example, if creating a gradient, I might use lighter shades as a base coat and gradually add darker layers to create a smooth transition. Careful control over paint pressure and layering is crucial. A thin, even coat applied at lower pressure allows the layers to blend properly. Using low-pressure spray cans and high-quality spray paint are essential to success in multi-layered spray painting. Proper ventilation is crucial as well, to minimize the inhalation of paint fumes.
Q 22. How do you ensure color accuracy in spray painting projects?
Color accuracy in spray painting is paramount. It’s achieved through a combination of careful preparation and technique. First, you need to select the right paint. High-quality paints offer better color consistency and vibrancy. Read the color charts carefully under good lighting – sometimes, the color on the can doesn’t perfectly match the actual sprayed result. Then, ensure the surface you’re painting is clean and properly primed. A dirty or uneven surface will affect how the paint adheres and its final appearance. Consider using a color test swatch on a similar surface before starting the main project. This lets you experiment with paint coverage and see if the color is true to its label. Finally, maintaining a consistent spray distance and even coats is crucial. Too close, and you risk runs and drips; too far, and the color may be uneven. Practice your spray technique on scrap material to perfect your application.
Q 23. What are some common mistakes to avoid when using stencils and spray paint?
Common mistakes with stencils and spray paint often stem from improper preparation and technique. One major error is not securing the stencil firmly. This can lead to paint seeping under the edges, causing a blurry or inaccurate image – a phenomenon known as ‘bleed-through’. Another issue is using too much paint at once, leading to runs, drips, and uneven coverage. Furthermore, failing to clean your stencil regularly will create paint buildup, which can clog the openings and negatively impact the stencil’s reusability and precision. Applying excessive pressure while spraying can also cause damage to the stencil and the painted surface. Finally, using the wrong type of paint for the stencil material can ruin the stencil itself. For example, using a solvent-based paint on a delicate paper stencil will almost certainly destroy it.
Q 24. How do you estimate the amount of paint needed for a project?
Estimating paint is an art, but a few simple steps can help. First, calculate the total surface area you’ll be painting. For simple shapes like rectangles, it’s straightforward. For complex shapes, break it into smaller, easier-to-calculate areas. Second, check the paint can. It usually specifies its coverage area per coat. Remember that this is an ideal scenario, and you might need slightly more. Third, factor in the number of coats needed. Typically, two coats are ideal for optimal color and coverage, but some projects may require more. Finally, always add a little extra – it’s better to have leftover paint than to run out mid-project. I usually add about 10-15% extra to account for variations in surface absorption and potential overspray.
Q 25. Explain your experience with different types of spray paint finishes (e.g., matte, gloss, satin).
My experience encompasses various spray paint finishes, each with its own characteristics. Matte finishes provide a flat, non-reflective surface, ideal for minimalist aesthetics or when concealing imperfections. Gloss finishes offer a high-shine, reflective look, excellent for adding depth and making colors appear more vibrant, though imperfections are more noticeable. Satin finishes offer a balance between matte and gloss, providing a soft sheen with good durability and coverage. The choice of finish significantly impacts the overall look and feel of the project. For instance, a glossy finish might be appropriate for a piece meant to be visually striking, while a matte finish would be suitable for something more understated or a piece intended for an environment with strong light.
Q 26. How do you handle stencil misalignment or bleed-through?
Stencil misalignment and bleed-through are common frustrations. To prevent misalignment, use a strong adhesive like low-tack masking tape to secure your stencil. For large stencils, consider using multiple smaller pieces of tape rather than one large piece to prevent warping. For bleed-through, use a low-pressure, controlled spraying technique. Multiple thin coats are better than one thick coat. Also, experiment with using a barrier between the stencil and the surface. Applying painter’s tape to the edges of the stencil can sometimes significantly improve the quality of the results, though be wary of the adhesive leaving residue on your work. Sometimes, even with careful prep, a small amount of bleed may still occur. Often, a small, fine-tipped paintbrush and carefully matched paint can be used to make these minor corrections easily.
Q 27. Describe your experience with airbrush techniques and their applications.
Airbrushing provides a level of control and precision unmatched by standard spray cans. I’ve used it extensively for creating fine details, gradients, and subtle color transitions – tasks almost impossible with a spray can. Airbrushing allows for a wider variety of paint types and the creation of special effects that would be difficult or impossible to accomplish otherwise. The ability to control air pressure and paint flow leads to a greater degree of finesse. For example, I once used airbrushing to create a highly detailed mural with subtle shading and realistic textures. The flexibility of airbrushing allows for the creation of custom designs and highly sophisticated pieces.
Q 28. What are some creative techniques you have used with stencils and spray paint?
Beyond standard stenciling, I’ve explored several creative techniques. Layering stencils allows for complex designs and unexpected combinations. By using different colors and creating slight offsets, you can build interesting visual depth and texture. Another technique involves altering stencils – cutting them partially or distorting them to create unique effects. I’ve also experimented with masking tape to block off areas of the stencil, generating unexpected patterns and textures. And, most recently, I’ve incorporated metallic spray paints with stencils for a unique look, creating both contrasting and complementary visual effects. The key here is experimentation and exploration of material properties to create a dynamic and interesting final product.
Key Topics to Learn for Stencils and Spray Paint Interviews
- Stencil Design and Creation: Understanding design principles for effective stencil creation, including material selection, appropriate sizing, and intricate detail considerations for various applications.
- Spray Paint Techniques: Mastering different spray techniques for achieving consistent coverage, desired texture (e.g., smooth, textured), and precise application, including controlling distance, pressure, and spray patterns.
- Surface Preparation: Understanding and applying proper surface preparation techniques for optimal paint adhesion and finish across diverse surfaces (wood, metal, fabric, etc.). This includes cleaning, priming, and masking.
- Color Theory and Mixing: Applying color theory to achieve desired effects and understanding how to mix spray paints to match specific colors or create custom shades.
- Health and Safety: Knowledge of relevant safety precautions, including proper ventilation, personal protective equipment (PPE) use, and waste disposal procedures.
- Troubleshooting and Problem Solving: Identifying and resolving common issues like uneven spray, clogging, paint runs, and achieving desired finish quality. This includes understanding the impact of environmental conditions.
- Different Spray Paint Types: Familiarity with various types of spray paints (lacquer, enamel, acrylic) and their appropriate applications based on the project and desired outcome.
- Stencil Material Selection: Understanding the advantages and disadvantages of different stencil materials (e.g., mylar, reusable plastic, cardboard) and selecting the appropriate material based on the project requirements and intended use.
- Project Planning and Execution: Demonstrating an understanding of planning a project from concept to completion, including time management and resource allocation.
Next Steps
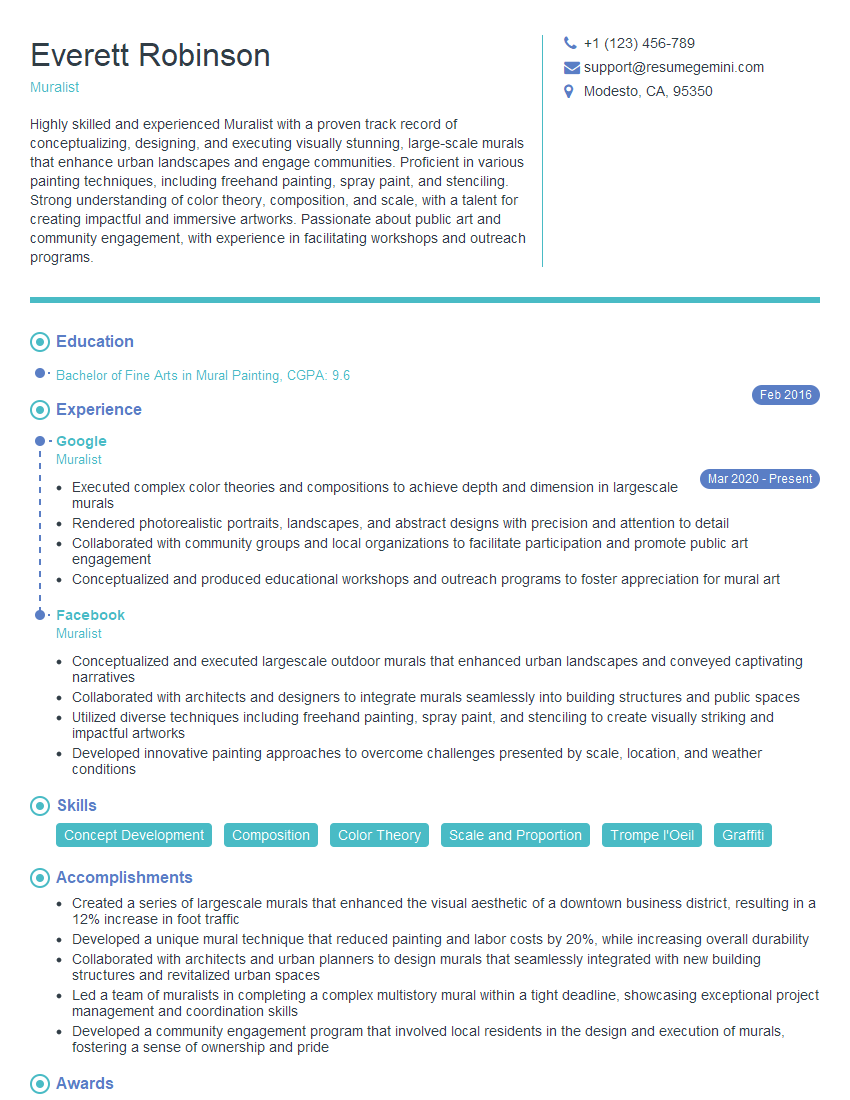
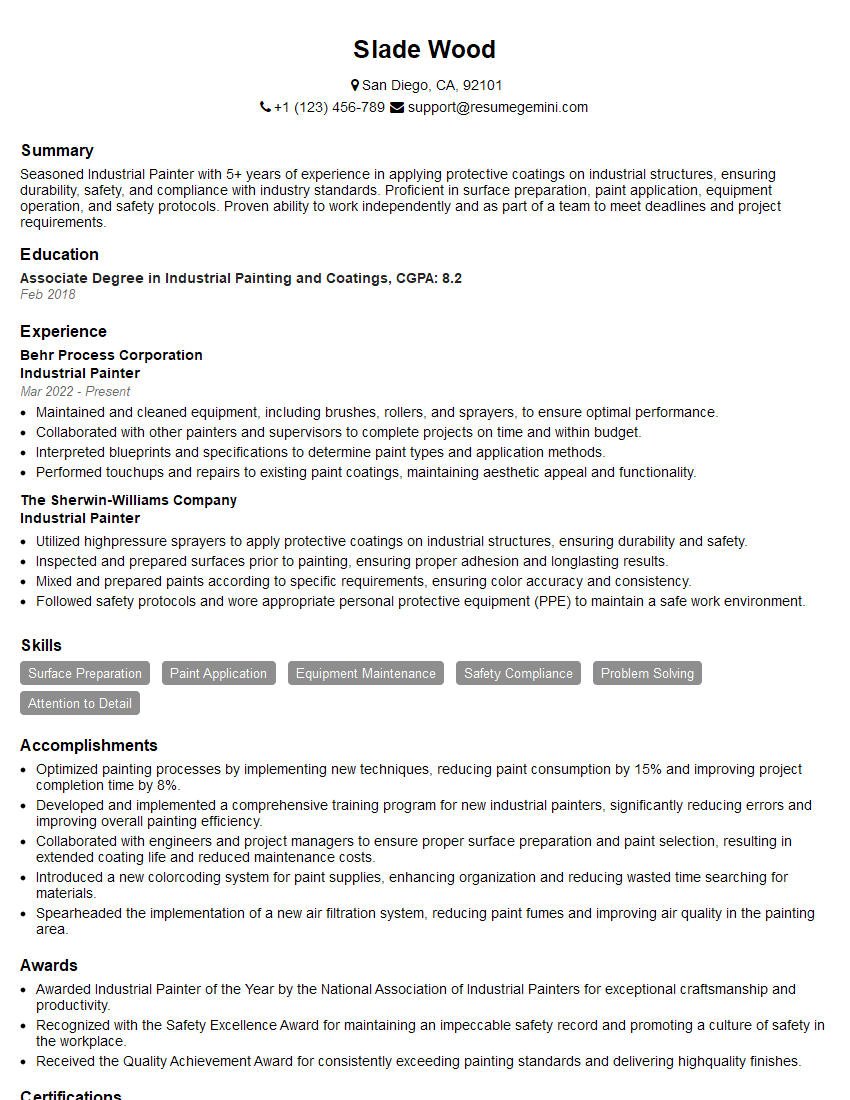
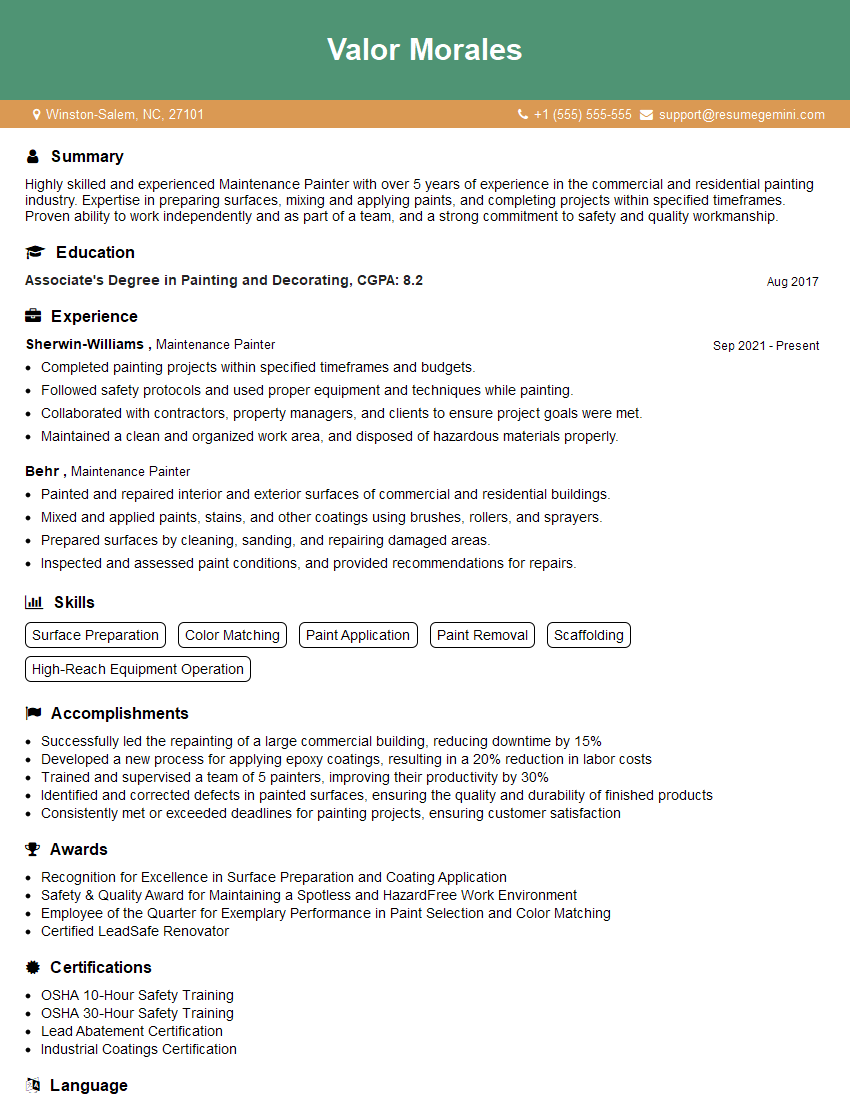
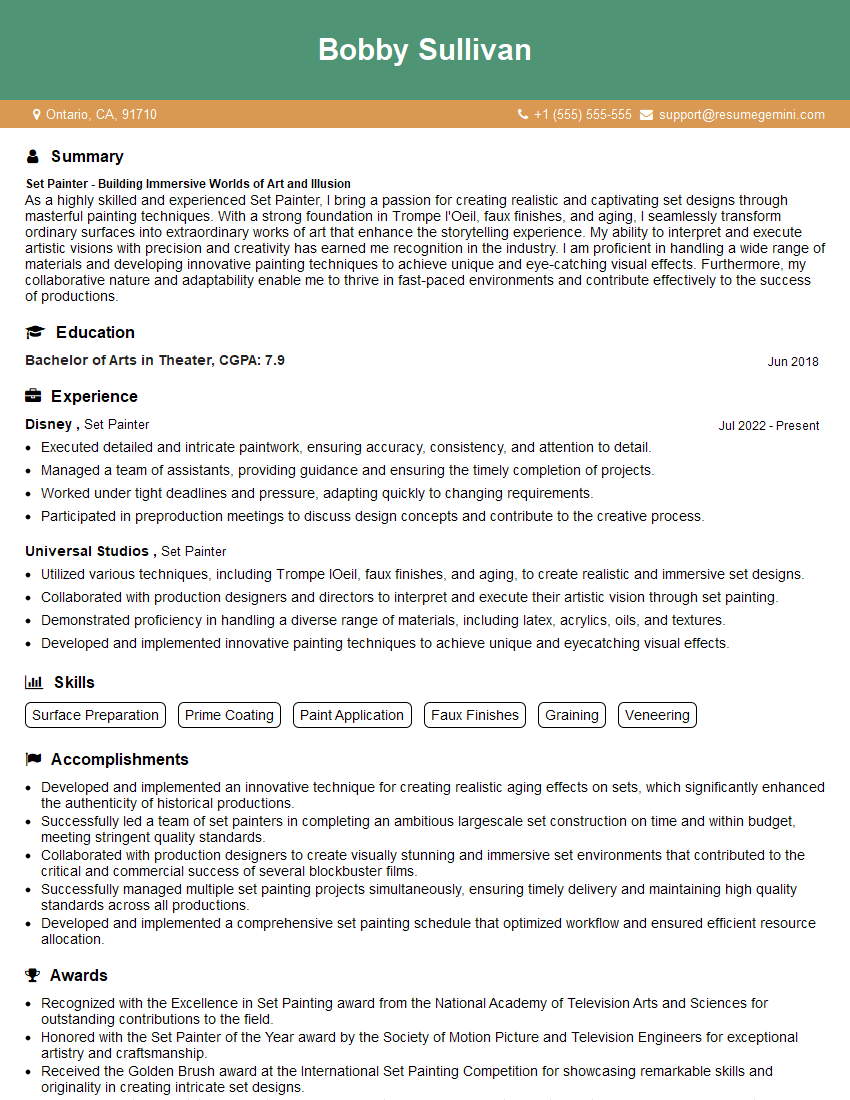
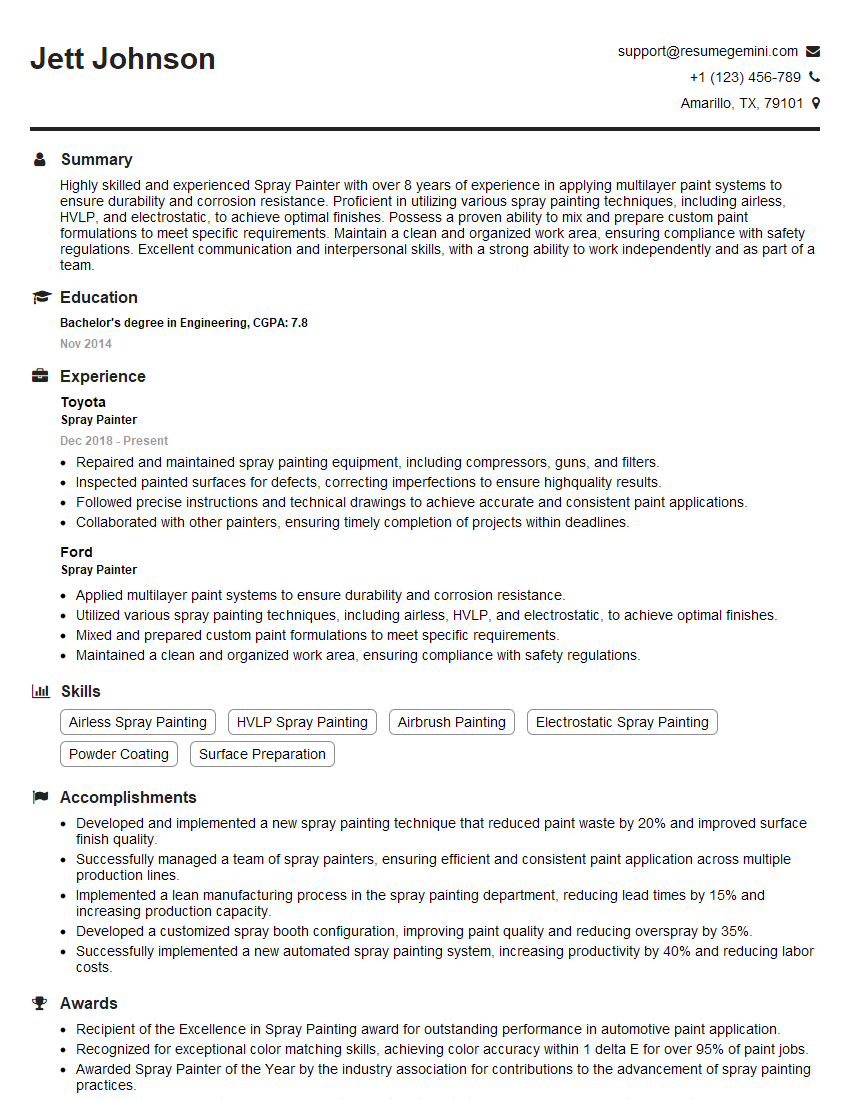
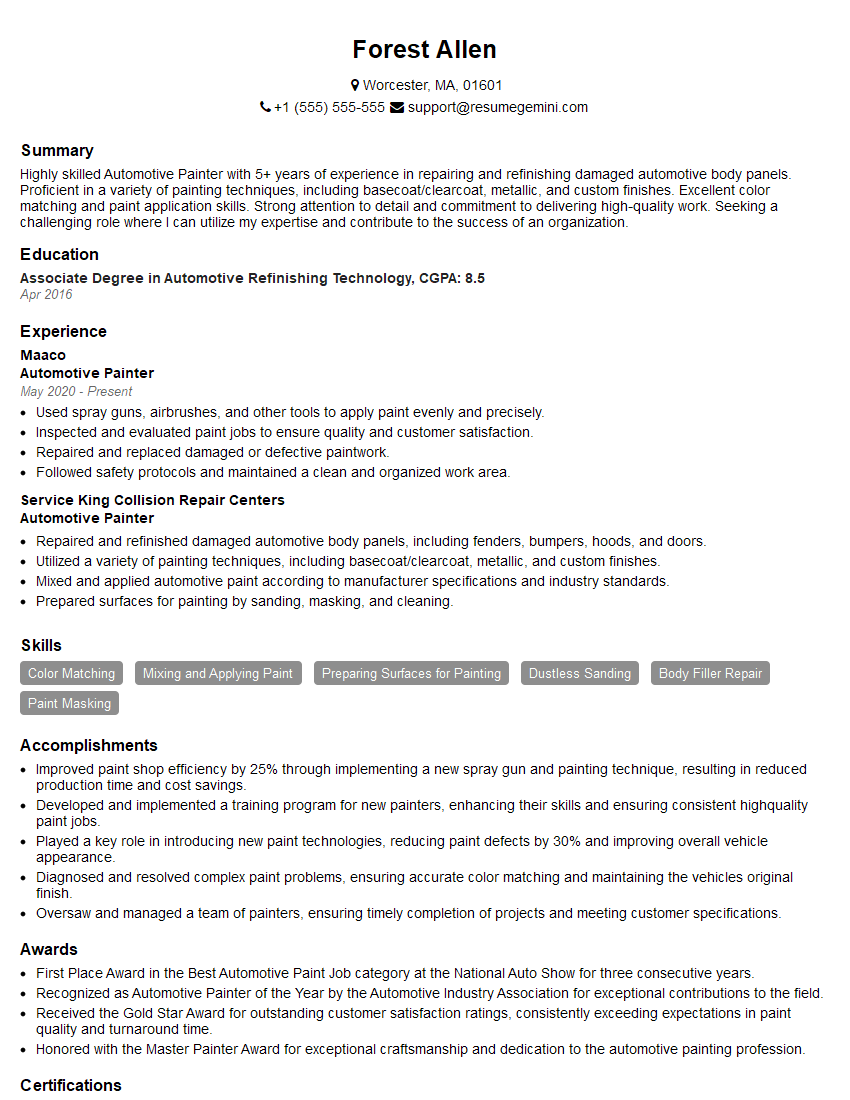
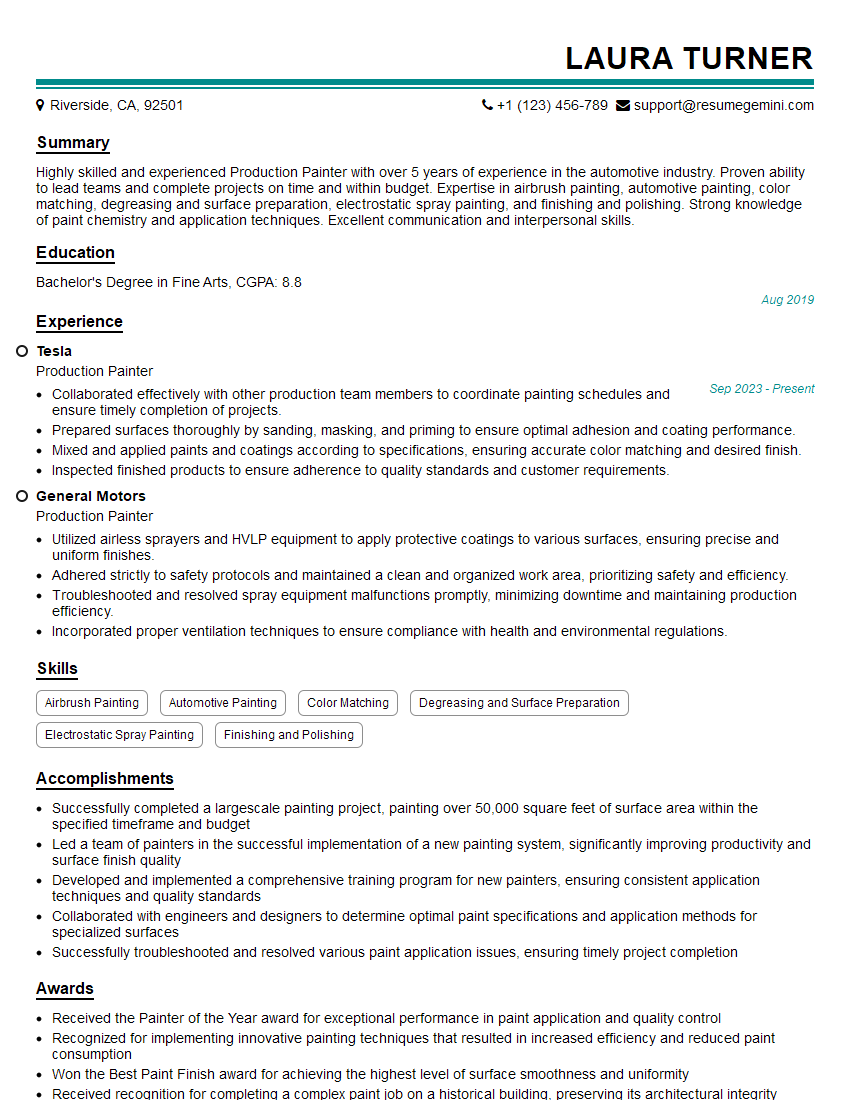
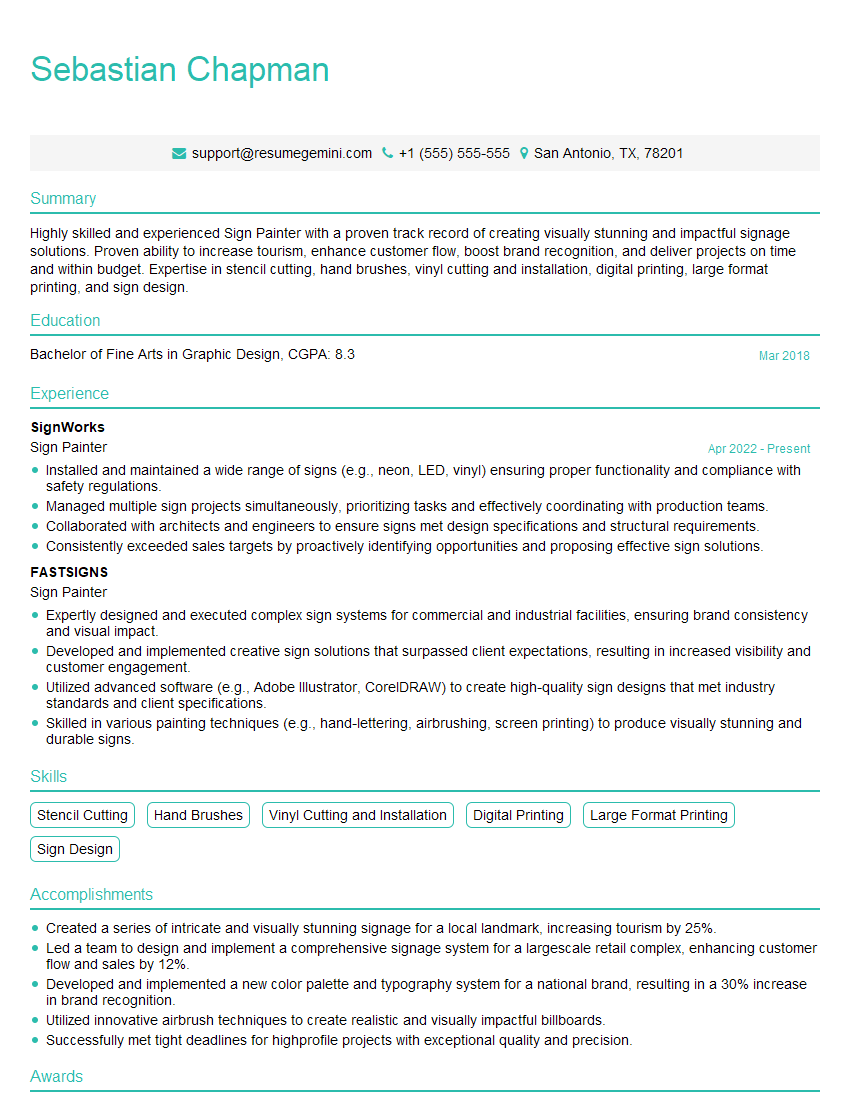
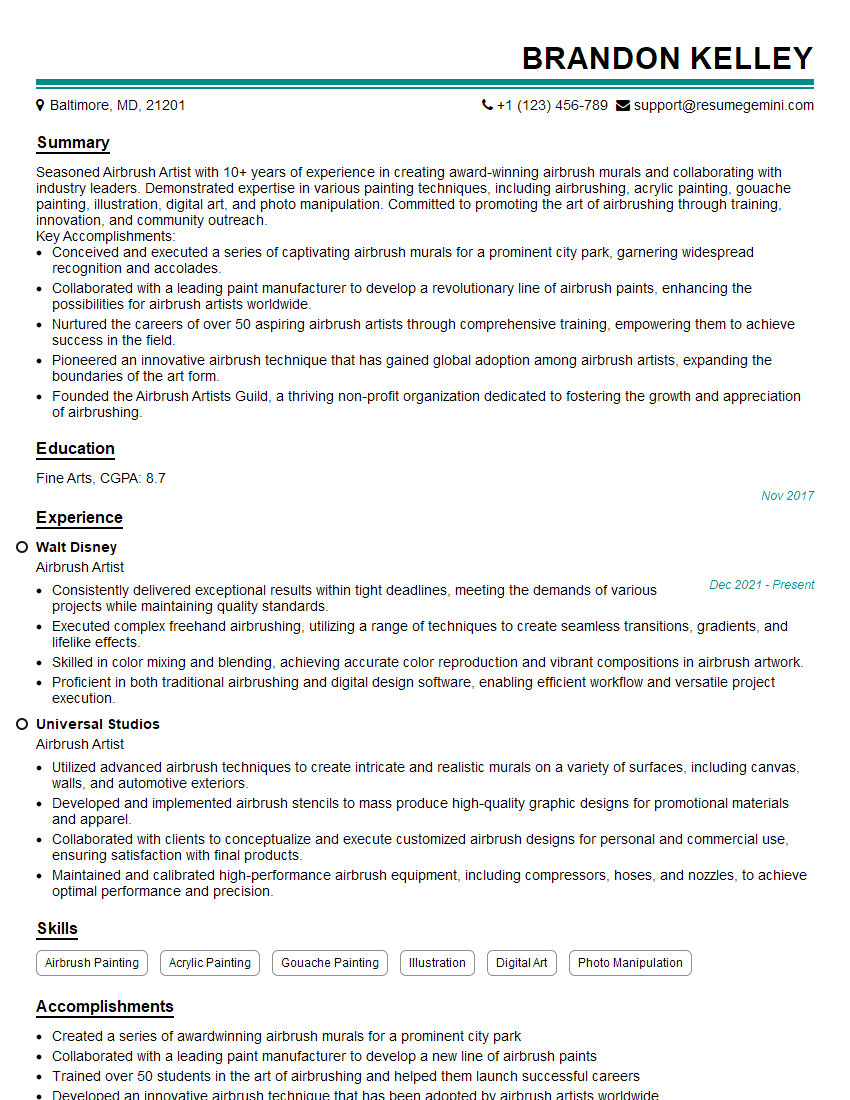
Mastering stencils and spray paint techniques opens doors to diverse and exciting career opportunities in fields like art, design, manufacturing, and more. To significantly boost your job prospects, focus on creating a compelling and ATS-friendly resume that showcases your skills and experience effectively. ResumeGemini is a valuable resource to help you build a professional and impactful resume tailored to your specific skillset. Examples of resumes tailored to Stencils and Spray Paint are available to help guide your creation.
Explore more articles
Users Rating of Our Blogs
Share Your Experience
We value your feedback! Please rate our content and share your thoughts (optional).
What Readers Say About Our Blog
good
