Cracking a skill-specific interview, like one for Thread Cutting and Tying, requires understanding the nuances of the role. In this blog, we present the questions you’re most likely to encounter, along with insights into how to answer them effectively. Let’s ensure you’re ready to make a strong impression.
Questions Asked in Thread Cutting and Tying Interview
Q 1. Describe the different types of thread cutters you are familiar with.
Thread cutters come in various forms, each designed for specific tasks and thread types. The most common include:
- Scissors: These are versatile and suitable for most general thread cutting, especially in sewing and embroidery. Sharp, fine-tipped scissors are ideal for precision.
- Rotary Cutters: Used primarily in quilting and fabric crafts, these are excellent for cutting multiple layers of fabric and thread simultaneously. They require a cutting mat for protection.
- Thread Snips: Small, compact cutters designed specifically for cutting threads. They often feature a spring-loaded mechanism for easy, one-handed operation and are great for quick snips while sewing.
- Specialized Cutters (e.g., Embroidery Scissors): These have specialized blades, often with pointed tips for intricate work or spring-loaded mechanisms for quick snipping.
The choice of cutter depends heavily on the task. For example, delicate embroidery might demand fine-tipped scissors, while cutting through many layers of fabric would necessitate a rotary cutter.
Q 2. Explain the proper techniques for cutting different types of threads.
Cutting different thread types requires adjusting your technique for optimal results and to avoid damage to the thread or the cutting tool.
- Fine Threads (e.g., embroidery floss, sewing thread): Use sharp, fine-tipped scissors or thread snips for clean cuts. Avoid pulling the thread taut while cutting as this can damage the fibers. A gentle, precise snip is key.
- Thick Threads (e.g., crochet thread, heavy-duty sewing thread): Sharp scissors or thread snips are still the best choice, but you may need a bit more force to make a clean cut. Make sure the blades are aligned properly to prevent fraying.
- Metallic Threads: These are notoriously difficult to cut cleanly. Use sharp, heavy-duty scissors and make a firm, decisive cut to avoid fraying or dulling your scissors. Consider using a cutting mat for support.
- Synthetic Threads: Synthetic threads vary in their characteristics, so experiment to determine the best cutting technique. In general, sharp scissors will provide the cleanest cuts, minimizing fraying.
Remember, always keep your cutting tools sharp to ensure clean cuts and prevent damage to the thread.
Q 3. What are the safety precautions when using thread cutters?
Safety is paramount when handling any cutting tools. Always:
- Keep scissors and cutters away from children.
- Use sharp, well-maintained tools to avoid excessive force and potential injury. Dull blades require more pressure increasing the risk of slipping.
- Cut away from yourself and others.
- Use a cutting mat when using rotary cutters. This protects your work surface and prevents accidental cuts.
- Store your cutters safely when not in use.
- Never attempt to force a cut with a dull tool. Sharpen or replace it immediately.
Following these simple guidelines minimizes the risk of accidents and ensures a safe working environment.
Q 4. How do you ensure consistent thread cutting quality?
Consistent thread cutting quality relies on several factors:
- Sharp Scissors/Cutters: Dull blades create frayed ends and uneven cuts. Regular sharpening or replacement is crucial.
- Proper Technique: Use a smooth, controlled motion. Avoid jerking or pulling the thread.
- Clean Cuts: Ensure the blades of your scissors or cutter are properly aligned to make a clean, straight cut.
- Appropriate Tool Selection: Choose the right tool for the job. Fine threads require fine-tipped scissors, while thicker threads may need heavier-duty cutters.
- Consistent Pressure: Avoid pressing too hard or too lightly. Find a comfortable and consistent level of pressure to maintain quality.
Practice is key. With experience, you’ll develop a feel for the optimal cutting technique for various thread types.
Q 5. How do you handle tangled or knotted threads?
Dealing with tangled or knotted threads can be frustrating, but a methodical approach can solve the problem.
- Patience is key: Don’t rush the process. Trying to force a knot apart will often just make it worse.
- Gentle untangling: Carefully separate the threads using your fingers or a blunt tool (like a needle or a crochet hook) to gently loosen the knots.
- Use a lubricant: If the threads are particularly stubborn, a small amount of fabric conditioner diluted with water can help lubricate and disentangle the fibers. Apply sparingly.
- Cutting as a last resort: If the tangle is too severe to untangle, carefully cut the knot as close to the fabric as possible and re-thread.
Preventing tangles in the first place is always the best strategy. Store your threads neatly and avoid letting them drag on the floor or other surfaces that might catch and tangle them.
Q 6. Explain different methods for tying knots in thread.
Many knot-tying techniques exist, each with its own strengths and weaknesses. Here are a few common ones:
- Square Knot: Simple and secure for most applications. It’s created by tying two overhand knots in opposite directions.
- Surgeon’s Knot: A more secure variation of the square knot, ideal for situations where strength and security are paramount. It involves an extra loop in the first overhand knot.
- Overhand Knot: A basic knot used as a component in many other knots. It’s formed by creating a loop and passing the end through the loop.
- Slip Knot: Easily adjustable, this knot is useful for temporarily securing thread.
The choice of knot depends on the context. For general sewing, a square knot is usually sufficient, while a surgeon’s knot might be preferable when greater strength is needed.
Q 7. What are the benefits of using different knotting techniques?
Different knotting techniques offer various benefits depending on the application:
- Security: Some knots, like the surgeon’s knot, provide superior security compared to simpler knots.
- Strength: Knots vary in their ability to withstand stress and tension.
- Ease of Tying: Some knots are easier to tie than others, making them suitable for quick tasks.
- Adjustability: Slip knots allow for easy adjustments after tying, making them useful for temporary fastening.
- Appearance: The appearance of the knot may be a consideration for visible applications, such as embroidery.
Understanding these differences enables you to choose the most appropriate knot for any given task, ensuring both functionality and aesthetics.
Q 8. How do you select the appropriate knot type for a specific application?
Selecting the right knot is crucial for thread security and project success. It depends entirely on the application’s demands – the material’s strength, the stress the knot will endure, and the desired aesthetic.
- For delicate fabrics like silk or lace: A surgeon’s knot or a slip knot provides a secure hold without damaging the material. A surgeon’s knot is created by tying a knot, then tying a second knot in the opposite direction, tightening carefully.
- For strong threads and high-stress applications like sail making: A bowline knot, known for its strength and ease of untying, or a clove hitch (excellent for attaching a line to a post or ring) are preferred.
- For joining threads: A simple overhand knot followed by a few wraps of thread might suffice, but for stronger joins, consider a more robust knot like a fisherman’s knot (used for joining two lines of similar diameter) or a double fisherman’s knot for even greater strength.
Choosing the correct knot is a learned skill that takes practice. Consider consulting knot-tying guides or diagrams to visualize and master various techniques before applying them to your projects.
Q 9. How do you maintain the sharpness of your thread cutters?
Maintaining sharp thread cutters is essential for clean cuts and preventing thread damage. Regular cleaning and occasional honing are key.
- Regular Cleaning: After each use, wipe the blades clean with a soft cloth to remove thread remnants and debris. Compressed air can also help to remove stubborn particles from hard-to-reach areas.
- Honing: For minor dulling, use a honing steel or a fine grit sharpening stone. Gently draw the blades across the honing steel or stone at the correct angle (usually specified by the manufacturer), repeating several times on each side. Avoid excessive pressure, which can damage the blades.
- Professional Sharpening: For significant dulling or damaged blades, professional sharpening is recommended. A skilled professional has the tools and expertise to restore the blades to their optimal sharpness.
Proper storage is also important. Keep your thread cutters in a protective case or sheath to prevent accidental damage and keep the blades clean and free from rust.
Q 10. Describe the procedure for troubleshooting a jammed thread cutter.
A jammed thread cutter is frustrating, but usually solvable. The cause is often a tangle of thread or a foreign object lodged within the mechanism.
- Inspect the Cutter: Carefully examine the blades and the mechanism for any visible obstructions. Use tweezers or a small, pointed tool to gently remove any thread or debris.
- Lubrication: If the jamming is due to friction, a drop or two of sewing machine oil or a light lubricant may help. Apply it sparingly and wipe off any excess.
- Disassembly (if necessary): If the jamming persists, and you are comfortable doing so, carefully disassemble the thread cutter according to the manufacturer’s instructions. Clean all components thoroughly, removing any obstructions, before reassembling.
- Seek Professional Help: If you’re unable to resolve the issue, seek help from a professional repair service. Attempting complex repairs without the proper tools and knowledge can lead to further damage.
Prevention is better than cure. Regular cleaning and avoiding forcing the cutter through thick or tangled thread will significantly reduce the likelihood of jamming.
Q 11. What are the common causes of thread breakage during sewing?
Thread breakage during sewing is a common problem with several contributing factors.
- Dull Needles: A dull needle causes increased friction, leading to thread breakage. Regular needle replacement is crucial.
- Incorrect Needle Size: Using a needle that is too small or too large for the thread can also lead to breakage. Always match the needle to the thread weight.
- Tension Issues: Improper tension settings on the sewing machine can put undue stress on the thread, resulting in breakage.
- Knots or Weak Points in the Thread: Inspect the thread for knots or weak areas before using it.
Remember, a happy sewing machine is a well-maintained one. Addressing these issues proactively will reduce thread breaks and frustrations.
Q 12. How do you prevent thread breakage?
Preventing thread breakage is all about minimizing stress on the thread and maintaining your tools. Here’s a multi-pronged approach:
- Use sharp needles: Regularly inspect and replace dull needles. A sharp needle smoothly penetrates the fabric, reducing friction on the thread.
- Correct needle and thread combination: Always choose the right needle size for your thread weight. Consult a needle size chart for guidance.
- Proper tension settings: Adjust the tension on your sewing machine to ensure even feed. Consult your machine’s manual for guidance.
- Good quality thread: Invest in high-quality thread; it’s less prone to breakage.
- Avoid kinks and knots: Keep the thread spool clean and free from kinks. Guide the thread carefully to prevent knots.
- Regular maintenance of your sewing machine: Keep your sewing machine clean and properly lubricated. Regular servicing is highly recommended.
Remember that a systematic approach to these factors leads to less frustration and higher-quality results.
Q 13. What are the different types of thread available, and what are their properties?
Threads are available in a wide variety of materials, each with its own properties. The choice depends heavily on the project.
- Cotton: A versatile and affordable option, suitable for many general sewing projects. It’s absorbent and relatively strong, but can be prone to shrinking.
- Polyester: Stronger and more resistant to shrinking than cotton, polyester threads are ideal for projects requiring durability and lasting color. They are also less prone to fraying.
- Silk: Luxurious and lustrous, silk thread is excellent for fine sewing and decorative work. It is more delicate than cotton or polyester.
- Rayon: A smooth, lustrous thread that drapes well. It’s often used for decorative work or for projects where a subtle sheen is desired. It’s less durable than polyester.
- Nylon: A very strong and durable thread, often used for outdoor gear or heavy-duty sewing applications. It is resistant to wear and tear.
The weight or thickness of the thread is also important. This is indicated by a number (e.g., 30 wt, 50 wt), with lower numbers indicating thicker threads.
Q 14. How do you determine the appropriate thread type for a given project?
Selecting the correct thread type hinges on the project’s requirements. Consider these factors:
- Fabric type: Delicate fabrics like silk require fine, delicate threads like silk or fine cotton. Heavier fabrics like denim may need stronger threads such as polyester or nylon.
- Project type: For general sewing, cotton or polyester often suffice. For outdoor garments or heavy-duty items, consider nylon for its durability. Embroidery projects might call for specialized threads such as rayon or metallic threads for unique effects.
- Stress level: Applications where seams experience significant stress, like seams in trousers or bags, should use stronger threads like polyester or nylon. Decorative stitching where stress is low might suit cotton or rayon well.
- Color and sheen: Select a thread color that complements or contrasts with the fabric. Consider the sheen (luster) of the thread. A matte thread will provide a different look than a high-gloss thread.
Always test your thread and needle combination on a scrap piece of fabric before proceeding with the main project to ensure that the thread is suitable and to check for any potential issues like thread breakage or poor stitch quality.
Q 15. Explain the relationship between thread tension and stitch quality.
Thread tension is the crucial balance between the upper and lower threads during stitching. Proper tension ensures the threads interlock perfectly, creating a strong, even stitch. Think of it like a handshake – if one person grips too tightly (high tension), the other person’s hand is squeezed uncomfortably; conversely, a weak grip (low tension) results in a feeble, ineffective connection. The ideal tension allows both threads to contribute equally, creating a balanced and secure bond.
Too much upper tension will pull the fabric up, causing puckering on the top and loose stitches underneath. Conversely, too much lower tension leads to puckering on the underside and loose stitches on the top.
Career Expert Tips:
- Ace those interviews! Prepare effectively by reviewing the Top 50 Most Common Interview Questions on ResumeGemini.
- Navigate your job search with confidence! Explore a wide range of Career Tips on ResumeGemini. Learn about common challenges and recommendations to overcome them.
- Craft the perfect resume! Master the Art of Resume Writing with ResumeGemini’s guide. Showcase your unique qualifications and achievements effectively.
- Don’t miss out on holiday savings! Build your dream resume with ResumeGemini’s ATS optimized templates.
Q 16. How do you adjust thread tension on a sewing machine?
Adjusting thread tension on a sewing machine involves manipulating dials or knobs usually located near the top of the machine. Most machines have separate tension dials for the upper and lower thread. The upper tension dial is usually easily accessible and often numbered. Turning it clockwise increases the upper thread tension, counter-clockwise decreases it. Lower tension adjustments are typically less straightforward and may require accessing the bobbin case, which holds the lower spool of thread. The bobbin case might have a small screw to adjust the spring pressure or tension. Consult your sewing machine’s manual for specific instructions, as the exact location and adjustment method varies significantly depending on the machine’s make and model. Experimenting with small adjustments is crucial. Change the setting, stitch a test seam, and examine the result before making another adjustment.
Q 17. Describe the impact of incorrect thread tension on stitching.
Incorrect thread tension significantly impacts stitch quality and the durability of your sewing project. Common problems include:
- Upper Tension Too Tight: Results in puckered fabric on the top, loose stitches on the underside, and thread breakage. The upper thread is overpowering the lower thread, pulling the fabric unevenly.
- Upper Tension Too Loose: Leads to loose, inconsistent stitches on the top and can cause the upper thread to loop or birdnest on the top of the fabric.
- Lower Tension Too Tight: Creates puckering on the underside of the fabric. The lower thread is holding too tightly and pulling the fabric upwards.
- Lower Tension Too Loose: Causes loose, inconsistent stitching, with the lower thread frequently showing on the top of the seam.
In severe cases, incorrect thread tension can render your stitching completely unusable, requiring you to unravel the seams and start over. This is why testing and adjusting tension on a scrap of fabric before starting a project is essential.
Q 18. How do you assess the strength of a knot?
Assessing knot strength depends on the knot’s type and application. A simple way to test a knot’s strength is to gently pull on both ends. A strong knot should hold firm under moderate tension. For a more rigorous test, if the application allows, use a tension gauge, knot tying machine, or testing instruments specifically designed for this purpose. The amount of force required to break the knot helps determine its strength. Comparing the breaking force with established standards for the specific knot type in the given material is often helpful in quantifying strength.
Additionally, visual inspection is important. Look for any looseness or slippage. A well-tied knot will have its components tightly and uniformly interlocked, showing no signs of potential weakness.
Q 19. What are the most common types of thread knots used in various applications?
Many knot types exist, each suited for specific applications. Here are some common ones:
- Square Knot: Simple and widely used, ideal for general purpose tying, but not the strongest. Think of tying shoelaces.
- Reef Knot: Similar to a square knot but designed to be more secure, often used in sailing and other applications where slippage is critical.
- Overhand Knot: A basic knot used as a foundation for more complex knots, not very strong on its own.
- Surgeon’s Knot: A stronger version of the square knot, often used in medical settings for sutures.
- Bowline Knot: Forms a loop that won’t slip, excellent for creating a secure loop at the end of a rope.
The choice of knot depends heavily on the materials being tied together and the expected stress or tension.
Q 20. How would you repair a broken thread while sewing?
Repairing a broken thread while sewing involves a few key steps:
- Secure the loose ends: Tie a knot at the end of the broken thread. A simple overhand knot or a surgeon’s knot will usually suffice.
- Thread the needle: Re-thread your needle with the new length of thread, leaving about 12-18 inches of tail.
- Re-insert the needle: Carefully re-insert the needle into the fabric a few stitches back from where the thread broke.
- Continue stitching: Continue sewing, ensuring the new thread blends seamlessly with the existing stitching. You can weave the tail of the new thread into previous stitches to further camouflage the repair.
- Tie off: After a few stitches, carefully tie off the two threads to secure the repair; a surgeon’s knot is advisable for durability.
For thicker threads or more robust fabrics, a stronger knot such as a surgeon’s knot is recommended. Trim any excess thread after tying off to prevent it from catching or coming undone.
Q 21. Explain the difference between hand-tying and machine-tying thread.
Hand-tying and machine-tying threads differ significantly in their methods and resulting knots.
Hand-tying relies on manual dexterity and various knotting techniques. It allows for more control and flexibility in knot selection, accommodating various thread types and applications. The knot’s appearance and strength largely depend on the skill of the person tying it.
Machine-tying uses specialized mechanisms to automatically create knots, typically integrated into industrial sewing or similar machinery. These methods often utilize specific knotting patterns optimized for speed and reliability. Machine-tied knots may be consistently strong due to the machine’s precision, but might have less flexibility in knot types compared to hand-tying. The type of machine, its configuration and thread characteristics will strongly influence the final knot’s properties.
In essence, hand-tying prioritizes control and adaptability, while machine-tying prioritizes speed, consistency, and often strength in high-volume applications.
Q 22. How do you manage thread waste efficiently?
Efficient thread management is crucial for both cost-effectiveness and maintaining a smooth workflow. It involves minimizing waste through careful planning and precise techniques.
- Pre-cutting to length: Instead of cutting long lengths and letting excess accumulate, I carefully measure and cut threads to the exact length needed for each project. This significantly reduces waste.
- Thread recycling: Short leftover threads aren’t discarded. I often save them for smaller projects or use them to secure knots or reinforce seams.
- Proper storage: Organizing my threads meticulously prevents tangling and breakage, minimizing the need to discard damaged threads. (I’ll discuss my storage methods in more detail later.)
- Using the right thread: Choosing the appropriate thread for the fabric and project prevents unnecessary breakage and re-threading, thus minimizing waste.
For example, when working on a large batch of identical items, I calculate the exact thread length needed per item and pre-cut accordingly. This approach, compared to cutting long lengths for each item individually, can save considerable amounts of thread.
Q 23. Describe your experience with different types of sewing machines and their thread handling capabilities.
My experience encompasses a range of sewing machines, from basic domestic models to industrial machines. Each machine has unique thread handling capabilities that impact efficiency and stitch quality.
- Domestic Machines: These are generally simpler and suitable for lighter-weight fabrics. Thread tension adjustments are usually manual and require more attention.
- Industrial Machines: These machines often have automated features like thread tension regulators, automatic trimmers, and higher sewing speeds. They’re built for heavy-duty fabrics and high-volume production. The thread pathways are often more complex but provide better control and consistency.
- Specialized Machines: Certain machines cater to specific needs such as sergers (for overlocking edges), embroidery machines (requiring multiple threads), and quilting machines (with features for handling bulky threads).
For example, working with heavy denim on an industrial machine equipped with an automatic thread trimmer allows for faster production and a cleaner finish than using a domestic machine. The industrial machine’s greater power and precise thread control makes a noticeable difference in efficiency and stitch quality.
Q 24. What is your experience with different materials that require special thread cutting/tying techniques?
Working with various materials demands adapting thread cutting and tying techniques. Different fabrics require threads with varying strengths and properties.
- Delicate fabrics (silk, lace): These fabrics require finer threads and gentler handling to prevent damage. Knots must be small and secure, and I often use a slip knot for easy removal if needed.
- Heavy-duty fabrics (canvas, leather): These need strong, durable threads like heavy-duty nylon or polyester. Securing knots requires additional care to ensure they can withstand stress.
- Stretchy fabrics (knitwear, lycra): These require elastic or specialized threads that can stretch without breaking. Techniques like using a chain stitch or zigzag stitch help accommodate the fabric’s movement.
For example, sewing leather requires a very strong thread and a secure knotting method, often incorporating a double knot and a whip stitch to reinforce the seam. A regular knot might easily come undone under stress.
Q 25. How do you ensure your work adheres to quality standards regarding thread use?
Adherence to quality standards concerning thread use is paramount. This ensures consistent and reliable results, meeting both client expectations and professional standards.
- Consistent tension: Maintaining correct thread tension is crucial for even stitch formation and preventing breakage. I regularly check and adjust tension as needed throughout my work.
- Appropriate thread type: Using the correct thread type for the fabric is essential for durability and aesthetic appeal. Incorrect thread choices can lead to poor stitch quality, broken seams, or damage to the fabric.
- Neat finishes: Neatly securing thread ends, whether through tying knots or using techniques like thread burrowing, prevents unraveling and enhances the overall finish.
- Regular maintenance: Regularly cleaning and oiling my sewing machines keeps them functioning properly, leading to smoother thread flow and consistent stitch formation.
For instance, using a thread that’s too fine for heavy canvas will result in weak seams, compromising the garment’s integrity, and thus failing to meet quality standards.
Q 26. Describe a time you had to troubleshoot a thread-related problem.
During a recent project involving a delicate silk garment, I encountered a persistent thread jamming issue. The machine kept skipping stitches, and the thread kept breaking.
My troubleshooting process involved the following steps:
- Inspection: I examined the thread path for any obstructions, such as lint or thread scraps.
- Tension adjustment: I carefully adjusted the upper and lower thread tensions, testing after each adjustment.
- Needle check: I checked the needle for any bending or damage, replacing it if needed.
- Thread quality: I considered if the thread itself might be faulty. I tried a new spool of thread to rule out this possibility.
It turned out that the needle was slightly bent, causing the thread to break repeatedly. Replacing the needle immediately resolved the issue. This experience highlights the importance of methodical troubleshooting when dealing with thread-related problems.
Q 27. What are your preferred methods for organizing and storing threads?
Organized thread storage is vital for efficient workflow and preserving thread quality. My preferred methods include:
- Clear containers: I store my threads in clear, airtight containers, preferably with compartments or dividers to prevent tangling. This allows for easy identification of thread colors and types.
- Labeling: Each container is clearly labeled with the thread type (e.g., polyester, cotton), weight, and color.
- Color-coded system: I arrange my containers by color, further enhancing visibility and accessibility.
- Vertical storage: I prefer storing containers vertically to save space and to prevent the threads from becoming compressed or damaged.
This system allows me to quickly locate the specific thread I need and reduces the time wasted searching, leading to enhanced productivity.
Q 28. How do you stay updated on the latest techniques in thread cutting and tying?
Staying current with the latest techniques in thread cutting and tying involves continuous learning and engagement with the sewing community.
- Industry publications: I regularly read sewing magazines and online resources to learn about new thread types, techniques, and technologies.
- Workshops and courses: Attending workshops and taking courses allows for hands-on learning and interaction with experienced professionals.
- Online communities: Engaging with online forums and groups allows me to share knowledge and learn from others’ experiences and troubleshooting strategies.
- Manufacturer resources: I consult directly with thread manufacturers’ websites for information on their products and best practices.
For example, I recently learned about a new type of thread specifically designed for high-speed industrial sewing, resulting in significant improvements in my work efficiency.
Key Topics to Learn for Thread Cutting and Tying Interview
- Thread Selection and Properties: Understanding different thread types (e.g., cotton, polyester, nylon), their strengths, weaknesses, and appropriate applications in various contexts.
- Cutting Techniques: Mastering efficient and precise thread cutting methods using scissors, blades, or other relevant tools, minimizing waste and ensuring clean cuts.
- Knotting Techniques: Proficiency in various knotting techniques, including their applications in different scenarios (e.g., secure knots, decorative knots, knots for specific materials). Understanding knot security and tension.
- Practical Applications: Applying thread cutting and tying skills in real-world scenarios, such as sewing, embroidery, textile manufacturing, or other relevant fields. Be prepared to discuss specific examples.
- Troubleshooting and Problem Solving: Identifying and resolving common issues encountered during thread cutting and tying, such as tangled threads, knotting difficulties, or broken threads. Demonstrating problem-solving skills is crucial.
- Safety Procedures: Understanding and adhering to safety protocols when handling sharp tools and materials. This includes proper tool handling and disposal.
- Efficiency and Speed: Demonstrating the ability to perform thread cutting and tying tasks efficiently and quickly while maintaining accuracy and quality.
Next Steps
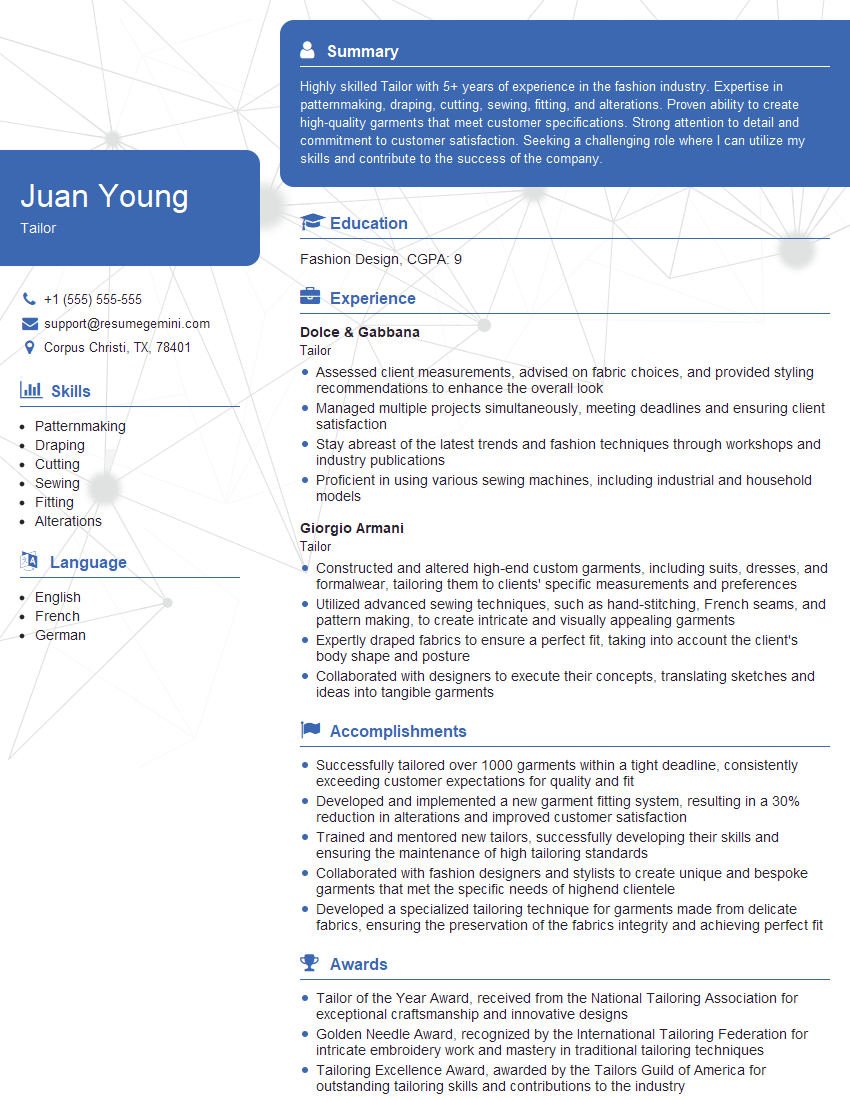
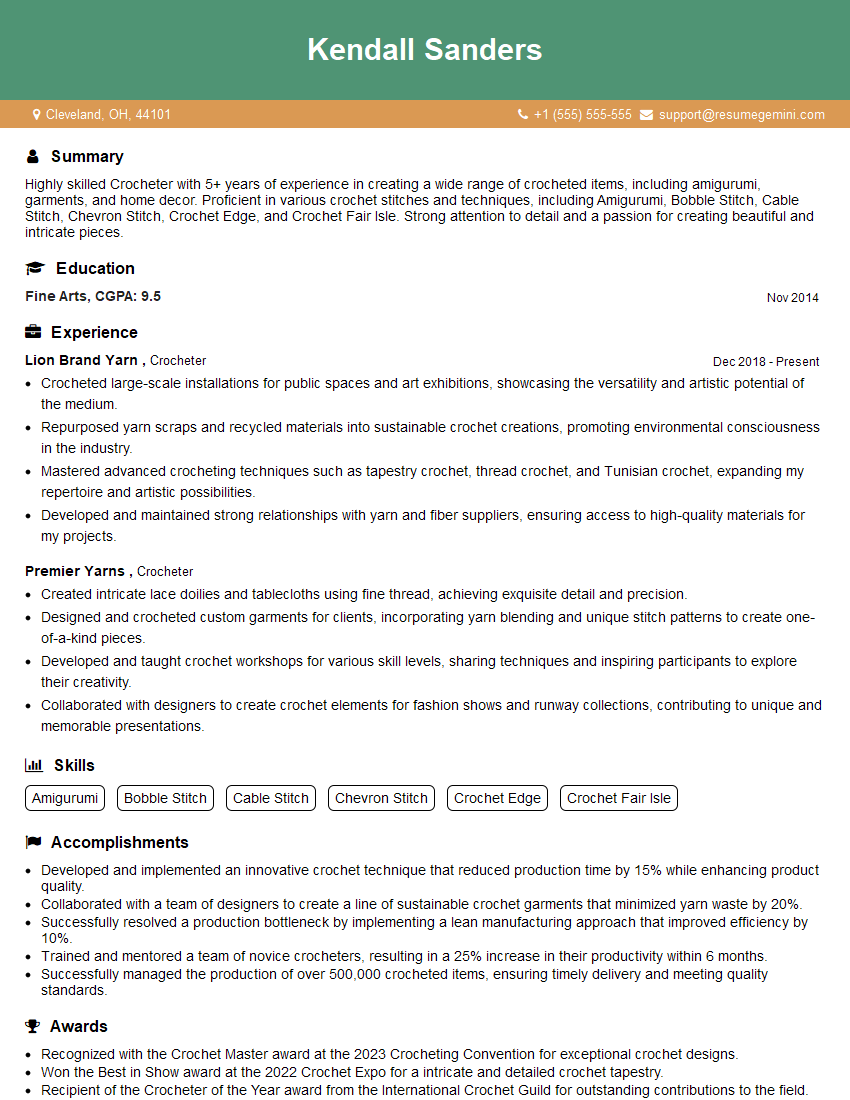
Mastering thread cutting and tying is a fundamental skill highly valued across numerous industries, opening doors to exciting career opportunities and advancements. A strong understanding of these techniques showcases attention to detail, precision, and practical skills – all highly sought-after qualities by employers. To significantly increase your job prospects, crafting an ATS-friendly resume is essential. This ensures your application gets noticed by recruiters and hiring managers. We highly recommend using ResumeGemini to build a professional and effective resume tailored to highlight your abilities. ResumeGemini provides examples of resumes specifically tailored for roles involving Thread Cutting and Tying, enabling you to create a compelling application that stands out from the competition.
Explore more articles
Users Rating of Our Blogs
Share Your Experience
We value your feedback! Please rate our content and share your thoughts (optional).
What Readers Say About Our Blog
Hello,
We found issues with your domain’s email setup that may be sending your messages to spam or blocking them completely. InboxShield Mini shows you how to fix it in minutes — no tech skills required.
Scan your domain now for details: https://inboxshield-mini.com/
— Adam @ InboxShield Mini
Reply STOP to unsubscribe
Hi, are you owner of interviewgemini.com? What if I told you I could help you find extra time in your schedule, reconnect with leads you didn’t even realize you missed, and bring in more “I want to work with you” conversations, without increasing your ad spend or hiring a full-time employee?
All with a flexible, budget-friendly service that could easily pay for itself. Sounds good?
Would it be nice to jump on a quick 10-minute call so I can show you exactly how we make this work?
Best,
Hapei
Marketing Director
Hey, I know you’re the owner of interviewgemini.com. I’ll be quick.
Fundraising for your business is tough and time-consuming. We make it easier by guaranteeing two private investor meetings each month, for six months. No demos, no pitch events – just direct introductions to active investors matched to your startup.
If youR17;re raising, this could help you build real momentum. Want me to send more info?
Hi, I represent an SEO company that specialises in getting you AI citations and higher rankings on Google. I’d like to offer you a 100% free SEO audit for your website. Would you be interested?
Hi, I represent an SEO company that specialises in getting you AI citations and higher rankings on Google. I’d like to offer you a 100% free SEO audit for your website. Would you be interested?
good
