Feeling uncertain about what to expect in your upcoming interview? We’ve got you covered! This blog highlights the most important Toon Boom Harmony and Storyboard Pro interview questions and provides actionable advice to help you stand out as the ideal candidate. Let’s pave the way for your success.
Questions Asked in Toon Boom Harmony and Storyboard Pro Interview
Q 1. Explain your experience with Toon Boom Harmony’s rigging tools.
Toon Boom Harmony’s rigging tools are incredibly powerful, allowing for complex character animation with relatively straightforward setups. My experience encompasses building rigs for both 2D and 3D characters, utilizing bones, deformers, and constraints to achieve realistic and expressive movements. I’m comfortable working with both simple rigs for quick turnaround projects and highly sophisticated rigs for characters demanding nuanced performances.
For example, I recently rigged a character for a short film requiring subtle facial expressions. I used a combination of bone-based rigging for the main body and a more advanced deformation system for the face, allowing for precise control over individual muscle groups. This ensured subtle, believable expressions without sacrificing animation speed.
Furthermore, I’m proficient in using the integrated scripting capabilities of Harmony to customize and extend the rigging tools. This enables automating repetitive tasks, creating custom tools, and streamlining the overall rigging workflow. This is especially crucial in large-scale projects where efficiency is paramount.
Q 2. Describe your workflow for creating a character animation in Toon Boom Harmony.
My character animation workflow in Toon Boom Harmony typically follows these steps:
- Concept & Design: This begins with detailed character design, including turnarounds, model sheets and a style guide.
- Rigging: Building a functional rig suitable for the character’s intended movements and expressions, using bones, deformers, and constraints.
- Animation: Creating key poses and in-betweens, focusing on timing, spacing, and posing to convey emotion and action.
- Clean-up: Refining the animation by adjusting individual drawings for smooth movement and consistent style.
- Export & Compositing: Preparing the animation for export in a suitable format (e.g., MOV, MP4) for compositing in other software or final rendering.
For instance, in a recent project involving a walking character, I started by creating a simple rig that allowed for basic leg and arm movements. After rough animation, I cleaned up the animation to make the movements smoother. I then added more detailed poses and expressions to make the animation more expressive. This iterative process is key to achieving high-quality results.
Q 3. How do you manage layers and groups effectively in Toon Boom Harmony?
Effective layer and group management in Harmony is critical for efficient workflow and project organization. My approach revolves around a hierarchical structure, mirroring the character’s components or scene elements. I typically group elements logically, for instance, a character’s ‘body’ group might contain sub-groups for ‘head,’ ‘torso,’ ‘arms,’ and ‘legs’. Each of these subgroups further contains layers for line art, color, and shadow.
I also utilize layer naming conventions that are clear, consistent and easily understandable by the whole team. This is important for collaboration and ease of finding specific elements. For example, I might name layers ‘character_body_lineart’, ‘character_head_color’, etc. This detailed approach prevents confusion and allows for quick modification and selection of specific animation components.
Furthermore, I leverage Harmony’s layer properties (such as visibility, opacity, and blending modes) strategically to manage complex animations. This ensures ease of access and helps maintain a clear visual overview of the animation layers.
Q 4. What are the advantages and disadvantages of using Toon Boom Harmony’s cutout animation techniques?
Toon Boom Harmony’s cutout animation techniques offer both advantages and disadvantages:
- Advantages: Cutout animation is exceptionally efficient, particularly for characters with distinct, non-deforming parts. This technique is well-suited for styles that emphasize clean lines and bold shapes, allowing for quicker animation and easier management of complex character rigs. It also offers a unique, stylized aesthetic not easily achieved through other methods.
- Disadvantages: Cutout animation is less suitable for organic characters requiring realistic deformations and movements. The inherent limitations of rigid elements can make achieving natural-looking movement challenging. Also, extensive rigging might be needed for subtle character deformations.
For example, I found cutout animation ideal for a recent project where the character design consisted of geometric shapes. This allowed me to quickly create detailed animation without the need for complex rigging. However, for a character needing realistic facial expressions, a more traditional rigging technique was necessary.
Q 5. Describe your experience with Storyboard Pro’s revision tools.
Storyboard Pro’s revision tools are invaluable for managing changes throughout the storyboarding process. My experience includes leveraging features like version history, revision comments, and annotation tools to maintain a clear record of alterations and creative decisions. I find these features essential for client communication and collaboration across teams.
The ability to track changes within Storyboard Pro, including who made them and when, ensures a well-documented workflow. This is particularly helpful in collaborative environments, as it makes it easy to review different versions of a storyboard and to understand the rationale behind changes. I often use the annotation tools to provide specific feedback on individual panels, highlighting areas for improvement.
Q 6. How do you effectively communicate story and character development in your storyboards?
Effective communication of story and character development in storyboards requires a clear visual language. I focus on concise storytelling through well-composed panels, utilizing clear action lines and concise dialogue to convey essential information.
Character development is conveyed through visual cues in the storyboards such as expressions, poses, and actions. For example, a character’s posture might show confidence or uncertainty, while their facial expressions reveal emotion. I pay close attention to visual details such as wardrobe and environments to convey personality and backstory, even in a limited visual space.
A strong understanding of visual storytelling techniques, including camera angles and composition, further enhances the impact of my storyboards, helping communicate the tone, mood, and pacing of the narrative effectively.
Q 7. Explain your process for creating a storyboard panel with multiple camera angles.
Creating a storyboard panel with multiple camera angles involves a careful consideration of visual clarity and narrative flow. My process typically begins with a clear understanding of the scene’s action and the desired emotional impact of each angle. I then plan the placement of each camera angle within the panel to ensure a smooth transition between perspectives, using a combination of techniques like split panels or visual cues to indicate shifts in perspective.
For example, I might use a split panel to showcase a character’s reaction from one angle and simultaneously show the cause of the reaction from a different angle. I use arrows or annotations within the panel to guide the viewer’s eye, helping them understand the scene. The composition also plays a vital role, ensuring that each camera angle is clearly defined and contributes to the overall narrative clarity.
Q 8. What techniques do you use to ensure your storyboards are clear and easy to understand for animators?
Clarity in storyboarding is paramount for smooth animation production. I achieve this through several key techniques. First, I focus on strong visual storytelling, using clear panel layouts and concise actions. Think of it like writing a script – each panel is a sentence, conveying information efficiently. I avoid cluttered panels, ensuring the focus remains on the key action and character expression. Second, I use consistent character designs and clear, simple staging. Characters should be easily identifiable, and their poses should be unambiguous about their actions and emotions. Third, I always include clear annotations: camera angles (e.g., ‘high angle’, ‘close-up’), character emotions, and any significant details like sound effects (SFX) or special effects (SFX) to guide the animators. For example, instead of simply drawing a character running, I might annotate: ‘Character runs quickly, determined expression, leaves trail of dust (SFX: thudding footsteps).’
- Clear Panel Layout: Using consistent panel sizes and layouts maintains a visual rhythm and readability.
- Concise Actions: Each panel depicts a single, easily understandable action to avoid confusion.
- Annotations: Detailed written notes clarify ambiguities and guide animators on timing, emotion, and special effects.
Q 9. How do you handle feedback on your storyboards and incorporate revisions effectively?
Feedback is crucial for refining storyboards. My process involves actively seeking input from directors, animators, and other stakeholders. I usually present my boards in a review session, allowing for real-time discussion and clarification. I find that using digital annotation tools within Storyboard Pro itself (or even shared online documents) facilitates this process, enabling quick and precise feedback directly on the boards. I then carefully consider all feedback, prioritizing constructive criticism that addresses clarity, pacing, and narrative flow. Incorporating revisions is an iterative process. Minor adjustments might be done directly in the software, while major changes may necessitate redrawing panels or even revising sequences. It’s important to maintain open communication throughout this process, ensuring that everyone involved understands the rationale behind changes and the overall vision of the project.
For example, if feedback points to a scene being too confusing, I might re-draw panels to better clarify the action or add more detailed annotations. If the pacing is too slow, I may cut panels or simplify the action within existing panels. The key is to use feedback as a tool for improvement, not as a source of frustration. It’s a collaborative process!
Q 10. Describe your experience with using Storyboard Pro’s collaboration features.
Storyboard Pro’s collaboration features are a game-changer for team projects. I’ve extensively used features like the cloud sync, allowing multiple users to work on the same storyboard simultaneously without file conflicts. This is incredibly efficient when working with large teams and tight deadlines. The integrated review tools also allow for seamless feedback integration. Directors or producers can directly comment on the boards and even suggest revisions, all within the software’s interface. This reduces email clutter and ensures everyone’s on the same page. I’ve found the ability to easily assign tasks and track progress through the software’s built-in workflow features to be very helpful for project management. These tools are incredibly useful, streamlining the entire collaborative process, from initial brainstorming to final approval.
Q 11. What are your preferred methods for exporting storyboards from Storyboard Pro?
My preferred methods for exporting storyboards from Storyboard Pro depend on the project’s needs and the intended use. For client presentations, I often export high-resolution PDFs, ensuring the boards maintain visual quality. This format is universally compatible and readily printable. For animation teams, I utilize Storyboard Pro’s ability to export image sequences (e.g., PNG or JPEG) which are ideal for importing directly into animation software like Harmony. The image sequence export preserves the storyboard’s layout and allows the animators to easily reference the panels frame-by-frame. Occasionally, I might even export a QuickTime movie if there’s a need for a quick overview presentation with basic audio added. I choose the export format carefully depending on whether the goal is final presentation or a tool for the animation team.
Q 12. Explain your experience with Harmony’s camera tools and their application in animation.
Harmony’s camera tools are essential for creating dynamic and engaging animation. I use them to craft compelling shots by controlling camera movement, perspective, and focal length. For example, I might use a slow dolly zoom (a combination of zoom and camera movement) to create a dramatic effect, emphasizing a character’s emotional state or a change in the environment. I also utilize camera tracking to match the animation to pre-existing footage, such as live-action plates, creating visually rich and seamlessly integrated scenes. The ability to adjust camera focus is also crucial in creating depth of field, drawing the viewer’s eye to specific elements within a scene while blurring others. Mastering these tools is vital for creating visually appealing and narratively effective animation.
Q 13. How do you utilize Harmony’s different brush tools for different animation styles?
Harmony’s brush tools are incredibly versatile, allowing me to adapt to various animation styles. For a cartoon style, I might use thicker, more expressive brushes with distinct line weight variations to create a dynamic and bold look. For a more realistic style, I would opt for thinner, smoother brushes, paying close attention to line weight consistency to achieve a polished finish. I might even create custom brushes to emulate the look of specific tools like pencils or ink pens. For example, I might create a brush with slight texture for a sketchbook feel, or a brush with a tapered tip for a more delicate line. The key is to understand the properties of each brush and how they can contribute to the overall style and feel of the animation.
Q 14. How would you address issues with inconsistent line weight in your Harmony animation?
Inconsistent line weight can significantly detract from the visual appeal of Harmony animation. Addressing this usually involves a multi-pronged approach. First, I ensure I have a consistent workflow and a good grasp on pressure sensitivity settings within my drawing tablet. Properly calibrated pressure sensitivity ensures consistent line weight according to how hard I press. Second, I often utilize Harmony’s features such as the ‘Stroke Thickness’ tool to manually adjust line weights and maintain consistency, particularly in areas where it deviates from the intended thickness. For larger scale inconsistencies, I might use Harmony’s powerful vector editing capabilities to globally adjust line weight across multiple frames or scenes, ensuring a more unified visual presentation. This methodical approach, combining preventative measures and corrective tools, ensures a professional and cohesive final product.
Q 15. How familiar are you with Harmony’s deformation tools (e.g., bones, envelopes)?
My experience with Harmony’s deformation tools is extensive. I’m proficient in using both bones and envelopes to create believable character animation and rigging. Bones offer a skeletal structure for deformation, allowing for complex, articulated movements. Think of it like the armature of a puppet. You define joints and control the movement of each limb independently. Envelopes, on the other hand, provide a more subtle and flexible approach, useful for facial animation or organic deformations where you need precise control over specific areas. I frequently use both methods in tandem—for instance, a character might use bone rigging for overall body movement, while envelopes fine-tune facial expressions or subtle clothing deformations. I understand the limitations of each method and select accordingly based on the project’s needs and desired level of realism.
For example, I recently worked on a project where we needed to animate a fantastical creature with multiple limbs and appendages. Bones were crucial for defining the creature’s overall skeletal structure and ensuring fluid movement. However, for animating subtle skin deformations and facial expressions, we used envelopes to precisely manipulate the creature’s form, creating a natural, engaging result.
Career Expert Tips:
- Ace those interviews! Prepare effectively by reviewing the Top 50 Most Common Interview Questions on ResumeGemini.
- Navigate your job search with confidence! Explore a wide range of Career Tips on ResumeGemini. Learn about common challenges and recommendations to overcome them.
- Craft the perfect resume! Master the Art of Resume Writing with ResumeGemini’s guide. Showcase your unique qualifications and achievements effectively.
- Don’t miss out on holiday savings! Build your dream resume with ResumeGemini’s ATS optimized templates.
Q 16. Describe your experience with Harmony’s compositing and effects features.
Harmony’s compositing and effects capabilities are a significant part of my workflow. I’m comfortable layering elements, creating depth of field, adding camera effects (like shakes or motion blur), and integrating various post-production effects to enhance the final visual quality. I’m familiar with using different blend modes to achieve various visual styles, from subtle blending to dramatic light effects. Beyond basic compositing, I’ve worked extensively with effects like light glows, shadows, and particle systems to enhance the visual richness of animated scenes. I also understand how to optimize the compositing process to prevent performance issues, such as using pre-rendered elements where appropriate.
For instance, on a recent project, we used Harmony’s compositing features to create an atmospheric night scene. We used a layered approach to create a believable environment, first laying down a background layer with the night sky, followed by buildings with ambient lighting, then characters with their own lighting and shadows. By carefully adjusting blend modes and using lighting effects, we created a scene with depth and mood.
Q 17. How would you optimize a Harmony scene for better performance?
Optimizing Harmony scenes for performance is crucial for smooth workflows and efficient rendering. My strategies focus on several key areas:
- Reducing the number of objects: Simplifying complex scenes by combining or merging objects where possible significantly improves performance. Instead of having dozens of individual leaves on a tree, I might use a single textured object.
- Using lower-resolution assets: While high-resolution assets look great, they can significantly impact performance. I typically work with lower-resolution versions during animation and switch to higher resolutions only for final rendering.
- Efficient use of layers and groups: Organizing layers into logical groups and using layer visibility to only render what’s necessary for each shot reduces computational load.
- Minimizing the use of effects: While effects enhance visual appeal, using too many or overly complex effects can dramatically slow down performance. It’s crucial to balance visual appeal with performance needs.
- Pre-rendering elements: Where appropriate, pre-rendering complex elements like backgrounds or particle effects can offload processing from the main animation process.
Think of it like baking a cake; you would only add specific ingredients at specific times to ensure the best outcome. Similarly, in animation, using resources effectively ensures smooth and efficient processing.
Q 18. How familiar are you with Harmony’s scene management and file organization features?
Effective scene management and file organization are paramount for collaborative projects and maintaining a clear workflow. In Harmony, I utilize a hierarchical structure for my scenes, breaking them down into logical units (e.g., characters, props, backgrounds). I adopt a naming convention that’s easily understandable by myself and others on the team. This helps to quickly locate specific assets or scenes. I also utilize Harmony’s library features to store and reuse commonly used elements, such as characters or background components, ensuring consistency and reducing redundancy.
Imagine a well-organized library – you can easily find the book you’re looking for. Similarly, well-organized Harmony files help prevent confusion and wasted time.
Q 19. What is your experience working with different frame rates and aspect ratios in Harmony?
Working with various frame rates and aspect ratios is a standard part of my workflow. I understand the implications of different frame rates on animation smoothness and the effects of aspect ratio on composition and visual storytelling. I’m adept at adjusting project settings to match client requirements and seamlessly switching between different formats. I’m also mindful of the potential challenges of scaling animation between different aspect ratios and have strategies for handling potential issues such as letterboxing or cropping.
For example, I’ve worked on projects with both film (24fps) and broadcast television (29.97fps) standards, adapting my animation techniques and workflow to meet the specific requirements of each project. Similarly, I’ve worked with various aspect ratios such as 16:9, 4:3 and even more unconventional ratios, ensuring that the animation is correctly formatted and presented to avoid any distortion or loss of visual information.
Q 20. Describe your approach to troubleshooting common animation issues in Toon Boom Harmony.
Troubleshooting animation issues requires a systematic approach. I start by identifying the specific issue and then work through potential solutions:
- Review the timeline: Carefully examine the timeline for inconsistencies in keyframes, timing issues, or unexpected transformations.
- Check layer order: Incorrect layer order can cause unexpected overlaps or obscuring of elements.
- Inspect nodes and parameters: Problems can stem from incorrect node settings or parameter values in effects or deformation tools.
- Test with simpler animations: Isolating the problematic element by creating a simpler animation can help identify the source of the problem.
- Utilize Harmony’s debugging tools: Harmony provides various tools, such as the timeline analysis features to help pinpoint issues.
- Consult the Harmony documentation and community forums: When faced with unusual problems, the online resources can often provide valuable insights and solutions.
Troubleshooting is like detective work. By methodically investigating each aspect of the animation process, I can identify the problem’s root cause and implement an effective fix. This requires a combination of technical skills and problem-solving abilities.
Q 21. How comfortable are you with using external assets and importing them into Toon Boom Harmony?
I’m very comfortable using external assets and importing them into Harmony. I regularly work with various file formats, including PSDs, AI files, and various video codecs. I understand the importance of preparing external assets correctly to ensure seamless integration within Harmony. This includes checking for proper resolution, color profiles, and file compatibility. I am familiar with different import methods and can optimize the process to maintain the visual quality and performance. I’m also experienced in handling potential issues that might arise during the import process, such as color discrepancies or file corruption.
For example, I recently integrated 3D models created in another software into a 2D Harmony animation. I carefully prepared the models to ensure compatibility and optimized them for performance within the Harmony environment. This involved adjusting their resolution and ensuring they were properly textured before importing them as layered images.
Q 22. Explain your experience with different animation techniques (e.g., traditional, cutout, puppet).
My experience spans various animation techniques, each offering unique creative possibilities and technical challenges. Traditional animation, the foundation of many animation styles, involves drawing each frame by hand. I’ve worked on projects utilizing this technique, understanding its meticulous nature and the importance of strong drawing skills. Cutout animation, on the other hand, uses pre-drawn elements that are manipulated and composited to create movement. This technique is efficient for certain styles, offering faster turnaround times and flexibility in posing and animation. Finally, puppet animation, whether 2D or 3D, involves manipulating physical or digital puppets to create the illusion of life. I’ve extensively utilized digital puppetry, especially within Toon Boom Harmony, leveraging its rigging and deformation tools to achieve realistic or stylized movement.
For example, in one project, I combined cutout animation with traditional techniques, using pre-drawn character elements but adding subtle hand-drawn details for enhanced expression. In another, I created a fully rigged puppet character in Harmony, developing a complex rig that allowed for nuanced movement and interaction with the environment.
Q 23. How familiar are you with various file formats and their compatibility with Toon Boom Harmony and Storyboard Pro?
Understanding file formats is critical for smooth workflows between different software. Toon Boom Harmony excels with its own .xfl files (for projects) and supports various image formats like PNG, JPG, TIFF, and PSD. It also works seamlessly with vector formats like SVG, crucial for maintaining crisp lines during scaling. Storyboard Pro primarily uses its native .sbproj files, also supporting image imports (PNG, JPG, etc.) and video formats like MOV and MP4. It integrates smoothly with Harmony, allowing for the easy import and export of storyboards and animatics.
Furthermore, I’m adept at handling file conversions where necessary. For instance, I frequently export high-resolution PNG sequences from Harmony for compositing in other software, or I might import PSD files into Storyboard Pro for creating sophisticated board layouts. Understanding these compatibility nuances is essential for maintaining efficient and error-free pipelines.
Q 24. How would you handle a deadline-driven project requiring both Harmony and Storyboard Pro expertise?
Handling deadline-driven projects that require both Harmony and Storyboard Pro expertise necessitates a strategic approach. My workflow prioritizes meticulous planning and efficient resource management. I’d begin with a clear breakdown of the project scope, defining tasks and deliverables for each software. This includes creating a detailed shot breakdown in Storyboard Pro, clearly indicating camera angles, action, and dialogue. These boards would then be exported as animatics, guiding the animation process in Harmony.
Parallel processing is key. The storyboard artist can work concurrently with the Harmony animator, using the approved storyboard as a precise roadmap. Regular progress reviews and communication are crucial to identifying and addressing potential bottlenecks. Version control is non-negotiable; I’d leverage cloud-based solutions or local server-based systems to safeguard project files and ensure collaboration transparency.
Q 25. Describe your experience using different Storyboard Pro templates and customizing them to your needs.
Storyboard Pro provides various templates, from basic layouts to more complex ones geared towards specific genres or styles. I’m proficient in utilizing pre-built templates as starting points and adapting them according to project requirements. This involves adjusting panel sizes, aspect ratios, adding custom backgrounds, or creating unique annotations.
For example, I might use a standard widescreen template for a feature film, but modify it to include annotations specifically designed for highlighting camera movement or special effects. Alternatively, I’ve customized templates for animated shorts, incorporating more stylistic panel shapes and layouts to match the creative vision. The key is to leverage Storyboard Pro’s customization features to create a workflow tailored for specific project needs.
Q 26. How do you ensure consistency in style and tone throughout your storyboards?
Maintaining consistency in style and tone throughout storyboards requires meticulous planning and attention to detail. I start by establishing a clear style guide, documenting key visual elements, character designs, and visual language. This guide serves as a reference throughout the project, ensuring that all storyboards adhere to the established aesthetic.
Furthermore, I maintain a centralized repository of visual references. This includes character models, environment designs, and examples of desired artistic styles. Regular reviews of the storyboards with the director and art director help identify and correct inconsistencies before they escalate. This iterative approach promotes collaboration and ensures the overall coherence of the narrative visual style.
Q 27. What methods do you use to keep your storyboards organized and easily accessible?
Organization is paramount. I employ a hierarchical folder structure, organizing storyboards by scene, act, or sequence, making retrieval swift and intuitive. Within each folder, I maintain versions of the boards, clearly labeling revisions with dates or description for easy tracking. Furthermore, I leverage Storyboard Pro’s built-in features to add metadata, such as scene numbers, descriptions, and revision notes, directly within the software. This makes searching and filtering for specific boards quick and simple.
For larger projects, a cloud-based collaboration platform is invaluable. This permits seamless sharing and allows multiple artists to access and work on storyboards simultaneously. Utilizing robust naming conventions within the cloud storage further enhances organization and streamlines workflows.
Q 28. How would you approach animating a scene that involves complex camera movement and character interaction in Toon Boom Harmony?
Animating complex camera movements and character interactions in Toon Boom Harmony requires a phased approach. I’d start with pre-visualization in Storyboard Pro, meticulously planning camera angles, movement paths, and character actions. This allows for thorough pre-planning, minimizing animation time and potential errors. In Harmony, I leverage the camera tool to create complex movements, including camera tracking, zoom, and rotations, using keyframes to control the motion smoothly.
Character animation would involve creating robust character rigs using bones and constraints, ensuring fluid movements and believable interactions. For complex scenes, I might employ motion capture data or utilize advanced techniques such as inverse kinematics (IK) to simplify character posing and animation. Layer organization is critical; using proper layering keeps the scene organized, enabling smoother animation and compositing. Finally, I would employ test renders to check for any issues before final rendering, ensuring everything performs as planned.
Key Topics to Learn for Toon Boom Harmony and Storyboard Pro Interview
- Toon Boom Harmony: Understanding the core concepts of vector-based animation, including drawing tools, animation principles (12 principles of animation), and rigging techniques. Practical application: Explain how you’d create a walk cycle or a simple character animation.
- Toon Boom Harmony: Mastering the use of different Harmony features like the camera, scene management, and compositing. Practical application: Describe your experience with managing complex scenes and utilizing layers efficiently.
- Toon Boom Harmony: Proficiency in utilizing Harmony’s advanced features like deformers, bone rigging, and effects. Problem-solving: Explain how you’d troubleshoot a rigging issue or achieve a specific visual effect.
- Storyboard Pro: Understanding the workflow of creating and revising storyboards, including panel layouts, shot composition, and story pacing. Practical application: Illustrate your process for designing clear and concise storyboards that effectively communicate the narrative.
- Storyboard Pro: Familiarity with various features of Storyboard Pro, including its integration with other software (like Toon Boom Harmony), revision tools, and exporting options. Problem-solving: Describe your approach to collaborating on a storyboard project and managing revisions effectively.
- General Animation Principles: A strong understanding of animation principles (timing, spacing, squash and stretch, anticipation, etc.) is crucial regardless of the software used. Practical application: Explain how you apply these principles to enhance the effectiveness of your animations.
- Workflow & Pipeline: Demonstrate understanding of efficient workflows for animation production, including asset management, file organization, and collaboration techniques. Practical application: Describe your approach to managing a large project with multiple assets and team members.
Next Steps
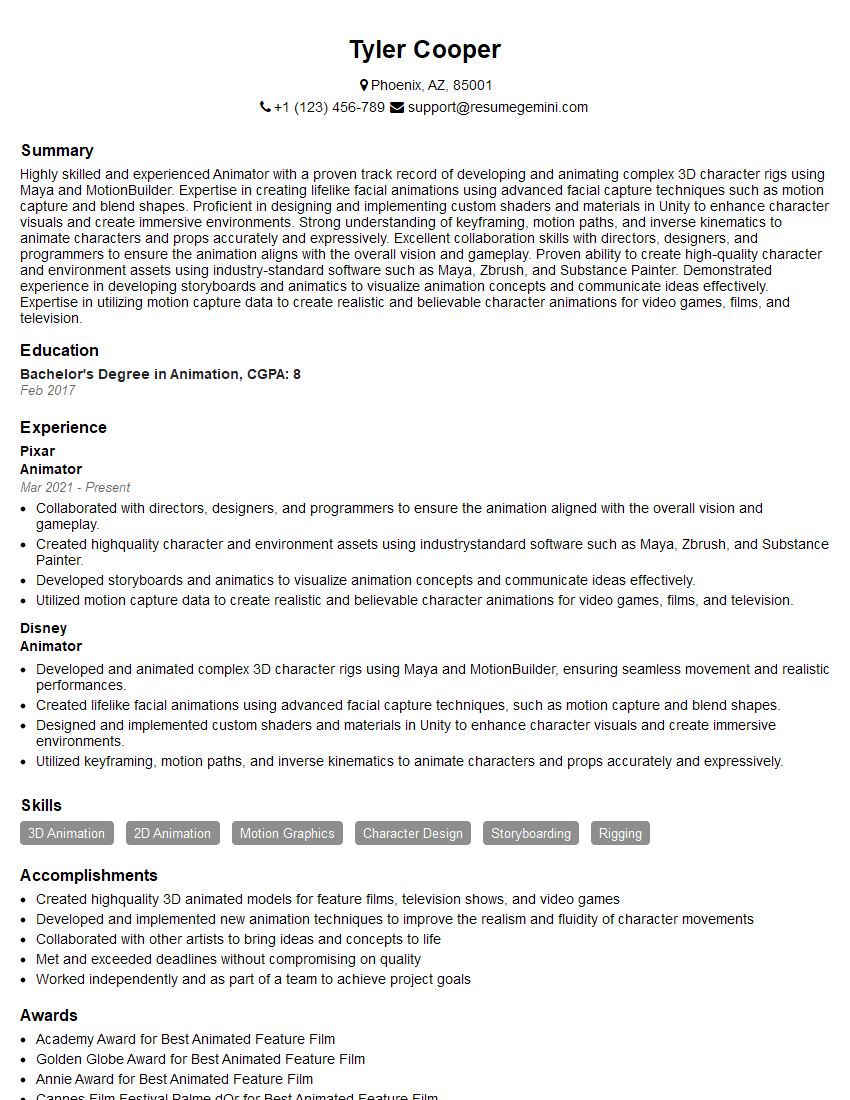
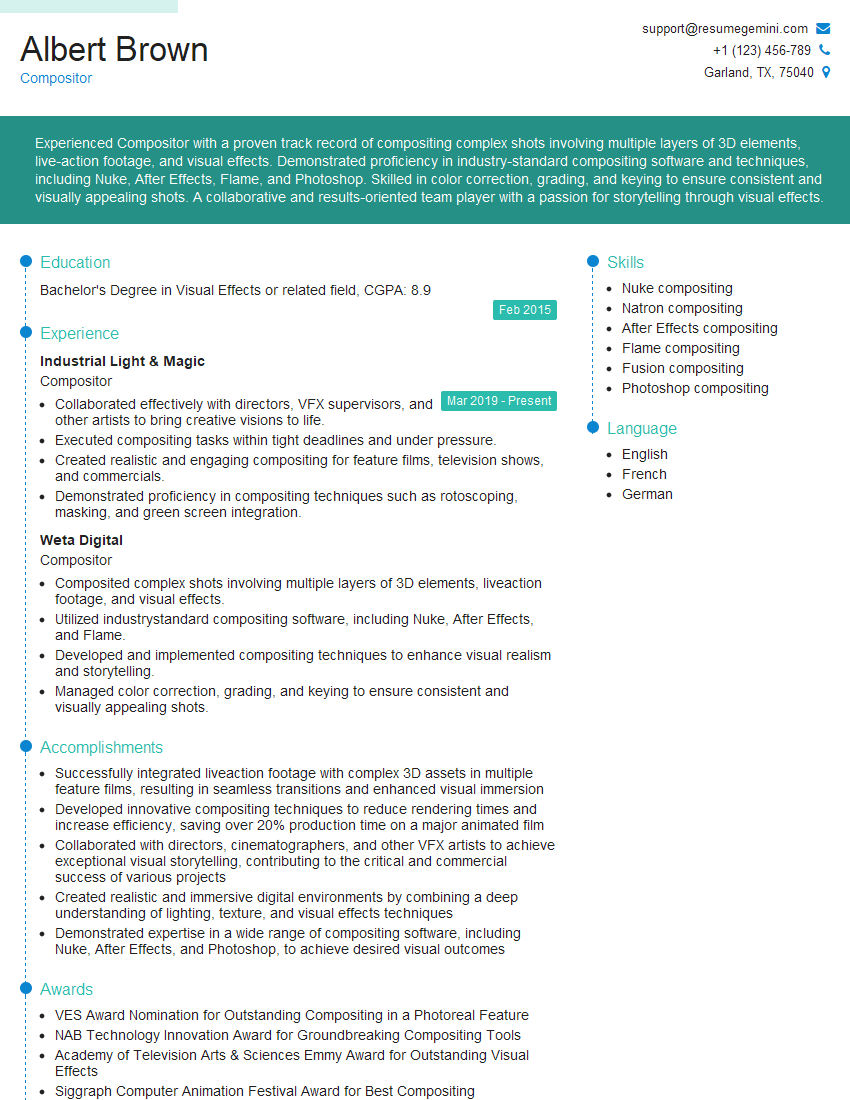
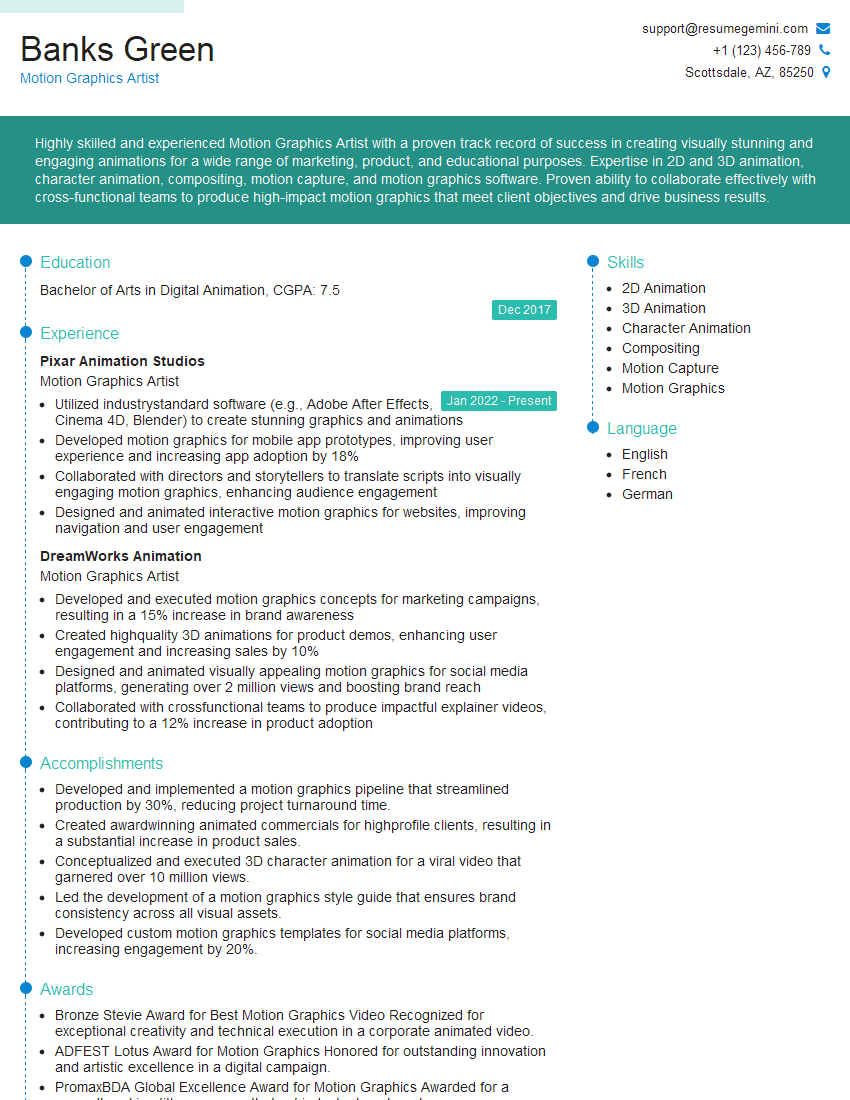
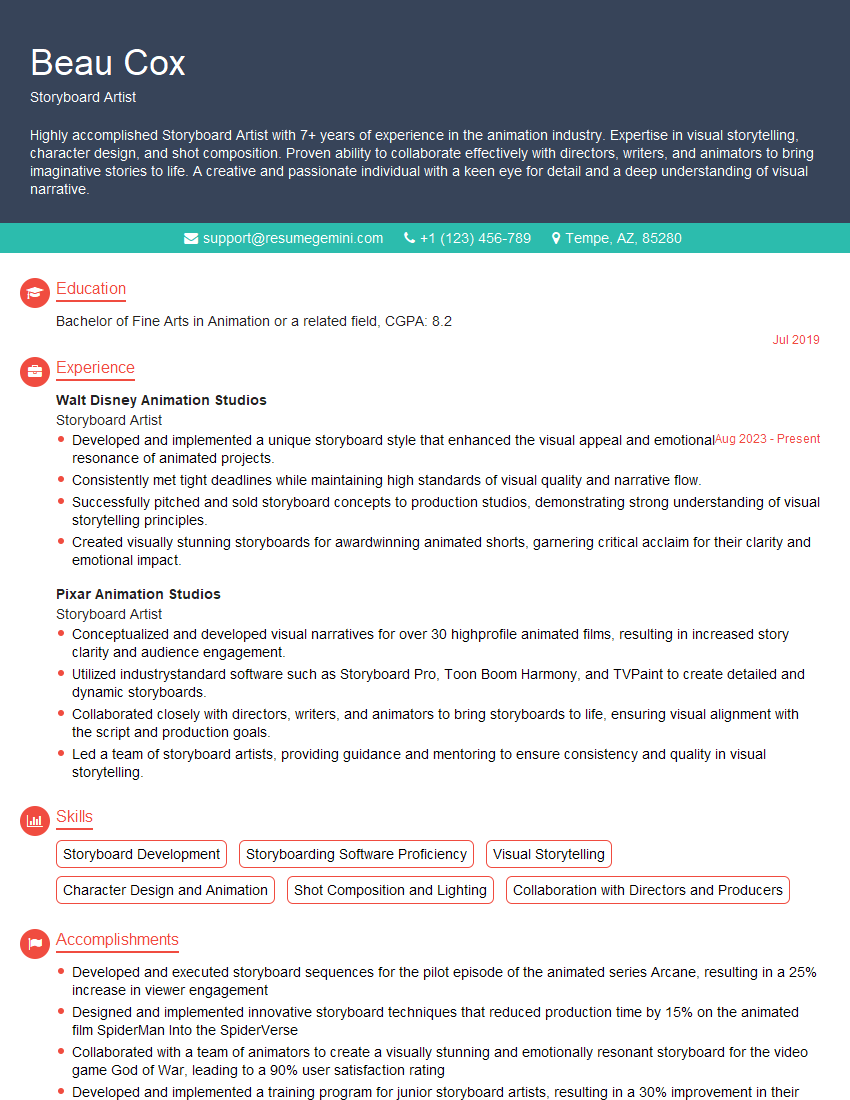
Mastering Toon Boom Harmony and Storyboard Pro significantly enhances your prospects in the animation industry, opening doors to exciting roles and career growth. To maximize your job search success, create an ATS-friendly resume that effectively showcases your skills and experience. We strongly recommend using ResumeGemini to build a professional and impactful resume tailored to the animation industry. ResumeGemini provides examples of resumes specifically tailored to Toon Boom Harmony and Storyboard Pro expertise, helping you stand out from the competition and land your dream job.
Explore more articles
Users Rating of Our Blogs
Share Your Experience
We value your feedback! Please rate our content and share your thoughts (optional).
What Readers Say About Our Blog
good
