Preparation is the key to success in any interview. In this post, we’ll explore crucial Tripod and Head Operation interview questions and equip you with strategies to craft impactful answers. Whether you’re a beginner or a pro, these tips will elevate your preparation.
Questions Asked in Tripod and Head Operation Interview
Q 1. Explain the different types of tripod legs and their applications.
Tripod legs are the foundation of stability, and different types cater to diverse needs. The most common types are:
- Aluminum Legs: Lightweight and affordable, ideal for everyday use and travel. They offer a good balance between weight and stability, suitable for lighter cameras and lenses. Think of them as the workhorses of the tripod world.
- Carbon Fiber Legs: Significantly lighter than aluminum, offering superior stability at higher heights, making them perfect for professionals working with heavier equipment or in windy conditions. They are more expensive but provide exceptional rigidity and dampening of vibrations.
- Wood Legs: Less common now, but offer a unique aesthetic and good stability. They tend to be heavier than aluminum, and are more suited to studio settings or specific artistic applications.
The choice depends on the weight of your gear, your budget, and the shooting environment. For example, a lightweight aluminum tripod is perfect for a travel vlogger, while a carbon fiber tripod is essential for a wildlife photographer working with a large telephoto lens.
Q 2. Describe the various types of tripod heads and their suitability for different camera types and shooting styles.
Tripod heads are the crucial link between tripod and camera, enabling precise movement. Here are some key types:
- Ball Heads: These offer free-flowing movement in all directions, quick adjustments, and compact design. Great for landscape photography and general-purpose use. However, they can be less precise for critical panning and tilting.
- 3-Way Heads: These offer separate controls for panning, tilting, and swiveling, providing precise movements for each axis. Excellent for macro photography, product photography, and applications demanding fine control.
- Fluid Heads: Designed with viscous fluid dampening, these are indispensable for videography. They provide smooth, controlled movements, minimizing jerky footage. Often found in professional video setups, they are essential for professional-looking video.
- Gimbal Heads: These specialize in supporting heavier lenses and cameras, counteracting their weight for smooth, balanced movement. Perfect for large telephoto lenses and heavier cinematic cameras.
The choice of head depends heavily on your camera type and shooting style. For example, a ball head might suit a lightweight mirrorless camera for landscape shots, while a fluid head is a necessity for professional videography with a DSLR or cinema camera.
Q 3. How do you choose the appropriate tripod and head for a specific filming scenario?
Choosing the right tripod and head requires considering several factors:
- Camera and Lens Weight: The tripod must support the combined weight safely and securely. Exceeding the weight capacity risks instability and damage.
- Shooting Style: Videography needs a fluid head; still photography might suffice with a ball head or 3-way head.
- Location: Uneven terrain might require a tripod with adjustable leg angles and possibly additional weight for stability. Windy conditions require a sturdy tripod with robust legs.
- Budget: Tripods and heads range from budget-friendly options to high-end professional models.
For instance, filming a time-lapse on a windy mountaintop demands a heavy-duty carbon fiber tripod with adjustable legs and a robust head. Meanwhile, capturing a still life in a studio setting might only need a lightweight aluminum tripod and a 3-way head.
Q 4. What are the key safety precautions when setting up and operating a tripod?
Safety is paramount when using tripods. Key precautions include:
- Ensure Proper Weight Capacity: Never exceed the tripod’s rated weight capacity. Overloading can lead to collapse and potential injury or equipment damage.
- Secure Leg Locks: Tightly fasten all leg locks and head clamps to prevent accidental movement or collapse.
- Choose a Stable Surface: Avoid setting up on uneven or unstable surfaces. If necessary, use weights or sandbags to add stability.
- Watch for Obstructions: Ensure no obstructions are in the path of the tripod legs or swinging camera.
- Proper Storage and Transport: Store and transport the tripod carefully to avoid damage.
Neglecting these precautions can lead to equipment damage, injury, and even property damage, such as dropping an expensive camera.
Q 5. How do you ensure the stability of a tripod on uneven terrain?
Maintaining tripod stability on uneven terrain requires a multi-pronged approach:
- Adjustable Leg Angles: Utilize tripods with independently adjustable leg angles to accommodate uneven surfaces. Extend the shorter legs to level the tripod head.
- Weighting: Use sandbags or weights to increase stability and prevent tipping. Place them on the legs to improve the center of gravity.
- Tripod Spikes/Feet: Consider tripods with spiked feet to improve grip on soft or loose surfaces like dirt or grass.
- Platform/Base: In extreme cases, a small platform or a sturdy base can help to create a more stable surface.
Imagine trying to film a mountain scene. Adjustable leg angles and possibly sandbags will be crucial for a secure and level shot.
Q 6. Explain the process of leveling a tripod head.
Leveling a tripod head ensures accurate framing and prevents unwanted tilting. Most heads have a built-in bubble level. The process typically involves:
- Extend Legs: Extend the tripod legs until the camera is at the desired height.
- Use Leg Adjustments: Adjust the length of the individual legs to level the head as indicated by the bubble level.
- Fine Adjustments: Use the head’s leveling mechanism (if present) for fine adjustments.
- Double-Check: Re-check the bubble level from different angles to ensure it’s perfectly centered. A slightly misleveled shot can lead to a distorted image or video.
Precise leveling is essential for architectural photography and time-lapse photography, where any tilt can be significantly amplified over time.
Q 7. How do you calibrate a tripod head for accurate panning and tilting?
Calibration ensures smooth and accurate panning and tilting. While most modern heads don’t require calibration in the traditional sense, maintaining proper lubrication and tension is key:
- Tension Adjustment: Many heads offer pan and tilt tension adjustment knobs. Adjust these to provide the desired resistance, avoiding overly loose or stiff movement. Too much tension makes smooth movements difficult, while too little leads to jerky movements.
- Fluid Head Maintenance: Fluid heads require regular maintenance, including cleaning and lubrication of fluid cartridges as per manufacturer instructions. This ensures smooth and consistent damping.
- Testing: Test the panning and tilting movements after any adjustments to ensure the movement is smooth and controlled. A smooth test run means the adjustments are optimal.
Proper calibration is crucial for videography, especially when tracking moving subjects or creating smooth camera movements.
Q 8. Describe different techniques for fluid head operation.
Fluid heads are the workhorses of professional photography and videography, offering smooth, controlled movements. Different techniques revolve around mastering the pan and tilt movements, and understanding drag adjustment.
Panning: This is the horizontal movement. A smooth, controlled pan is crucial for tracking moving subjects or creating cinematic sweeps. Practice maintaining a consistent speed and avoiding jerky motions. Think of it like smoothly steering a car – slow and deliberate movements are key.
Tilting: This is the vertical movement. Similar to panning, smooth tilting is vital. The technique here involves carefully adjusting the tilt drag to control the speed of the vertical movement.
Drag Adjustment: This is the heart of fluid head operation. The drag controls the resistance to movement. Higher drag means slower, more controlled movements; lower drag allows for faster, easier movement. This setting is adjusted based on the shooting scenario and the weight of the camera. A heavier setup will naturally require increased drag. Think of it as adjusting the brakes on a car – more drag equates to more control, less drag means you can move more freely.
Counterbalance: Many fluid heads feature a counterbalance mechanism. This crucial feature helps to precisely offset the weight of your camera and lens setup. Proper counterbalancing ensures smooth, effortless movements at any angle. It’s like counterweights on an old-fashioned clock, ensuring everything operates smoothly.
Q 9. How do you maintain and clean a tripod and head?
Maintaining your tripod and head is crucial for its longevity and performance. Regular cleaning and lubrication will significantly extend its life.
Cleaning: Use a soft, damp cloth to gently wipe down the tripod legs and head. Avoid harsh chemicals or abrasive cleaners. Pay special attention to the quick-release plate and the head’s moving parts. Compressed air can be used to remove dust and debris from crevices.
Lubrication: Fluid heads, in particular, benefit from periodic lubrication. Consult your manufacturer’s instructions for recommended lubricants and application points. Over-lubrication can attract dust and dirt, so apply sparingly. Remember, a little goes a long way. Think of lubricating your car’s joints – it keeps everything moving smoothly and prevents premature wear.
Inspection: Regularly inspect the tripod for loose screws, damaged legs, or worn-out parts. Tighten any loose screws and replace worn parts as needed. This preventative maintenance helps prevent major issues down the line.
Q 10. What are the common problems encountered with tripods and heads, and how do you troubleshoot them?
Several issues can plague tripods and heads.
Loose Legs/Head: Check for loose screws and tighten them. If the problem persists, it might indicate a more significant issue requiring professional repair.
Sticking Movement: This often indicates a need for lubrication. Apply a small amount of the appropriate lubricant to moving parts (check manufacturer instructions first!). If lubrication doesn’t resolve the issue, it might be due to debris. Clean thoroughly with a soft brush and compressed air.
Uneven Leg Extension: Ensure all leg sections are fully extended or retracted. If the problem persists, it might indicate a mechanical issue in one of the leg sections. Check the leg locks and potentially contact the manufacturer.
Quick Release Plate Issues: Ensure the plate is securely attached to both the camera and the head. If you experience slippage, double-check the plate’s locking mechanism and the head’s clamp.
Fluid Head Drag Issues: Inconsistencies in drag can be caused by poor lubrication or debris in the head’s mechanism. Clean and lubricate as instructed above.
Q 11. Explain the concept of payload capacity in relation to tripods and heads.
Payload capacity refers to the maximum weight a tripod and head can safely support. It’s crucial to know your equipment’s total weight (camera, lens, accessories) and select a tripod and head with a payload capacity exceeding that weight. Exceeding the payload capacity can lead to instability, damage to the equipment, and even injury. Think of it like choosing a truck based on how much weight you intend to carry – you wouldn’t use a small pickup truck to haul a heavy load.
Q 12. How do you adjust the tension on a fluid head?
Fluid head tension adjustment varies depending on the model. Most fluid heads have a dial or knob specifically designed for this purpose. Generally, you’ll find this adjustment on the pan and tilt axes. The knob will usually have markings or numbers indicating the drag level. Turning the knob clockwise usually increases the drag, while counterclockwise decreases it.
Start with a medium drag setting, then test panning and tilting your camera. Adjust as needed until you find the setting that delivers the desired level of control for your camera’s weight and shooting style. It’s best to find a balance between smooth movement and stability. The adjustment process is like finding the perfect balance point on a seesaw.
Q 13. Describe the use of quick release plates and their importance.
Quick release plates are designed to quickly and securely attach and detach your camera from the tripod head. They typically consist of a plate that attaches to the bottom of the camera and a corresponding clamp on the tripod head.
Importance: Quick release plates dramatically speed up setup and breakdown, saving valuable time during shoots. They also ensure consistent camera positioning, as the same plate can be quickly attached and removed. This is especially valuable in fast-paced shoots.
Safety: A secure quick release plate is crucial for safety. A sudden camera drop from a poorly attached plate can be extremely damaging and potentially dangerous.
Q 14. Explain the benefits of using a geared head.
Geared heads provide extremely precise, fine-tuned control over pan and tilt movements. They differ from fluid heads in that they use geared mechanisms instead of fluid damping.
Precise Adjustments: The geared mechanism allows for incredibly fine adjustments, making them ideal for macro photography, time-lapse photography, and other applications requiring meticulous camera positioning. This fine-grained control is like having an extremely accurate dial compared to a general knob.
Stability: Geared heads are known for their exceptional stability, holding the camera securely in place even with heavier loads. They often lack the fluidity of motion found in fluid heads, but this is offset by their superior accuracy and stability.
Applications: They are commonly used for architectural photography, product photography, and astronomical imaging, where precision is paramount.
Q 15. How do you ensure smooth camera movements using a tripod and head?
Smooth camera movements are crucial for professional-looking videos and photos. Achieving this relies on a combination of a stable tripod and a fluid head. The tripod provides the foundation, ensuring stability, while the head allows for precise and controlled movements.
Firstly, ensure your tripod legs are firmly planted on level ground, extending them to an appropriate height for comfortable operation. Secondly, properly tighten all locking mechanisms on the tripod and head. This prevents unwanted slippage and vibrations. Thirdly, use slow, deliberate movements when panning or tilting the camera. Avoid jerky motions by using controlled, smooth hand movements. Finally, consider the type of head you’re using: fluid heads offer superior smoothness for panning and tilting compared to ball heads which require more careful manipulation.
For example, imagine filming a wedding ceremony. Smooth camera pans during the vows create an elegant and professional feel, while jerky movements would detract from the event’s solemnity. Practicing slow, controlled movements is key to mastering this aspect.
Career Expert Tips:
- Ace those interviews! Prepare effectively by reviewing the Top 50 Most Common Interview Questions on ResumeGemini.
- Navigate your job search with confidence! Explore a wide range of Career Tips on ResumeGemini. Learn about common challenges and recommendations to overcome them.
- Craft the perfect resume! Master the Art of Resume Writing with ResumeGemini’s guide. Showcase your unique qualifications and achievements effectively.
- Don’t miss out on holiday savings! Build your dream resume with ResumeGemini’s ATS optimized templates.
Q 16. What are the advantages and disadvantages of different tripod materials (e.g., carbon fiber, aluminum)?
Tripod materials significantly impact weight, stability, and price. Carbon fiber and aluminum are popular choices.
- Carbon Fiber: Offers exceptional strength-to-weight ratio, making it lightweight and highly portable. It’s also less prone to vibrations, resulting in sharper images, particularly in windy conditions. However, carbon fiber tripods are considerably more expensive than aluminum options.
- Aluminum: More affordable and robust than carbon fiber, but heavier and more susceptible to vibrations. Aluminum tripods provide good stability for their price, making them a popular choice for beginners or those on a budget.
Choosing between the two depends on your priorities. For travel photography where weight is paramount, carbon fiber is superior. For studio work where weight is less of a concern, aluminum offers a good balance of stability and cost.
Q 17. How do you handle wind affecting the stability of a tripod?
Wind is a major challenge for tripod stability. Several strategies can mitigate its effects.
- Lower the center of gravity: Extend your tripod legs to a lower height. A shorter tripod is less susceptible to wind gusts.
- Add weight: Place a weighted bag or sandbag on the tripod’s center column to increase stability. This lowers the center of gravity further and provides greater resistance to wind.
- Use windbreaks: Consider using a physical windbreak, like a large piece of fabric or a dedicated windbreak, to shield the tripod and camera from direct wind gusts.
- Shoot in sheltered locations: Whenever possible, choose shooting locations sheltered from the wind, such as under trees, buildings, or in canyons.
I once had to shoot a time-lapse in a very windy location. By using all three of these techniques—lowering the center of gravity, adding weight, and utilizing a windbreak—I was able to successfully capture stable footage despite strong wind gusts.
Q 18. Describe how to balance a camera on a tripod head.
Balancing a camera on a tripod head is essential for smooth operation and preventing unwanted movements. The process is similar across different head types, but some specifics vary.
- Attach the camera: Securely mount your camera to the tripod head, using the appropriate mounting plate.
- Loosen the head’s locking mechanisms: Allow the camera to move freely.
- Adjust the camera’s position: Carefully move the camera until it’s balanced and rests horizontally without tilting. You should feel minimal resistance when gently pushing the camera in any direction.
- Tighten the locking mechanisms: Once balanced, gently tighten the head’s locking mechanisms to secure the camera in place. Avoid over-tightening, which can damage the equipment.
Think of it like balancing a seesaw – you need to find the perfect point where the weight is evenly distributed to prevent tipping. Take your time; precise balancing ensures smooth camera operation and prevents unnecessary stress on your equipment.
Q 19. How do you deal with a tripod that is not level?
An unlevel tripod will lead to tilted horizons and distorted perspectives in your photos and videos. This is easily rectified using the tripod’s adjustable legs.
- Use a bubble level: Most tripods include a built-in bubble level; use this to assess the tripod’s levelness.
- Adjust individual legs: Extend or retract individual tripod legs to adjust the tripod’s levelness. Pay attention to the level indicator until the bubble is centered. You might need to make small adjustments to multiple legs to achieve perfect levelness.
- Use the tripod’s adjustable feet: Some tripods have adjustable feet that allow for finer adjustments on uneven terrain.
Taking the extra time to level your tripod is a fundamental step in photography and videography, ensuring your shots look professional and are technically accurate. A slightly unlevel tripod can easily ruin an otherwise perfect shot.
Q 20. What is the importance of proper weight distribution on a tripod?
Proper weight distribution on a tripod is crucial for stability and preventing tipping or collapse. It’s all about maintaining a low center of gravity.
- Centralized weight: Distribute heavier equipment evenly around the center of the tripod head. Avoid placing heavy lenses or accessories on one side.
- Avoid extending the center column excessively: Raising the center column raises the center of gravity, making the tripod less stable. Try to keep the center column retracted as much as possible.
- Use a wider stance: Fully extend the tripod legs for increased stability, especially on uneven terrain.
Imagine trying to balance a stack of books on a single leg of a stool. It’s much more likely to tip over compared to a wider base. A tripod works in a similar manner; proper weight distribution ensures it remains stable and supports your equipment reliably.
Q 21. Explain different techniques for using a tripod in low-light conditions.
Low-light conditions present challenges for both stability and exposure. Using a tripod helps address the stability aspect.
- Increase exposure time: A tripod allows for longer exposure times, gathering more light and producing brighter images. This technique requires careful attention to avoid motion blur. Remote shutters or self-timers help mitigate any vibrations from pressing the shutter button.
- Use a higher ISO: While not directly related to the tripod, combining a tripod with a higher ISO setting allows you to achieve shorter exposure times, minimizing the risk of motion blur while still gathering sufficient light. This is useful in situations with unpredictable movement.
- Shoot in RAW format: This gives you greater flexibility in post-processing, allowing for adjustments to brightness and noise reduction without sacrificing image quality.
Astrophotography perfectly exemplifies the importance of a tripod in low-light scenarios. The extended exposure times needed to capture celestial details are impossible without a stable support system like a tripod.
Q 22. How do you choose the correct fluid head drag for a particular shot?
Choosing the correct fluid head drag is crucial for smooth, controlled camera movements. Think of it like adjusting the resistance on a bicycle – too much, and it’s difficult to pedal; too little, and you lose control. The ideal drag depends on several factors: the weight of your camera, the type of shot, and your desired level of smoothness.
For slow, deliberate pans and tilts, a higher drag setting provides stability and prevents jerky movements. This is perfect for capturing detailed shots of architecture or wildlife. Imagine shooting a time-lapse of a sunset – you’d want a very precise, controlled movement.
Conversely, for faster, more dynamic shots, a lower drag setting allows for quicker, more responsive movements. Think of a fast pan following a moving subject, like a sports event. Here, responsiveness is key.
Experimentation is key! Start with a medium drag setting and adjust it based on your camera’s weight and the desired movement. Always test your adjustments before commencing a crucial shot.
Q 23. Describe how to use a tripod in confined spaces.
Using a tripod in confined spaces requires careful planning and consideration. Space is limited, so you need to choose the right tripod and employ efficient techniques.
- Tripod Selection: Opt for a compact tripod with a low profile, ideally one with folding legs that lay relatively flat. Avoid bulky tripods that might impede movement or damage the surroundings.
- Leg Positioning: Extend tripod legs strategically, minimizing their footprint. Consider spreading the legs unevenly if necessary to achieve stability on an uneven surface or accommodate obstacles.
- Head Positioning: Use the tripod’s pan and tilt functionalities to frame your shot, utilizing the limited space effectively. You may need to get creative with angles and perspectives.
- Stability: Even with a smaller tripod, ensure the ground is level and stable. A small sandbag or weight placed on the tripod’s center column can significantly enhance stability, particularly on less-than-ideal surfaces.
Remember, safety is paramount in confined spaces. Be mindful of your surroundings and avoid obstructing walkways or causing hazards.
Q 24. What are the safety considerations when working with heavy camera equipment on a tripod?
Safety is paramount when working with heavy camera equipment on a tripod. A single mishap can lead to injury or significant equipment damage. Here are some key safety considerations:
- Proper Setup: Ensure the tripod is securely set up on a stable and level surface. Fully extend and lock all leg sections. Avoid using the tripod on unstable or uneven ground unless absolutely necessary, and use appropriate countermeasures like sandbags.
- Weight Distribution: Distribute the weight evenly across the tripod legs. Avoid placing excessive weight on any one leg.
- Center of Gravity: Keep the center of gravity low to prevent tipping. Avoid extending the center column unnecessarily.
- Secure Connections: Double-check all connections and clamps to ensure they are securely fastened. Loose connections can lead to sudden equipment collapse.
- Environmental Factors: Be aware of weather conditions (wind, rain, etc.) that could compromise stability. Use appropriate measures like weights or anchoring to mitigate these risks.
- Teamwork: When setting up heavy equipment, consider having a second person assist. Two people can work more safely and efficiently, preventing strain and accidental drops.
Remember, a moment of carelessness can have serious consequences. Prioritize safety above all else.
Q 25. Explain the difference between a 3-way head and a fluid head.
The key difference between a 3-way head and a fluid head lies in their movement and control. A 3-way head offers independent control over pan, tilt, and swivel movements using three separate knobs. This provides precise control for still photography, but can be less smooth for video work.
In contrast, a fluid head uses viscous fluid to dampen movements, resulting in smooth, controlled pans and tilts, ideal for video recording. Fluid heads typically have a single knob controlling the drag (resistance) for both pan and tilt movements. This fluid mechanism minimizes jerky movements, producing professional-looking footage.
Imagine trying to follow a moving subject: with a 3-way head, you might end up with a jerky, choppy video, whereas a fluid head would allow for a much smoother tracking shot.
Q 26. How would you secure a tripod in a potentially hazardous environment?
Securing a tripod in a potentially hazardous environment necessitates careful planning and the use of additional safety measures.
- Ground Anchoring: If appropriate, consider using ground anchors or stakes to secure the tripod legs to the ground. This is especially important in windy conditions or on uneven terrain.
- Sandbags or Weights: Attach sandbags or other heavy weights to the tripod legs or the center column to increase stability and prevent tipping, especially in challenging environments.
- Tripod Spread: For maximum stability, spread the tripod legs wide apart, ensuring they are firmly planted. Consider uneven leg positioning if necessary to increase grip on uneven ground.
- Environmental Assessment: Thoroughly assess the environment for potential hazards before setting up the tripod. Consider things like unstable ground, strong winds, or the presence of sharp objects.
- Personal Safety: In extreme environments, personal safety gear might be needed, depending on the specific hazards. This could include helmets, harnesses, or other protective equipment.
Always prioritize safety. If the environment is too hazardous for a standard tripod setup, consider alternative methods of capturing your footage.
Q 27. Describe the process of setting up a remote-controlled camera system on a tripod.
Setting up a remote-controlled camera system on a tripod involves several steps:
- Tripod Setup: Begin by setting up your tripod on a stable surface, ensuring it is firmly planted and level.
- Camera Mounting: Securely mount your camera to the tripod head, ensuring a stable and balanced connection.
- Remote Control Connection: Connect the remote control system to your camera. This usually involves connecting cables or establishing a wireless connection, following the manufacturer’s instructions.
- Power Source: Connect the power source to both the camera and the remote control system. This might involve using batteries or external power supplies.
- Framing and Focusing: Use the remote control to adjust the camera’s position and focus remotely. This allows precise framing without physically touching the camera, preventing unwanted vibrations.
- Testing: Test the system thoroughly before starting your shoot, ensuring the camera and remote respond reliably. Verify that all functions, including pan, tilt, zoom and focus, are working correctly.
- Monitoring: During the shoot, continuously monitor the camera’s position and ensure the equipment remains stable.
Remember to consult the specific instructions provided by the camera and remote control manufacturers.
Q 28. How do you account for camera shake when using a tripod in demanding conditions?
Camera shake is a significant concern when shooting in demanding conditions. Minimizing it while using a tripod involves several strategies:
- Stable Surface: Ensure the tripod is set up on a completely stable and level surface. Uneven ground or loose surfaces can significantly impact stability.
- Proper Weight Distribution: Distribute the weight of the camera and accessories evenly across the tripod legs.
- Cable Release or Remote Shutter: Avoid touching the camera when taking the shot. Use a cable release or remote shutter to trigger the exposure remotely, reducing the risk of vibration.
- Mirror Lock-up (for DSLRs): If using a DSLR, use the mirror lock-up feature to minimize vibrations caused by the mirror flipping up before the exposure.
- Image Stabilization: Utilize in-camera image stabilization, if available, to further reduce micro-vibrations.
- Post-Processing Stabilization: In post-production, software tools can help stabilize footage that exhibits minor shake, but this is best used as a final refinement, not a substitute for proper shooting techniques.
- Wind Protection: In windy conditions, shield the tripod and camera from gusts of wind using windbreaks or weights to increase stability.
Remember, a combination of these techniques provides the best defense against camera shake.
Key Topics to Learn for Tripod and Head Operation Interview
- Tripod Setup and Stability: Understanding different tripod types, leg adjustments, and techniques for maximizing stability in various terrains and weather conditions. Consider the impact of center of gravity and load distribution.
- Head Operation Mechanics: Detailed knowledge of the head’s mechanisms, including pan and tilt movements, fluid head damping systems, and quick release plates. Be prepared to discuss the advantages and disadvantages of different head types (e.g., fluid, geared, ball).
- Camera Mounting and Balancing: Mastering the process of securely mounting a camera onto the tripod head, ensuring perfect balance to prevent unwanted movement and camera damage. Understand the principles of counterbalancing heavier lenses.
- Troubleshooting Common Issues: Familiarize yourself with common problems encountered with tripods and heads, such as wobbly legs, stiff movements, and quick release malfunctions. Practice diagnosing and resolving these issues efficiently.
- Practical Applications in Different Fields: Explore the use of tripods and heads in various professional settings like photography, videography, surveying, and filmmaking. Be ready to discuss specific applications and their unique requirements.
- Safety Procedures and Best Practices: Understand and be able to articulate safety procedures related to tripod setup and operation, especially in challenging environments or when working at heights.
- Maintaining and Caring for Equipment: Discuss proper cleaning, lubrication, and storage techniques to ensure the longevity and optimal performance of tripod and head equipment.
Next Steps
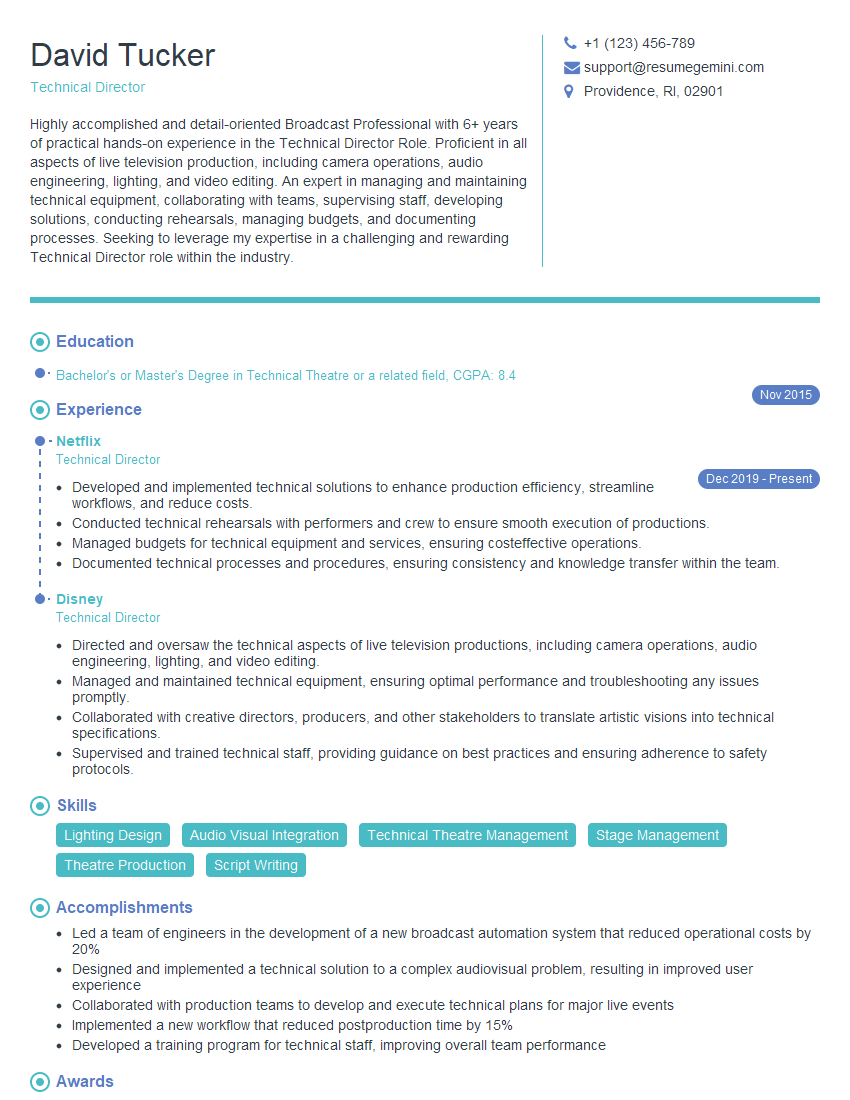
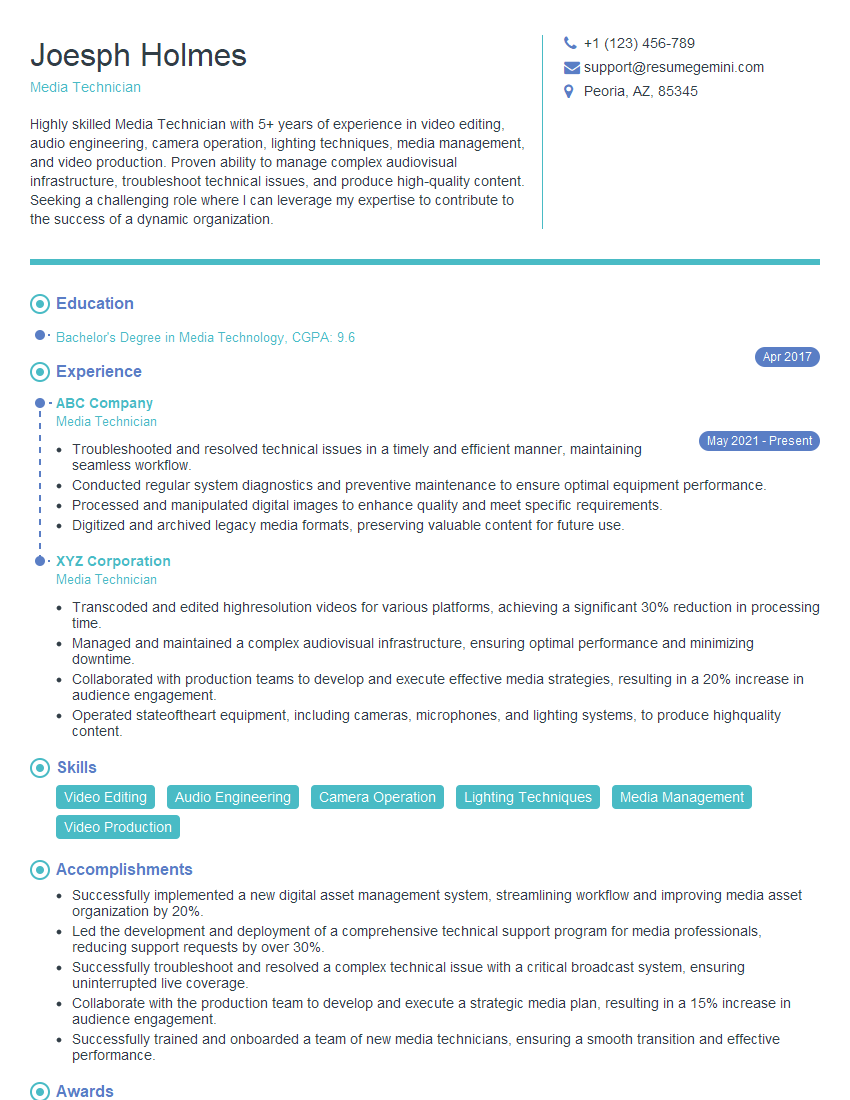
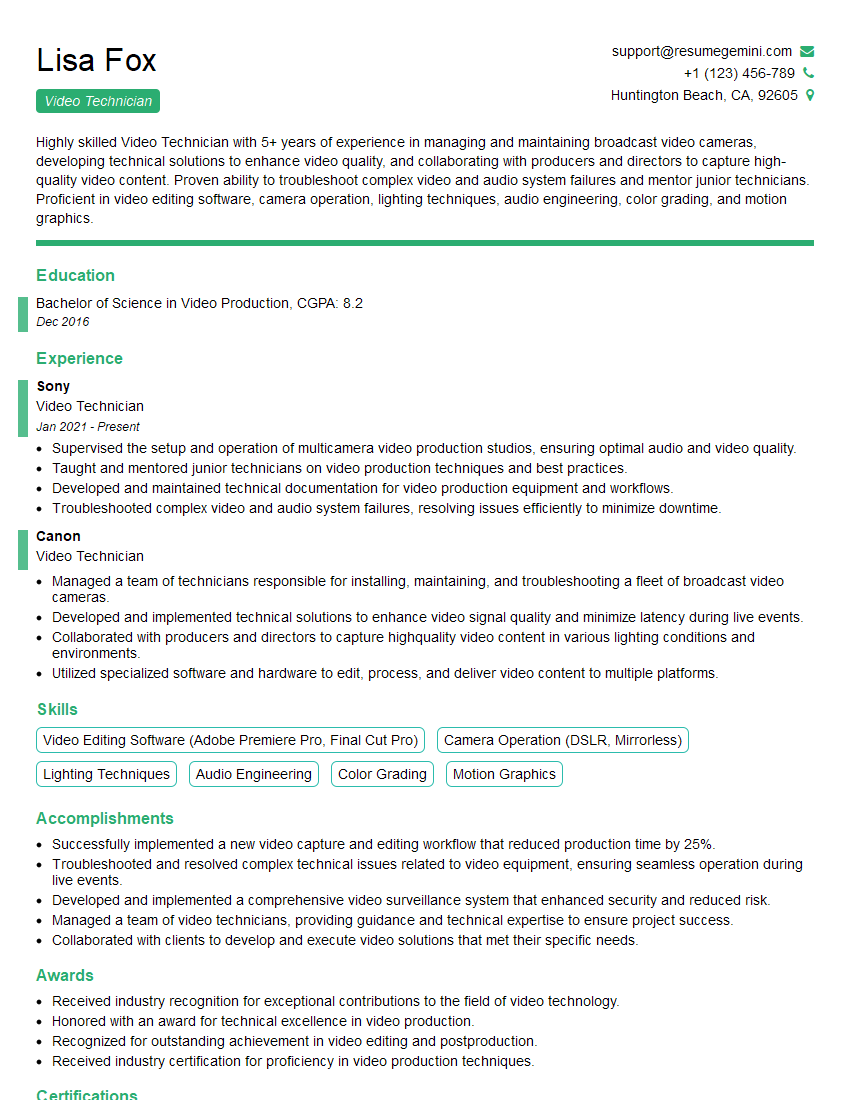
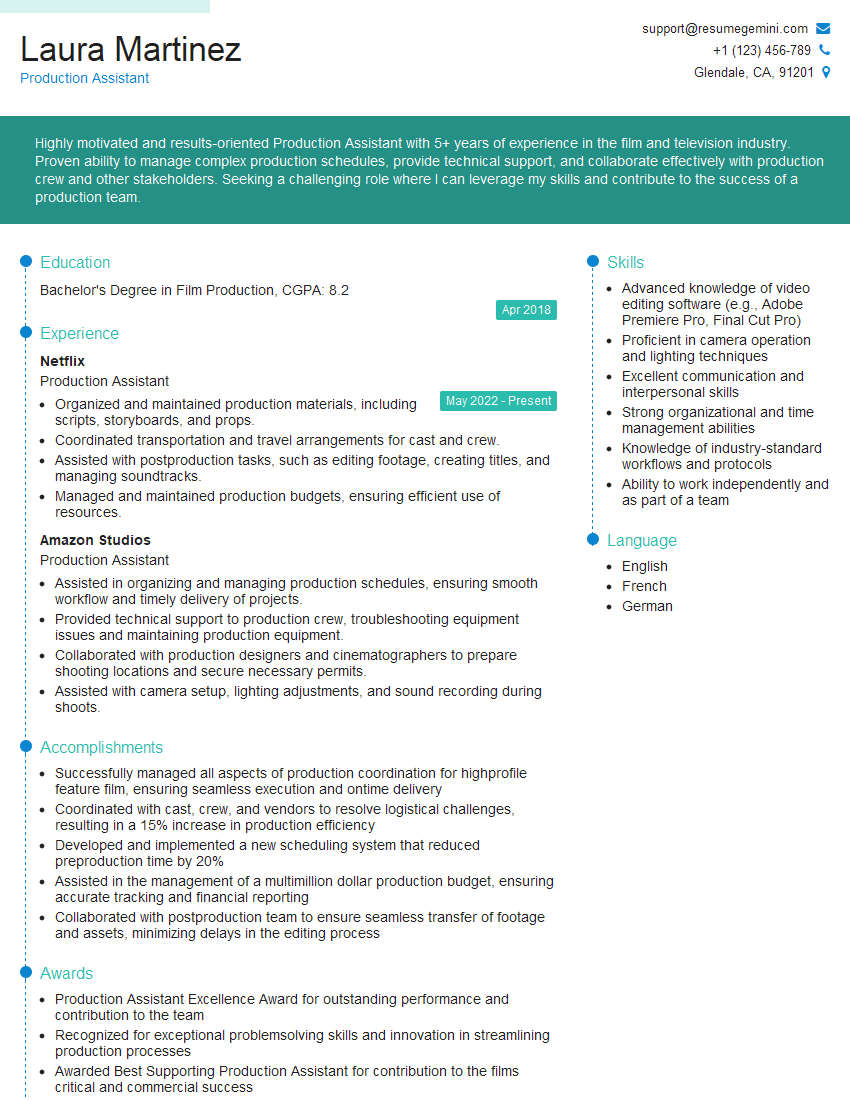
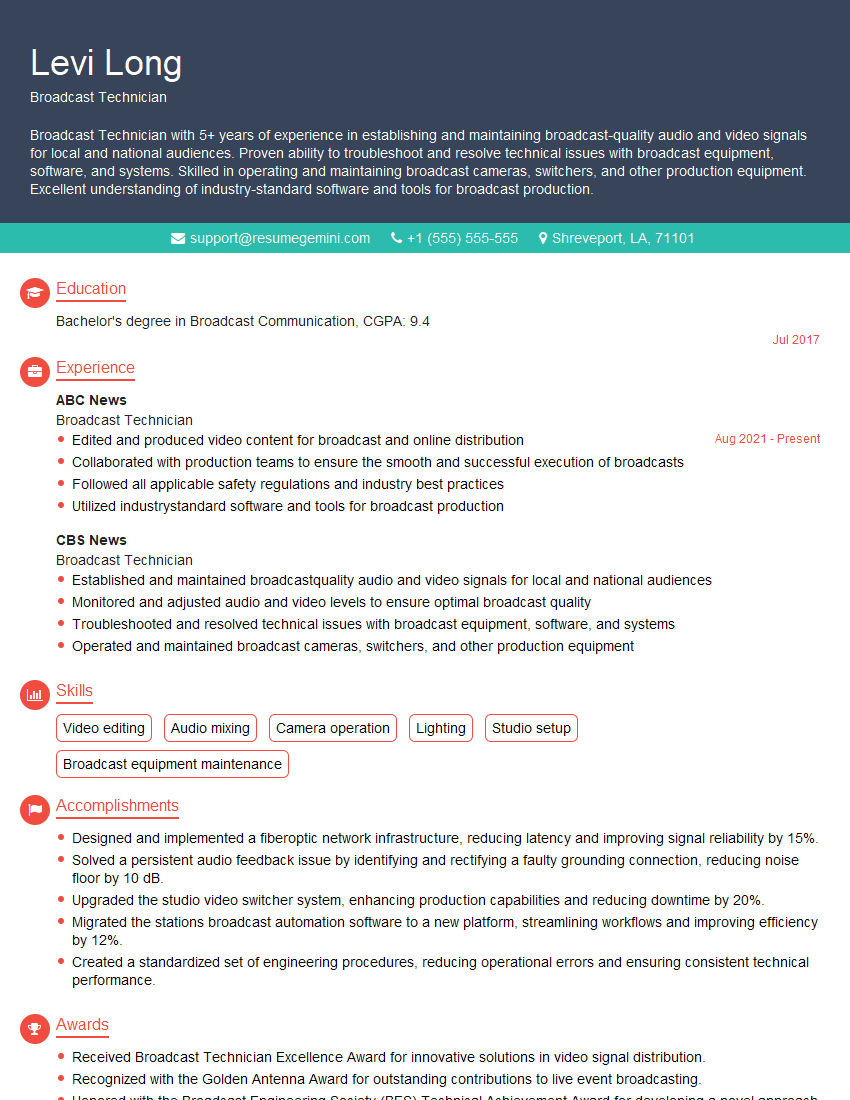
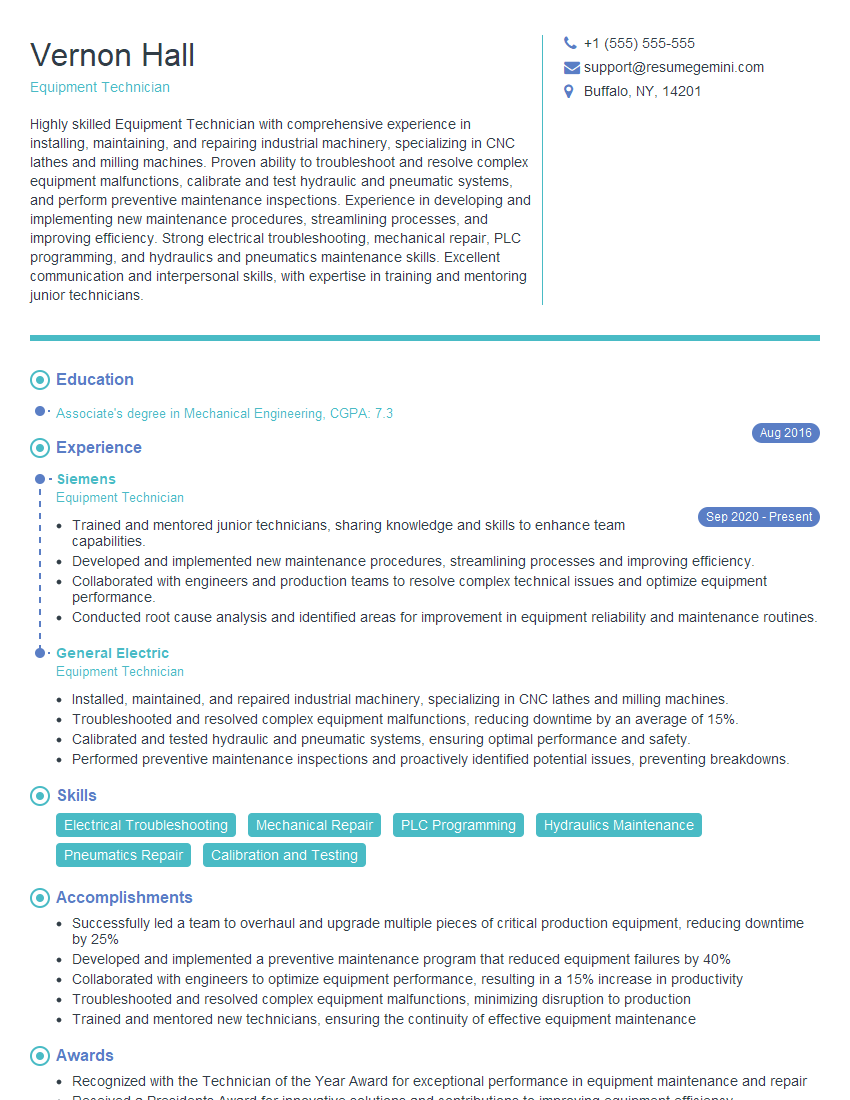
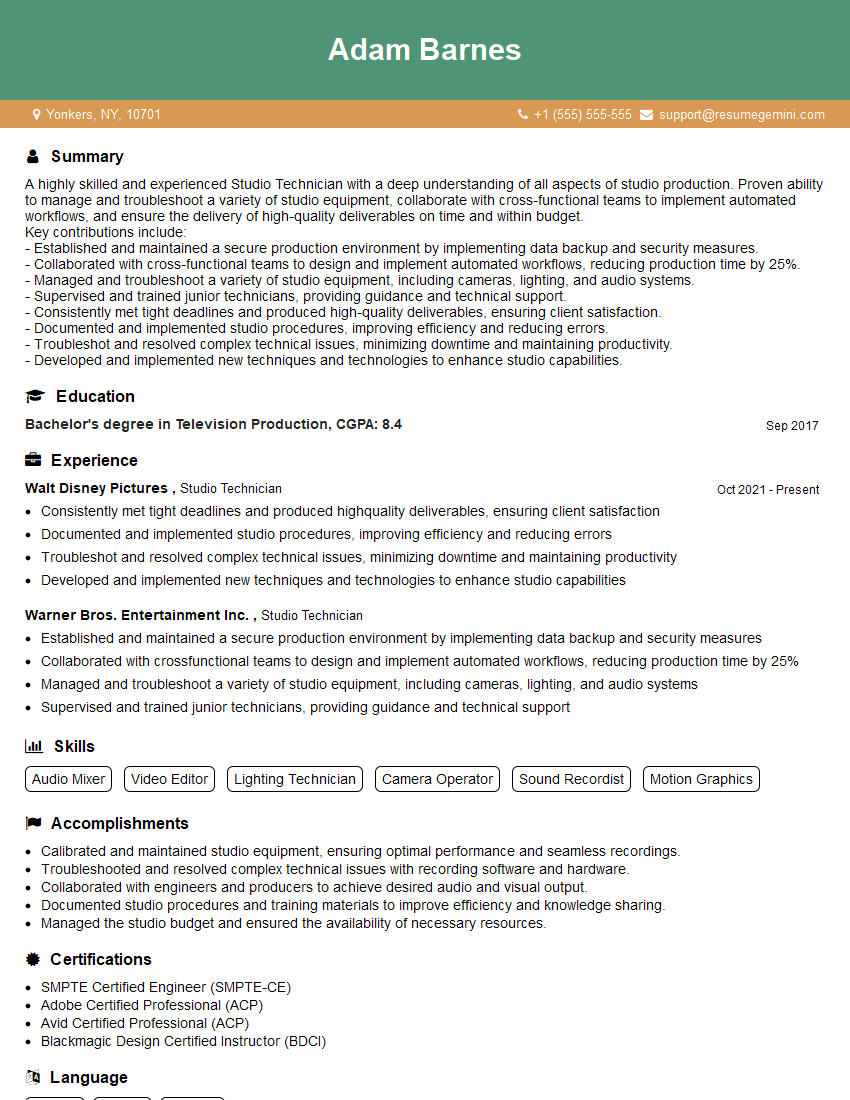
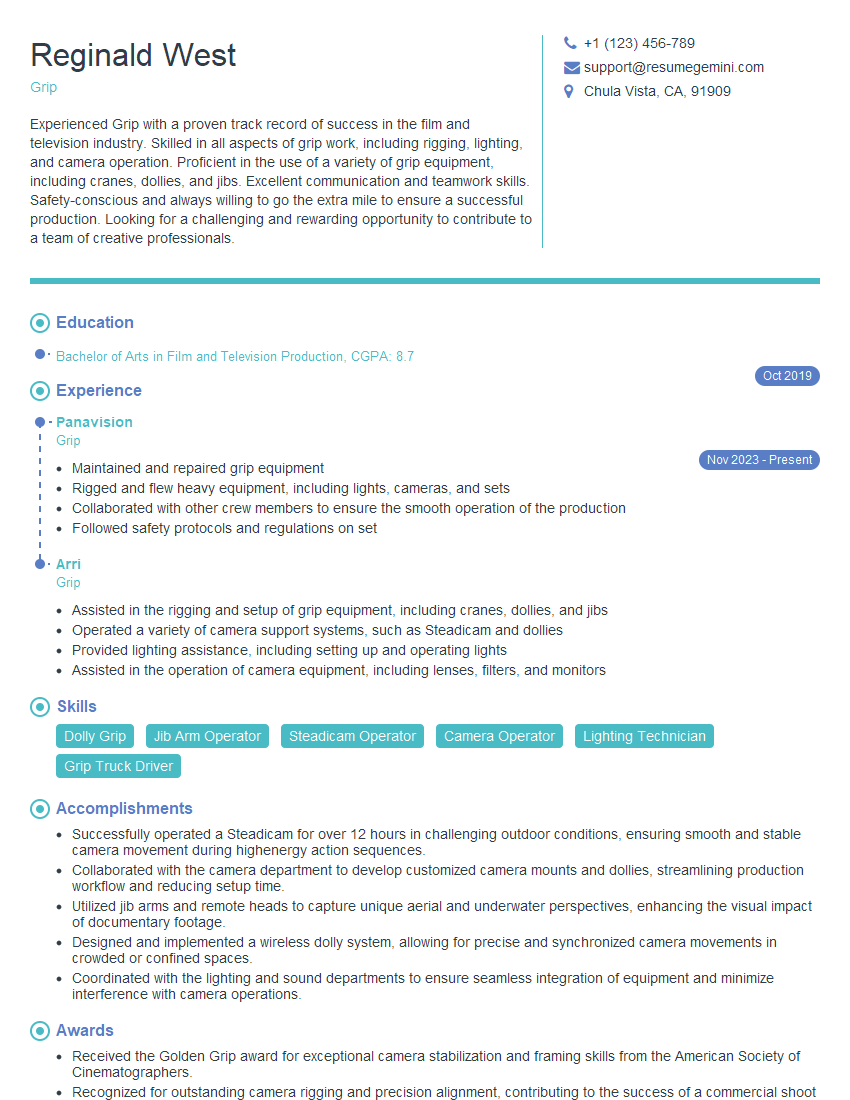
Mastering Tripod and Head Operation is crucial for career advancement in various fields requiring precise and stable camera work. A strong understanding of these principles demonstrates technical proficiency and attention to detail, highly valued by employers. To significantly boost your job prospects, creating a compelling and ATS-friendly resume is essential. ResumeGemini is a trusted resource to help you build a professional and effective resume that highlights your skills and experience. We provide examples of resumes tailored to Tripod and Head Operation to guide you through the process. Take the next step toward your dream career by crafting a standout resume today!
Explore more articles
Users Rating of Our Blogs
Share Your Experience
We value your feedback! Please rate our content and share your thoughts (optional).
What Readers Say About Our Blog
Hello,
We found issues with your domain’s email setup that may be sending your messages to spam or blocking them completely. InboxShield Mini shows you how to fix it in minutes — no tech skills required.
Scan your domain now for details: https://inboxshield-mini.com/
— Adam @ InboxShield Mini
Reply STOP to unsubscribe
Hi, are you owner of interviewgemini.com? What if I told you I could help you find extra time in your schedule, reconnect with leads you didn’t even realize you missed, and bring in more “I want to work with you” conversations, without increasing your ad spend or hiring a full-time employee?
All with a flexible, budget-friendly service that could easily pay for itself. Sounds good?
Would it be nice to jump on a quick 10-minute call so I can show you exactly how we make this work?
Best,
Hapei
Marketing Director
Hey, I know you’re the owner of interviewgemini.com. I’ll be quick.
Fundraising for your business is tough and time-consuming. We make it easier by guaranteeing two private investor meetings each month, for six months. No demos, no pitch events – just direct introductions to active investors matched to your startup.
If youR17;re raising, this could help you build real momentum. Want me to send more info?
Hi, I represent an SEO company that specialises in getting you AI citations and higher rankings on Google. I’d like to offer you a 100% free SEO audit for your website. Would you be interested?
Hi, I represent an SEO company that specialises in getting you AI citations and higher rankings on Google. I’d like to offer you a 100% free SEO audit for your website. Would you be interested?
good
