Are you ready to stand out in your next interview? Understanding and preparing for Understanding of Print File Formats interview questions is a game-changer. In this blog, we’ve compiled key questions and expert advice to help you showcase your skills with confidence and precision. Let’s get started on your journey to acing the interview.
Questions Asked in Understanding of Print File Formats Interview
Q 1. What are the key differences between PDF/X-1a, PDF/X-3, and PDF/X-4?
PDF/X standards are subsets of PDF designed for reliable color printing. They ensure predictable results by restricting features that might cause problems during the printing process. The key differences between PDF/X-1a, PDF/X-3, and PDF/X-4 lie primarily in their color management capabilities and support for transparency and embedded fonts.
- PDF/X-1a: This is the most basic standard, designed for CMYK-only files with no transparency. It’s simple and reliable, suitable for simpler print jobs with predictable color. It lacks support for spot colors, which is a significant limitation.
- PDF/X-3: An advancement over PDF/X-1a, PDF/X-3 supports both CMYK and spot colors, and most importantly, allows for transparency. This is crucial for designs with overlapping elements, gradients, and effects. It’s much more versatile.
- PDF/X-4: Builds on PDF/X-3, extending support to include ICC color profiles and more sophisticated color management. This gives more control over color accuracy, crucial for high-end printing where precise color matching is paramount. PDF/X-4 also handles more complex image formats.
In short: Choose PDF/X-1a for simple CMYK jobs needing reliability, PDF/X-3 for designs with transparency and spot colors, and PDF/X-4 for advanced color control and complex designs.
Q 2. Explain the advantages and disadvantages of using TIFF versus JPEG for print.
TIFF (Tagged Image File Format) and JPEG (Joint Photographic Experts Group) are both common image formats, but they cater to different needs and have distinct pros and cons for print.
- TIFF Advantages: TIFF is a lossless format, meaning it preserves image quality even after multiple saves. This is crucial for print as it prevents loss of detail. It also supports a wider range of color spaces, including CMYK, which is essential for print.
- TIFF Disadvantages: TIFF files are significantly larger than JPEGs, making them less efficient for storage and transfer. This can slow down workflows.
- JPEG Advantages: JPEG offers superior compression, resulting in much smaller file sizes. This makes it ideal for online use and sharing.
- JPEG Disadvantages: JPEG is a lossy format, meaning that image data is discarded during compression. This results in reduced image quality, particularly visible as artifacts and blurring, which is unacceptable for high-quality print. It is usually unsuitable for professional printing.
For print, TIFF is generally preferred for its lossless nature and support for CMYK. However, JPEG can be suitable for low-resolution images where file size is a major concern, such as web images that will not be used for print.
Q 3. How does color space conversion affect print quality? Explain with specific examples (e.g., CMYK to RGB).
Color space conversion is the process of transforming an image from one color space to another. In print, this is often converting from RGB (Red, Green, Blue), used in digital displays, to CMYK (Cyan, Magenta, Yellow, Key/Black), used in printing. This conversion significantly impacts print quality.
CMYK to RGB: The conversion of an already printed image (CMYK) to the RGB would mean the loss of information as RGB uses a wider range of colours than CMYK. Some colours that appear perfectly fine in CMYK might be misrepresented in RGB resulting in a color shift and potentially a lower quality output.
RGB to CMYK: Converting an image from RGB to CMYK often leads to color shifts because the two color spaces don’t overlap perfectly. RGB can represent a wider gamut of colors than CMYK. Colors that are vibrant in RGB might appear duller or different in CMYK. For example, a bright, saturated blue in RGB might appear muted or desaturated in CMYK. This is because CMYK inks can’t achieve the same level of brilliance or saturation as RGB light. Accurate conversion requires careful color management using appropriate color profiles to minimize these shifts.
Poor color management during conversion can lead to unexpected color shifts, duller colors, and an overall reduction in the fidelity of the printed image compared to the original digital design.
Q 4. Describe the importance of image resolution in print production.
Image resolution, measured in pixels per inch (ppi) or dots per inch (dpi), is absolutely critical in print production. It determines the level of detail and sharpness in the printed output. Think of it like this: a high-resolution image is like a finely woven tapestry, rich in detail. A low-resolution image is like a coarsely woven tapestry where individual threads are clearly visible, impacting the overall image quality.
A low resolution image will result in a blurry and pixelated print, particularly noticeable in large prints. Conversely, high resolution ensures sharp, crisp images, vital for professional results. The required resolution depends on the print size and the desired level of detail. For example, a high-quality print might require 300 dpi, or even higher, while lower resolution might suffice for low-quality print.
Q 5. What are the implications of using a low-resolution image for large-format printing?
Using a low-resolution image for large-format printing will result in a significantly degraded image quality. The pixels will be enlarged, making the image appear pixelated, blurry, and generally unprofessional. This is especially noticeable when printed on a large surface area where even small flaws are magnified.
Imagine trying to enlarge a small photograph to poster size – the detail is lost and the image becomes grainy and indistinct. This same effect applies to digital images. For large-format printing, using a high-resolution image (at least 300 dpi, or higher, depending on the size and printing method) is essential to maintain visual clarity and detail.
Q 6. What are common print file format issues and how are they resolved?
Common print file format issues include:
- Incorrect color space: Using RGB instead of CMYK. Solution: Convert to CMYK using a proper color management workflow.
- Low resolution images: Images with insufficient resolution for the intended print size. Solution: Use high-resolution images (at least 300 dpi) or reshoot the image.
- Embedded fonts missing or incorrect: Missing or incorrect fonts can lead to font substitutions, altering the look of the design. Solution: Always embed the required fonts, and verify font embedding.
- Missing or incorrect color profiles: Incorrect or missing color profiles can cause color mismatches. Solution: Embed the correct ICC profile and ensure consistent color management across the entire workflow.
- Transparency issues: Improper handling of transparency, especially with PDF/X-1a. Solution: Use a PDF/X-3 or PDF/X-4 compatible file or flatten transparency.
- Oversized files: Extremely large files can cause printing issues or slow down the workflow. Solution: Optimize images without compromising quality, and reduce file size where possible.
Resolving these issues often requires careful pre-flight checks using dedicated software to analyze the files and identify potential problems before sending them to print.
Q 7. How do you handle color profiles in print file preparation?
Color profiles (ICC profiles) are crucial for accurate color reproduction in print. They define the color characteristics of a particular device (e.g., monitor, printer, scanner). Proper color profile handling ensures that the colors you see on screen are as close as possible to the colors that will be printed.
In print file preparation, the following steps ensure proper color profile handling:
- Assign the correct working color space: Begin with a consistent working color space, typically CMYK for print.
- Embed the correct ICC profile: Embed the ICC profile of the intended printing device in the final print file (PDF/X-3 or PDF/X-4 are ideal). This allows the printer to interpret the color data accurately.
- Soft-proofing: Simulate the print colors on your screen using a soft proofing tool to preview the result before printing. This helps catch potential color issues early.
- Color calibration: Ensure your monitor is properly calibrated to accurately display the colors.
Ignoring color profiles can lead to significant color shifts between the screen and the printed output, resulting in inaccurate colors and an unacceptable final product.
Q 8. Explain the concept of bleed and its importance in print design.
Bleed is the extra area extending beyond the final trim size of a printed piece. Imagine you’re printing a postcard – the image might extend slightly beyond the edges of the finished card. That extension is the bleed. It’s crucial because printers trim the edges of the paper after printing, and without bleed, you’d risk having a thin white border around your design where the image didn’t quite reach the edge.
Its importance lies in ensuring a clean, professional finish. Without bleed, the slightest misalignment during trimming could leave unsightly white margins. A typical bleed allowance is ⅛ inch (3mm) on all sides, but this can vary depending on the printer and the job.
For example, if your postcard is 4×6 inches, your design file should be 4.25 x 6.25 inches to accommodate the bleed.
Q 9. What are the considerations for preparing files for different printing processes (e.g., offset, digital)?
Preparing files for different printing processes requires careful attention to detail, as each method has its own unique requirements.
- Offset Printing: This high-volume process demands high-resolution files (at least 300 DPI) in CMYK color mode. Files should be prepared with proper bleed and trapping (explained later). Vector-based artwork is preferred for sharp lines and consistent scaling. Large files are often handled more efficiently in this process.
- Digital Printing: Often used for smaller runs, digital printing is more flexible. It can accommodate both CMYK and RGB files, although CMYK is generally recommended for consistency. Resolution requirements are less stringent than offset, typically 150-300 DPI, but the quality still relies heavily on the input file. Bleed is still necessary.
Ignoring these differences can lead to poor print quality, wasted materials, and increased costs. For instance, submitting a low-resolution file to an offset printer will result in a blurry, unprofessional final product.
Q 10. How do you ensure accurate color representation across different print devices?
Ensuring accurate color representation across different print devices is a challenge, because color profiles vary. The key is utilizing color management systems and standardized color spaces.
- Color Profiles (ICC Profiles): These profiles describe the color characteristics of specific devices (printers, monitors). Embedding the correct profile in your file ensures the printer interprets the colors accurately based on its capabilities.
- CMYK vs. RGB: RGB (Red, Green, Blue) is used for screens, while CMYK (Cyan, Magenta, Yellow, Black) is used for printing. Converting from RGB to CMYK should be done with care, considering potential color shifts. A professional color management workflow helps minimise unexpected changes.
- Proofing: Always request a proof from your printer before committing to a large print run. This allows you to visually compare the on-screen colors with the printed output and make adjustments if necessary.
I once had a client whose Pantone colors didn’t translate correctly due to a missing color profile. A simple fix, but it highlighted the importance of thorough color management.
Q 11. What are the different types of PDF compression and their impact on file size and quality?
PDF compression affects both file size and image quality. There are two main types:
- Lossless Compression: This method reduces file size without losing any image data. It’s ideal for line art, text, and images where preserving quality is paramount. Examples include ZIP and LZW compression.
- Lossy Compression: This method achieves greater file size reduction by discarding some image data. It’s suitable for images with rich color gradients where minor quality loss is acceptable. JPEG compression is a common example.
The choice depends on the specific needs of the project. For high-quality print jobs, lossless compression is preferred to avoid any degradation of image detail. Lossy compression can be useful for web-based previews where file size is more critical, but not for final print files.
Q 12. Describe your experience with preflighting print files.
Preflighting is a crucial step in print production, acting as a quality control check before sending files to the printer. I use preflighting software to automatically analyze files for potential issues such as:
- Missing fonts: Ensures all fonts are embedded or available to the printer.
- Low resolution images: Identifies images that are too low in resolution for acceptable print quality.
- Color spaces: Verifies the correct color mode (CMYK) and color profiles are in place.
- Bleed and margins: Checks for adequate bleed and proper margins.
- Overprints and trapping: Detects potential issues with overlapping colors or trapping setup.
My experience involves using both automated preflight profiles and manual checks to ensure comprehensive quality assurance. This process not only avoids costly reprints but also builds trust with clients and printers.
Q 13. What software are you proficient in for preparing print files? (e.g., Adobe Acrobat, InDesign, Photoshop)
I’m proficient in several software applications for preparing print files, including:
- Adobe InDesign: My primary tool for page layout and design, especially for multi-page documents like brochures, magazines, and books.
- Adobe Photoshop: For image editing, retouching, and creating high-resolution images for print.
- Adobe Illustrator: Used for creating and editing vector graphics, particularly for logos and illustrations that need to be scaled without losing quality.
- Adobe Acrobat Pro: Essential for creating, editing, and preflighting PDFs, ensuring files are print-ready.
My familiarity with these applications enables me to create efficient and high-quality print-ready files tailored to specific printing requirements.
Q 14. Explain the significance of trapping in print production.
Trapping is the process of intentionally overlapping colors to prevent small gaps or mis-registration between them during printing. Think of it as creating a buffer zone to compensate for slight misalignments that can occur in the printing process.
Without trapping, thin lines or small areas of color can show unsightly gaps, particularly when printing with multiple colors. Trapping ensures that these gaps are minimized or completely avoided, resulting in a cleaner, more professional-looking print. There are different trapping methods, including spread trapping (expanding the lighter color into the darker one) and choke trapping (reducing the darker color to overlap the lighter one). The best method depends on the specific design and printing process.
For example, imagine a black line next to a light yellow area. Without trapping, a thin white line might appear between the black and yellow. Trapping ensures a seamless transition, preventing this unwanted effect.
Q 15. How do you handle fonts in print file preparation to avoid issues?
Font handling is crucial for consistent print results. The primary concern is ensuring that the fonts used in the design are available to the printer. This prevents font substitution, which can lead to mismatched characters, incorrect spacing, or even missing text altogether.
Here’s how I approach it:
- Embed fonts: For the most reliable outcome, I embed all fonts used within the print file itself. This ensures the printer has all the necessary font data. This is especially important for unusual or less common fonts.
- Outline fonts (Convert to Outlines): This process converts font characters into vector shapes. This eliminates font dependency completely but can lead to larger file sizes and issues editing the text later. I use this method only when embedding is impossible or impractical, like working with very large documents.
- Specify fonts: If embedding or outlining isn’t feasible, I always specify the exact font names and versions in the print file’s metadata or accompanying documentation. I also provide backup fonts if possible.
- Proofread carefully: After making font choices, I meticulously proofread the document on different systems and software versions to catch potential font issues early.
For example, I once worked on a project with a custom font crucial to the brand’s identity. Embedding this font ensured that the final printed materials looked exactly as intended, preventing a costly reprint.
Career Expert Tips:
- Ace those interviews! Prepare effectively by reviewing the Top 50 Most Common Interview Questions on ResumeGemini.
- Navigate your job search with confidence! Explore a wide range of Career Tips on ResumeGemini. Learn about common challenges and recommendations to overcome them.
- Craft the perfect resume! Master the Art of Resume Writing with ResumeGemini’s guide. Showcase your unique qualifications and achievements effectively.
- Don’t miss out on holiday savings! Build your dream resume with ResumeGemini’s ATS optimized templates.
Q 16. What is the difference between a spot color and a process color?
Spot and process colors represent different approaches to color mixing in printing. Understanding the difference is critical for achieving accurate color representation in the final product.
- Spot Colors: These are premixed inks of specific colors that are printed directly onto the paper. Each spot color requires a separate printing plate. They are ideal for achieving very specific and vibrant colors that are hard to replicate with process colors, or for achieving a consistent color across various printing processes and substrates. Pantone colors are a prime example of spot colors.
- Process Colors (CMYK): These use a combination of four base inks – Cyan, Magenta, Yellow, and Black (K) – to create a wide range of colors. Different percentages of each ink are layered to produce the desired shade. They are more economical and versatile for large-scale printing, but might not always match specific color standards perfectly.
Think of it like painting: spot color is like using a specific tube of paint, while process color is like mixing various paints to create a similar shade. Spot colors are more precise but cost more, while process colors are more flexible but may sacrifice some color accuracy.
Q 17. Describe your experience with Pantone Matching System (PMS).
The Pantone Matching System (PMS) is my go-to for ensuring color consistency across different print projects and print methods. It provides a standardized system of color identification, with each color assigned a unique PMS number.
My experience with PMS includes:
- Color specification: I regularly use PMS numbers in design documents to precisely specify colors. This ensures that the client’s requested colors are accurately reproduced in the final print.
- Communication with printers: Specifying PMS numbers facilitates clear communication with printers, eliminating misunderstandings and reducing the risk of color discrepancies.
- Color libraries: I utilize digital Pantone libraries within my design software to select and apply colors consistently throughout projects. This ensures uniformity across different design elements.
- Troubleshooting color issues: When color issues arise, having a clear PMS number allows for efficient identification and resolution of problems. Knowing how different substrates and printing processes can affect color reproduction is also crucial.
For instance, I once worked with a client who was very specific about the color of their logo. Using the designated Pantone number ensured that the printed logo perfectly matched their brand guidelines, avoiding any deviations.
Q 18. How do you ensure the integrity of print files during the transfer process?
Maintaining print file integrity during transfer is vital for ensuring accurate and consistent results. I employ a multi-faceted approach to this:
- High-resolution files: I always work with high-resolution files (at least 300 DPI for print) to avoid quality loss during transfer.
- Proper file formats: I use industry-standard print-ready formats such as PDF/X-1a or PDF/X-4. These formats embed all necessary data, preventing font and image issues.
- Compression (when needed): For extremely large files, I use lossless compression methods such as ZIP to reduce file size without compromising image quality.
- File transfer method: I opt for secure and reliable file transfer methods like FTP or cloud-based solutions with version control, such as Dropbox or Google Drive, that provide transfer confirmation and track version history.
- File verification: After transfer, I always verify that the transferred files are complete and haven’t been corrupted during transfer. I compare file sizes and checksums to ensure integrity.
Imagine sending a vital blueprint – you wouldn’t just email it as a low-resolution JPEG. Similarly, ensuring the print file’s integrity through proper methods and verification is paramount.
Q 19. What are the best practices for naming and organizing print files?
A well-organized file naming and structure system is critical for efficient workflow and project management. My approach includes:
- Descriptive names: File names include relevant project information, such as the client name, project name, file type, and version number (e.g.,
ClientName_ProjectName_Rev01.pdf). - Consistent structure: Files are organized into folders that mirror the project’s structure, making it easy to find specific files. I might use a folder structure like
ClientName/ProjectName/Artwork/Final Files/ - Version control: Version numbers are incorporated into file names to easily track changes and revisions (e.g.,
Artwork_V01.pdf,Artwork_V02.pdf). - Metadata: Where applicable, I add relevant metadata to files, such as keywords and descriptions, to facilitate searching and organization.
This consistent system ensures that locating a specific file is quick and straightforward, saving valuable time during the production process. Chaos in file management translates to chaos in project management.
Q 20. How do you handle version control for print files?
Version control is essential for managing changes to print files. I typically use a combination of methods:
- Version numbering in filenames: This simple approach is always the first step, allowing for easy identification of revisions. For example,
design_v1.pdf,design_v2.pdf. - Cloud storage with version history: Services like Dropbox, Google Drive, or specialized cloud solutions provide automatic version history, allowing me to revert to previous versions if needed.
- Dedicated version control systems (for complex projects): For larger or more complex projects involving multiple collaborators, I may use dedicated version control systems like Git, though they are less common in purely print-focused projects.
- Backup strategies: I always maintain regular backups of all print files on external drives or cloud storage to prevent data loss.
Imagine trying to undo changes in a complex document without version control – it’s a nightmare. The right version control system ensures collaboration goes smoothly and that any version of a file is readily available if needed.
Q 21. What steps do you take to troubleshoot a print file with errors?
Troubleshooting print file errors requires a systematic approach. I follow these steps:
- Identify the error: Determine the specific error message or visual problem (e.g., missing fonts, color issues, image corruption).
- Check the preflight report: Most design software packages provide preflight reports that identify potential problems before printing. Addressing these warnings proactively is crucial.
- Inspect the file structure: Examine the file’s fonts, links, images, and color settings to locate the source of the error.
- Test on different software and hardware: Try opening and printing the file on different computers and software to identify if the issue is related to the specific system or the file itself.
- Check the printer settings: Ensure the printer settings are compatible with the print file’s specifications (e.g., color profile, resolution).
- Consult print specifications: Refer to the print specifications provided by the print house to ensure compliance with their requirements.
- Seek expert assistance: If the error persists, seek help from a print professional or the software vendor. This could include a print shop’s pre-press team or the designer’s software support resources.
Troubleshooting isn’t about magically fixing issues; it’s a methodical approach to isolating problems and finding solutions. This systematic approach ensures errors are resolved efficiently and keeps projects on track.
Q 22. How familiar are you with different types of paper and their impact on print results?
Understanding paper types is crucial for achieving desired print results. Different papers possess unique characteristics influencing color reproduction, texture, and overall print quality. For instance, coated papers, like glossy or matte, offer vibrant color reproduction due to their smooth surface, ideal for high-impact images. Conversely, uncoated papers, such as offset or recycled, provide a more natural, less vibrant look, better suited for text-heavy documents. The paper’s weight (gsm – grams per square meter) also matters; heavier papers feel more luxurious but might increase printing costs and potentially cause issues with certain printing equipment. Considering the paper’s porosity also affects ink absorption – highly porous papers can lead to ink bleeding, while less porous papers result in sharper print. For example, choosing a thin, inexpensive paper for a high-resolution photo print would result in poor color saturation and potentially image blurring. A thicker, high-quality coated paper would be far more appropriate.
- Coated Papers: Glossy, Matte, Silk
- Uncoated Papers: Offset, Recycled, Textured
Q 23. What are some common file size limitations for different printing methods?
File size limitations depend heavily on the printing method. Large-format printers, like those used for posters or banners, generally handle significantly larger files than office printers. Offset printing, a common method for mass production, often has file size limitations dictated by the printing press’s capabilities and the RIP (Raster Image Processor) software used. Digital printing (like inkjet or laser) typically has less stringent limitations, but very large files can still slow down the process or cause memory issues. For instance, a high-resolution image for offset printing might need to be optimized to reduce its file size without compromising image quality. Similarly, submitting a massive PDF file to a small office printer may lead to errors or very long processing times. It’s crucial to understand the specific printer’s and printing method’s capabilities.
- Offset Printing: Varies greatly depending on the press and RIP software, often in the gigabytes range for very large jobs.
- Digital Printing (Inkjet/Laser): Generally less restrictive but still limited by printer memory and processing power.
- Large-Format Printing: Can handle very large files, but file optimization is still recommended for best results.
Q 24. How would you address a client’s concern regarding color accuracy in a print job?
Addressing color accuracy concerns requires a multi-faceted approach. First, I’d understand the client’s specific concerns: are they comparing the printed output to a screen display? Are they referencing a specific color profile? Color discrepancies often arise from differences between color spaces (e.g., sRGB vs. CMYK). Screens use RGB (Red, Green, Blue), while most print processes use CMYK (Cyan, Magenta, Yellow, Black). The conversion between these color spaces can introduce variations. I’d ask for their source files to assess whether they’re using appropriate color profiles. I would then provide a color proof, a physical sample showing the expected print results. This allows for client review and adjustment before the full print job is initiated. In many cases, managing expectations is crucial; a perfectly color-matched print from a screen is often unachievable.
Furthermore, if a specific pantone color is needed, that needs to be specified early on and verified. Using a color management system (CMS) throughout the process is essential.
Q 25. What are your strategies for ensuring the timely delivery of print-ready files?
Timely delivery relies on a structured workflow and clear communication. This includes creating a detailed project timeline upfront, which accounts for all steps: file preparation, proofing, potential revisions, and printing. I’d work closely with the client to ensure all necessary files and specifications are received on time. I utilize project management software to track progress and communicate potential delays proactively. Automated email reminders, using tools like Asana or Trello, are integral to prevent bottlenecks. This process also involves prioritizing tasks based on urgency and deadlines, and having contingency plans to address unexpected issues.
For example, if a client provides a file late, I’ll immediately inform them about the potential impact on the deadline and suggest solutions, such as prioritizing their job to minimize the delay.
Q 26. Explain your experience in working with clients to prepare their files for print.
My experience involves guiding clients through the process of preparing print-ready files. This starts with understanding their design and providing guidance on file formats (PDFs are generally preferred for print), resolution (DPI – dots per inch), color modes (CMYK), and bleed (the extra area extending beyond the trim to prevent white edges after cutting). I often provide templates or style guides to ensure consistency and avoid costly mistakes. I offer feedback on image quality, font choices, and overall design suitability for printing. I’ve helped clients troubleshoot various issues, such as low-resolution images, incorrect color profiles, and missing fonts. This iterative feedback process ensures the final files meet print specifications and the client’s expectations. For instance, I might help a client convert their low-resolution JPEGs to higher-resolution TIFFs for better print quality.
Q 27. Describe your proficiency in using prepress workflow software.
I’m proficient in various prepress workflow software, including Adobe Acrobat Pro (for PDF manipulation and preflighting), and color management software such as ColorWise. My expertise extends to utilizing these tools for tasks such as creating imposition layouts (arranging pages for printing), generating color separations (for offset printing), ensuring proper color profiles, and conducting thorough preflight checks to catch errors like missing fonts, low-resolution images, or incorrect bleed. I use these software capabilities to streamline the prepress process, ensuring efficiency and accuracy.
For example, using Adobe Acrobat Pro’s preflight feature, I can automatically detect potential issues in a PDF before sending it to the printer, saving both time and preventing costly reprints. This includes checking for missing fonts, images, and incorrect bleed settings, ensuring the print job goes smoothly.
Q 28. What are your methods for checking for errors in print files before sending them to the printer?
My methods for error checking involve a multi-stage process. First, I visually inspect the file for obvious problems – misaligned elements, blurry images, or incorrect text. Then, I utilize automated preflight tools within Adobe Acrobat Pro or similar software to detect technical issues such as missing fonts, low-resolution images, incorrect color spaces, or inadequate bleed. Finally, I generate a soft proof (a digital representation of the printed output) to verify color accuracy and overall visual appearance. This often involves using a color management system to simulate the printing process as accurately as possible. Soft proofing helps identify subtle color shifts or other issues that might be missed during the visual inspection and automated preflighting stage. In a real-world setting, this thorough process minimizes errors and ensures the final print job meets the highest quality standards.
Key Topics to Learn for Understanding of Print File Formats Interview
- Raster vs. Vector Graphics: Understand the fundamental differences between raster (e.g., JPEG, TIFF, PNG) and vector (e.g., PDF, AI, EPS) formats, their respective strengths and weaknesses, and when to use each in print production.
- Color Spaces and Profiles (CMYK, RGB, Pantone): Grasp the concept of color spaces and how they impact print quality. Be prepared to discuss color management, profile embedding, and potential color discrepancies between screen and print.
- Resolution and DPI: Explain the importance of resolution (DPI) for print. Know how to calculate the required resolution based on print size and desired quality. Understand the implications of low-resolution images in print.
- PDF Workflow and Prepress: Discuss the role of PDF in the print process, including creating press-ready PDFs, understanding bleed, margins, and imposition. Be familiar with common prepress checks and troubleshooting.
- File Compression and Size Optimization: Understand various file compression techniques and their impact on file size and print quality. Be able to explain strategies for optimizing files for efficient print production.
- Common Print File Formats and Their Applications: Demonstrate knowledge of various file formats like TIFF, EPS, JPEG, PDF/X, and their suitability for different printing methods and applications (e.g., offset printing, digital printing).
- Troubleshooting Print-Related Issues: Be prepared to discuss common problems encountered during print production (e.g., color mismatches, image artifacts, font issues) and how to troubleshoot them.
Next Steps
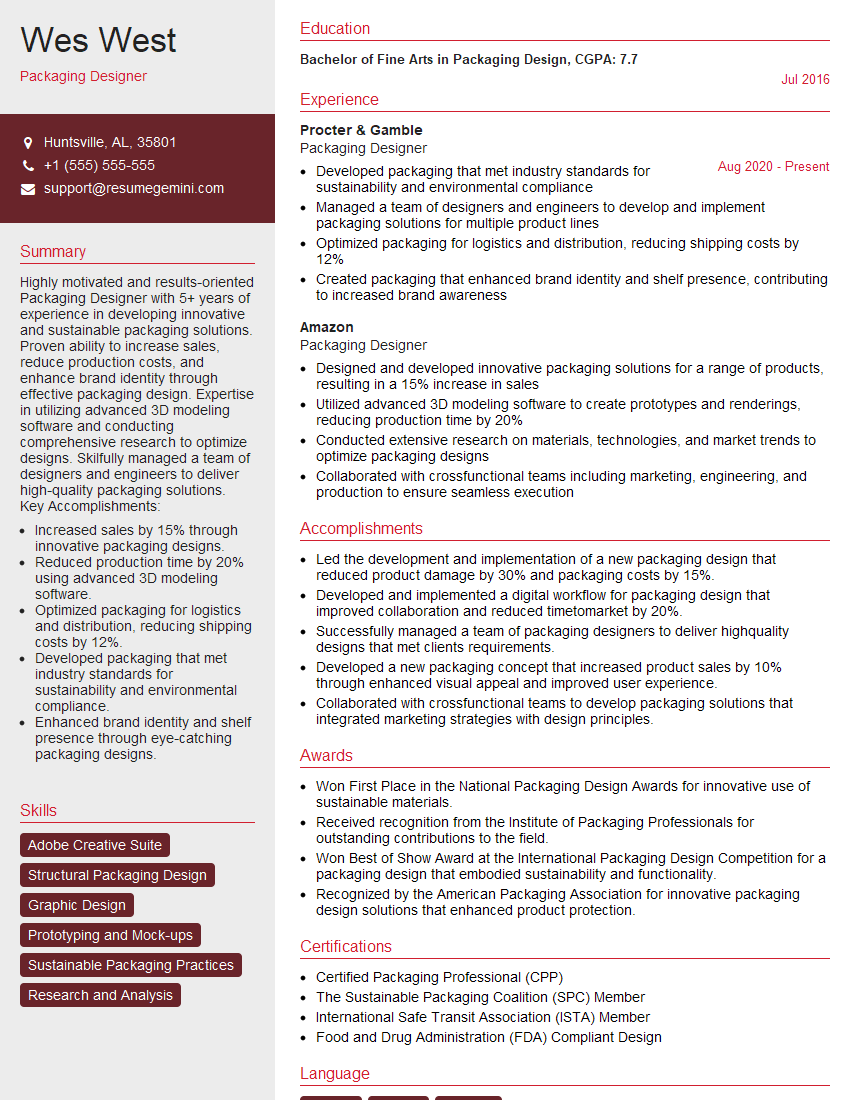
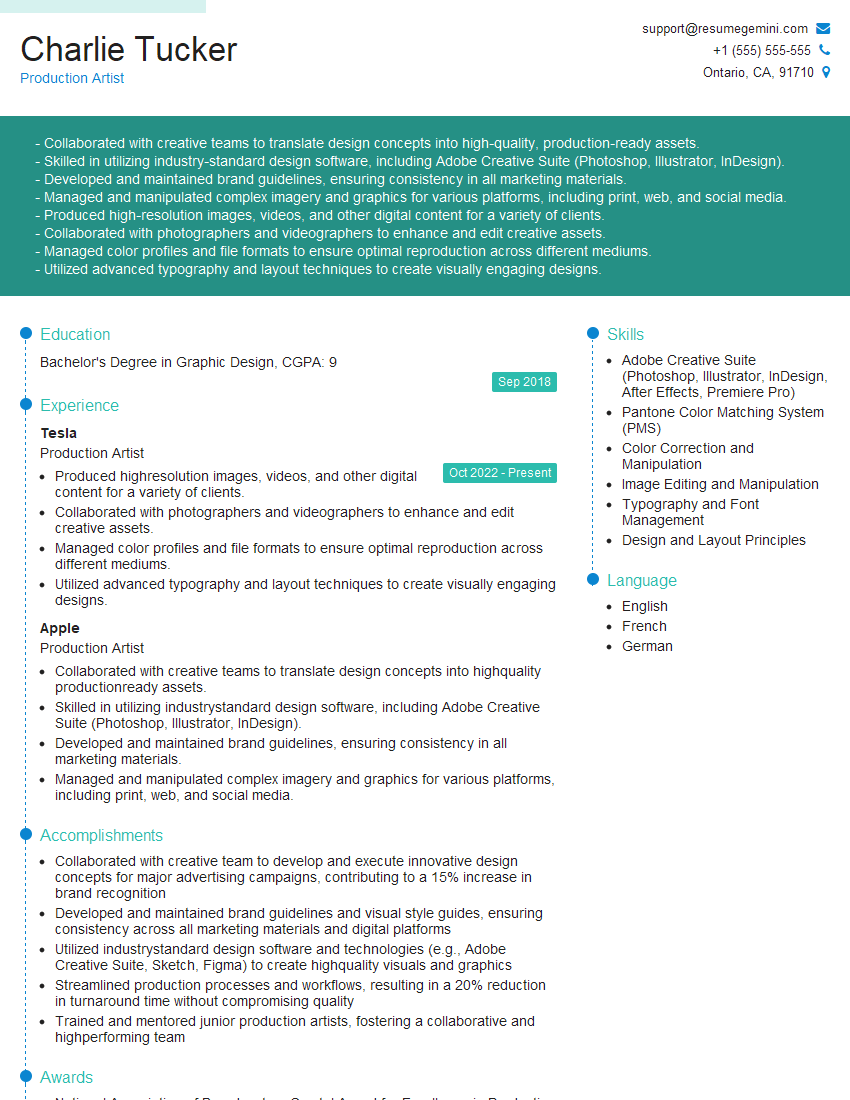
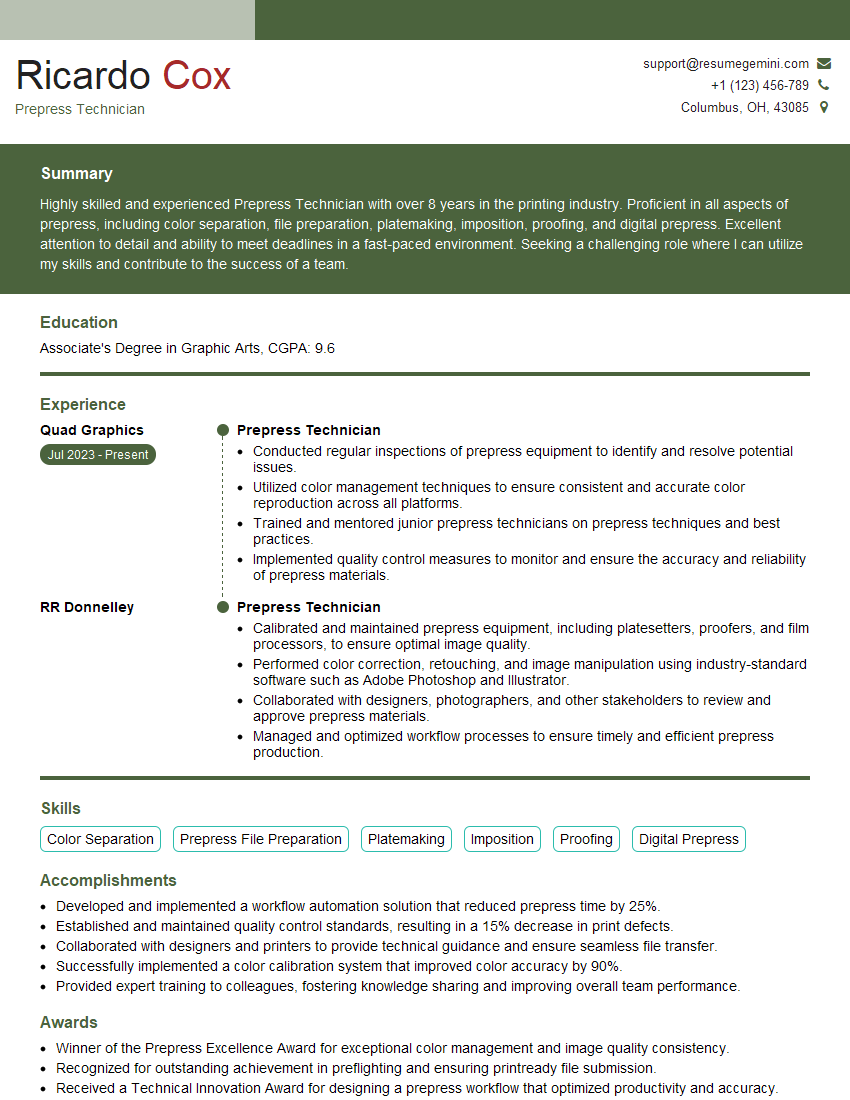
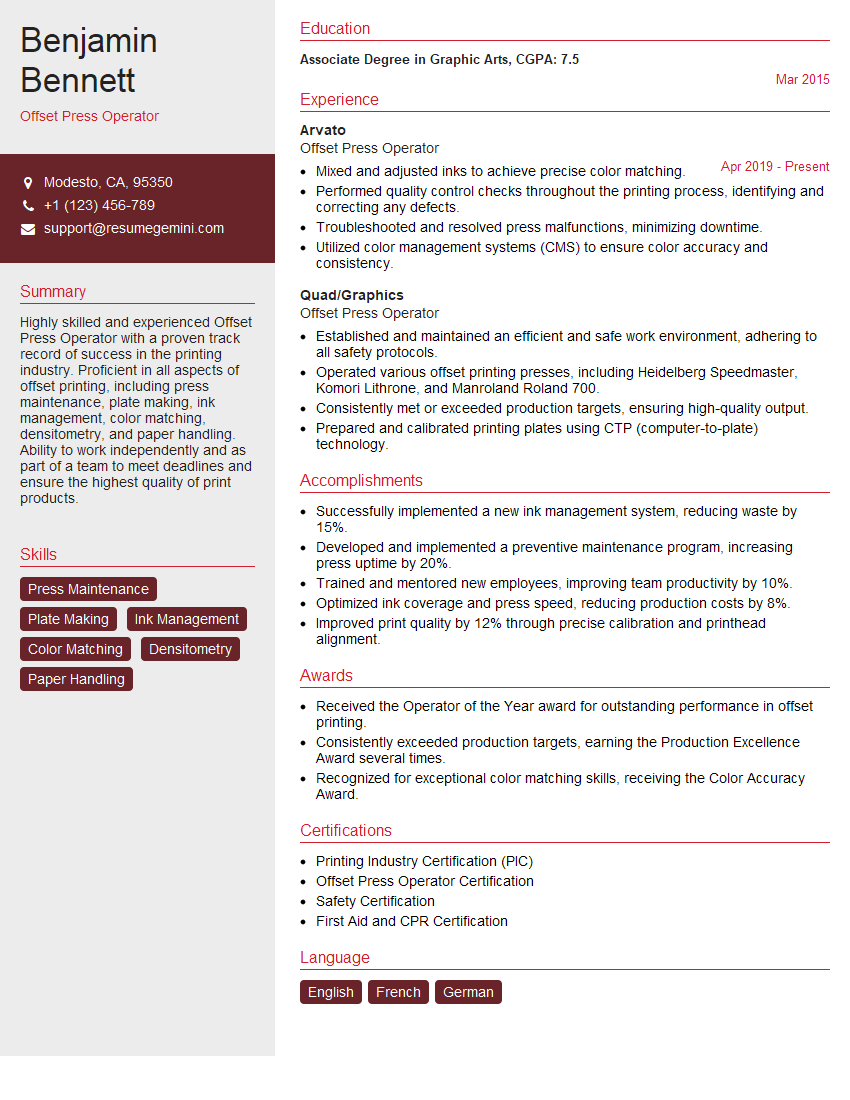
Mastering your understanding of print file formats is crucial for career advancement in graphic design, printing, and related fields. A strong grasp of these concepts demonstrates technical proficiency and attention to detail—highly valued qualities in this industry. To maximize your job prospects, creating an ATS-friendly resume is essential. ResumeGemini is a trusted resource to help you build a professional and impactful resume that highlights your skills and experience effectively. Examples of resumes tailored to showcasing expertise in Understanding of Print File Formats are available through ResumeGemini to help you get started.
Explore more articles
Users Rating of Our Blogs
Share Your Experience
We value your feedback! Please rate our content and share your thoughts (optional).
What Readers Say About Our Blog
Hi, I represent an SEO company that specialises in getting you AI citations and higher rankings on Google. I’d like to offer you a 100% free SEO audit for your website. Would you be interested?
good


