Cracking a skill-specific interview, like one for Version Control Systems (Git), requires understanding the nuances of the role. In this blog, we present the questions you’re most likely to encounter, along with insights into how to answer them effectively. Let’s ensure you’re ready to make a strong impression.
Questions Asked in Version Control Systems (Git) Interview
Q 1. Explain the difference between Git and GitHub.
Git and GitHub are often used interchangeably, but they are distinct entities. Think of it like this: Git is the engine, and GitHub is a popular garage where you park your car (your projects).
Git is a distributed version control system (DVCS). It’s a powerful command-line tool that allows you to track changes to files, collaborate on projects, and revert to previous versions if needed. It works locally on your computer; you don’t need an internet connection to use the core Git functionalities.
GitHub (along with GitLab and Bitbucket) is a web-based hosting service for Git repositories. It provides features like remote repositories (allowing multiple people to collaborate), issue tracking, pull requests, code review tools, and more. It’s where you store your Git repositories online, making them accessible to others and offering additional collaborative tools.
In short: Git manages your project’s version history locally, while GitHub provides a platform to share and collaborate on that project remotely.
Q 2. What is a Git repository?
A Git repository, often shortened to ‘repo’, is a directory that contains all the files and folders of a project, along with a hidden subdirectory named ‘.git’. This ‘.git’ directory holds the complete history of the project, including all changes ever made. Imagine it as a detailed record-keeping system for your project, allowing you to trace each and every alteration back to its origin.
Each change is recorded as a snapshot, and Git uses these snapshots to reconstruct any previous version of your project. This is crucial for collaboration, as it allows multiple developers to work simultaneously without overwriting each other’s changes.
Creating a repository involves initializing a new Git project within a folder using the command git init. This establishes the ‘.git’ directory and sets up Git to track changes within that folder.
Q 3. Describe the Git workflow.
The Git workflow typically follows a cycle of stages: modify, stage, commit, and push (to a remote repository like GitHub). Let’s break it down:
- Modify: You make changes to your project files (add, edit, or delete).
- Stage: You select the changes you want to include in your next commit using
git addorgit add .(for all changes). Staging is like preparing your changes for the next step; it’s a separate area where you review which parts of your changes are ready to be ‘saved’ as a group. - Commit: You create a snapshot of your staged changes using
git commit -m "Your descriptive message". This message describes what changes were made in this specific commit. Think of commits as checkpoints in the project’s development, capturing the state of your project at a particular point in time. - Push: If collaborating, you upload (push) your local commits to a remote repository (like GitHub) using
git push origin. This makes your changes available to others working on the project.
This is a basic workflow; advanced workflows like Gitflow exist for larger projects.
Q 4. What are the three main sections of a Git repository?
A Git repository contains three main sections: the working directory, the staging area, and the Git directory (the ‘.git’ directory).
- Working Directory: This is where you make changes to your project files. It’s your workspace.
- Staging Area: This is a temporary holding area for changes you’ve selected to be included in your next commit. Think of it as a staging platform for your code before a formal release.
- Git Directory (‘.git’): This hidden directory stores the complete history of your project. This includes all previous versions, branches, and other meta-data. It’s the heart and core of your local Git repository.
Q 5. Explain the purpose of the .gitignore file.
The .gitignore file is a crucial part of Git workflow. It tells Git which files or directories to ignore when tracking changes. This prevents unnecessary files from being included in your repository, such as temporary files, compiled code, or sensitive data (like passwords). For example, you might want to ignore files created by your IDE or build system.
The .gitignore file contains patterns that match file names. For instance, *.log ignores all log files, while build/ ignores the entire ‘build’ directory.
Keeping your repository clean and efficient is crucial for effective teamwork and project management. By skillfully using .gitignore you avoid cluttering your repo and save space and time.
Q 6. How do you stage changes in Git?
You stage changes in Git using the git add command. This command takes files from your working directory and adds them to the staging area. Only files in the staging area will be included in the next commit.
git add adds a specific file.
git add . adds all changed files in the current directory and its subdirectories. Use with caution! This is often useful after a round of development, but using it carelessly can lead to unintentional commits of unwanted changes.
git add -p interactively adds portions of a file, letting you precisely select the changed lines you wish to stage.
Q 7. What is the command to commit changes in Git?
The command to commit changes in Git is git commit -m "Your commit message".
git commit saves the changes in the staging area as a snapshot in your project’s history. The -m flag allows you to add a descriptive message explaining the changes made in this commit. This message helps other developers (and your future self!) understand the purpose of each commit and trace the evolution of your project.
A clear and concise commit message is essential for effective collaboration. A well-structured commit message ensures your collaborators understand your changes, allowing for better code reviews and smoother development.
Q 8. How do you push changes to a remote repository?
Pushing changes to a remote repository is like uploading your local work to a shared server where everyone on your team can access it. You use the git push command. This command takes your commits from your local branch and copies them to the corresponding branch on the remote repository.
The basic command is git push . For example, git push origin main pushes your changes from your local main branch to the main branch on the remote repository named origin (which is usually the default name for your remote). If you’ve created a new branch locally and want to push it, it’s a two-step process: git push --set-upstream origin . This sets up the tracking relationship for the future and pushes it in one step.
Imagine a collaborative writing project. Each author works locally, and then uses git push to share their contributions to the main project repository.
Q 9. How do you pull changes from a remote repository?
Pulling changes from a remote repository is the opposite of pushing. Think of it as downloading the latest updates from the shared server to your local machine. You use the git pull command to do this. This command fetches the latest commits from the remote branch and merges them into your local branch.
The simplest form is git pull . Similar to pushing, git pull origin main fetches from and merges the main branch of the remote named origin into your local main branch. Note that this combines fetch and merge in one step. It’s safer for beginners to use git fetch origin main and then git merge origin/main to see what the remote changes are before merging them locally.
In our writing project analogy, every author pulls the latest changes before starting to work to make sure they are on the most up to date version.
Q 10. Explain the concept of branching in Git.
Branching in Git is like creating a copy of your project. It allows you to work on new features or bug fixes without affecting the main codebase. This is crucial for parallel development. Each branch is an independent line of development. You can create multiple branches, work on them simultaneously, and then merge them back into the main branch when ready.
Think of it as writing different chapters of a book simultaneously. You can work on chapter 3 while someone else works on chapter 5, without affecting each other’s progress. Each chapter is a separate branch. Once all chapters are finished, you merge them together to form the complete book.
- Feature branches: For new features or enhancements.
- Bugfix branches: For fixing bugs in the main code.
- Release branches: To prepare a release version of the software.
Q 11. What is a merge conflict and how do you resolve it?
A merge conflict happens when you and someone else have made changes to the same lines of code in a file. Git can’t automatically decide which version to keep, so it stops and requires manual intervention. You’ll see conflict markers in your files when opening them. This is a common occurrence in collaborative environments, especially when multiple developers work on the same feature.
To resolve a conflict, you manually edit the conflicted files, choosing which changes to keep, and then stage and commit the resolved changes. Git provides markers in the conflicted file like <<<<<<< HEAD, =======, and >>>>>>> branch_name, to show you where the conflicting changes are. You choose the correct code and remove the conflict markers. Then, you stage (git add ) and commit (git commit) the change to finalize the merge.
Think of this as editing a document that two people changed simultaneously in the same paragraph. You must decide which version to keep or even combine them.
Q 12. What is the difference between `git merge` and `git rebase`?
Both git merge and git rebase are used to integrate changes from one branch into another, but they do so in different ways. git merge preserves the project's history, while git rebase rewrites it.
git mergecreates a new merge commit that combines the changes from both branches. This keeps a complete and accurate record of the project's development history. Think of it like combining two branches into a river that continues to flow.git rebasetakes the commits from one branch and applies them on top of another. This creates a linear history that's cleaner and easier to read but alters the project's original history. It is like connecting two roads and erasing the junction. This is particularly useful for cleaning up complex branch histories.
Choosing between them depends on your preference and project needs. merge is generally safer for collaborative projects due to its preservation of the history, while rebase can simplify the history for a cleaner look, but should be used cautiously and should never be used on publicly shared branches.
Q 13. How do you create a new branch in Git?
Creating a new branch is straightforward using the git branch command. This creates a new branch, but you're still on your current branch. To start working on the new branch, you need to switch to it using git checkout . You can combine both steps using git checkout -b .
For example, to create a branch named 'feature/new-login', you would type git checkout -b feature/new-login. This creates the branch and immediately switches to it. This is a common practice, making it a single command to perform both actions.
Think of this like opening a new document based on a template. The template is your original branch, and the new document is your new branch. You can modify the new document (branch) without changing the template (original branch).
Q 14. How do you switch between branches in Git?
Switching between branches is done using the git checkout command. This command switches your working directory to the specified branch. This means your files will reflect the state of the selected branch. If there are uncommitted changes on your current branch, Git will warn you and prevent the checkout unless you stash (git stash) or commit your changes.
For example, git checkout main switches to the main branch. git checkout feature/new-login switches to the feature/new-login branch. This is a core Git command used constantly throughout the development lifecycle.
Using this command is like switching between different versions of a document. You can see and work on the version that you select using this command.
Q 15. How do you delete a branch in Git?
Deleting a Git branch is a straightforward process, but it's crucial to understand the implications before proceeding. You wouldn't want to accidentally delete a branch containing important, unmerged changes! There are two main ways to delete a branch: locally and remotely.
Locally deleting a branch: This removes the branch from your local repository. Use the command git branch -d . The -d flag stands for 'delete'. If you try to delete a branch that has unmerged changes, Git will refuse to delete it and warn you. To force the deletion (use with caution!), use git branch -D . The uppercase -D will delete the branch even if it has unmerged changes.
Example: To delete a branch named 'feature-x', you'd run git branch -d feature-x.
Remotely deleting a branch: This removes the branch from the remote repository (e.g., GitHub, GitLab, Bitbucket). You need to use git push origin --delete or git push origin :. Both commands achieve the same outcome. Replacing origin with the name of your remote repository if it's different is important.
Example: To delete the 'feature-x' branch from the remote repository named 'origin', you'd run git push origin --delete feature-x.
Imagine you're building a house. Locally deleting a branch is like demolishing a section of the house on your property. Remotely deleting it is like having the demolition crew take down that section from the architectural plans, so everyone knows it's gone.
Career Expert Tips:
- Ace those interviews! Prepare effectively by reviewing the Top 50 Most Common Interview Questions on ResumeGemini.
- Navigate your job search with confidence! Explore a wide range of Career Tips on ResumeGemini. Learn about common challenges and recommendations to overcome them.
- Craft the perfect resume! Master the Art of Resume Writing with ResumeGemini's guide. Showcase your unique qualifications and achievements effectively.
- Don't miss out on holiday savings! Build your dream resume with ResumeGemini's ATS optimized templates.
Q 16. What is a Git tag and how do you create one?
A Git tag is like a bookmark or a label that you can attach to a specific commit in your repository's history. It allows you to easily refer back to that particular point in time. This is especially useful for marking significant milestones, such as releases (v1.0, v2.0, etc.), or critical bug fixes. There are two main types of tags: annotated and lightweight.
Lightweight tags: These are simple pointers to a commit. They don't contain any extra information. To create a lightweight tag, use git tag . You can omit the commit hash to tag the current commit.
Annotated tags: These are more robust and include information like the tagger's name, email, date, and a message describing the tag. They're generally preferred for releases as they provide more context. To create an annotated tag, use git tag -a
Example: To create a lightweight tag named 'v1.0' for the current commit, you'd run git tag v1.0. To create an annotated tag with a message, you would use git tag -a v1.0 -m "Release version 1.0"
Pushing tags to remote: After creating a tag locally, you need to push it to your remote repository using git push origin . To push all tags at once use git push origin --tags
Think of it like adding sticky notes to your project timeline – lightweight tags are simple notes, while annotated tags are more detailed, providing crucial information about each milestone.
Q 17. Explain the use of `git stash`.
git stash is a powerful command used to temporarily shelve changes you've made to your working directory and staging area. This is incredibly useful when you need to switch branches, apply a hotfix, or clean up your workspace without committing your current work.
Stashing changes: The basic command is git stash push -u -m "Your stash message". The -u flag includes untracked files in the stash, and -m allows you to add a descriptive message. This saves your changes, leaving your working directory clean.
Applying a stash: Once you've stashed your changes, you can retrieve them later using git stash pop. This applies the most recent stash and removes it from the stash list. You can also apply a specific stash using git stash apply stash@{, where stash@{0} is the most recent).
Listing stashes: To see a list of your stashes, use git stash list.
Example: Let's say you're working on feature A, but you need to quickly fix a critical bug on the main branch. You would use git stash push -u -m "Working on feature A", switch to the main branch, fix the bug, commit, and then return to your feature A branch with git stash pop to recover your work.
Imagine git stash as a temporary storage area for your uncommitted work, much like a side table where you put your current project temporarily to work on something else.
Q 18. How do you undo a commit in Git?
Undoing a commit in Git depends on whether you want to modify the last commit or a previous commit.
Undoing the last commit: If you've just made a commit and immediately regret it, you can use git reset --soft HEAD^. This moves the HEAD pointer back one commit, but keeps the changes in your staging area. You can then amend the commit with git commit --amend or make further changes and commit again.
Undoing an older commit: For older commits, git reset --soft moves the HEAD pointer to the specified commit. All changes from that commit onward will be put in your staging area. It effectively un-commits those commits. Again, use with caution!
Using `--hard` with caution: You can also use git reset --hard , but this is destructive! It discards all changes made since the specified commit. Only use this if you're absolutely sure you want to lose those changes.
Important Note: These commands change your local repository's history. If you've already pushed the commits to a remote repository, undoing them will require further steps (like `git push --force` which should be avoided unless you absolutely understand the risk). A more collaborative and safer approach in these cases is using `git revert` (see the next question).
Imagine your commits as pages in a notebook. Resetting allows you to tear out some pages and start writing again.
Q 19. How do you revert a commit in Git?
Reverting a commit in Git creates a *new* commit that undoes the changes introduced by a previous commit. This is the safer and preferred method for undoing commits, especially those that have already been pushed to a remote repository. It preserves the history of your repository by avoiding rewriting it.
The command is git revert . This creates a new commit that reverses the changes of the specified commit. It's a clean, non-destructive way of fixing mistakes.
Example: If you want to revert commit abcdef1234567890, you would run git revert abcdef1234567890. Git will then create a new commit containing the opposite changes.
Imagine your commits as building blocks. Reverting is like adding a new block that counteracts the effects of a previous block without removing the original block itself.
Q 20. How do you view the commit history in Git?
Viewing the commit history in Git is essential for understanding the evolution of your project. The most common command is git log. This displays a list of commits, showing their hash, author, date, and commit message.
There are many options to customize the output of git log to make it more readable and informative. Here are some examples:
git log --oneline: Shows a concise one-line summary of each commit.git log --graph: Displays a visual representation of the branch history.git log --pretty=format:"%h %s": Customizes the output format.%his the short commit hash, and%sis the subject (commit message).git log --follow: Shows the history of a specific file, including renames.
For more complex scenarios, you might consider using a graphical Git client which provides a visual representation of the commit history, making it easier to navigate and understand.
The commit history is like a detailed record of every change made to your project. Understanding it gives you insights into its development lifecycle.
Q 21. What is cherry-picking in Git?
Cherry-picking in Git allows you to select and apply individual commits from one branch to another. This is particularly useful when you need to incorporate specific changes from a feature branch into another branch without merging the entire branch.
The command is git cherry-pick . This applies the changes from the specified commit to your current branch. It creates a new commit with the same changes but with a different hash.
Example: Imagine you have a feature branch 'feature-x' with several commits. You've completed one crucial bug fix in commit abcdef1234567890. To apply only this fix to the main branch, you would checkout the main branch, and then run git cherry-pick abcdef1234567890. This adds the bug fix to the main branch without the rest of the changes in 'feature-x'.
It's like carefully selecting individual fruits from a basket instead of picking up the whole basket. You get the specific ones you need without taking anything else.
Q 22. Explain the concept of Git hooks.
Git hooks are scripts that run automatically before or after specific Git events, such as committing or pushing code. Think of them as automated tasks triggered by actions within your Git repository. They allow you to customize your workflow, enforce coding standards, and automate processes.
Types of Hooks: Hooks are categorized by their trigger event and location (client-side or server-side). Client-side hooks run on your local machine, while server-side hooks run on the remote repository (like GitHub or GitLab).
- Client-Side Examples:
pre-commit: Runs before a commit is made. You can use this to automatically run linters or code formatters to ensure code quality before committing.pre-push: Runs before pushing to a remote repository. Ideal for last-minute checks or automatic tagging.
- Server-Side Examples:
post-receive: Runs after code is pushed to a remote repository. Useful for triggering automated deployments or testing.
Example: Imagine you want to automatically format your code before every commit. You could create a pre-commit hook that executes a code formatter (like Prettier) on your changes. If the formatting fails, the commit is aborted.
Practical Application: Hooks enhance collaboration by standardizing code style, enforcing best practices, and automating tasks like running tests before deployment. They significantly improve team efficiency and reduce potential errors.
Q 23. Describe different Git branching strategies (e.g., Gitflow).
Git branching strategies are workflows defining how developers create and manage branches to develop and integrate code. They help streamline collaboration and avoid chaos in larger projects. Several popular strategies exist, each with its strengths and weaknesses.
- Gitflow: A robust model employing distinct branches for development, features, releases, and hotfixes. It provides structure for managing multiple features simultaneously and ensuring stable releases. Branches include:
main(ormaster): The primary branch for production-ready code.develop: The integration branch where features are merged before release.feature: Branches for individual features.release: Branches for preparing releases.hotfix: Branches for quickly addressing critical production issues.- GitHub Flow: A simpler, more streamlined approach. Developers create branches from
mainfor each feature. Once a feature is complete, a pull request is created to merge it intomain. This simplifies branching and merging compared to Gitflow. - GitLab Flow: Extends GitHub Flow with the addition of environment branches (e.g.,
staging,production) to manage deployments more effectively.
Choosing a Strategy: The best strategy depends on project size and complexity. Smaller projects might benefit from GitHub Flow's simplicity, while larger projects might require the structure of Gitflow.
Q 24. How do you resolve a merge conflict using a merge tool?
Merge conflicts occur when two or more developers modify the same lines of code in a file. Git cannot automatically determine which version to keep, requiring manual resolution.
Resolving with a Merge Tool: Merge tools (like Meld, Beyond Compare, or the built-in tools in IDEs like VS Code or IntelliJ) provide a visual interface to compare conflicting versions and choose the correct changes.
- Identify the Conflict: Git will mark conflicting files in the working directory.
- Open the Merge Tool: Launch your chosen merge tool (you might need to configure Git to use it). It will display the conflicting sections.
- Review Changes: Compare the changes from your branch (
YOUR), the branch you're merging into (BASE), and the automatic merge attempt (MERGE). - Resolve Conflicts: Edit the file, selecting the correct lines, removing conflicting blocks, and adding any necessary corrections.
- Mark as Resolved: Save the changes. The merge tool will typically mark the conflict as resolved.
- Stage and Commit: Stage the resolved file using
git addand commit the changes usinggit commit. Git will automatically add a merge commit.
Example: A visual merge tool would show three panels, one for each version. You'd select the appropriate lines from each panel to create the correct final version of the file.
Q 25. How can you track changes to specific files in a repository?
Tracking changes to specific files involves using Git's ability to record modifications to files within the repository. This can be done by examining the commit history of individual files or by monitoring changes over time.
git log: Displays the commit history for a particular file, highlighting all modifications made to that file.git diff: Shows the differences between the current version of a file and its previous version or between any two commits.- GUI Clients: Most Git GUI clients provide visual representations of file changes, making it easy to track alterations over time.
Example: git log README.md will display all commits that changed the README.md file, allowing you to review the specific edits at each stage.
Practical Application: This is crucial for debugging, understanding the evolution of a specific component, and auditing changes made by different developers. By carefully tracking file-level changes, you gain more granular insight into the project's development.
Q 26. What are remote repositories and how do they work?
Remote repositories are essentially copies of your local Git repository hosted on a server. They serve as central locations for collaboration, version control, and backups.
How They Work: You can interact with a remote repository using commands like git clone, git push, and git pull. git clone creates a local copy of a remote repository. git push uploads your local commits to the remote. git pull downloads changes from the remote to your local copy.
Common Platforms: GitHub, GitLab, and Bitbucket are popular platforms that host remote repositories. These platforms provide web interfaces for browsing code, managing issues, and collaborating with others.
Example: You might use GitHub to host a remote repository for a project. Developers clone this repository, work on their local copies, and then push their changes back to the remote repository on GitHub.
Practical Application: Remote repositories are vital for team collaboration, code backup, and version history management. They enable multiple developers to work concurrently, merge their changes, and track all project iterations centrally.
Q 27. Explain the concept of Git submodules.
Git submodules allow you to include external Git repositories as subdirectories within your main repository. This is useful when you have a project that depends on other projects (libraries, components, etc.).
How They Work: A submodule is a separate Git repository contained within your main project. Changes to the submodule are managed independently within the submodule itself. You can track specific commits of a submodule within your main project.
Example: You might have a main project that uses a third-party logging library. Instead of copying the library code into your main project, you can add the logging library as a submodule. This keeps the libraries separate while maintaining a clear dependency structure.
Advantages:
- Independent Updates: The submodule can be updated separately without affecting the main project.
- Code Reusability: The submodule can be used in multiple projects.
- Version Control: Changes to the submodule are tracked within its own Git repository.
Disadvantages: Submodules can be more complex to manage than simple dependencies due to their standalone nature and the requirement of multiple Git repositories.
Q 28. What is a GitHub pull request and how is it used?
A GitHub pull request is a mechanism for proposing changes to a remote repository. It's a collaborative feature that allows developers to share their code changes and review them before merging into the main branch.
How It's Used: A developer creates a branch from the main branch, makes their changes, and then creates a pull request to merge their changes back into the main branch. Other developers can then review the changes, provide feedback, and approve or reject the request.
Workflow:
- Create a Branch: Create a new branch from the
mainbranch (e.g.,feature/new-feature). - Make Changes: Commit the desired modifications to your branch.
- Push to Remote: Push your branch to the remote repository.
- Create a Pull Request: On the remote repository (e.g., GitHub), create a pull request linking your branch to the
mainbranch. - Review and Discussion: Other developers can review the code, provide suggestions, and initiate discussions.
- Merge: Once the changes are approved, the pull request is merged into the
mainbranch.
Benefits: Pull requests facilitate code reviews, enhance collaboration, and improve code quality by allowing for feedback and discussion before changes are integrated into the main project.
Key Topics to Learn for Version Control Systems (Git) Interview
- Basic Git Commands: Understand the core commands like
init,clone,add,commit,push,pull,branch,merge, andrebase. Practice using them frequently. - Branching and Merging Strategies: Learn about different branching models (e.g., Gitflow) and how to effectively merge branches, resolve merge conflicts, and manage feature development in parallel.
- Version Control Workflow: Familiarize yourself with common workflows like Gitflow, GitHub Flow, and GitLab Flow. Understand the rationale behind each and how they contribute to efficient collaboration.
- Understanding the Git History: Master using commands like
log,show, anddiffto navigate and understand the project's history. Be prepared to explain commits, branches, and merges visually. - Remote Repositories: Understand how to interact with remote repositories (like GitHub, GitLab, Bitbucket), including fetching, pushing, and pulling changes. Know how to handle issues with remote tracking branches.
- Ignoring Files: Learn how to use the
.gitignorefile to exclude unwanted files and directories from version control. - Git Aliases and Configuration: Learn to customize your Git experience through aliases and configuration settings for increased efficiency.
- Resolving Conflicts: Practice resolving merge conflicts effectively, both manually and using tools provided by your IDE or Git client.
- Practical Application: Be prepared to describe scenarios where you've used Git to collaborate on a project, manage different versions of code, or recover from mistakes.
- Advanced Topics (Optional): For more advanced roles, consider exploring topics like rebasing, cherry-picking, interactive rebasing, and using Git hooks.
Next Steps
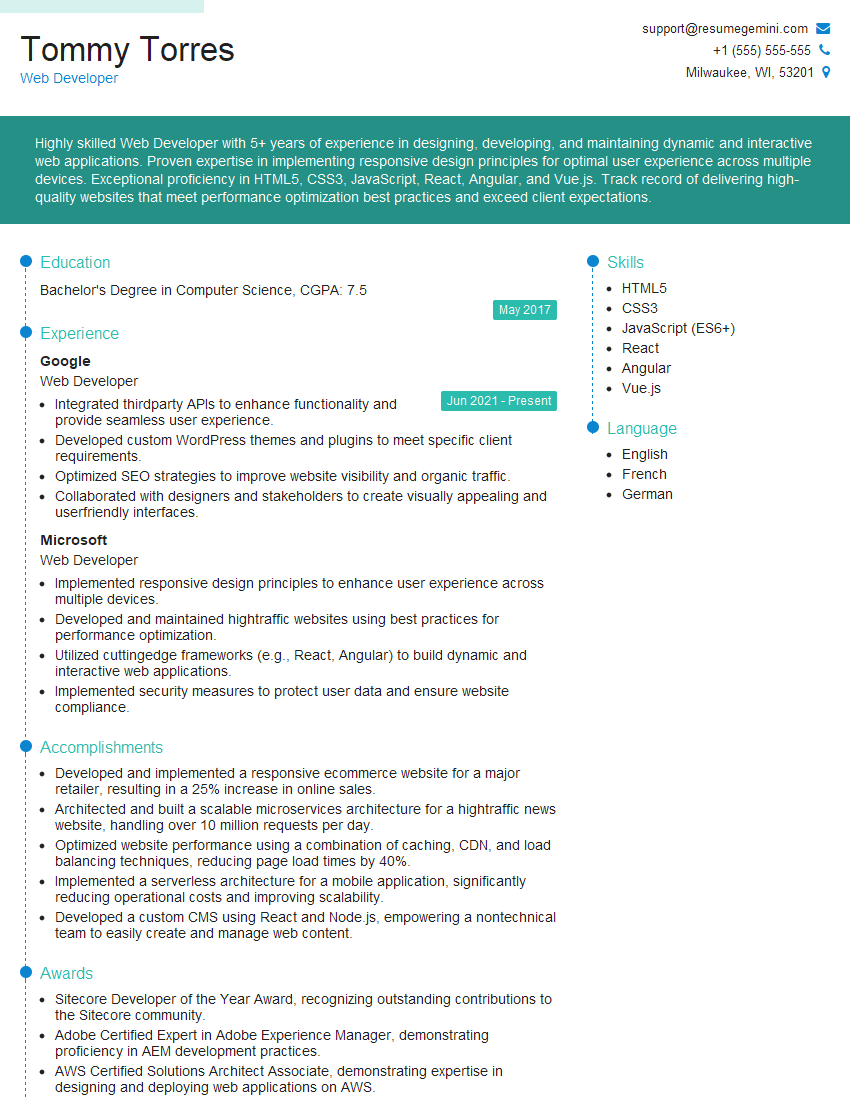
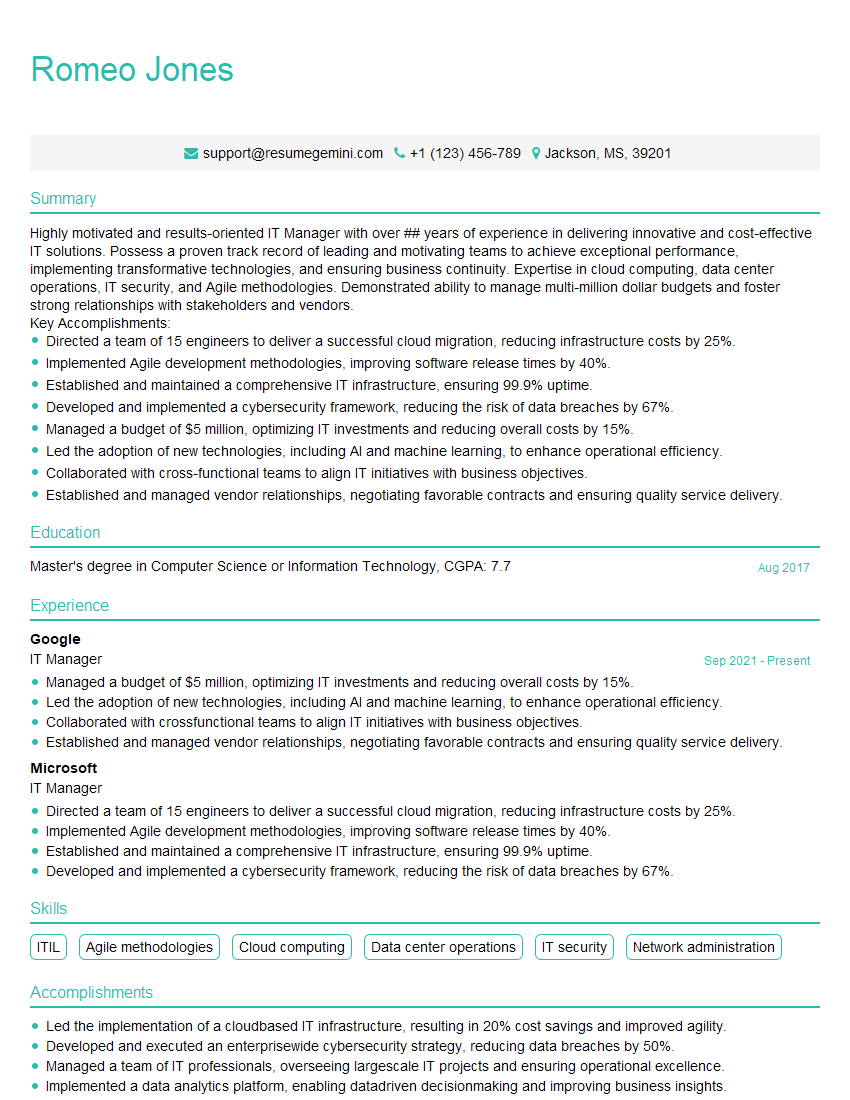
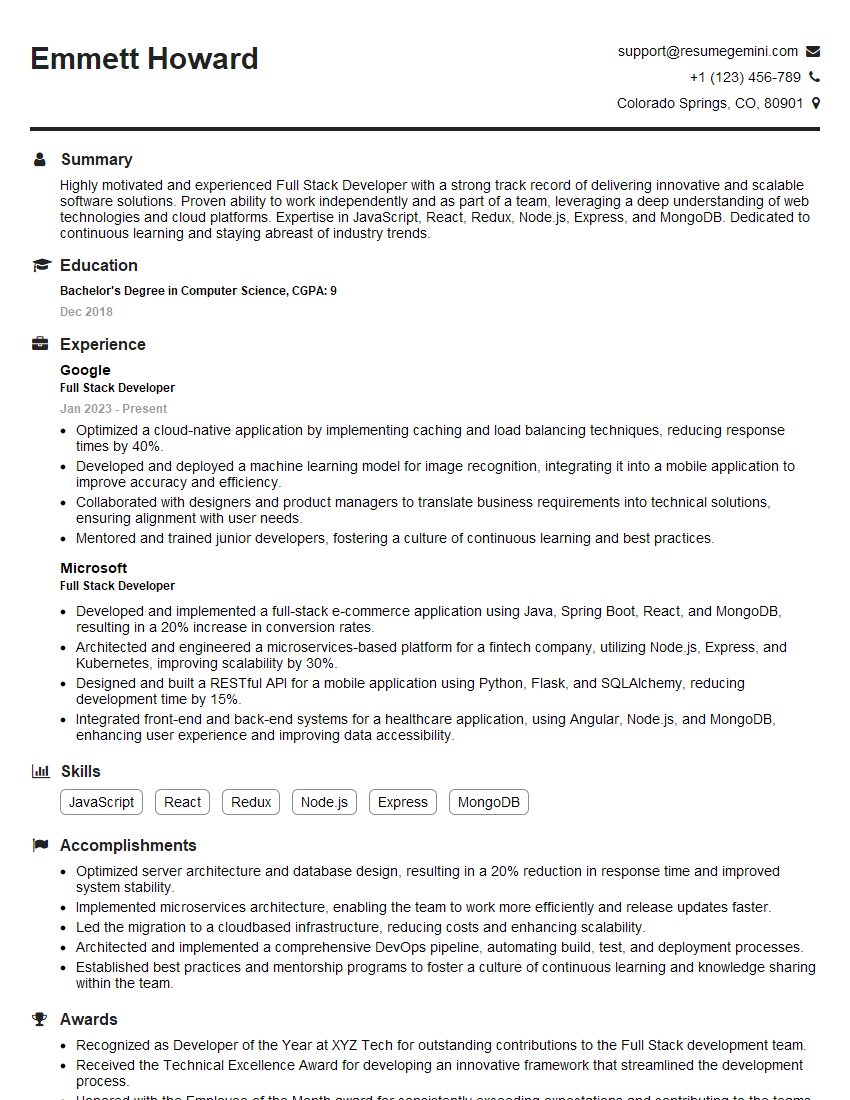
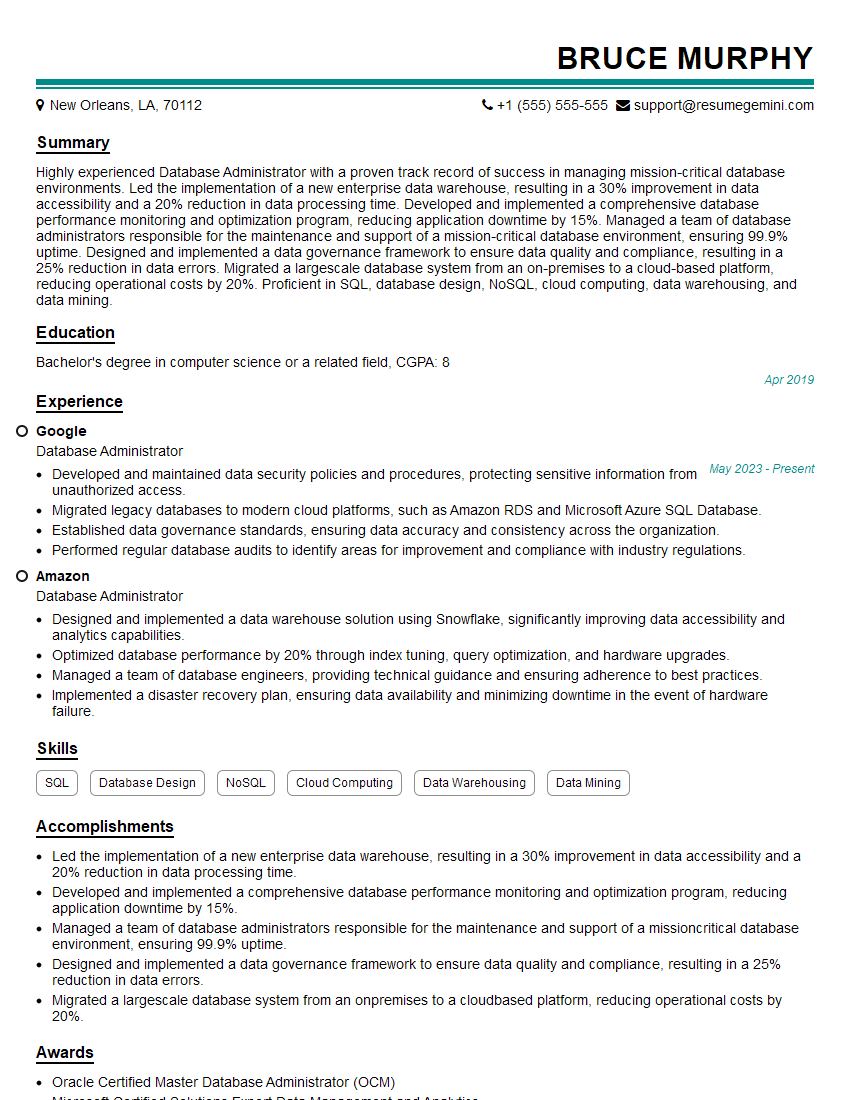
Mastering Version Control Systems like Git is crucial for any software developer, significantly enhancing your collaboration skills and showcasing your proficiency in managing code efficiently. This translates directly into increased job prospects and career growth. To maximize your chances, create an ATS-friendly resume that highlights your Git expertise. ResumeGemini is a trusted resource that can help you build a professional and impactful resume, showcasing your skills effectively. Examples of resumes tailored to Version Control Systems (Git) expertise are available to help guide you.
Explore more articles
Users Rating of Our Blogs
Share Your Experience
We value your feedback! Please rate our content and share your thoughts (optional).
What Readers Say About Our Blog
Hello,
We found issues with your domain’s email setup that may be sending your messages to spam or blocking them completely. InboxShield Mini shows you how to fix it in minutes — no tech skills required.
Scan your domain now for details: https://inboxshield-mini.com/
— Adam @ InboxShield Mini
Reply STOP to unsubscribe
Hi, are you owner of interviewgemini.com? What if I told you I could help you find extra time in your schedule, reconnect with leads you didn’t even realize you missed, and bring in more “I want to work with you” conversations, without increasing your ad spend or hiring a full-time employee?
All with a flexible, budget-friendly service that could easily pay for itself. Sounds good?
Would it be nice to jump on a quick 10-minute call so I can show you exactly how we make this work?
Best,
Hapei
Marketing Director
Hey, I know you’re the owner of interviewgemini.com. I’ll be quick.
Fundraising for your business is tough and time-consuming. We make it easier by guaranteeing two private investor meetings each month, for six months. No demos, no pitch events – just direct introductions to active investors matched to your startup.
If youR17;re raising, this could help you build real momentum. Want me to send more info?
Hi, I represent an SEO company that specialises in getting you AI citations and higher rankings on Google. I’d like to offer you a 100% free SEO audit for your website. Would you be interested?
Hi, I represent an SEO company that specialises in getting you AI citations and higher rankings on Google. I’d like to offer you a 100% free SEO audit for your website. Would you be interested?
good
