Cracking a skill-specific interview, like one for Wire Feed Welding, requires understanding the nuances of the role. In this blog, we present the questions you’re most likely to encounter, along with insights into how to answer them effectively. Let’s ensure you’re ready to make a strong impression.
Questions Asked in Wire Feed Welding Interview
Q 1. Explain the difference between MIG and MAG welding.
MIG and MAG welding are essentially the same process, differing only in the type of shielding gas used. Both are Gas Metal Arc Welding (GMAW) processes, using a continuous wire electrode fed through a welding gun to create an arc and weld the base metal. The key difference lies in the shielding gas:
- MIG (Metal Inert Gas): Uses an inert gas, such as Argon or Helium, to shield the weld puddle from atmospheric contamination. Inert gases don’t react chemically with the weld. This is typically used for welding aluminum and other reactive metals where preventing oxidation is crucial.
- MAG (Metal Active Gas): Employs an active gas, such as Carbon Dioxide (CO2) or a mixture of CO2 with Argon, to shield the weld. Active gases can react with the weld puddle, which can improve penetration but also lead to more spatter.
Think of it like this: MIG is like using a protective blanket of an inert gas to keep the weld puddle pristine, while MAG is like using a reactive gas that actively participates in the welding process.
Q 2. Describe the process of setting up a wire feed welder for different materials.
Setting up a wire feed welder for different materials involves careful selection of parameters such as the wire type, shielding gas, voltage, wire feed speed, and travel speed. Here’s a general outline:
- Select the correct wire: Use a wire that matches the base metal’s composition and thickness (e.g., ER70S-6 for mild steel, ER5356 for aluminum).
- Choose the appropriate shielding gas: Argon for aluminum MIG welding, CO2 or a CO2/Argon mix for steel MAG welding.
- Set the voltage: Higher voltage generally results in deeper penetration, while lower voltage leads to shallower penetration. Thicker materials usually require higher voltage.
- Adjust the wire feed speed: This controls the amount of filler metal deposited. Faster speed means more filler metal, generally needed for thicker materials.
- Set the travel speed: Adjust this based on the desired weld bead width and penetration. Slower travel speed generally results in a wider bead.
- Test on a scrap piece: Always make test welds on scrap material before welding the actual workpiece. This allows for adjustments to the parameters before beginning on the final weld.
For instance, welding thin sheet steel might involve lower voltage (around 18-20V), a moderate wire feed speed, and a slower travel speed to prevent burn-through. In contrast, welding thick steel plates might call for higher voltage (25-30V) and a faster wire feed speed, but appropriate travel speed needs to be carefully selected to prevent excessive heat input and distortion.
Q 3. What are the common types of wire used in wire feed welding?
The type of wire used depends on the base metal being welded. Some common types include:
- Solid Wire: A single material wire, often used for mild steel and stainless steel applications. They are relatively inexpensive and easy to use, but can be more prone to spatter.
- Flux-cored Wire: Contains a flux core that acts as a shielding agent and deoxidizer. It’s useful for welding in situations where shielding gas is not readily available or for outdoor applications with windy conditions.
- Aluminum Wire: Used specifically for aluminum welding. Typically requires pure Argon or Argon-Helium mixtures for shielding.
- Stainless Steel Wire: Different grades of stainless steel wires exist depending on the specific type of stainless steel being welded.
Choosing the right wire is crucial for achieving the desired weld quality and mechanical properties. Incorrect wire selection could result in brittle welds, poor penetration, or excessive spatter.
Q 4. How do you adjust wire feed speed and voltage for different thicknesses of metal?
Adjusting wire feed speed and voltage for different metal thicknesses is key to producing quality welds. The basic principle is this: thicker metal requires more heat and filler metal.
- Thicker Metal: Requires higher voltage to achieve deeper penetration and a faster wire feed speed to supply sufficient filler metal. However, you should not drastically increase voltage without first testing as this may lead to excessive heat input and distortion.
- Thinner Metal: Requires lower voltage to avoid burn-through and a slower wire feed speed to prevent excessive weld bead build-up. You want to ensure smooth, consistent weld penetration without blowing through the material.
It’s an iterative process. Start with a base setting and then fine-tune based on the weld bead appearance (width, penetration, and surface smoothness). Always test on scrap before proceeding to the actual workpiece. Experimentation and practice are crucial to mastering this aspect of wire feed welding.
Q 5. Explain the importance of shielding gas in wire feed welding.
Shielding gas is absolutely critical in wire feed welding because it prevents atmospheric contamination of the molten weld pool. Atmospheric gases like oxygen and nitrogen can react with the molten metal, creating porosity (tiny holes in the weld) and weakening the weld’s structural integrity. The shielding gas creates a protective blanket around the weld puddle, ensuring a clean, sound weld.
Imagine trying to cook a delicate dish in an open kitchen filled with dust and other contaminants—the dish would be ruined. Similarly, without shielding gas, the weld would be contaminated, leading to poor quality.
Q 6. What are the different types of shielding gases used and their applications?
Several shielding gases are used, each with its own properties and applications:
- Argon (Ar): An inert gas commonly used for MIG welding aluminum and other reactive metals. It provides excellent arc stability and minimizes spatter.
- Helium (He): Another inert gas, often mixed with Argon to increase penetration and improve arc stability. It’s more expensive than Argon.
- Carbon Dioxide (CO2): An active gas commonly used for MAG welding steel. It’s relatively inexpensive and provides good penetration but can lead to more spatter compared to inert gases.
- Argon/CO2 Mixtures: Common mixtures like 75% Argon/25% CO2 offer a balance between arc stability (Argon) and penetration (CO2). They are popular choices for welding mild steel.
The choice of shielding gas depends on the metal being welded, the desired weld quality, and cost considerations.
Q 7. How do you identify and correct common welding defects like porosity and spatter?
Porosity and spatter are common welding defects. Let’s see how to identify and correct them:
Porosity:
- Identification: Small holes or voids within the weld bead. They appear as tiny pits on the weld surface.
- Causes: Atmospheric contamination, moisture in the wire or shielding gas, improper shielding gas flow, incorrect voltage/wire feed settings.
- Correction: Check for leaks in the gas line, ensure the shielding gas flow rate is adequate, use dry shielding gas and wire, adjust voltage and wire feed speed to achieve proper penetration.
Spatter:
- Identification: Small molten metal droplets scattered around the weld bead.
- Causes: Excessive current, incorrect wire stick-out, contaminated contact tip, improper shielding gas, wrong type of wire.
- Correction: Reduce the amperage, adjust wire stick-out to the recommended length, clean or replace the contact tip, check for gas leaks or adjust gas flow, use the correct wire for the material and ensure it’s clean and dry.
Often, addressing the root cause of these defects involves a combination of adjustments to parameters and procedural improvements.
Q 8. Describe the importance of proper joint preparation in wire feed welding.
Proper joint preparation is paramount in wire feed welding, directly impacting the weld’s quality, strength, and overall integrity. Think of it like building a house – a poor foundation leads to structural weaknesses. Similarly, inadequate joint preparation in welding results in weak welds prone to cracking or failure.
- Cleanliness: Removing any dirt, grease, paint, rust, or mill scale from the joint surfaces is crucial. These contaminants prevent proper fusion between the base metal and the filler wire, leading to porosity (tiny holes) and weakened welds. Think of it like trying to glue two pieces of wood together with dirt between them – it won’t stick properly.
- Fit-up: Achieving proper joint fit-up, ensuring the parts are aligned and properly gapped, is essential. Excessive gaps can result in lack of fusion, while too tight a fit can cause weld distortion and undercut. Imagine trying to weld two pieces of metal that are significantly misaligned; the weld will be weak and uneven.
- Beveling: For thicker materials, beveling (creating an angle on the edges of the joint) is often necessary to allow for proper penetration and prevent excessive weld reinforcement. This increases the surface area for the weld and prevents the formation of a large, unsupported weld bead.
In summary, meticulous joint preparation ensures complete fusion, minimizes defects, and ultimately leads to a stronger, more reliable weld, essential in any application from automotive manufacturing to construction.
Q 9. What safety precautions should be taken while performing wire feed welding?
Safety is paramount in wire feed welding. Failing to prioritize safety can result in serious injury. Here’s a breakdown of crucial precautions:
- Personal Protective Equipment (PPE): Always wear appropriate PPE, including a welding helmet with a shade appropriate for the process (typically shade 10-12 for MIG), welding gloves, long-sleeved shirts and pants made of flame-resistant material, and safety shoes. Never compromise on safety gear.
- Ventilation: Ensure adequate ventilation to remove welding fumes and gases. Welding fumes contain harmful substances, and inadequate ventilation can lead to respiratory problems. Use a welding respirator or work in a well-ventilated area.
- Fire Prevention: Keep a fire extinguisher nearby, and be aware of flammable materials in the vicinity. Sparks and molten metal can easily ignite flammable materials, so maintain a safe work area.
- Proper Technique: Maintain a stable welding posture, avoid fatigue, and use proper grounding techniques. A good welding posture minimizes strain and improves control, while proper grounding prevents electrical shock.
- Awareness of Surroundings: Be aware of your surroundings and other people in the area. Never weld near flammable materials or in areas where you could endanger others.
Regular safety training and adherence to all safety protocols are crucial for a safe working environment. Never rush the process – safety always comes first.
Q 10. Explain the concept of amperage and voltage in relation to wire feed welding.
Amperage and voltage are crucial welding parameters that control the arc’s characteristics and the weld’s properties. Think of it like controlling the heat and flow of water in a pipe. Voltage is the ‘pressure,’ and amperage is the ‘flow rate’.
- Voltage: The voltage determines the arc length. Higher voltage results in a longer, more stable arc, which is ideal for welding thicker materials or achieving deep penetration. It also leads to a wider weld bead.
- Amperage: The amperage determines the heat input and the amount of filler metal deposited. Higher amperage provides more heat, making it suitable for thicker materials or faster welding speeds. Conversely, lower amperage provides less heat, making it suitable for thinner materials.
The combination of voltage and amperage (along with wire feed speed) must be carefully chosen to achieve the desired weld characteristics for a given material thickness and type. Incorrect settings can lead to poor weld quality, including lack of penetration, excessive spatter, or burn-through.
Q 11. How do you determine the appropriate welding parameters for a specific job?
Determining appropriate welding parameters depends on several factors, and there’s no one-size-fits-all answer. It’s a combination of experience, knowledge, and referencing data sheets.
- Base Metal: The type and thickness of the base metal are crucial determinants. Different metals require different amperage and voltage settings. Steel, aluminum, and stainless steel each need their own tailored approach.
- Wire Type and Diameter: The type and diameter of the filler wire will affect the heat input and deposition rate. Different wire compositions require optimized settings.
- Joint Design: The joint design (butt, lap, T-joint) influences the required penetration and weld bead geometry.
- Welding Position: Welding overhead requires lower amperage than welding flat to prevent excessive sagging.
- Gas Type and Flow Rate: The shielding gas type and flow rate influence arc stability and weld quality.
- Manufacturer’s Data Sheets: Consulting manufacturer’s data sheets is essential to find guidelines and recommended settings.
- Test Welds: Perform test welds to fine-tune the parameters and ensure they produce welds that meet the required specifications.
Experienced welders often develop a ‘feel’ for optimal settings based on their experience, but starting with manufacturer’s recommendations and then fine-tuning is always best practice. This systematic approach ensures consistent, high-quality welds.
Q 12. Describe the different types of wire feed drives.
Wire feed drives are crucial components in wire feed welding systems, responsible for feeding the welding wire at a consistent speed. There are several types:
- Push-Type: The wire is pushed from the spool to the contact tip by a motorized drive roll. This is the most common type, suitable for a wide range of applications.
- Pull-Type: The wire is pulled from the spool to the contact tip. These drives usually offer better wire feeding for longer distances or when using small-diameter wires.
- Servo-Motor Controlled Drives: These advanced systems utilize a servo motor for precise control over wire feed speed. This allows for complex welding processes such as pulsed MIG or synergic welding, where the wire feed speed is constantly adjusted.
The choice of wire feed drive depends on the application and the level of control required. For most common applications, a push-type drive is sufficient. However, for more advanced techniques or demanding situations, servo-motor controlled drives provide superior performance and control. Each type has unique strengths, impacting precision, cost, and overall welding efficiency.
Q 13. What are the benefits and limitations of using pulsed MIG welding?
Pulsed MIG welding is a sophisticated variation of GMAW (Gas Metal Arc Welding) that offers several advantages, but also has some limitations.
- Benefits:
- Improved Weld Quality: Pulsed MIG produces a more controlled arc with less spatter, leading to cleaner and more consistent welds, especially on thinner materials.
- Better Penetration Control: The pulsed nature of the arc allows for precise control over penetration depth, making it ideal for applications requiring precise control.
- Reduced Distortion: The lower heat input per unit time reduces the risk of distortion and warping, especially beneficial in thin sheet metal applications.
- Versatile Applications: It’s suitable for various materials and welding positions.
- Limitations:
- Higher Equipment Cost: Pulsed MIG welding power sources are generally more expensive than conventional MIG welders.
- Complexity: Setting up and controlling the welding parameters can be more complex and requires some experience.
- Slower Welding Speed: Compared to conventional MIG welding, pulsed MIG welding is typically slower.
In summary, pulsed MIG welding offers significant advantages in terms of weld quality and control, but this comes at a higher equipment cost and increased complexity. The suitability of pulsed MIG welding depends on the specific application and whether the benefits outweigh the added cost and complexity. For instance, it’s a perfect choice for automotive body repair where quality and precision are critical, whereas for simple structural work, a standard MIG process may suffice.
Q 14. Explain the difference between short-circuiting and globular transfer modes.
Short-circuiting and globular transfer modes are two distinct methods of metal transfer in GMAW, each characterized by different arc characteristics and resulting weld bead appearances.
- Short-Circuiting Transfer: In short-circuiting transfer, the welding wire touches the workpiece, creating a short circuit that generates heat and melts a small droplet of metal, which is transferred to the weld pool. It’s like gently dropping small water droplets into a container. This mode is characterized by low heat input, low spatter, and excellent control, making it suitable for thin materials and delicate applications.
- Globular Transfer: In globular transfer, larger molten droplets are transferred across the arc to the workpiece in a sporadic manner. It’s like dropping larger globs of water into a container. This mode is used for welding thicker materials because it provides higher heat input and faster welding speeds. However, this method results in increased spatter and a rougher weld bead.
The choice between short-circuiting and globular transfer depends on factors such as material thickness, welding position, and desired weld bead appearance. Short-circuiting is best for thin materials and precise control, while globular transfer is suitable for thicker materials and higher deposition rates. Understanding these transfer modes is crucial for selecting the appropriate welding parameters and obtaining high-quality welds.
Q 15. How do you troubleshoot a problem with inconsistent wire feed?
Inconsistent wire feed in GMAW (Gas Metal Arc Welding), often manifests as erratic weld bead deposition – sometimes too much, sometimes too little. This points to a problem within the wire feed mechanism itself, the power source, or even the contact tip.
- Check the drive rolls: Ensure they’re properly aligned and gripping the wire. Worn or damaged drive rolls are a common culprit. Imagine trying to pull a rope with a frayed end – it won’t feed smoothly. Replace worn rolls immediately.
- Inspect the liner: A kinked or damaged liner inside the welding gun can restrict wire flow. This is like a clogged straw – the wire can’t move freely. Replace a damaged liner.
- Verify wire spool condition: A damaged or improperly seated wire spool can cause inconsistent feeding. The spool must spin freely and be properly secured.
- Examine the voltage and wire feed speed settings: Incorrect settings can lead to inconsistent feeding. Consult the machine’s manual for proper settings based on the wire type and diameter. Think of it like adjusting the fuel and air mixture in a car engine – the balance is crucial.
- Check for voltage fluctuations: Fluctuations in the power supply can interrupt wire feed. Use a voltmeter to check the power supply for stability.
- Inspect the contact tip: A worn or damaged contact tip can hinder wire feed and increase resistance. Replace if necessary. A worn tip is like a loose connection in an electrical circuit; it reduces efficiency and can lead to problems.
Troubleshooting inconsistent wire feed requires a systematic approach, checking each component until the root cause is identified. I’ve personally spent hours diagnosing this issue, starting with the simplest checks before moving to more complex ones.
Career Expert Tips:
- Ace those interviews! Prepare effectively by reviewing the Top 50 Most Common Interview Questions on ResumeGemini.
- Navigate your job search with confidence! Explore a wide range of Career Tips on ResumeGemini. Learn about common challenges and recommendations to overcome them.
- Craft the perfect resume! Master the Art of Resume Writing with ResumeGemini’s guide. Showcase your unique qualifications and achievements effectively.
- Don’t miss out on holiday savings! Build your dream resume with ResumeGemini’s ATS optimized templates.
Q 16. How do you troubleshoot excessive spatter?
Excessive spatter in GMAW is a common problem, resulting in a messy weld and potentially compromising weld quality. It indicates issues with the welding parameters, shielding gas, or wire itself.
- Check the shielding gas: Insufficient shielding gas coverage allows atmospheric contamination, leading to oxidation and spatter. Ensure the gas flow rate is correct and the shielding gas nozzle is clean and properly positioned.
- Adjust the voltage and wire feed speed: Improper settings can lead to increased spatter. Too high a voltage or wire feed speed can cause excessive spatter. Lowering these parameters often helps. Remember the analogy of the car engine – an improper air/fuel mixture can cause sputtering.
- Inspect the contact tip: A worn or misaligned contact tip can cause arcing issues and more spatter. Properly align and/or replace it.
- Verify the wire type and diameter: The wire should match the application and welding parameters. Using the wrong wire can lead to increased spatter.
- Check for moisture in the shielding gas or wire: Moisture can increase spatter. Use a desiccant filter on your gas supply and ensure the wire is stored properly.
- Clean the work piece: Dirt, oil, or paint on the workpiece can increase spatter. Proper cleaning before welding is essential.
In one instance, I traced excessive spatter to a faulty gas regulator delivering inconsistent gas flow. Replacing the regulator resolved the problem instantly.
Q 17. How do you troubleshoot lack of penetration?
Lack of penetration in GMAW means the weld hasn’t fused properly with the base material, leading to a weak joint. This typically indicates insufficient heat input or improper welding technique.
- Increase the amperage: This will increase the heat input, improving penetration. Think of it like turning up the heat on a stove to melt a larger amount of food.
- Adjust the voltage: Higher voltage can improve penetration, although it might also increase spatter.
- Reduce the travel speed: Slower travel speed allows more heat to be applied to the weld joint, promoting better fusion.
- Check the wire stick-out: Excessive stick-out leads to heat loss and reduced penetration. Maintain the recommended stick-out length. Proper stick-out is like having the right amount of fuel in a car engine, it prevents stalling.
- Improve the joint design: The joint design itself might not be optimal for sufficient penetration. Consider using a bevel or a different joint configuration.
- Verify the shielding gas coverage: Inadequate shielding gas can lead to oxidation and reduce penetration.
A lack of penetration often points to a need for greater energy input into the weld. Increasing amperage or reducing travel speed is often the solution. I once encountered this issue on a thick steel plate, but resolved it by preheating the metal and slightly adjusting the welding parameters.
Q 18. How do you troubleshoot burn-through?
Burn-through in GMAW means the weld has penetrated completely through the base material, resulting in an undesirable hole. This indicates excessive heat input.
- Reduce the amperage: Lowering the amperage reduces the heat input, preventing burn-through. Think of it like using a lower heat setting on a stove to prevent burning.
- Adjust the voltage: Reducing the voltage can also help mitigate burn-through.
- Increase the travel speed: A faster travel speed reduces the heat applied to the weld in a given area, helping to avoid burn-through.
- Reduce the wire feed speed: Less wire means less metal being deposited, thus less heat generated.
- Check the wire stick-out: Excessive stick-out can lead to localized overheating and burn-through.
- Use a smaller diameter wire: Smaller diameter wires typically require less amperage for the same weld bead size.
- Improve the joint design: Sometimes, a different joint configuration that requires less weld metal can alleviate burn-through.
I once had burn-through issues while welding thin sheet metal. By switching to a smaller diameter wire and carefully adjusting the amperage and travel speed, I was able to achieve clean, consistent welds without burn-through.
Q 19. Describe your experience with different types of welding joints.
My experience encompasses a wide range of welding joints, each requiring different considerations for proper weld preparation and execution. Some common joints I’ve worked with extensively include:
- Butt Joints: These involve joining two pieces of metal end-to-end. Square butt joints require precise fit-up, while bevelled butt joints allow for greater penetration and easier welding. I frequently use bevelled butt joints for heavier materials.
- Lap Joints: Here, one piece of metal overlaps another. Lap joints are simple to prepare but may not offer the strongest connection. I often use these in applications where strength isn’t paramount.
- T-Joints: A T-joint joins two pieces at a right angle. They require careful preparation to ensure proper penetration and avoid undercut. The preparation for a T-joint really depends on the materials and thickness involved.
- Corner Joints: These join two pieces at an angle, commonly used in structural applications. These joints often require fillet welds, and ensuring sufficient reinforcement is critical.
- Edge Joints: Similar to a butt joint, but only the edges of the materials are welded together. They are often used with thinner materials. Similar to butt joints, preparation is essential to a strong and successful weld.
Proper joint design and preparation are crucial for a strong and reliable weld. My experience allows me to select the appropriate techniques and parameters for each type of joint to ensure quality and efficiency.
Q 20. Explain the importance of preheating and post-heating in wire feed welding.
Preheating and post-heating are crucial steps in wire feed welding, particularly with certain materials, to prevent cracking and improve the overall weld quality. These processes manage the thermal stresses created during welding.
- Preheating: This involves heating the base material before welding. It reduces the rate of cooling, minimizing thermal stresses that can cause cracking, particularly in high-strength or thicker materials. Think of it like slowly warming a glass before pouring hot water into it – it prevents cracking.
- Post-heating: This involves heating the weldment after welding, again to reduce the rate of cooling and relieve stresses. It’s often used for thicker sections, high-strength alloys, or materials susceptible to cracking. Similar to preheating, it helps to maintain a more consistent temperature, preventing stresses that cause cracking.
The specific temperatures and durations for preheating and post-heating depend heavily on the material being welded, its thickness, and the welding parameters. I always refer to appropriate welding codes and standards to determine the correct procedures for each application. Improper preheating or post-heating can compromise the integrity of the weld.
Q 21. What are the different types of wire feed welding machines?
Wire feed welding machines can be categorized in several ways, primarily based on their power source and control systems.
- Constant Voltage (CV) Machines: These machines maintain a constant voltage, while the amperage adjusts based on the arc length and wire feed speed. They’re widely used for general-purpose welding and are often easier to operate.
- Constant Current (CC) Machines: These machines maintain a constant current, while the voltage adjusts based on the arc length and wire feed speed. They are often preferred for specialized applications requiring precise current control.
- Pulse Welding Machines: These machines deliver pulses of current, offering greater control over the heat input. This leads to better weld bead appearance and less spatter, particularly beneficial for thin materials.
- Synergic Welding Machines: These machines automatically adjust the welding parameters based on the selected wire type, diameter, and material. They simplify the welding process, but require careful calibration and understanding.
- Inverter-Based Machines: These use inverter technology to convert AC power to DC power, resulting in smaller, lighter, and more efficient machines. Inverter machines are now very common.
- Transformer-Based Machines: These older machines rely on transformers to convert AC to DC, often larger and heavier than inverter-based machines.
The choice of welding machine depends on factors like the application, material thickness, desired weld quality, and budget. My experience includes working with all these types, and I’m comfortable selecting and operating the most appropriate machine for each specific job.
Q 22. Describe your experience with different types of welding power sources.
My experience encompasses a wide range of welding power sources used in wire feed welding, including constant voltage (CV) and constant current (CC) machines. Constant voltage power sources are prevalent for GMAW (Gas Metal Arc Welding), offering a more consistent arc length and better penetration for thicker materials. They’re like a steady water stream – the voltage remains constant, while the current adjusts based on the arc length. In contrast, constant current power sources maintain a constant current despite variations in arc length, making them suitable for certain applications requiring precise control of heat input. Think of this as a precisely controlled water drip – the current is consistent, regardless of the distance.
I’ve worked extensively with both pulsed and non-pulsed power sources. Pulsed power sources offer superior control over the weld bead’s profile and heat input, particularly helpful for thinner materials where excessive heat could cause burn-through. Non-pulsed are simpler and often preferred for faster, less demanding welds. My experience also includes using different brands of machines, each with its own nuances in control settings and parameters.
Furthermore, my familiarity extends to various power source capabilities, such as synergic systems that automate parameter adjustments based on selected materials and thicknesses. This automation saves time and ensures optimal weld quality, particularly important in high-volume production environments.
Q 23. How do you maintain and clean a wire feed welding gun?
Maintaining and cleaning a wire feed welding gun is crucial for optimal performance and safety. Regular cleaning prevents spatter buildup, which can restrict wire feed and lead to inconsistent welds or even short circuits. The process typically involves the following steps:
- Disconnect the power source: Safety first! Always disconnect the power supply before performing any maintenance.
- Remove the contact tip: Carefully unscrew and remove the contact tip. Inspect it for wear and replace it if necessary. A worn contact tip causes inconsistent arc length and increases spatter.
- Clean the contact tip and nozzle: Use a wire brush or a suitable cleaning tool to remove any spatter or debris from the contact tip and nozzle. Avoid damaging the parts. A slightly tapered wire brush can be very effective in cleaning the inside of the nozzle.
- Check the liner: Inspect the liner for kinks, damage, or excessive wear. A damaged liner can impede wire feed. Replace if needed. You can often visually inspect the condition of the liner from the gun, or partially remove it from the gun to examine it carefully.
- Clean the gun body: Wipe down the gun body with a clean cloth to remove any accumulated dirt or spatter.
- Check for gas leaks: Inspect the gas connections for leaks. Using a soapy water solution can help detect any bubbles indicating gas leaks.
Remember, a clean and well-maintained gun ensures consistent welds, reducing the chances of defects and improving overall efficiency.
Q 24. What are the common causes of wire feed malfunctions?
Wire feed malfunctions can stem from various causes, often linked to power supply issues, drive system problems, or issues within the gun itself. Here are some common culprits:
- Power supply problems: Insufficient power, incorrect voltage/current settings, or faulty components within the power supply can all disrupt wire feed.
- Drive roll issues: Worn or misaligned drive rolls are common problems, causing inconsistent wire feed, slippage, or jams. The drive rolls need sufficient grip on the welding wire to properly feed it.
- Wire feed motor problems: A faulty motor or its associated electronics can result in erratic wire feed or complete failure.
- Wire problems: Incorrect wire diameter, damaged wire (kinks or bends), or poor quality wire can all lead to feeding issues. Kinks in the wire are extremely common and can be avoided by careful handling.
- Contact tip problems: A worn, damaged, or incorrectly sized contact tip can lead to short circuits, inconsistent arc length, and reduced wire feed.
- Gas issues: Insufficient gas flow, gas leaks, or incorrect gas type can impact the arc stability and lead to wire feed problems.
- Gun problems: Clogged liner, damaged wire guides, or excessive spatter buildup within the gun can hinder the wire feed.
Troubleshooting involves systematically checking each component and parameter, beginning with the simplest checks and progressing to more complex diagnostics. Proper maintenance, such as regularly checking for wear and tear and keeping the equipment clean, can greatly minimize malfunctions.
Q 25. Explain your experience with different types of metal and their weldability.
My experience covers a broad spectrum of metals commonly used in wire feed welding, each with unique weldability characteristics. Steel, stainless steel, aluminum, and various alloys present different challenges. Steel is relatively easy to weld, but different grades require adjustments in welding parameters. Stainless steel necessitates meticulous attention to prevent porosity and cracking due to its tendency to oxidize rapidly.
Aluminum, known for its high thermal conductivity, presents challenges in heat control, requiring specialized techniques and filler materials to achieve good fusion. High-strength low-alloy steels require preheating to prevent cracking, while exotic alloys might demand specialized procedures and stringent quality control.
Weldability assessment is based on factors like chemical composition, thickness, cleanliness of the base metal, and the chosen welding process parameters. It’s always crucial to follow recommended procedures from the welding material manufacturer and use filler metal that’s chemically compatible with the base material.
For example, I’ve successfully welded low-carbon steel using solid wire with CO2 shielding gas, while specialized flux-cored wire was critical for welding stainless steel in a high-humidity environment to minimize oxidation and porosity.
Q 26. Describe your experience with different welding positions (e.g., flat, vertical, overhead).
Proficiency in various welding positions is essential for a versatile welder. I’m experienced in flat, vertical, horizontal, and overhead welding positions. Flat welding is the easiest, requiring less skill and control, suitable for most basic welds. Vertical welding requires good technique to avoid excessive sagging or burn-through. This is where consistent wire feed and the correct welding parameters become crucial.
Horizontal welds demand precise manipulation to maintain a consistent weld bead appearance and penetration. Overhead welding is the most challenging, requiring skill to control the molten weld pool against gravity. Here, the consistency of the wire feed rate and the arc becomes absolutely critical. Maintaining a stable arc while welding overhead is much more difficult, as the molten puddle has a tendency to drip.
Experience in different positions involves not only mastering the weld pool control but also understanding how to position the weld gun, use appropriate tack welds, and select correct parameters to compensate for the different gravitational forces acting on the molten metal in each position.
Q 27. What are the common welding symbols and their meanings?
Welding symbols are a standardized system for communicating welding requirements on engineering drawings. They convey information about the type of weld, its dimensions, process, and other important specifications. A basic understanding involves knowing the reference line, arrow side, opposite side, and the different symbols themselves.
For example, a symbol for a fillet weld might include a triangle indicating a fillet weld type, a number indicating the size, and a tail pointing to the desired weld location. A square weld symbol would show a square indicating the weld type and numbers indicating the size and length of the square weld. Other symbols represent groove welds, spot welds, and various other weld types. The arrowhead always indicates the side of the joint that the symbol applies to and details such as weld size, leg length, and other attributes are shown in reference to the drawing. Understanding these symbols is crucial for accurate interpretation of engineering drawings.
Specific standards like the American Welding Society (AWS) standards define these symbols, and familiarity with these standards is essential for accurate interpretation and execution.
Q 28. How would you determine the appropriate size of filler metal for a specific application?
Determining the appropriate filler metal size hinges on several factors, primarily the thickness of the base material being welded. Generally, the filler metal diameter should be roughly similar to, or slightly smaller than, the thickness of the thinnest component being joined. A larger diameter than the base metal can lead to excessive heat input, possibly causing burn-through or warping, while a wire too thin might not provide sufficient weld metal volume.
Other factors include the joint design, the welding process used, and the desired weld properties. For example, thinner filler metals are often used for thinner materials to minimize heat input, while thicker filler metals are used for thicker materials to ensure proper penetration. It is crucial to consider the type of base metal and how the material will handle the thermal energy applied during the welding process. Consulting the manufacturer’s recommendations for the specific filler metal and its application is also paramount.
For instance, when welding thin sheet metal, I would choose a smaller diameter wire to prevent burn-through. Conversely, when welding thicker plates, a larger diameter wire would ensure the weld adequately fills the joint and provides sufficient strength.
Key Topics to Learn for Your Wire Feed Welding Interview
- Welding Processes: Understanding different wire feed welding processes (MIG, FCAW, etc.), their applications, and the advantages and disadvantages of each. This includes a grasp of the principles behind each process, such as gas shielding and metal transfer modes.
- Material Selection and Properties: Knowledge of different base metals (steel, aluminum, stainless steel) and their weldability. Understanding how material properties affect welding parameters and the resulting weld quality is crucial.
- Welding Parameters: Mastering the relationship between voltage, amperage, wire feed speed, and travel speed. Knowing how to adjust these parameters to achieve optimal weld penetration, bead appearance, and minimize spatter is essential.
- Equipment Operation and Maintenance: Familiarity with the operation and maintenance of wire feed welding equipment, including troubleshooting common problems such as wire feeding issues, gas flow problems, and voltage fluctuations. Practical experience here will set you apart.
- Safety Procedures and Regulations: Demonstrating a thorough understanding of safety protocols related to wire feed welding, including proper PPE, handling of gases, and fire prevention. This is paramount in any welding role.
- Weld Quality Inspection and Testing: Knowing different methods for inspecting weld quality, such as visual inspection, and understanding common weld defects and their causes. This shows your commitment to producing high-quality work.
- Practical Applications: Be prepared to discuss real-world applications of wire feed welding in various industries, highlighting your experience with different projects and challenges overcome.
- Problem-Solving and Troubleshooting: Interviewers will likely assess your ability to troubleshoot welding problems. Prepare examples demonstrating your analytical skills and ability to find solutions efficiently.
Next Steps
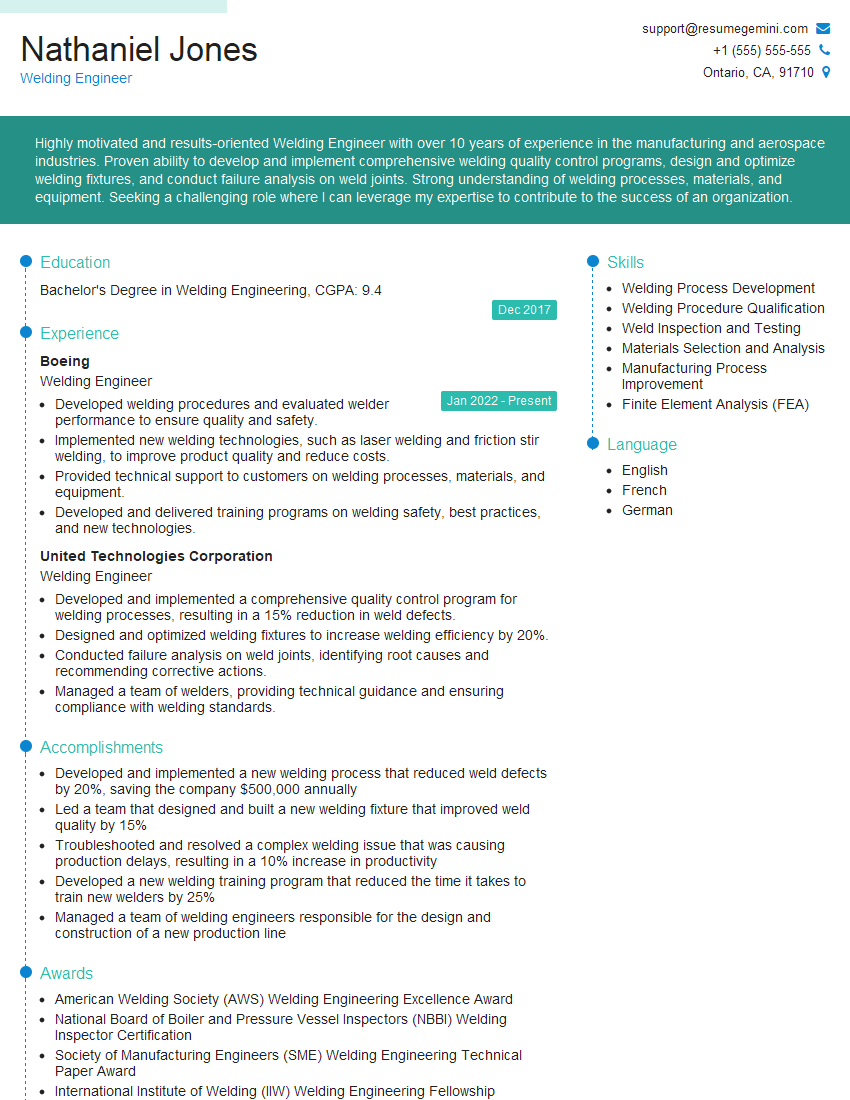
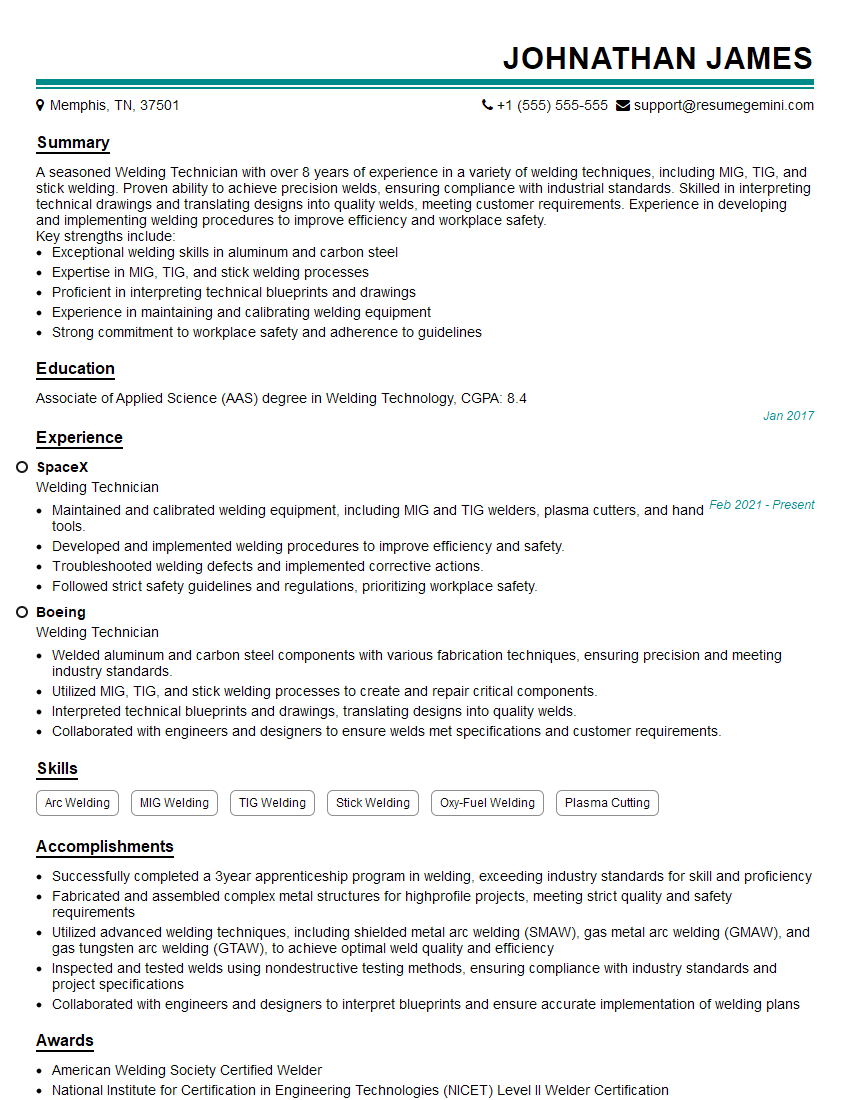
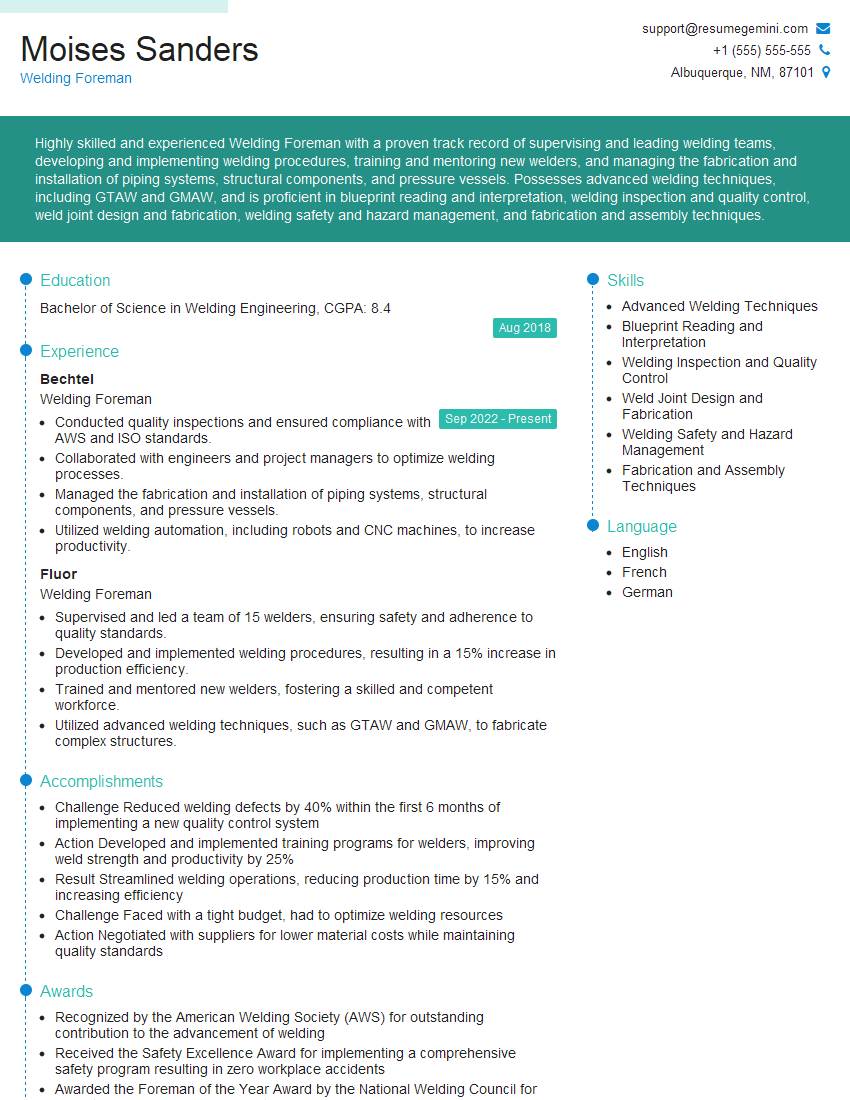
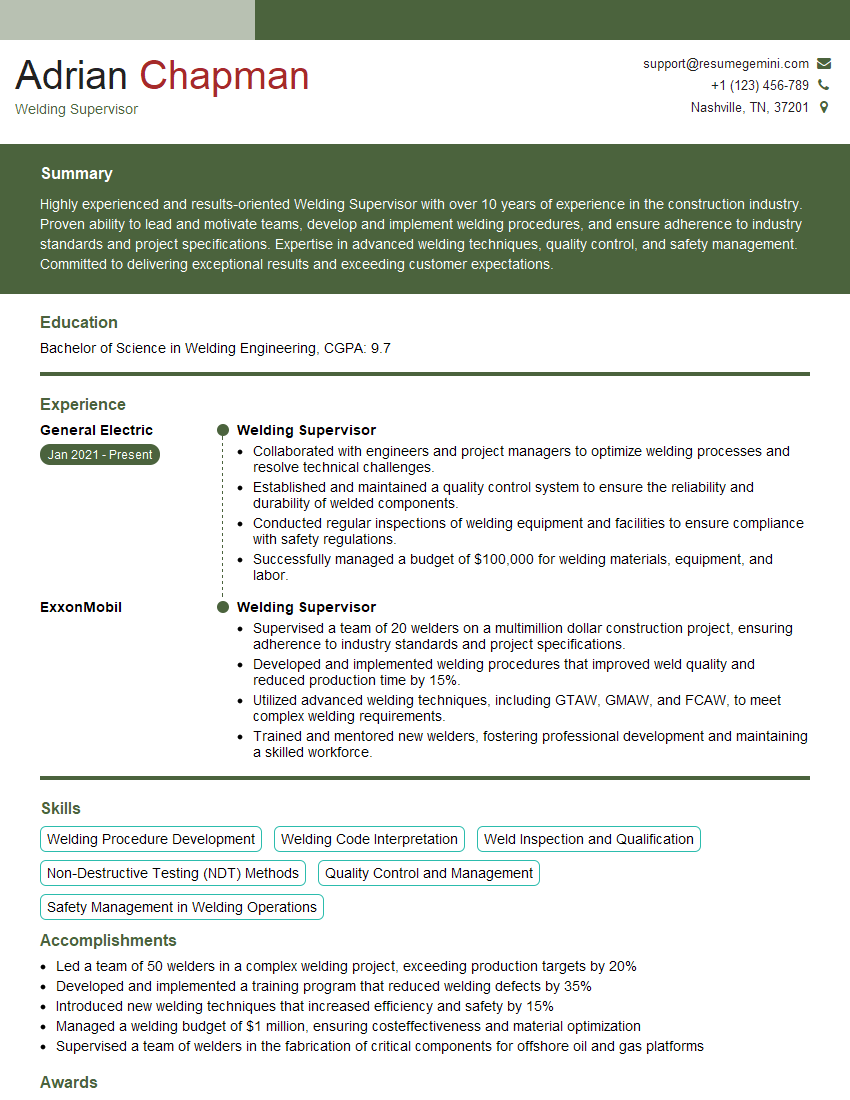
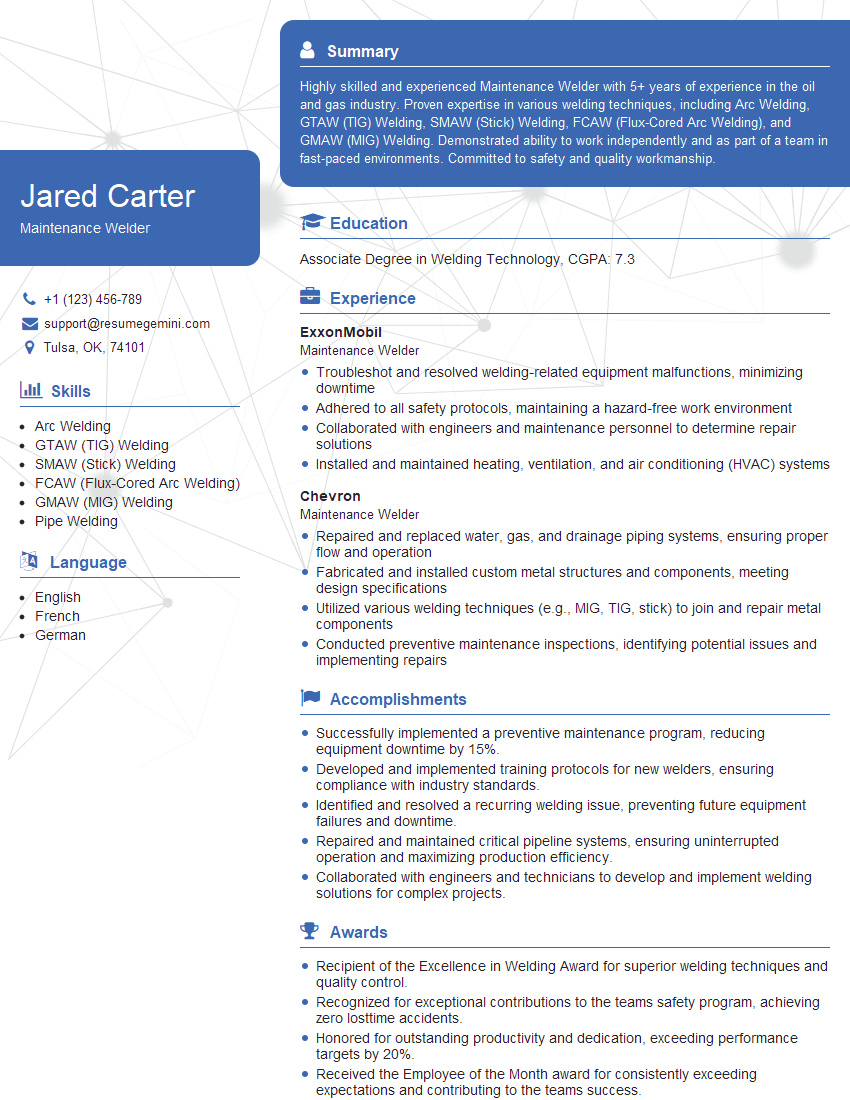
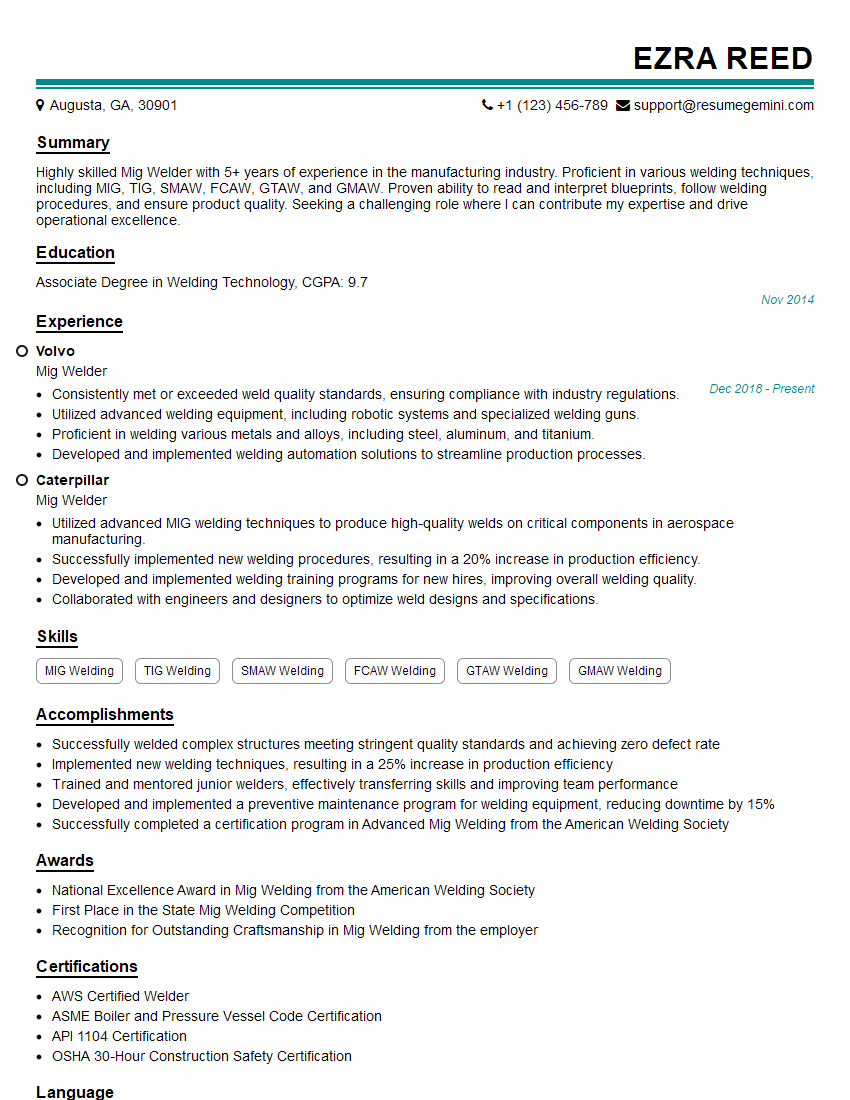
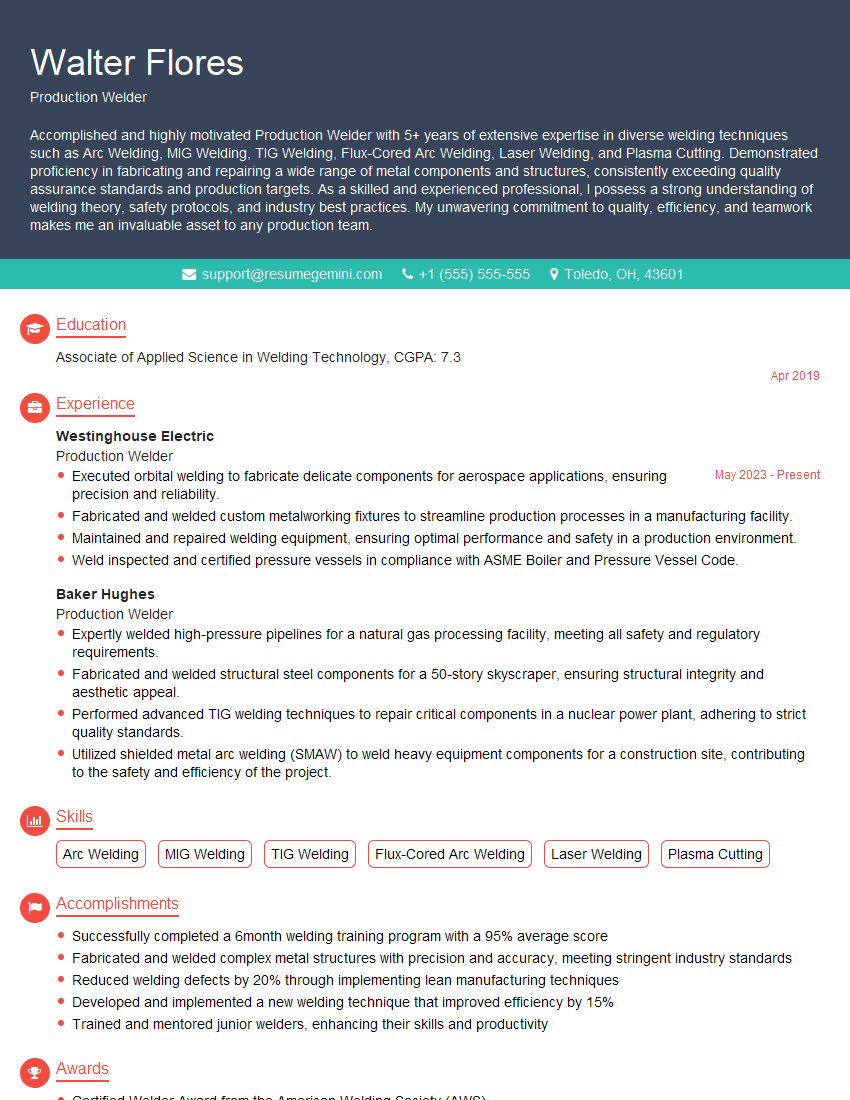
Mastering wire feed welding opens doors to diverse and rewarding career opportunities in manufacturing, construction, and many other industries. To maximize your chances of landing your dream job, a strong, ATS-friendly resume is critical. ResumeGemini is a trusted resource to help you craft a professional and impactful resume that highlights your skills and experience effectively. We provide examples of resumes tailored to the Wire Feed Welding field to guide you in showcasing your expertise. Take the next step towards your career goals – build a resume that makes you stand out!
Explore more articles
Users Rating of Our Blogs
Share Your Experience
We value your feedback! Please rate our content and share your thoughts (optional).
What Readers Say About Our Blog
Hello,
We found issues with your domain’s email setup that may be sending your messages to spam or blocking them completely. InboxShield Mini shows you how to fix it in minutes — no tech skills required.
Scan your domain now for details: https://inboxshield-mini.com/
— Adam @ InboxShield Mini
Reply STOP to unsubscribe
Hi, are you owner of interviewgemini.com? What if I told you I could help you find extra time in your schedule, reconnect with leads you didn’t even realize you missed, and bring in more “I want to work with you” conversations, without increasing your ad spend or hiring a full-time employee?
All with a flexible, budget-friendly service that could easily pay for itself. Sounds good?
Would it be nice to jump on a quick 10-minute call so I can show you exactly how we make this work?
Best,
Hapei
Marketing Director
Hey, I know you’re the owner of interviewgemini.com. I’ll be quick.
Fundraising for your business is tough and time-consuming. We make it easier by guaranteeing two private investor meetings each month, for six months. No demos, no pitch events – just direct introductions to active investors matched to your startup.
If youR17;re raising, this could help you build real momentum. Want me to send more info?
Hi, I represent an SEO company that specialises in getting you AI citations and higher rankings on Google. I’d like to offer you a 100% free SEO audit for your website. Would you be interested?
Hi, I represent an SEO company that specialises in getting you AI citations and higher rankings on Google. I’d like to offer you a 100% free SEO audit for your website. Would you be interested?
good
