Unlock your full potential by mastering the most common Experience with Glass Etching and Engraving interview questions. This blog offers a deep dive into the critical topics, ensuring you’re not only prepared to answer but to excel. With these insights, you’ll approach your interview with clarity and confidence.
Questions Asked in Experience with Glass Etching and Engraving Interview
Q 1. What are the different methods used for glass etching?
Glass etching involves several methods, each offering unique aesthetic qualities and levels of control. The most common methods are:
- Acid Etching: This involves applying a chemical etchant, typically hydrofluoric acid or a cream etchant, to the glass surface to create a frosted or matte effect. The depth of etching can be controlled by the concentration of the acid and the exposure time.
- Sandblasting: A high-pressure stream of abrasive material, usually silica sand, is directed at the glass surface, removing material and creating a textured, opaque finish. This allows for detailed designs and sharp edges.
- Laser Engraving: A laser beam precisely removes small amounts of glass material, allowing for intricate designs and detailed engravings. This technique offers a high level of precision and control.
- Diamond Point Engraving: A diamond-tipped tool is used to manually score and remove small amounts of glass, creating lines and patterns. This method is best suited for delicate work and artistic expressions.
The choice of method depends on the desired effect, complexity of the design, available equipment, and budget.
Q 2. Explain the process of sandblasting glass.
Sandblasting is a powerful and versatile method for glass etching. It works by propelling a stream of fine abrasive particles, typically silica sand, at high velocity onto the glass surface. This impacts the glass, removing tiny pieces of material and creating a textured, frosted area. The process typically involves:
- Design Preparation: A stencil or mask is created to protect the areas of the glass that should remain untouched. This could be vinyl, adhesive paper, or other suitable material.
- Stencil Application: The stencil is precisely applied to the clean glass surface, ensuring no air bubbles or gaps.
- Sandblasting: The glass is carefully sandblasted, maintaining a consistent distance and pressure to achieve a uniform etch. The pressure and time determine the depth of etching.
- Stencil Removal: Once the etching is complete, the stencil is carefully removed, revealing the etched design.
- Cleaning: The glass is thoroughly cleaned to remove any remaining abrasive particles.
Sandblasting is particularly effective for creating sharp lines, deep etching, and textured effects. It’s often used for large-scale projects, logo etching, and creating a frosted appearance.
Q 3. Describe your experience with acid etching techniques.
I have extensive experience with acid etching, having used both hydrofluoric acid (HF) – strictly following safety regulations – and safer cream etchants. My experience encompasses a range of techniques, including:
- Direct Etching: Applying the etchant directly to the glass surface to create a uniform matte effect or using a brush for more artistic control.
- Stencil Etching: Using stencils to precisely control the areas of etching, allowing for intricate designs.
- Multi-Step Etching: Combining different etchant concentrations and exposure times to create varying depths and levels of opacity.
I’ve found that understanding the etching time and acid concentration is crucial for consistent results. I’ve also worked on numerous projects, from simple frosted glass designs to intricate multi-layered etching projects.
For example, I once created a series of personalized wine glasses, each with a unique etched design based on the client’s initial and a vine motif. Achieving the delicate balance between the deep etch of the initials and the softer effect of the vines required careful control of the application of cream etchant and etching time.
Q 4. How do you prepare a glass surface for etching or engraving?
Proper surface preparation is key to successful etching and engraving. It ensures the etchant or abrasive adheres properly and produces a clean, consistent result. The process generally involves:
- Cleaning: Thoroughly cleaning the glass surface is crucial to remove any dirt, grease, or fingerprints that could hinder adhesion. This usually involves washing with a mild detergent and water, followed by rinsing and drying with a lint-free cloth.
- Degreasing: For particularly demanding projects, degreasing the glass with isopropyl alcohol helps remove any stubborn residue.
- Masking (if necessary): If a design requires only certain areas to be etched, applying a stencil or mask protects the rest of the surface. Ensure proper adhesion to avoid etchant seepage.
A clean and prepared surface ensures a sharp and well-defined etched design, free from imperfections.
Q 5. What safety precautions are necessary when working with etching chemicals?
Safety is paramount when working with etching chemicals, especially hydrofluoric acid (HF), which is extremely corrosive and dangerous. Essential safety precautions include:
- Eye Protection: Always wear safety goggles or a face shield that provides complete eye protection.
- Gloves: Use chemical-resistant gloves specifically designed for handling etching chemicals, such as nitrile or neoprene gloves.
- Ventilation: Work in a well-ventilated area or use a respirator to avoid inhaling fumes. For HF, a fume hood is essential.
- Appropriate Clothing: Wear protective clothing, such as a lab coat or apron, to prevent skin contact.
- Emergency Preparedness: Have a readily accessible eyewash station and safety shower in case of accidents. Know the proper first-aid procedures for chemical exposure.
- Proper Disposal: Follow local regulations for the safe disposal of etching chemicals and waste materials.
Neglecting safety precautions can lead to severe health consequences, including chemical burns and respiratory problems. Always refer to the manufacturer’s safety data sheets (SDS) before handling any etching chemicals.
Q 6. What types of stencils are used in glass etching?
The choice of stencil depends on the complexity of the design and the etching method being used. Common stencil materials include:
- Vinyl Stencils: These are versatile, durable, and offer precise detail. They’re easily cut with a plotter or by hand, making them ideal for intricate designs.
- Adhesive-backed Paper Stencils: These are simpler and less expensive, suitable for less detailed designs. They are easily applied but may not withstand prolonged etching.
- Laser-cut Stencils: Used for highly precise and intricate designs, these are created by a laser cutter, allowing for very fine details.
- Hand-painted Stencils: For artistic and unique designs, stencils can be hand-painted using a resist material, which protects the underlying glass from the etchant.
Choosing the right stencil material ensures accurate transfer of the design onto the glass surface, leading to a crisp and well-defined etched result.
Q 7. How do you ensure precise designs during the engraving process?
Precision in engraving is paramount to achieving a high-quality result. Several techniques and practices contribute to achieving precise designs:
- High-quality Stencils: Using a precisely cut and accurately positioned stencil is crucial. Any imperfections in the stencil will translate into the final engraving.
- Controlled Pressure/Etching Time: Consistent pressure during sandblasting or precisely controlled etching time with acids ensure uniform depth and definition in the design.
- Accurate Alignment: For multi-layered designs or repeated patterns, maintaining precise alignment is critical. Using alignment aids or jigs can greatly improve accuracy.
- Precise Tools: For techniques like diamond point engraving, using sharp, well-maintained tools is essential for fine lines and control.
- Testing and Refinement: Before committing to the final piece, test the design on a sample to fine-tune the process and ensure accuracy.
Attention to detail throughout the entire process, from stencil preparation to final cleaning, is what makes the difference between an amateur and a professional result.
Q 8. Describe your experience with different types of engraving tools.
My experience with glass engraving tools spans a wide range, from traditional hand tools to sophisticated computerized systems. Hand tools, like diamond-tipped engravers and carbide burrs, offer precise control for intricate detail work, almost like sculpting with glass. I’ve used these extensively for delicate designs and personalized touches. For larger projects or repetitive patterns, I utilize rotary engravers, which are significantly faster and more efficient. These machines allow for precise depth control and consistent results. In recent years, I’ve also incorporated laser engravers into my workflow. These are ideal for both deep etching and surface-level marking, offering unparalleled speed and precision, particularly on complex designs. The choice of tool often depends on the project’s scale, detail, and desired aesthetic.
- Diamond-tipped engravers: Ideal for fine details and delicate work.
- Carbide burrs: Versatile for a range of applications, offering varying levels of aggression.
- Rotary engravers: Best for speed and consistency on larger projects or repeated designs.
- Laser engravers: Offer high speed, precision, and versatility for various etching depths.
Q 9. How do you handle complex designs or intricate details in glass etching?
Handling complex designs requires a strategic approach. I start by carefully analyzing the design, breaking it down into manageable sections. For incredibly intricate details, I often use a combination of tools. For instance, I might use a diamond engraver for the finest details, then a rotary engraver for larger areas, and finally, a laser engraver for any consistent, deep etching needed across the piece. Creating a digital template helps tremendously, as it allows me to plan the order of operations and precisely map the various tool paths. I also frequently use magnification aids, such as jeweler’s loupes, to ensure precision, particularly when working on smaller elements. Patience is key – rushing the process often results in mistakes that are difficult to correct. I regularly practice on test pieces to refine my technique before working on the actual project, ensuring the desired results.
Q 10. What are the common challenges encountered in glass etching and engraving, and how do you overcome them?
Common challenges in glass etching and engraving include inconsistent etching depth, cracking or chipping of the glass, and smudging or blurring of the etched lines. Inconsistent etching can result from uneven pressure or inconsistent tool speed. I address this by using consistent pressure and speed, paying close attention to my technique. Cracking is often due to applying too much force or using inappropriate tools. Using the correct tool for the job and applying gentle, steady pressure is vital. Smudging can occur from handling the etched glass too soon after etching. Allowing sufficient drying time before handling is crucial to prevent blurring. Furthermore, ensuring the glass is clean and free from dust or debris before the process is essential for a clean, crisp result. Testing the etching process on a scrap piece of similar glass helps ensure consistent results.
Q 11. How do you choose the appropriate etching or engraving technique for a specific project?
Choosing the right technique depends on several factors: the complexity of the design, the desired depth of the etching, the type of glass being used, and the overall aesthetic goal. For delicate, intricate designs, hand engraving with diamond tools offers the highest level of control. For larger, simpler designs or mass production, rotary or laser engraving is far more efficient. Acid etching is great for creating frosted effects or matte finishes. Sandblasting is effective for creating deeper, more textured engravings. I always consider the client’s vision and discuss the pros and cons of each technique before finalizing a plan. Sometimes, a combination of techniques achieves the optimal result.
Q 12. What is your experience with different types of glass and their suitability for etching and engraving?
Different types of glass vary considerably in their suitability for etching and engraving. For example, soda-lime glass (common window glass) etches relatively easily and is well-suited for most techniques. However, lead crystal or borosilicate glass, while beautiful, can be more challenging to work with and may require different tools and techniques due to hardness and potential for chipping. The thickness of the glass also plays a role – thinner glass is more prone to breakage during the process. I always carefully assess the glass type before commencing a project, adjusting my approach based on its properties. I sometimes request samples from clients to test my approach before starting the actual project, ensuring a successful outcome.
Q 13. Explain your process for creating a custom design for a client.
Creating a custom design begins with a thorough consultation with the client to understand their vision, preferences, and the intended purpose of the piece. I gather detailed information about the desired style, imagery, text, and any specific elements they wish to include. I then create a digital draft, often using specialized design software, incorporating their feedback and suggestions throughout the design process. This iterative process ensures the final design aligns perfectly with their expectations. I provide mock-ups and revise them as needed until the client is entirely satisfied. Only after the client’s approval do I proceed to the actual engraving process.
Q 14. How do you maintain the quality and consistency of your work?
Maintaining quality and consistency is paramount. This involves regular calibration and maintenance of my tools, ensuring they are sharp and operating optimally. Consistent pressure, speed, and technique during engraving are essential for achieving uniform results. I meticulously clean my workspace and tools before and after each project to prevent contamination or damage. I also maintain detailed records of my projects, including the type of glass, tools used, settings, and techniques employed. This allows me to track my progress, refine my processes, and ensure consistency over time. Finally, ongoing professional development keeps me abreast of new techniques and technologies to maintain a high standard of work.
Q 15. Describe your experience with laser engraving on glass.
Laser engraving on glass is a precise and efficient method for creating intricate designs. It uses a high-powered laser beam to ablate (remove) a very thin layer of the glass surface, creating a permanent mark. The process allows for incredibly detailed work, from fine lines and delicate patterns to crisp text and complex images. My experience encompasses operating various laser engraving machines, from smaller desktop models to larger industrial systems. I’m proficient in adjusting laser power, speed, and focus to achieve the desired depth and quality of the engraving depending on the glass type and thickness. For instance, I’ve worked on projects ranging from personalizing glassware for weddings to creating large-scale etched designs for architectural features. I’m adept at preparing artwork for laser engraving, ensuring the file format and resolution are optimized for the best results.
For example, I recently completed a project where a client requested intricate floral designs on a set of champagne flutes. The delicate nature of the artwork required precise control over the laser’s parameters to avoid burning or cracking the glass. I achieved this by carefully adjusting the laser power, speed, and focus based on the intricacy of each design element. The final product showcased a beautiful and delicate engraving that precisely matched the client’s vision.
Career Expert Tips:
- Ace those interviews! Prepare effectively by reviewing the Top 50 Most Common Interview Questions on ResumeGemini.
- Navigate your job search with confidence! Explore a wide range of Career Tips on ResumeGemini. Learn about common challenges and recommendations to overcome them.
- Craft the perfect resume! Master the Art of Resume Writing with ResumeGemini’s guide. Showcase your unique qualifications and achievements effectively.
- Don’t miss out on holiday savings! Build your dream resume with ResumeGemini’s ATS optimized templates.
Q 16. How do you troubleshoot issues that may arise during the etching or engraving process?
Troubleshooting in glass etching and engraving involves a systematic approach. Issues can range from improper design files to equipment malfunctions. First, I meticulously check the artwork file – resolution, vector format (for best results), and proper scaling are crucial. If the issue stems from the design, adjustments are made accordingly. For example, if the engraved lines are too shallow, I’ll increase the laser power or dwell time. If the engraving is uneven, I’ll inspect the glass surface for imperfections or ensure proper alignment on the machine. Chemical etching problems often involve inconsistencies in the etching cream application or reaction time. I use a consistent method of applying the cream and monitor the reaction carefully. Temperature and humidity can also affect the etching process; a log of environmental conditions is important. Machine-related issues, such as a malfunctioning laser or a problem with the focusing system, require professional maintenance or repair.
A recent example involved a client who ordered engraved wine glasses with blurry text. By inspecting the laser, I identified an issue with its focusing mechanism. After getting the machine serviced and recalibrated, we were able to successfully engrave the glasses with the crisp lettering the client requested.
Q 17. What software are you proficient in for designing glass etching or engraving patterns?
My proficiency spans several software packages. For vector-based designs essential for laser engraving and precise etching, I’m highly skilled in Adobe Illustrator and CorelDRAW. These programs allow for the creation and manipulation of sharp lines and intricate patterns, crucial for accurate transfer to the engraving or etching process. For raster-based images, which can be utilized with some laser systems and certain chemical etching techniques, I am proficient in Adobe Photoshop. I understand the importance of proper file formats (like .ai, .eps, .svg, and .pdf) for compatibility with various machines and the need for high resolution to ensure detail is maintained during the process. This ensures that the designs are perfectly translated from the digital screen to the finished glass product.
Q 18. What are the differences between chemical etching and mechanical engraving?
Chemical etching and mechanical engraving are distinct techniques yielding different results. Chemical etching uses acid-based solutions to dissolve the glass surface, creating a frosted or matte effect. It’s suitable for creating softer, more diffused designs. The depth of the etching is generally less controlled than mechanical engraving. Mechanical engraving, on the other hand, uses a physical tool, like a diamond-tipped bit or a laser, to physically remove material from the glass surface, resulting in a sharper, more defined design. Laser engraving is a form of mechanical engraving and offers the greatest level of precision and detail. The choice between the two methods depends heavily on the desired aesthetic and the complexity of the design. Chemical etching is often faster for larger, less detailed areas, while mechanical engraving is ideal for intricate designs that need crisp lines and details.
Q 19. Explain the importance of safety measures when handling etching chemicals and equipment.
Safety is paramount when working with etching chemicals and equipment. When handling etching creams, like hydrofluoric acid or other strong acids, I always wear appropriate personal protective equipment (PPE), including gloves, eye protection (safety glasses or goggles), and a respirator to prevent inhalation of fumes. I work in a well-ventilated area and follow the manufacturer’s safety data sheets (SDS) precisely. Laser engraving requires eye protection designed specifically for laser use. Appropriate eyewear protects against the high intensity of laser beams. Additionally, I always ensure the glass is securely clamped to prevent it from moving during processing, minimizing the risk of injury from flying debris during mechanical engraving or breakage during chemical etching. Proper disposal of etching chemicals is crucial, adhering to all local and environmental regulations.
Q 20. How do you ensure the longevity and durability of your etched or engraved designs?
The longevity and durability of etched or engraved designs depend on several factors, including the chosen method, the type of glass used, and proper aftercare. For both chemical and mechanical methods, using high-quality, durable glass is key. With laser engraving, properly calibrated settings are paramount to avoid creating weak points in the glass. After etching or engraving, I recommend hand washing with mild soap and water to avoid scratching the surface, and storing the items properly, avoiding harsh impacts that could lead to chipping or damage. A sealant can be applied to enhance the longevity of the etched or engraved design, particularly in cases where the item might be frequently handled or exposed to the elements. For chemical etching, the depth of the etching plays a role in durability—deeper etches are generally more resistant to wear.
Q 21. Describe your experience with different types of etching creams and their applications.
My experience encompasses various etching creams, each with its own properties and applications. Creams containing hydrofluoric acid are potent etchants, producing deep and frosted effects but require meticulous handling due to their corrosive nature. Other commercially available etching creams offer varying strengths and etching speeds, allowing for greater control over the depth and texture of the final result. Some creams are specifically designed for certain types of glass. I select the cream based on the desired effect, the type of glass, and the complexity of the design. For delicate work, a weaker etching cream with longer application time is usually preferred to avoid over-etching. For bolder designs, a stronger cream may be necessary to achieve the required depth. I always carefully read and follow the manufacturer’s instructions and safety precautions for each cream I use.
Q 22. How do you clean and maintain etching tools and equipment?
Maintaining etching tools and equipment is crucial for consistent, high-quality results and the longevity of your tools. My cleaning process is meticulous and varies slightly depending on the tool or equipment.
- Sandblasting Equipment: After each use, I thoroughly clean the sandblasting cabinet and nozzle with compressed air to remove any residual abrasive. I then wipe down all surfaces with a damp cloth, ensuring no abrasive remains to clog the system or damage future projects. Regular checks for leaks and proper air pressure are also essential.
- Etching Needles and Pens: These require delicate care. I clean them immediately after use with a soft brush and isopropyl alcohol to remove any residue from the etching cream or acid. Storing them in a protective case prevents damage.
- Stencils and Masks: Vinyl stencils are cleaned with a gentle adhesive remover, taking care not to scratch the vinyl. Film stencils are often disposable, but reusable ones are cleaned using similar methods. Always allow stencils to dry completely before storing.
- Work Surfaces: My work surfaces are always covered with a protective material like a plastic sheet or a dedicated etching mat. This prevents damage to the surfaces and makes cleanup easier. After each project, I meticulously clean the area, removing any spills or residue.
Regular maintenance, including lubrication of moving parts (like in sandblasting equipment), extends the life of your tools and prevents costly repairs or replacements down the line. It’s a small investment of time that yields significant returns in terms of quality and efficiency.
Q 23. What is your understanding of different glass thicknesses and their impact on the etching process?
Glass thickness significantly impacts the etching process. Thicker glass requires more time and pressure to achieve the desired depth of etching. Thinner glass is more prone to cracking or breaking under excessive pressure, demanding a more delicate approach.
- Thin Glass (e.g., less than 3mm): More susceptible to shattering. Requires lower pressure and shorter etching times. The detail and precision of the etching will be less pronounced.
- Medium Glass (e.g., 3mm – 6mm): Offers a good balance between detail and durability. Provides flexibility in both etching techniques and design complexity.
- Thick Glass (e.g., more than 6mm): Requires more aggressive etching techniques or longer etching times to achieve a noticeable result. More robust and less prone to breakage during the process.
Understanding the properties of different glass thicknesses helps in choosing the appropriate etching technique, pressure settings, and time allocation. I always confirm the glass thickness before starting a project to avoid unexpected complications and ensure a high-quality finished product. For example, I might use a less aggressive etching cream and shorter exposure time for thin glass compared to thick glass, where I might use a stronger cream and longer exposure.
Q 24. Describe your experience with working with different types of stencils (vinyl, film, etc.)
I have extensive experience working with various stencils, each with its strengths and weaknesses. The choice depends largely on the design complexity, desired detail, and the budget of the project.
- Vinyl Stencils: These are versatile and durable, allowing for intricate designs. They’re relatively easy to apply and weed, resulting in sharp lines and clean etching. However, proper cleaning and application are critical to prevent peeling or smudging.
- Film Stencils: These are often disposable but are extremely precise, especially with fine detail. They’re perfect for one-time use and are ideal for intricate designs requiring a high level of accuracy. The cost per stencil can add up on larger projects.
- Hand-cut Stencils: For simple designs, hand-cutting stencils from materials like adhesive paper or cardstock can be economical and effective. However, this method is labor-intensive and less suitable for intricate designs.
My experience allows me to select the most appropriate stencil type for each project, ensuring the final product meets the client’s expectations. For instance, a complex logo might warrant a high-quality vinyl stencil for its durability and detail, while a simple text etching might use a hand-cut stencil for a cost-effective solution.
Q 25. How do you handle orders with tight deadlines?
Handling orders with tight deadlines requires efficient prioritization and effective time management. My approach involves a structured workflow:
- Clear Communication: I confirm the project details, including the deadline, with the client to ensure a mutual understanding.
- Prioritization: I evaluate all my ongoing and upcoming orders, prioritizing those with the closest deadlines.
- Efficient Workflow: I streamline the process, focusing on quick and accurate design transfers, preparation, etching, and cleaning.
- Resource Allocation: I allocate resources, including tools and materials, efficiently to prevent delays.
- Over-Communication: I keep the client updated on the progress, informing them of any potential delays or challenges.
I have successfully delivered numerous projects under tight deadlines by adhering to this systematic process. This approach prevents rushed work and maintains high-quality results, even under pressure.
Q 26. How do you manage your time effectively when working on multiple projects?
Managing multiple projects effectively requires a robust system. I use a project management approach combining detailed planning and flexible adaptation:
- Project Breakdown: I break down each project into smaller, manageable tasks with clearly defined timelines.
- Prioritization Matrix: I use a prioritization matrix (e.g., Eisenhower Matrix) to identify urgent and important tasks, ensuring that crucial aspects of each project are addressed promptly.
- Time Blocking: I allocate specific time blocks for each project, concentrating on one project at a time to minimize distractions and maximize focus.
- Regular Review: I regularly review my progress, adjusting schedules as needed to accommodate unforeseen challenges or changing priorities.
This structured method allows me to juggle multiple projects without compromising the quality or timelines of any one project. Think of it like a conductor of an orchestra – I need to keep each section in sync while monitoring the overall tempo and harmony to create a beautiful and complete piece.
Q 27. Describe a time when you had to troubleshoot a complex issue during the glass etching or engraving process.
During a recent project involving a large, intricate design on a thick piece of glass, I encountered a problem where the etching depth was inconsistent. Initially, I suspected a faulty etching cream, but thorough testing ruled this out.
After systematic troubleshooting, I realized that the issue stemmed from uneven pressure distribution during the sandblasting process. I addressed the problem by adjusting the distance of the nozzle from the glass surface and using a specialized pressure regulator to maintain a consistent airflow. This solved the inconsistency, resulting in a perfectly etched piece. The experience reinforced the importance of meticulous preparation, methodical troubleshooting, and the value of understanding the intricacies of each step of the process.
Q 28. What are your salary expectations?
My salary expectations are commensurate with my experience and skills in glass etching and engraving. Considering my expertise, proven track record, and the value I bring to a company, I am seeking a salary in the range of [Insert Salary Range]. I am open to discussing this further based on the specific details of the role and compensation package.
Key Topics to Learn for Your Glass Etching and Engraving Interview
- Safety Procedures and Regulations: Understanding and adhering to safety protocols for handling chemicals, equipment, and materials is paramount. This includes proper ventilation, personal protective equipment (PPE), and waste disposal.
- Etching Techniques: Become proficient in various etching methods, including acid etching, sandblasting, and laser etching. Understand the differences in their applications and the resulting finishes.
- Engraving Techniques: Master different engraving techniques, such as hand engraving, rotary engraving, and diamond-point engraving. Know the strengths and limitations of each method.
- Material Selection and Preparation: Develop expertise in selecting the appropriate type of glass for different etching and engraving projects. This includes understanding glass properties and how to properly prepare the surface for optimal results.
- Design and Pattern Transfer: Learn how to effectively transfer designs onto the glass surface using various methods, including stencils, masking, and computer-aided design (CAD) software.
- Troubleshooting and Problem-Solving: Be prepared to discuss common issues encountered during etching and engraving, such as uneven etching, cracking, or blurred designs, and how you would troubleshoot and resolve them.
- Equipment Maintenance and Calibration: Demonstrate understanding of maintaining and calibrating etching and engraving equipment to ensure consistent and high-quality results.
- Quality Control and Inspection: Explain your approach to quality control and inspection of finished products to ensure they meet client specifications and industry standards.
Next Steps
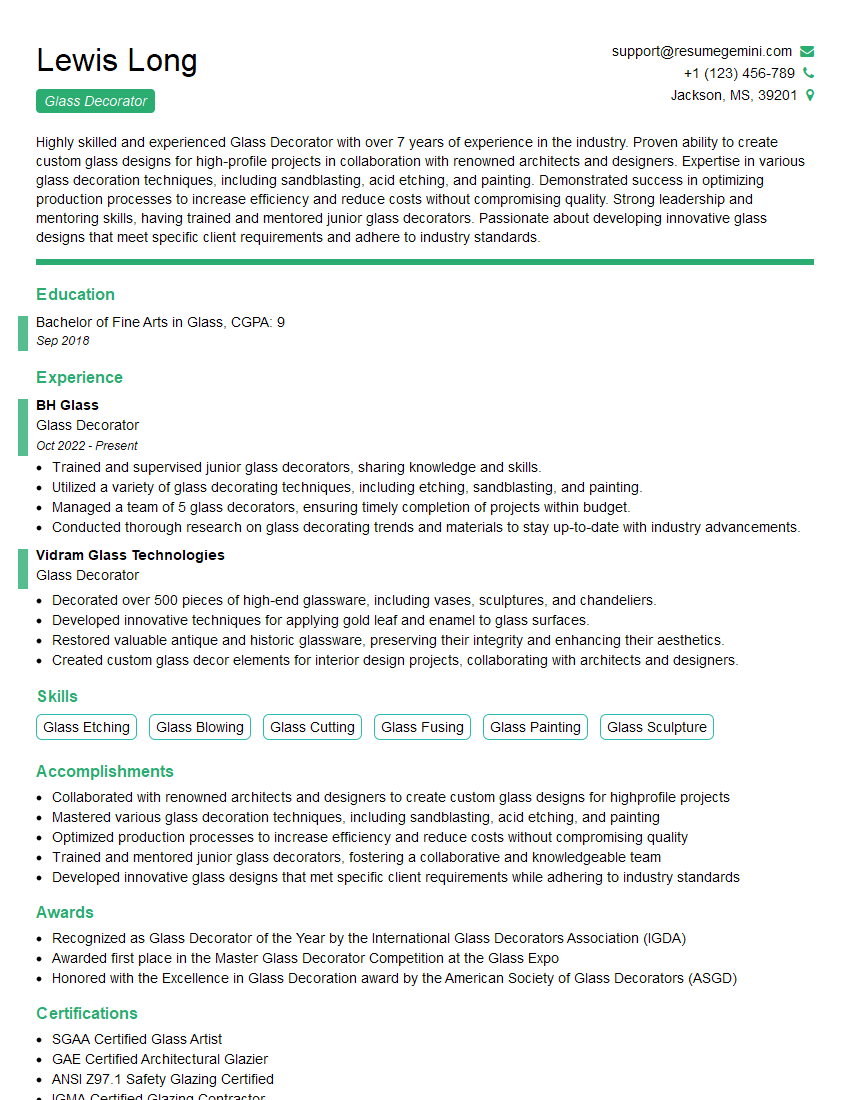
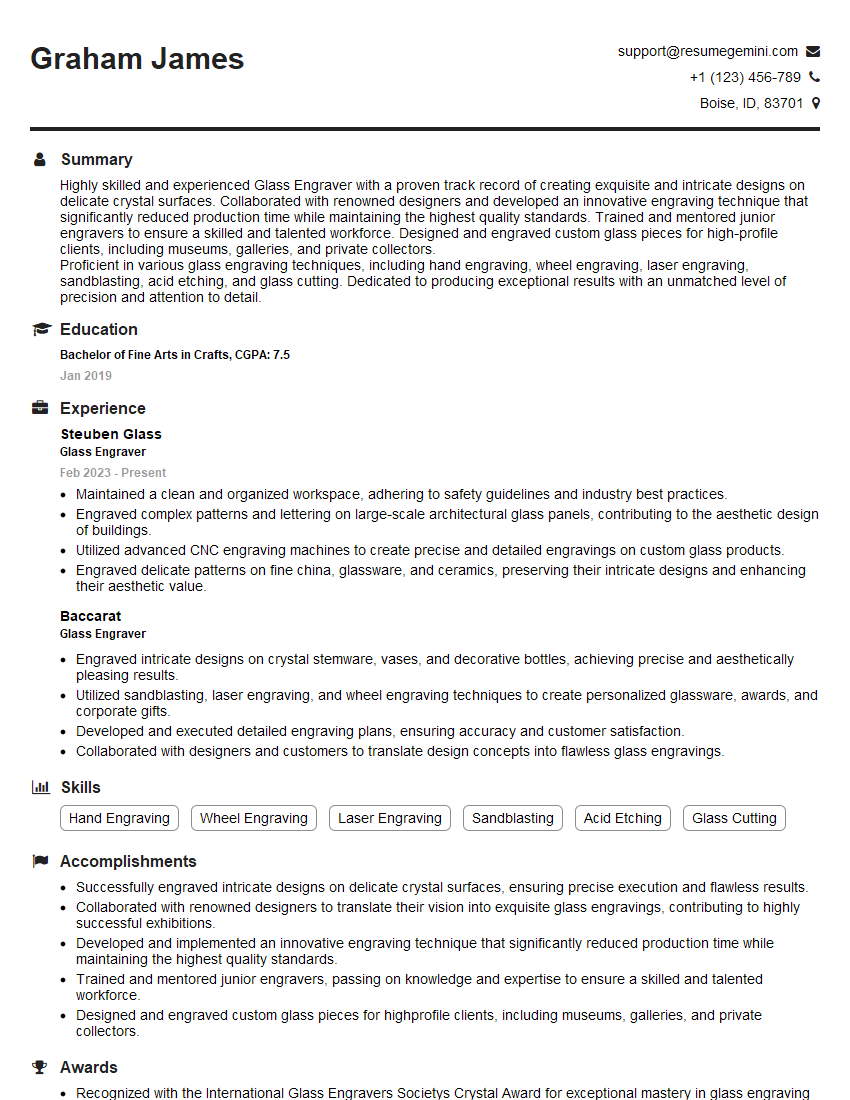
Mastering glass etching and engraving techniques opens doors to exciting career opportunities in various creative industries. To maximize your job prospects, it’s crucial to present your skills effectively. An ATS-friendly resume is key to getting your application noticed by recruiters and hiring managers. ResumeGemini is a trusted resource that can help you create a professional, impactful resume tailored to highlight your expertise. Examples of resumes specifically designed for showcasing experience in glass etching and engraving are available to help you build a winning application.
Explore more articles
Users Rating of Our Blogs
Share Your Experience
We value your feedback! Please rate our content and share your thoughts (optional).
What Readers Say About Our Blog
Very informative content, great job.
good