Preparation is the key to success in any interview. In this post, we’ll explore crucial Machine Shop Practice interview questions and equip you with strategies to craft impactful answers. Whether you’re a beginner or a pro, these tips will elevate your preparation.
Questions Asked in Machine Shop Practice Interview
Q 1. Explain the difference between a lathe and a milling machine.
Lathes and milling machines are both fundamental machine tools, but they perform vastly different operations. Think of a lathe as a wood-turning tool, but for metal. It rotates a workpiece against a cutting tool to create cylindrical shapes, like shafts or axles. A milling machine, on the other hand, uses rotating cutters to remove material from a stationary workpiece, allowing for the creation of complex shapes and features. In essence, a lathe is primarily for rotational machining, while a milling machine is for planar and three-dimensional machining.
Lathe: Imagine spinning a piece of clay on a pottery wheel and using a tool to shape it. That’s analogous to a lathe. The workpiece rotates, and a cutting tool shapes it by removing material. They are excellent for creating parts with rotational symmetry.
Milling Machine: Picture carving a design into a block of wood. The wood remains still, and you move the carving tools across its surface. This is similar to milling, where the cutter spins and moves across the workpiece to create various shapes. They excel at creating features such as slots, keyways, and complex surface contours.
Q 2. Describe the various types of cutting tools used in a machine shop.
Machine shops utilize a wide array of cutting tools, each designed for specific materials and operations. The choice depends on factors like the material being machined, the desired surface finish, and the required accuracy. Here are some key types:
- Single-point cutting tools: Used in lathes and shapers, these tools have one cutting edge and are used for turning, facing, and parting-off operations. Examples include various types of turning tools – for example, roughing tools which remove material quickly, and finishing tools which create smoother surfaces.
- Milling cutters: Used in milling machines, these tools have multiple cutting edges and are used for milling various shapes such as slots, pockets, and contours. Examples include end mills (for creating vertical cuts), face mills (for flat surfaces), and form mills (for creating specific shapes).
- Drills: Used to create holes in workpieces. These can range from simple twist drills for general purpose to specialized drills for specific materials or applications, such as high-speed steel or carbide drills for harder materials.
- Reamer: Used to enlarge and accurately size pre-drilled holes. They achieve a high degree of precision and surface finish.
- Taps and dies: Used to create internal (taps) and external (dies) threads.
The material of the cutting tool is also crucial. High-speed steel (HSS) is commonly used for general applications, while carbide is preferred for harder materials offering greater durability and wear resistance.
Q 3. How do you select the appropriate cutting speed and feed rate for a specific material?
Selecting the appropriate cutting speed (V) and feed rate (f) is critical for efficient and productive machining. Improper settings can lead to tool breakage, poor surface finish, or inaccurate dimensions. The selection process typically involves considering the material being machined, the cutting tool material, and the desired finish.
Cutting Speed (V): This is the surface speed of the workpiece as it passes the cutting tool, usually measured in feet per minute (fpm) or meters per minute (m/min). Higher cutting speeds generally increase productivity but can also increase heat generation and tool wear. Cutting speed is material-dependent. For example, aluminum requires a much higher cutting speed than stainless steel.
Feed Rate (f): This refers to the rate at which the tool advances into the workpiece. This is usually measured in inches per minute (ipm) or millimeters per minute (mm/min). A higher feed rate increases productivity but can lead to excessive tool wear and poor surface finish. A high feed rate is often used for roughing passes, while lower feed rates are preferred for finishing passes.
The selection process often involves consulting material-specific charts and manufacturer’s recommendations for the cutting tool. Software and calculators are also available to assist in these calculations. A common approach is to start with recommended values and adjust based on observation of the machining process – monitoring the cutting temperature, tool wear, surface finish, and overall efficiency.
Q 4. What are the common causes of chatter during machining?
Chatter is a self-excited vibration that occurs during machining, resulting in a poor surface finish, inaccurate dimensions, and potentially tool breakage. It’s a common problem with several causes:
- Low stiffness of the machine tool or workpiece: A flexible machine tool or a poorly supported workpiece can amplify vibrations, leading to chatter.
- Excessive cutting depth or feed rate: Aggressive machining parameters can destabilize the cutting process and induce chatter.
- Poor tool geometry or condition: A dull or damaged cutting tool can cause chatter due to inconsistent cutting forces.
- Instability in the cutting process: Intermittent cutting forces or variations in material properties can trigger chatter.
- Resonance between the machine tool and the workpiece: If the cutting frequency coincides with a natural frequency of the system, it can lead to resonant vibrations and severe chatter.
Addressing chatter requires a systematic approach. You might need to reduce cutting depth and feed rate, increase spindle speed, use a more rigid toolholder, improve workpiece clamping, or adjust cutting parameters to avoid resonant frequencies.
Q 5. Explain the process of setting up a CNC machine.
Setting up a CNC machine involves a meticulous process to ensure accurate and efficient machining. It involves several key steps:
- Workpiece fixturing: Securely clamping the workpiece to the machine table using appropriate fixtures. This ensures stability and prevents movement during the machining process.
- Tool setup: Selecting the appropriate cutting tools and loading them into the CNC machine’s tool magazine. Accurate tool length compensation is crucial to ensure the cutting tool reaches the desired position.
- Work coordinate system (WCS): Defining the reference points for the workpiece. This involves accurately measuring and entering the workpiece dimensions and location on the machine table.
- Program verification: Using software to simulate the machining process and verify the correctness of the CNC program before starting the actual machining. This helps to prevent errors and damage.
- Dry run: Performing a test run without actually cutting the material to check the toolpath and ensure the safety of the process. This may involve using a probe to verify that the tool reaches all the correct areas.
- Machining: Once all steps are verified, the actual machining process can commence. Monitoring the process is still crucial to ensure the smooth operation of the machine.
Throughout this process, careful attention must be paid to safety and proper procedures to prevent accidents and ensure high-quality results. Consistent maintenance of the machine and regular calibration also contributes to the accuracy and consistency of the CNC machine.
Q 6. How do you measure tolerances and ensure dimensional accuracy?
Ensuring dimensional accuracy and meeting specified tolerances is paramount in machine shop practice. This is achieved through a combination of precise machining techniques and accurate measuring instruments. Tolerances are specified using engineering drawings and define the permissible variations in dimensions. For example, a dimension of 10.00 +/- 0.01 mm means the actual dimension can vary from 9.99mm to 10.01mm.
Measuring instruments play a crucial role. Various tools are used depending on the required precision and the type of measurement. For example:
- Micrometers: Used for very precise measurements, often to the nearest thousandth of an inch or micrometer.
- Vernier calipers: Offer high precision measurements, although less precise than micrometers.
- Dial indicators: Used for measuring small variations in dimensions, such as surface flatness or runout.
- Optical comparators: Used for inspecting the shape and dimensions of parts to a high degree of accuracy.
- Coordinate measuring machines (CMMs): Highly accurate machines that use probes to measure the 3D coordinates of points on a workpiece.
Proper calibration and use of these instruments are crucial for accurate measurements. In addition, understanding the limitations of each instrument and using the appropriate instrument for the task is vital for ensuring precision.
Q 7. Describe your experience with different types of measuring instruments (e.g., micrometers, calipers).
I have extensive experience using various measuring instruments throughout my career. My proficiency encompasses the precise use and calibration of:
- Micrometers: I’m adept at using both outside and inside micrometers to measure dimensions with accuracy to thousandths of an inch. I understand the importance of proper feel and zero setting for reliable measurements and frequently perform calibration checks to ensure accuracy. For instance, I recently used a micrometer to measure the diameter of a precision shaft with a tolerance of +/- 0.001 inches – essential for ensuring the correct fit in the assembly.
- Vernier calipers: I utilize vernier calipers for a wide range of measurement tasks, from measuring the thickness of a sheet metal part to the overall length of a machined component. The ability to quickly and accurately read both the main scale and vernier scale ensures I can reliably assess dimensional compliance.
- Dial indicators: I use dial indicators to check for surface flatness, roundness, and runout of rotating parts with high accuracy. For example, checking the concentricity of a bearing housing is a critical process to ensure proper function. I routinely use this for setting up machine tools and assessing the quality of finished parts.
Beyond these, my experience includes the use of height gauges, depth gauges, and optical comparators, and I’m familiar with the operation and interpretation of data from Coordinate Measuring Machines (CMMs). My experience spans various applications, from routine inspection to troubleshooting complex dimensional discrepancies.
Q 8. How do you interpret engineering drawings and blueprints?
Interpreting engineering drawings and blueprints is fundamental to machine shop practice. It involves understanding the different views (orthographic projections), dimensions, tolerances, materials specified, and surface finishes. Think of it like reading a detailed recipe for a complex machine part. Each line, symbol, and number tells a precise story. I start by identifying the title block, which provides essential information like the part number, revision, scale, and materials. Then, I carefully examine each view – front, top, and side – to understand the part’s three-dimensional shape. I pay close attention to dimensions, using measuring tools to verify them during the machining process. Tolerances indicate the acceptable range of variation from the specified dimensions, ensuring the part fits correctly within the larger assembly. Surface finish symbols dictate the roughness required, affecting the part’s functionality and aesthetics. For example, a surface marked with a ‘Ra 0.8’ requires a smoother finish than one with ‘Ra 3.2’. Finally, I check for any notes or special instructions, which might include specific machining techniques or quality control checks.
For example, if a blueprint indicates a ‘Ø10mm ±0.1mm hole,’ I know the hole needs to be 10mm in diameter, with an acceptable tolerance of ±0.1mm. I will use a precision measuring instrument to verify the diameter falls within that range. Similarly, surface finish symbols like Ra or Rz values guide the selection of appropriate cutting tools and machining speeds. Understanding these elements ensures that the final product meets design specifications and performs correctly.
Q 9. Explain your experience with various machining processes (e.g., turning, milling, drilling).
My experience encompasses a wide range of machining processes. Turning, milling, and drilling are core skills in my repertoire. Turning involves removing material from a rotating workpiece using a cutting tool to create cylindrical shapes, like shafts or pins. I’ve used lathes of various sizes, from small benchtop models to larger CNC lathes, to produce parts with high precision and surface finish. Milling, on the other hand, uses a rotating cutting tool to remove material from a stationary workpiece, enabling the creation of complex shapes and features. I’m proficient in both conventional and CNC milling, capable of handling various milling operations, including face milling, end milling, and slotting. Drilling is a fundamental process for creating holes in workpieces. I have extensive experience with various drill types and sizes, employing different techniques to ensure accurate hole placement and consistent size. For instance, I’ve used specialized drills for blind holes, countersinking, and counterboring. I am also skilled in specialized processes like threading and tapping.
I recall a project where I had to machine a complex aluminum housing for a robotic arm. This involved a combination of turning operations for the cylindrical sections and milling operations to create the intricate features and mounting holes. Precise control over the machining parameters was essential to ensure that the housing met the tight tolerances and surface finish requirements.
Q 10. Describe your experience with different types of materials (e.g., steel, aluminum, plastics).
I have extensive experience working with a variety of materials, including various grades of steel (mild steel, stainless steel, tool steel), aluminum alloys, plastics (ABS, acrylic, nylon), and brass. Each material requires a different approach to machining. Steel, for example, can be quite challenging due to its hardness and tendency to work-harden. Proper selection of cutting tools, cutting speeds, and feeds is crucial to prevent tool breakage and ensure a good surface finish. Aluminum, while easier to machine than steel, is softer and can be prone to chipping or tearing if not handled properly. Plastics require specialized cutting tools and lower speeds to avoid melting or burning. My experience allows me to select the appropriate tooling, speeds, and feeds for each material, ensuring efficient and high-quality machining. I am also familiar with the properties of each material and understand how factors like hardness, ductility, and thermal conductivity affect the machining process.
For instance, while machining stainless steel, I would use specialized carbide tools and employ a coolant to minimize heat generation and prevent work hardening. In contrast, when working with acrylic, I would use slower speeds and sharp, well-maintained tools to avoid melting and ensure a clean cut.
Q 11. How do you troubleshoot common machine malfunctions?
Troubleshooting machine malfunctions requires a systematic approach. I start by observing the problem carefully, noting any unusual sounds, vibrations, or behavior. I then check the obvious factors: Is the machine properly lubricated? Are the cutting tools sharp and correctly installed? Is the workpiece securely clamped? Are the machine settings correct? If the issue persists, I move to more advanced troubleshooting. This might involve checking electrical connections, hydraulic systems (if applicable), or control systems. A logical and methodical approach is key. I often utilize diagnostic tools such as multimeters, pressure gauges, and the machine’s own diagnostic capabilities to pinpoint the source of the malfunction. Documentation, including maintenance logs, is invaluable in identifying recurring problems or patterns. It’s crucial to follow safety procedures throughout the troubleshooting process, ensuring the machine is properly powered down and secured before any internal inspection or repair work.
One time, a CNC lathe started making a grinding noise. After careful observation, I determined that the issue was excessive wear on the cutting tool. Replacing the tool resolved the problem. In another instance, a milling machine’s spindle was not spinning, which turned out to be a faulty power relay. A quick replacement resolved the problem.
Q 12. What safety precautions do you follow in a machine shop environment?
Safety is paramount in a machine shop environment. I always adhere to the following safety precautions: I wear appropriate personal protective equipment (PPE), including safety glasses, hearing protection, and work gloves. I ensure that all machine guards are in place and functioning correctly before operating any equipment. I always inspect tools and equipment before use, checking for damage or wear. I never wear loose clothing or jewelry that could get caught in machinery. I maintain a clean and organized workspace, removing any hazards or obstructions. I follow lockout/tagout procedures to prevent accidental machine startup during maintenance or repair. I’m trained in emergency procedures and know how to respond to accidents or injuries. I also pay close attention to my surroundings, being aware of potential hazards such as sharp edges, hot surfaces, and moving parts. Furthermore, I always adhere to company safety guidelines and participate in regular safety training to stay up-to-date on best practices. Safety is not just a set of rules; it’s a mindset and a constant practice.
Q 13. Describe your experience with CNC programming (G-code, etc.).
I possess significant experience with CNC programming, primarily using G-code. I understand the various G-codes and their functions, allowing me to create programs for complex machining operations. My experience includes generating programs from scratch, as well as modifying and optimizing existing programs to enhance efficiency and accuracy. I’m familiar with various CAM software packages (Computer-Aided Manufacturing), which translate CAD models into executable G-code. This process involves defining toolpaths, selecting appropriate cutting tools, and specifying cutting parameters such as speeds, feeds, and depths of cut. I’m capable of programming various machining operations, including turning, milling, and drilling, and I can create programs for different machine configurations. Furthermore, I understand the importance of simulation before running a program to ensure accuracy and prevent collisions or other unexpected issues.
For example, I recently programmed a CNC mill to machine a complex aluminum part with numerous intricate features. I used a CAM software to generate the G-code, which I then simulated and fine-tuned before running it on the machine. The resulting part met the required tolerances and surface finish specifications. I’m also proficient in troubleshooting CNC programs, diagnosing errors, and making necessary corrections.
Example G-code snippet: G01 X10.0 Y20.0 F50.0 (Linear interpolation move)Q 14. How do you ensure the quality and consistency of your work?
Ensuring quality and consistency involves a multi-faceted approach. I begin with careful planning and preparation. This includes thoroughly reviewing the engineering drawings, selecting appropriate cutting tools and materials, and setting up the machine precisely. During machining, I regularly monitor the process, checking dimensions and surface finish using precision measuring tools like micrometers and calipers. I also regularly inspect the tools, replacing them when necessary to maintain accuracy and prevent damage. The use of cutting fluids, or coolants, help maintain tool life and surface finish. Post-machining, I perform thorough inspection of the finished part to verify it meets specifications. This might involve using coordinate measuring machines (CMMs) or other precision inspection equipment. Finally, maintaining a clean and well-organized workspace contributes significantly to consistency. Regular machine maintenance is essential, ensuring it remains calibrated and functioning optimally. I document all operations and inspections, maintaining records to track performance and identify any areas for improvement.
I often employ statistical process control (SPC) techniques to monitor the consistency of my work, identifying and addressing any variations early on. For example, measuring multiple parts from a batch to assess their dimensional accuracy, ensuring that they fall within the tolerances specified on the drawing.
Q 15. Explain your experience with CAM software.
My experience with CAM software spans over ten years, encompassing various platforms such as Mastercam, Fusion 360, and GibbsCAM. I’m proficient in all stages of the CAM process, from importing CAD models and toolpath generation to post-processing and machine simulation. For instance, on a recent project involving the machining of a complex impeller, I utilized Mastercam’s advanced five-axis capabilities to generate highly efficient toolpaths, minimizing machining time by 15% compared to traditional methods. I understand the importance of optimizing toolpaths for surface finish, minimizing cycle time, and selecting the appropriate cutting tools and parameters for various materials. My expertise extends to utilizing various simulation tools within the CAM software to predict potential collisions and optimize the machining process before it even reaches the shop floor, saving time and preventing costly mistakes.
I’m also experienced in integrating CAM software with various CNC machine controllers, ensuring seamless data transfer and accurate machining. This includes creating and troubleshooting post-processors to ensure compatibility between the CAM software and specific machine controls. I’m always eager to learn and adapt to new CAM software and technologies, ensuring I remain at the forefront of industry best practices.
Career Expert Tips:
- Ace those interviews! Prepare effectively by reviewing the Top 50 Most Common Interview Questions on ResumeGemini.
- Navigate your job search with confidence! Explore a wide range of Career Tips on ResumeGemini. Learn about common challenges and recommendations to overcome them.
- Craft the perfect resume! Master the Art of Resume Writing with ResumeGemini’s guide. Showcase your unique qualifications and achievements effectively.
- Don’t miss out on holiday savings! Build your dream resume with ResumeGemini’s ATS optimized templates.
Q 16. How do you handle tight deadlines and high-pressure situations?
Handling tight deadlines and high-pressure situations is an integral part of working in a machine shop. My approach is methodical and focuses on prioritizing tasks effectively. I begin by breaking down large projects into smaller, manageable steps, creating a detailed schedule with realistic milestones. This allows for better tracking of progress and identification of potential bottlenecks early on. I also leverage my strong organizational skills to keep all necessary documents, drawings, and tools readily accessible. Furthermore, effective communication with my team and supervisors is crucial in ensuring everyone is aligned with the project timeline and potential challenges. Open communication also allows for collaborative problem-solving and ensures that no critical issue goes unnoticed.
For example, during a project where we had to deliver a batch of precision parts within a drastically shortened timeframe, I proactively identified potential risks and implemented a system of parallel machining tasks. This reduced the overall turnaround time by approximately 20%. My ability to remain calm under pressure, combined with my structured approach, allows me to deliver high-quality results even when faced with demanding deadlines.
Q 17. Describe your experience working with different types of measuring equipment.
My experience with measuring equipment is extensive, covering a wide range of instruments, including dial indicators, micrometers, calipers, coordinate measuring machines (CMMs), and optical comparators. I’m proficient in using these tools to accurately measure dimensions, surface finish, and geometric tolerances. For example, I frequently use dial indicators to check runout on rotating parts, ensuring concentricity and smoothness. Micrometers and calipers are essential for precise linear measurements, while CMMs are utilized for complex three-dimensional measurements, crucial for inspecting intricate parts with high precision. Optical comparators allow for detailed inspection of part features against a master drawing, ensuring dimensional accuracy and conformity.
I understand the importance of proper calibration and maintenance of measuring equipment to maintain accuracy and reliability. I regularly check for calibration certificates and follow the prescribed procedures for maintaining each instrument. Understanding the limitations of each instrument and selecting the most appropriate tool for the task is crucial for obtaining reliable and accurate measurement results.
Q 18. What are your preferred methods for inspecting finished parts?
My preferred methods for inspecting finished parts depend on the part’s complexity, material, and specified tolerances. For simple parts, visual inspection along with the use of precision measuring instruments like calipers and micrometers is sufficient. For more complex parts with tight tolerances, I often utilize CMMs for three-dimensional measurements and surface finish analysis. Optical comparators are also valuable for inspecting features that require high magnification and precise comparisons to drawings. Beyond dimensional accuracy, I also assess the overall quality of the finish, checking for burrs, scratches, or other surface imperfections.
In addition to these methods, I employ various non-destructive testing (NDT) techniques depending on the application, including dye penetrant testing for surface cracks or ultrasonic inspection for internal flaws. Documentation of all inspection results is crucial for traceability and quality control purposes.
Q 19. Explain your understanding of GD&T (Geometric Dimensioning and Tolerancing).
Geometric Dimensioning and Tolerancing (GD&T) is a system for specifying tolerances and geometric controls on engineering drawings. My understanding of GD&T is essential for ensuring parts meet design specifications and function correctly. I’m proficient in interpreting GD&T symbols, including features like position, parallelism, perpendicularity, and circularity, and understand how these symbols define the allowable variations in a part’s geometry. This understanding allows me to correctly interpret design intent and select the appropriate machining strategies and inspection methods to achieve the required quality.
For example, a feature control frame specifying position with a tolerance zone ensures that a hole is located within a specific area relative to other features on the part. Understanding the difference between unilateral and bilateral tolerances, as well as the implications of different datums, is crucial for producing parts that meet the design requirements and function as intended. My experience includes using GD&T principles throughout the entire manufacturing process, from part design review to final inspection.
Q 20. How do you maintain and clean your machine tools?
Maintaining and cleaning machine tools is crucial for ensuring their longevity, accuracy, and safety. My routine involves regular cleaning of all visible surfaces using compressed air and appropriate cleaning agents to remove chips and debris. I carefully inspect moving parts like ways and slides for wear or damage. Lubrication of moving parts is performed according to the manufacturer’s recommendations, using the specified lubricants to minimize friction and wear. I pay close attention to coolant systems, ensuring they are clean and free of contaminants to prevent clogging and corrosion.
Regular preventative maintenance is paramount, and this includes checking for coolant leaks, belt tension, and overall machine stability. I meticulously document all maintenance activities, ensuring compliance with safety regulations and company procedures. Addressing minor issues promptly can prevent them from escalating into major repairs, minimizing downtime and maximizing operational efficiency. This proactive approach ensures the machines are in top condition for consistent production.
Q 21. Describe your experience with different types of cutting fluids.
My experience with cutting fluids encompasses various types, including water-soluble fluids (emulsions), synthetic fluids, and neat oils. The choice of cutting fluid depends on the material being machined, the machining operation, and the desired surface finish. Water-soluble fluids are commonly used for general-purpose machining operations due to their cost-effectiveness and cooling capabilities. Synthetic fluids offer enhanced performance in terms of lubricity and cooling, especially for demanding operations like high-speed machining. Neat oils are used for specific applications requiring excellent lubrication, particularly in operations such as tapping or drilling difficult materials.
I understand the importance of selecting the appropriate cutting fluid for each application. Using the incorrect fluid can lead to poor surface finish, tool wear, and even machine damage. Regular monitoring of the cutting fluid’s condition and timely replenishment are essential to maintain optimal performance and prevent bacterial growth or contamination. Safety considerations related to the handling and disposal of cutting fluids are also a key aspect of my practice. I always follow safety protocols and ensure proper disposal procedures are adhered to.
Q 22. What is your experience with tooling design and selection?
Tooling design and selection is crucial for efficient and accurate machining. It involves choosing the right cutting tools, considering factors like material properties, desired surface finish, and machining operation. My experience encompasses selecting tools for various operations, from simple turning and milling to complex multi-axis machining. I’m proficient in using tool databases and catalogs to identify suitable tools based on specifications like diameter, length, coating, and cutting geometry. For instance, when machining hardened steel, I would select a carbide insert with a suitable coating like TiAlN for increased wear resistance. Conversely, for aluminum, I might opt for a coated high-speed steel (HSS) tool to balance cost-effectiveness with performance. Beyond selection, I’ve designed custom tooling for unique applications, involving modifications to existing tools or creating entirely new fixtures to hold components during machining, thus optimizing the process and reducing setup times.
I also consider factors like tool life, cost per part, and machine capabilities when making tooling selections. A more expensive but longer-lasting tool can ultimately reduce overall costs if it minimizes downtime and increases production rates. I’m skilled in using Computer-Aided Design (CAD) software to design and model custom tools, ensuring they integrate smoothly with existing machinery and processes.
Q 23. How do you manage inventory and tooling in a machine shop?
Effective inventory management is vital for smooth machine shop operations. My approach combines a robust system of tracking tools and materials, ensuring timely replenishment of stock, minimizing waste, and keeping costs under control. This starts with a clearly defined inventory system—I prefer a digital inventory management system with barcoding or RFID tagging to accurately track tools. This allows for precise monitoring of tool usage, facilitating proactive ordering and minimizing downtime due to shortages. I also utilize a First-In, First-Out (FIFO) system to manage tool usage, ensuring that older tools are used first to prevent their deterioration. Regular audits are performed to identify damaged or worn-out tools that require replacement or repair.
A key aspect is tool organization: A well-organized tool crib with clearly marked storage locations simplifies retrieval and prevents loss or misplacement of valuable tools. This also plays a critical role in tool life management; a proper storage environment protects tools from corrosion and damage.
Q 24. Describe your experience with different types of fixturing.
Fixturing plays a crucial role in ensuring accurate and repeatable machining processes. My experience spans various fixturing methods, including simple jigs and fixtures, specialized clamping systems, and advanced workholding solutions. I’m comfortable designing and using fixtures for milling, turning, drilling, and grinding operations. Simple jigs might involve locating pins and clamps for basic part positioning, while more complex fixtures for precision machining incorporate features like adjustable stops, quick-change mechanisms, and hydraulic or pneumatic clamping systems. I have experience with various materials for fixture construction, including steel, aluminum, and specialized polymers, selecting materials based on application needs and machine requirements. For example, when machining delicate components, I would choose a softer material like aluminum to avoid damaging the work piece.
I am also well-versed in the use of Computer Numerical Control (CNC) controlled workholding systems which significantly improve efficiency and accuracy in complex machining processes.
Q 25. How do you manage multiple projects simultaneously?
Managing multiple projects simultaneously requires a structured and organized approach. I utilize project management techniques to prioritize tasks, allocate resources effectively, and maintain clear communication with all stakeholders. A key strategy is to break down large projects into smaller, manageable tasks, assigning deadlines and responsibilities to individuals or teams. This allows for better tracking of progress and identification of potential bottlenecks early on. I frequently employ Gantt charts or Kanban boards to visually represent project timelines and workflow, providing a clear overview of tasks, dependencies, and progress. Prioritization is key – I focus on tasks with the tightest deadlines or those impacting subsequent tasks in the project flow.
Regular communication is essential, so I ensure frequent updates and status meetings with project teams to address any arising issues and maintain alignment. This proactive approach ensures efficient resource allocation and timely project completion.
Q 26. What are your strengths and weaknesses in a machine shop setting?
My strengths lie in my meticulous attention to detail, problem-solving abilities, and proactive approach to maintenance. I am a highly efficient and organized individual, able to manage multiple tasks effectively under pressure. I am also adept at troubleshooting complex machinery problems, finding practical solutions, and streamlining processes to optimize efficiency and reduce costs. My hands-on experience and practical knowledge of various machining processes contribute to my ability to swiftly diagnose and resolve mechanical issues.
A weakness, however, is my occasional tendency towards perfectionism, which can sometimes result in spending more time on a task than is strictly necessary. I’m actively working on balancing my attention to detail with efficient time management to mitigate this. I also strive to improve my knowledge of the newest CAD/CAM technologies in order to stay at the forefront of the ever-evolving field of machining.
Q 27. Explain your experience with preventative maintenance procedures.
Preventative maintenance is crucial for maximizing machine uptime and minimizing costly breakdowns. My approach involves a structured program incorporating regular inspections, lubrication, and cleaning of all machinery. This includes adhering to manufacturer-recommended maintenance schedules, which vary for different machines. I meticulously document all maintenance activities, recording dates, procedures performed, and any parts replaced. This creates a valuable historical record, allowing for trend analysis and predictive maintenance to be implemented. I’m skilled in performing basic machine maintenance tasks myself and also know when to call in specialized technicians for more complex repairs.
For instance, regularly checking and cleaning coolant systems, lubricating guide ways and spindle bearings, and inspecting tool holders for wear are key elements of my preventative maintenance approach. I believe in a proactive approach, addressing minor issues before they escalate into major problems and costly downtime.
Q 28. Describe a time you had to solve a complex machining problem.
One time, we were machining a complex aerospace component with extremely tight tolerances. The part was prone to warping during the machining process, resulting in significant scrap and delays. The initial approach involved using standard clamping methods, but these didn’t adequately address the part’s tendency to warp. To solve this, I analyzed the part’s geometry and material properties, identifying the specific areas where the warping was most pronounced. I then designed and implemented a custom fixturing solution that incorporated multiple clamping points and strategically placed support structures to distribute clamping forces evenly and minimize warping.
Furthermore, I carefully monitored the cutting parameters, adjusting feed rates and cutting depths to reduce heat generation, which further mitigated the warping issue. This iterative process – analysis, design, implementation, and monitoring – resulted in a significant reduction in scrap and allowed us to meet the project deadlines successfully. This experience highlighted the importance of a systematic approach and the ability to adapt to challenges as they arise in the machining process.
Key Topics to Learn for Your Machine Shop Practice Interview
- Safety Procedures and Regulations: Understanding and applying safety protocols in a machine shop environment, including the proper use of PPE and emergency procedures. This is crucial for any role and demonstrates your commitment to a safe working environment.
- Measurement and Tolerances: Mastering various measurement techniques (e.g., micrometers, calipers, dial indicators) and interpreting engineering drawings with precise tolerances. Practical application includes accurately measuring parts and ensuring they meet specifications.
- Machining Processes: A thorough understanding of different machining processes like milling, turning, drilling, and grinding. Be prepared to discuss the applications of each process, the types of machines involved, and the selection criteria for choosing the right process for a given task.
- Materials Science: Knowledge of various metals, plastics, and other materials commonly used in machine shops, including their properties, machinability, and appropriate tooling. This shows an understanding of the materials you will be working with.
- Tooling and Fixtures: Understanding the selection and use of various cutting tools, tooling materials, and fixtures. Be able to explain how different tool geometries impact machining performance and surface finish.
- Computer Numerical Control (CNC) Machining: Familiarity with CNC programming, operation, and troubleshooting. This is increasingly important in modern machine shops, and demonstrating competency can significantly enhance your candidacy.
- Quality Control and Inspection: Understanding quality control methods, inspection techniques, and the importance of maintaining accurate records. Be prepared to discuss how you would identify and resolve quality issues.
- Troubleshooting and Problem-Solving: Demonstrate your ability to diagnose and resolve common machining problems, such as tool breakage, dimensional inaccuracies, or surface finish issues. Describe your approach to problem-solving in a systematic and logical manner.
Next Steps
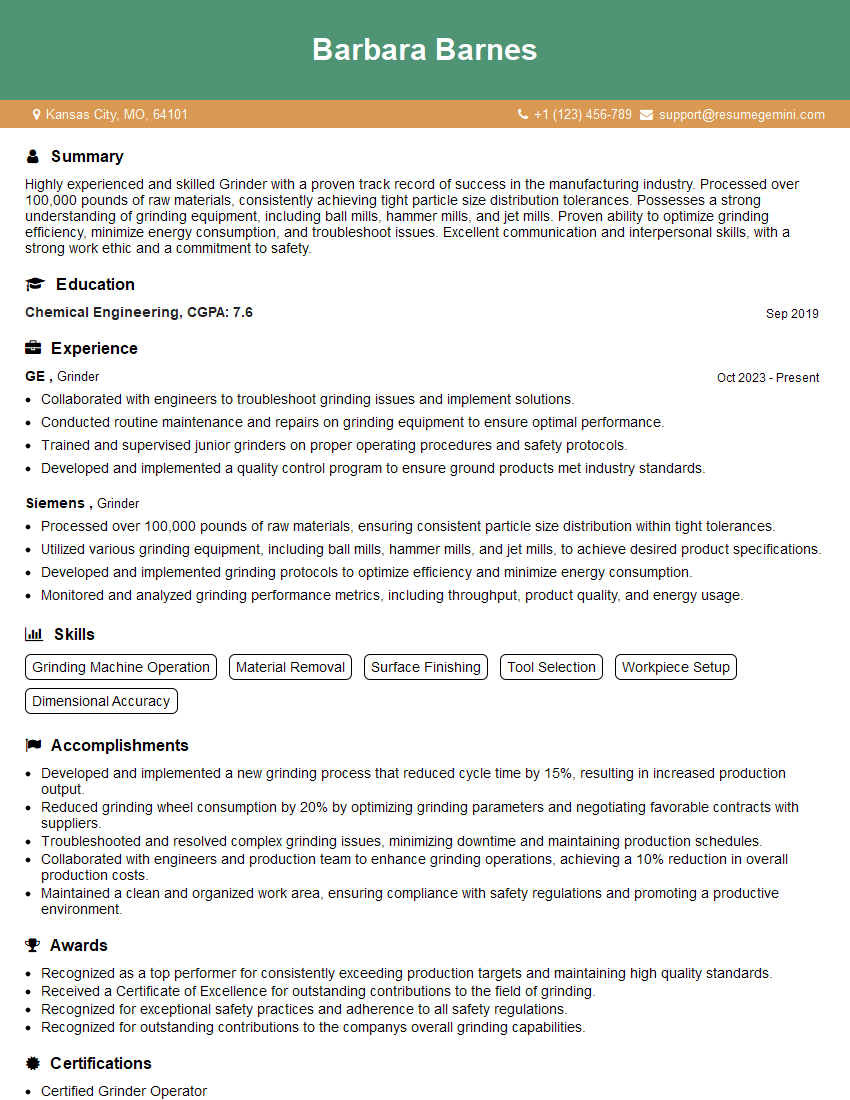
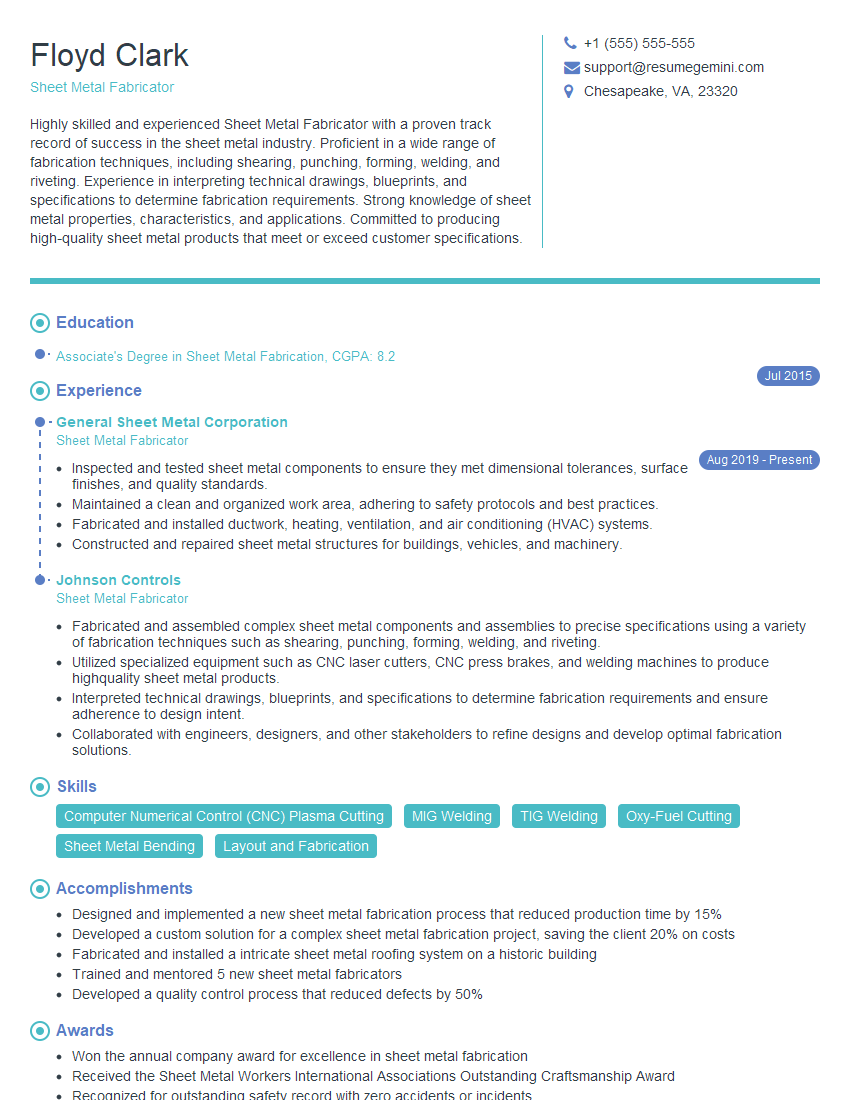
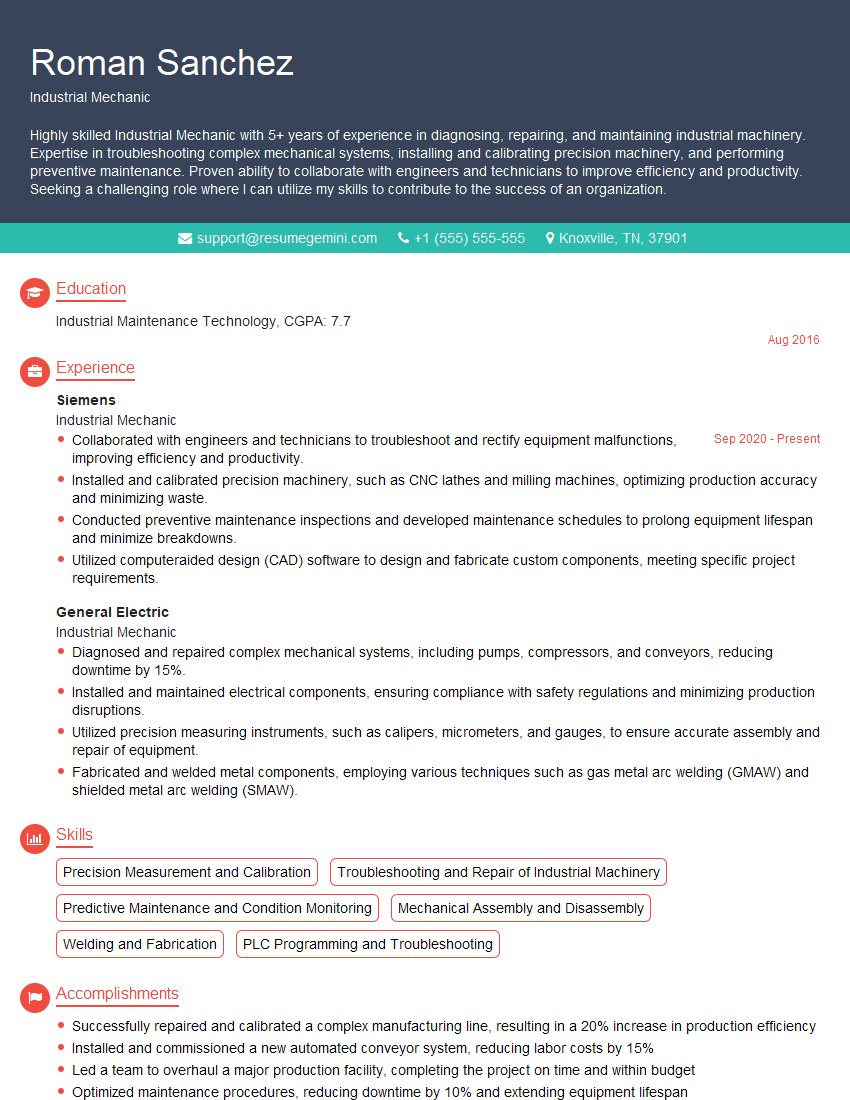
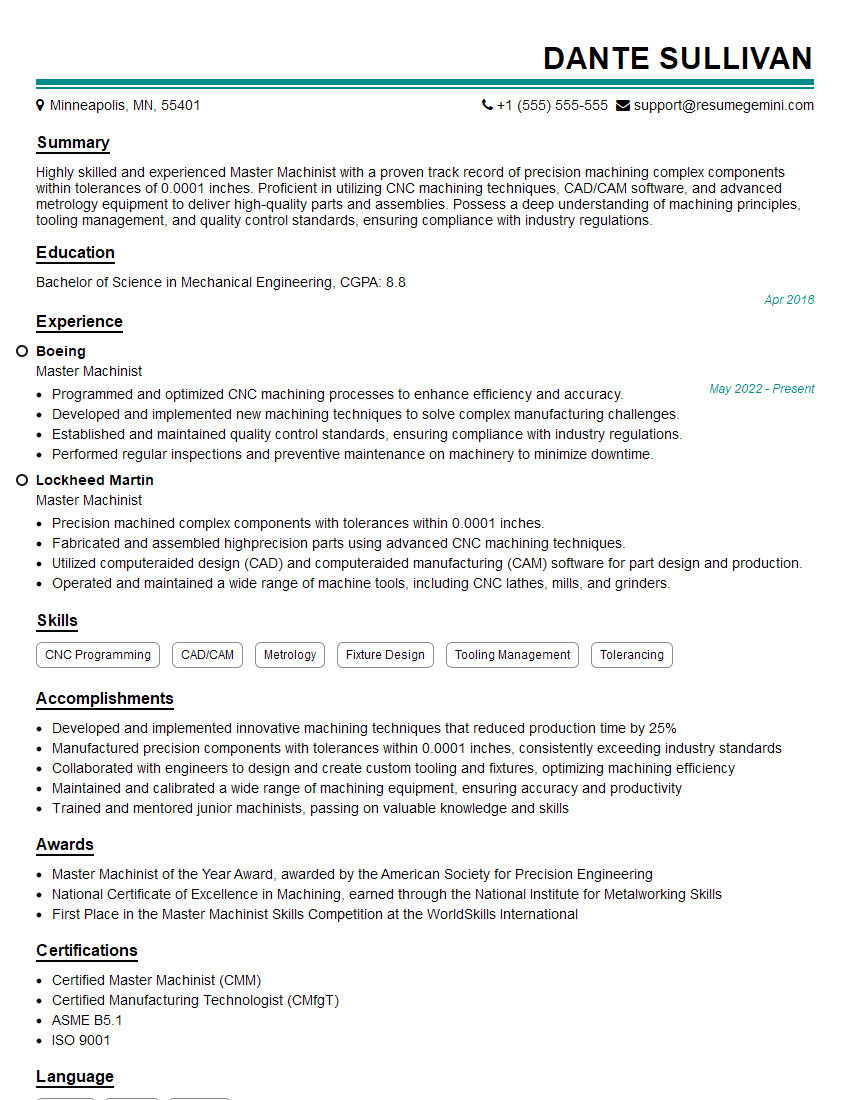
Mastering Machine Shop Practice is key to a successful and rewarding career. It opens doors to diverse and challenging roles in manufacturing, engineering, and related industries. To maximize your job prospects, focus on creating a professional and ATS-friendly resume that highlights your skills and experience effectively. ResumeGemini is a trusted resource that can help you build a compelling resume that showcases your abilities. They provide examples of resumes tailored specifically to Machine Shop Practice, ensuring your application stands out.
Explore more articles
Users Rating of Our Blogs
Share Your Experience
We value your feedback! Please rate our content and share your thoughts (optional).
What Readers Say About Our Blog
Very informative content, great job.
good
