Interviews are opportunities to demonstrate your expertise, and this guide is here to help you shine. Explore the essential Materials Testing Technician interview questions that employers frequently ask, paired with strategies for crafting responses that set you apart from the competition.
Questions Asked in Materials Testing Technician Interview
Q 1. Explain the difference between tensile strength and yield strength.
Tensile strength and yield strength are both measures of a material’s resistance to deformation under tensile stress, but they represent different points on the material’s stress-strain curve. Think of it like stretching a rubber band.
Tensile strength is the maximum stress a material can withstand before it breaks. It’s the highest point on the stress-strain curve. Imagine pulling the rubber band until it snaps; that breaking point represents the tensile strength. It’s expressed in units of stress, typically MPa (megapascals) or psi (pounds per square inch).
Yield strength, on the other hand, is the stress at which the material begins to deform permanently. This is the point where the rubber band starts to stretch and won’t return to its original length when you let go. It marks the transition from elastic deformation (reversible) to plastic deformation (permanent). Yield strength is crucial for determining a material’s suitability for applications where permanent deformation is unacceptable, like structural components.
For example, a high tensile strength material might be strong, but if it has a low yield strength, it may deform significantly before failing, rendering it unsuitable for certain applications. A material with both high tensile and yield strengths is ideal for load-bearing applications.
Q 2. Describe the process of conducting a Charpy impact test.
The Charpy impact test measures a material’s ability to absorb energy upon impact, essentially its toughness. It’s particularly useful for assessing a material’s susceptibility to brittle fracture at low temperatures.
The process involves:
- Specimen Preparation: A standardized notched specimen is prepared, ensuring precise dimensions and notch geometry. The notch concentrates stress, making it more likely to fracture.
- Mounting: The specimen is mounted in a pendulum-type impact testing machine, with the notch facing the impact hammer.
- Impact: A pendulum hammer is raised to a specific height (representing potential energy) and then released, striking the specimen.
- Energy Measurement: The energy absorbed during the fracture is measured by determining the difference between the pendulum’s initial and final height. This energy is then reported as impact energy, typically in joules.
- Data Analysis: The absorbed energy reflects the material’s toughness. A higher energy value indicates greater toughness and resistance to impact-induced fracture. Lower values suggest a more brittle material prone to sudden fracture.
The test results help engineers select appropriate materials for applications involving impact loading, such as in automotive parts or pressure vessels. Variations in impact energy with temperature can also indicate the ductile-to-brittle transition temperature (DBTT) – a critical parameter for materials used in cold climates.
Q 3. What are the different types of non-destructive testing (NDT) methods?
Non-destructive testing (NDT) methods allow us to evaluate a material’s properties without causing damage. Several popular techniques exist:
- Visual Inspection: The simplest method, involving visual examination for surface defects.
- Liquid Penetrant Testing (LPT): A dye is applied to the surface, penetrating cracks, and then a developer reveals the dye, highlighting defects.
- Magnetic Particle Testing (MT): Used for ferromagnetic materials, magnetic particles are applied to the surface, and a magnetic field reveals surface and near-surface defects by attracting the particles to discontinuities.
- Ultrasonic Testing (UT): High-frequency sound waves are used to detect internal flaws; echoes are analyzed to identify defects based on their size and location.
- Radiographic Testing (RT): X-rays or gamma rays are passed through the material, revealing internal defects based on variations in density or material composition. This is often used in weld inspection.
- Eddy Current Testing (ECT): Electromagnetic induction is used to detect surface and subsurface flaws in conductive materials.
The choice of NDT method depends on the material, the type of defects being sought, and the accessibility of the component.
Q 4. How do you interpret a stress-strain curve?
A stress-strain curve graphically represents the relationship between the applied stress and the resulting strain in a material. It’s fundamental for understanding material behavior.
The curve typically shows several key regions:
- Elastic Region: The initial linear portion, where stress and strain are directly proportional (Hooke’s Law). The material returns to its original shape after the stress is removed.
- Yield Point: The point where plastic deformation begins. Beyond this point, the material will not return to its original shape.
- Plastic Region: The region beyond the yield point, where permanent deformation occurs. The material undergoes significant stretching or elongation.
- Ultimate Tensile Strength: The maximum stress the material can withstand before failure.
- Fracture Point: The point where the material breaks.
By analyzing this curve, we can determine material properties like elastic modulus (stiffness), yield strength, tensile strength, and ductility (ability to deform plastically before fracture). This information is critical for selecting the right material for a given application, ensuring it can withstand the anticipated stresses without failure or excessive deformation.
Q 5. Explain the principles of hardness testing.
Hardness testing measures a material’s resistance to indentation or scratching. Several methods exist, each employing different indenting tools and measurement techniques:
- Brinell Hardness Test: Uses a hardened steel ball or carbide ball to indent the material. The indentation diameter is measured to calculate the Brinell hardness number (BHN).
- Rockwell Hardness Test: Uses a diamond cone or steel ball to indent the material under a preliminary load, followed by a major load. The difference in indentation depth determines the Rockwell hardness number (HRC, HRB, etc.).
- Vickers Hardness Test: Uses a diamond pyramid indenter, and the diagonal lengths of the resulting indentation are measured to calculate the Vickers hardness number (HV).
- Shore Durometer: Measures the hardness of elastomeric materials (rubbers, plastics) using a needle that penetrates the material; the penetration depth determines the Shore hardness.
Hardness testing is a quick, convenient, and relatively inexpensive method for evaluating the strength and wear resistance of materials. The chosen method depends on the material’s hardness range and type.
Q 6. What is fatigue failure, and how is it detected?
Fatigue failure occurs when a material fails under repeated cyclical loading, even if the stress applied during each cycle is lower than the material’s yield or ultimate tensile strength. Imagine repeatedly bending a paper clip back and forth; eventually, it will break, even if you’re not applying enough force to break it in a single attempt.
Fatigue failure is detected through various methods:
- Fatigue Testing: Controlled cyclical loading is applied to a specimen until failure. The number of cycles to failure (fatigue life) is determined.
- Fractography: Examining the fracture surface using microscopy reveals characteristic features of fatigue failure, such as fatigue striations (growth lines).
- Non-Destructive Testing (NDT): Techniques like ultrasonic testing can sometimes detect fatigue cracks before they lead to complete failure.
- Visual Inspection: Surface cracks or other visible signs of damage may indicate potential fatigue failure, especially in critical components.
Understanding fatigue failure is crucial for designing components that can withstand repeated loading cycles in service, as it is a significant cause of failures in many engineering applications.
Q 7. Describe your experience with different types of material testing equipment.
Throughout my career, I have extensively used a variety of materials testing equipment. My experience encompasses:
- Universal Testing Machines (UTMs): I’m proficient in operating UTMs for tensile, compression, flexure, and shear testing. I’m familiar with various grip types and fixture setups for different specimen geometries and materials. I have experience with both hydraulic and servo-controlled UTMs.
- Impact Testers (Charpy and Izod): I’m adept at conducting Charpy and Izod impact tests, preparing specimens, calibrating equipment, and interpreting results. I understand the importance of proper specimen preparation and test conditions.
- Hardness Testers (Brinell, Rockwell, Vickers): I have considerable experience with various hardness testing methods. This includes selecting the appropriate test method based on the material, calibrating equipment, and interpreting hardness values accurately. I’m also comfortable with microhardness testing.
- Fatigue Testing Machines: I have experience operating fatigue testing machines to evaluate material behavior under cyclical loading. This includes designing test parameters, running the tests, and analyzing data to determine fatigue life and fatigue strength.
- NDT Equipment: I have hands-on experience with several NDT methods, including ultrasonic testing equipment (both manual and automated), liquid penetrant testing equipment, and magnetic particle inspection equipment.
Beyond equipment operation, I’m equally skilled in data analysis, report writing, and troubleshooting equipment malfunctions. I consistently adhere to safety protocols and maintain precise calibration standards to ensure the accuracy and reliability of all testing procedures.
Q 8. How do you ensure the accuracy and reliability of your test results?
Ensuring accurate and reliable test results is paramount in materials testing. It’s a multi-faceted process involving meticulous attention to detail at every stage, from sample preparation to data analysis. We begin with proper calibration of all equipment – this is verified using traceable calibration certificates, ensuring our instruments are performing within acceptable tolerances. Think of it like calibrating a kitchen scale before baking a cake; an inaccurate scale leads to an inaccurate cake!
Next, strict adherence to established testing standards (like ASTM or ISO) is crucial. These standards outline precise procedures, ensuring consistency and comparability across different labs. For example, maintaining consistent temperature and humidity during testing is vital as these factors can significantly impact material properties. Furthermore, I always maintain detailed records of the entire testing process, including sample identification, test parameters, and observed data. This detailed documentation allows for traceability and enables thorough review in case of any discrepancy. Finally, I regularly perform quality control checks, including comparing results with previously tested materials or running control samples alongside the test samples to detect any systematic errors in the process.
Q 9. What are the safety precautions you take when conducting material tests?
Safety is my utmost priority. Materials testing often involves handling potentially hazardous materials and operating complex machinery. I always begin by reviewing the Safety Data Sheets (SDS) for any material I’m testing, understanding its potential hazards like flammability, toxicity, or reactivity. Appropriate personal protective equipment (PPE) is worn, which could include safety glasses, gloves, lab coats, and respirators, depending on the specific test and material. The testing environment is also crucial; I ensure that the area is well-ventilated, especially when working with volatile materials. Equipment is regularly inspected for damage or malfunction, and I receive proper training on the safe operation of all machinery. Furthermore, I follow established emergency procedures, ensuring I know the location of safety showers, eyewash stations, and fire extinguishers.
For example, during tensile testing of a brittle material, I would take extra precautions to shield myself from potential flying fragments. It’s not just about following rules; it’s about proactive risk assessment and mitigation. A safe working environment ensures both my safety and the integrity of the test results.
Q 10. Explain the concept of creep in materials.
Creep is the time-dependent deformation of a material under a constant load or stress, even at temperatures significantly below the material’s melting point. Imagine a heavy weight hanging on a wire; over time, the wire will slowly stretch and elongate, even if the weight remains constant. This slow deformation is creep. It’s influenced by factors like temperature, stress level, and the material’s microstructure. At higher temperatures, creep becomes more pronounced. Different materials exhibit varying creep resistance. For instance, some metals have superior creep resistance at high temperatures, making them suitable for applications like gas turbines, where they are subjected to both high stress and temperatures.
Creep can lead to catastrophic failure if not considered in design. Imagine a bridge’s support beams slowly deforming over years under constant load. Understanding creep behavior is therefore critical for designing structures and components intended for long-term service under stress, particularly at elevated temperatures.
Q 11. How do you handle non-conforming test results?
Non-conforming test results require a systematic investigation. My first step is to carefully review the entire testing procedure, checking for any procedural errors, mistakes in calculations, or equipment malfunction. I might re-examine the sample preparation process to ensure it adhered to the required standards. If an error is identified, I repeat the test with the corrected procedure or equipment. If the error is not readily apparent, I examine the data for anomalies or outliers. In this case, more rigorous analysis, such as statistical process control (SPC), may be necessary to discern if the deviations are random or systematic.
If the non-conformance persists after thorough investigation, I document the findings comprehensively, outlining all steps taken to identify and resolve potential issues. The findings are reported to the relevant personnel or supervisor. It is essential that the reasons behind the non-conformance are clearly communicated, allowing for corrective actions, whether it involves recalibration, retraining, or modifications in the testing process. Transparency and rigorous documentation are key in this scenario.
Q 12. What is the purpose of a calibration certificate?
A calibration certificate provides formal evidence that a piece of testing equipment has been verified against a known standard and is functioning within acceptable tolerances. Think of it as a passport for your testing instruments, proving their reliability. It specifies the date of calibration, the methods used, the results obtained, and the uncertainty associated with the measurements. Calibration certificates are essential for ensuring the accuracy and reliability of test results, and they are often a requirement for accreditation and regulatory compliance.
For instance, if I’m using a universal testing machine to determine the tensile strength of a material, I need a valid calibration certificate to demonstrate that the machine’s load cell accurately measures the applied force. Without this certification, the test results would lack credibility, potentially leading to inaccurate conclusions or safety concerns.
Q 13. How do you prepare a sample for tensile testing?
Preparing a sample for tensile testing is a critical step that directly impacts the accuracy of the results. The process begins with careful selection of the sample to ensure it’s representative of the material batch being tested. Next, the sample is machined to the precise dimensions specified by the relevant testing standard (e.g., ASTM E8). This often involves using precision cutting tools such as milling machines or band saws to create a standardized gauge length and a consistent cross-sectional area. Imperfections or surface irregularities in the sample could affect the outcome, so careful attention to surface finish is needed. Sometimes, specialized techniques are used depending on the material; for example, brittle materials might require specific polishing techniques to minimize edge cracks.
Finally, the sample is thoroughly cleaned to remove any contaminants that might affect the test results. Appropriate markings are made to ensure correct orientation during the testing process. Each step involves careful attention to detail and adherence to the chosen standard to ensure the final sample’s quality and suitability for testing. Think of it as preparing a chef’s ingredient – proper preparation is key to a successful recipe!
Q 14. Describe your experience with data analysis and reporting.
I have extensive experience in data analysis and reporting, using various software packages, including spreadsheet programs and specialized materials testing software. I’m proficient in statistical analysis, including calculating mean, standard deviation, and other statistical parameters to assess data variability and draw meaningful conclusions. I routinely generate graphs and charts to visually represent the data, making it easier to identify trends and patterns. This might include stress-strain curves from tensile tests, or fatigue life curves from cyclic loading tests.
Beyond basic data analysis, I’m experienced in writing comprehensive technical reports, summarizing the findings of the tests and presenting them in a clear and concise manner. These reports include a detailed description of the testing methods, the raw data, the analysis results, and conclusions drawn from the findings. The report also includes relevant graphs and figures to support the findings. I also incorporate images of the tested samples and the testing equipment used. I ensure all reports adhere to relevant standards and regulatory requirements.
Q 15. How familiar are you with ASTM standards?
ASTM International (formerly known as the American Society for Testing and Materials) develops and publishes standardized test methods, specifications, and guidelines for materials, products, systems, and services. My familiarity with ASTM standards is extensive. I regularly utilize them in my work, referencing specific standards like ASTM E8 for tensile testing, ASTM E185 for hardness testing, and ASTM D638 for tensile properties of plastics. Knowing these standards ensures consistency and reliability in testing procedures and reported results, allowing for accurate comparisons across different labs and projects. I understand the importance of adhering to these standards for maintaining data integrity and ensuring compliance with industry regulations.
Career Expert Tips:
- Ace those interviews! Prepare effectively by reviewing the Top 50 Most Common Interview Questions on ResumeGemini.
- Navigate your job search with confidence! Explore a wide range of Career Tips on ResumeGemini. Learn about common challenges and recommendations to overcome them.
- Craft the perfect resume! Master the Art of Resume Writing with ResumeGemini’s guide. Showcase your unique qualifications and achievements effectively.
- Don’t miss out on holiday savings! Build your dream resume with ResumeGemini’s ATS optimized templates.
Q 16. Explain the difference between destructive and non-destructive testing.
Destructive testing (DT) involves evaluating a material’s properties by damaging or destroying the sample during the testing process. This provides precise data about material strength, fracture behavior, and other critical properties. Examples include tensile testing, where a specimen is pulled until it breaks, and impact testing, where a specimen is subjected to sudden force. In contrast, non-destructive testing (NDT) methods assess material properties without causing damage. This is crucial for evaluating components that must remain functional after testing. NDT methods include techniques like ultrasonic testing (using sound waves), radiographic testing (using X-rays or gamma rays), and magnetic particle inspection (detecting surface flaws in ferromagnetic materials). The choice between DT and NDT depends on the project’s requirements; if the sample is expendable and detailed material characterization is needed, DT is preferred. If preserving the sample’s integrity is paramount, NDT is necessary.
Q 17. What is your experience with different types of microscopy (e.g., optical, SEM)?
I have significant experience with both optical microscopy and scanning electron microscopy (SEM). Optical microscopy allows for visual examination of a material’s microstructure at lower magnifications, often used for identifying phases, grain size, and surface features. I routinely use optical microscopes for initial material characterization and defect analysis. SEM, on the other hand, offers much higher magnification and resolution, enabling detailed imaging of surface morphology, microstructure, and compositional analysis using energy-dispersive X-ray spectroscopy (EDS). I’ve used SEM extensively to investigate fracture surfaces, identify inclusions, and characterize surface coatings. For instance, I once used SEM-EDS to analyze the failure of a component, identifying the presence of a brittle second phase that initiated cracking. This information was vital in redesigning the component and preventing future failures.
Q 18. How do you identify different types of material fractures?
Identifying material fracture types requires careful examination of the fracture surface. Several key features help distinguish different fracture modes:
- Ductile Fracture: Characterized by significant plastic deformation before failure, often showing cup-and-cone fracture surfaces. The fracture surface has a rough, fibrous texture.
- Brittle Fracture: Involves minimal plastic deformation, resulting in flat, relatively smooth fracture surfaces with cleavage facets (crystallographic planes). Often shows sharp crack propagation.
- Fatigue Fracture: Usually displays characteristic beach marks (also known as clamshell marks) on the fracture surface, indicative of progressive crack growth under cyclic loading. A region of slow crack propagation followed by a final fast fracture is typical.
- Creep Fracture: Caused by prolonged exposure to stress at elevated temperatures. The fracture surface often displays grain boundary cavitation and intergranular cracking.
Q 19. What are your strengths and weaknesses in a laboratory setting?
My strengths in a laboratory setting include meticulous attention to detail, a methodical approach to testing, and a strong understanding of statistical analysis. I’m proficient in operating various testing machines and interpreting results, always ensuring data accuracy and traceability. I also work well both independently and collaboratively. A weakness, which I am actively working to improve, is sometimes getting bogged down in detailed analysis and losing sight of the overall project timeline. To address this, I’m implementing more effective time management techniques and prioritizing tasks more strategically.
Q 20. Explain your experience with using specific material testing software.
I have extensive experience with several material testing software packages, including TestXpert, Bluehill, and Instron software. These programs are essential for controlling testing machines, collecting and analyzing data, and generating reports. For instance, I use TestXpert to program tensile tests, acquire stress-strain curves, and calculate material properties like yield strength and ultimate tensile strength. My proficiency in these programs ensures efficient data acquisition, analysis, and reporting. This allows for seamless integration of test data into broader project analysis.
Q 21. Describe a time you had to troubleshoot a problem with a testing machine.
During a fatigue testing experiment, the machine unexpectedly stopped mid-test. Initially, I suspected a software error. However, after checking the software and finding no anomalies, I systematically investigated the hardware. I discovered a loose connection in the load cell wiring. Once tightened, the machine resumed operation without issue. This experience reinforced the importance of methodical troubleshooting, starting with the simplest possibilities before moving to more complex issues. It highlighted the need to consider both software and hardware components when diagnosing equipment malfunctions. Proper documentation of the issue and its resolution was key in preventing similar future occurrences.
Q 22. How do you maintain accurate records of your test results?
Maintaining accurate test result records is paramount in materials testing. It ensures data integrity, traceability, and supports informed decision-making. My approach involves a multi-layered system:
- Detailed Lab Notebooks: I meticulously document each test, including the specimen identification number, date, time, test parameters (temperature, load, etc.), observed behavior during testing, and raw data. Any deviations from standard procedures are noted with explanations.
- Digital Data Logging: Most modern testing equipment provides digital output. I ensure this data is seamlessly integrated with a laboratory information management system (LIMS) or a similar software for secure storage and analysis. This eliminates manual data entry errors.
- Regular Data Backups: Data loss can be catastrophic. I implement a robust backup strategy that includes both on-site and off-site backups, minimizing the risk of data corruption or loss.
- Quality Control Checks: Regular internal audits and cross-checking of results with colleagues are implemented to identify and correct any potential inconsistencies.
For example, if I’m conducting a tensile test, my lab notebook would record the material type, specimen dimensions, the load-elongation curve generated by the testing machine, and any visual observations such as necking or fracture appearance. This comprehensive approach guarantees accuracy and reliability.
Q 23. What is your understanding of statistical process control (SPC)?
Statistical Process Control (SPC) is a crucial tool for monitoring and controlling the variability in any process, including materials testing. It helps us identify trends and potential problems early on, preventing significant defects or failures. Understanding SPC allows me to:
- Monitor Test Data: SPC uses control charts (like X-bar and R charts) to visually represent the variation in test results over time. This enables quick identification of trends indicating a shift in the mean or an increase in variability.
- Identify Out-of-Control Conditions: When data points fall outside the control limits of the chart, it signals a potential problem – perhaps a machine malfunction, a change in material properties, or operator error. This requires immediate investigation.
- Improve Test Consistency: By regularly monitoring the control charts, we can identify areas for improvement in our testing processes, leading to more consistent and reliable results.
- Reduce Waste: Early detection of problems through SPC helps minimize the production of defective materials, reducing waste and saving resources.
Imagine a situation where we’re testing the tensile strength of a metal alloy. If the control chart shows a consistent downward trend in strength, this alerts us to a potential issue with the material’s manufacturing process or even a calibration problem with the testing machine.
Q 24. How do you ensure the traceability of your test results?
Traceability in materials testing is essential for ensuring the validity and reliability of the test results. It involves creating an unbroken chain of custody for the specimen, from its origin to the final test report. This is achieved through:
- Unique Specimen Identification: Each specimen receives a unique identification number that is tracked throughout the entire testing process. This number is documented in the lab notebook, digital data, and the final report.
- Calibration Certificates: All testing equipment is regularly calibrated using traceable standards, ensuring the accuracy of the measurements. Calibration certificates are kept on file.
- Material Certificates: The material being tested must have its own identification and properties documented. This could be a mill certificate providing chemical composition and mechanical properties.
- Chain of Custody Documentation: A detailed record of who handled the specimen, when, and where it was stored ensures the integrity of the testing process.
If a question arises about a specific test, we can trace back the entire history of that specimen and the equipment used, confirming the validity of the result. This is critical, especially in cases of legal disputes or product liability claims.
Q 25. Describe your experience with different types of material failure modes.
Material failure modes represent different ways materials can break or fail under stress. My experience encompasses various failure modes, including:
- Ductile Fracture: This occurs in materials that deform significantly before failure, exhibiting necking and cup-cone fracture surfaces. Examples include mild steel under tensile loading.
- Brittle Fracture: This is characterized by sudden failure with little or no plastic deformation. Glass and cast iron are classic examples.
- Fatigue Failure: This occurs due to repeated cyclic loading, leading to crack initiation and propagation. It often exhibits characteristic beach marks on the fracture surface.
- Creep Failure: This involves slow, time-dependent deformation under constant load at elevated temperatures. This is a common concern in high-temperature applications like turbines.
- Corrosion Failure: Deterioration of material properties due to chemical or electrochemical reactions with the environment. Rusting of steel is a common example.
Recognizing the failure mode is crucial for identifying the root cause of the failure and implementing corrective actions. For instance, if a component fails due to fatigue, it might require redesign to reduce cyclic loading or the use of a material with higher fatigue strength.
Q 26. Explain your experience in identifying and resolving discrepancies in test data.
Discrepancies in test data can arise due to various factors, including equipment malfunction, operator error, or material inconsistencies. My approach to resolving these involves:
- Reviewing Test Procedures: I carefully re-examine the test procedures to ensure they were followed correctly. This includes checking for any deviations or errors in setup, calibration, or data recording.
- Verifying Equipment Calibration: I verify the calibration status of the testing equipment to rule out equipment malfunction as a possible cause.
- Re-testing Specimens: If the discrepancy is significant, I would re-test the specimen or additional samples from the same batch to confirm the results. This helps to eliminate random error.
- Analyzing the Data: I look for patterns in the data. Are there systematic errors? Statistical analysis can help identify potential biases or sources of variation.
- Consultation with Colleagues: In complex cases, I consult with experienced colleagues or supervisors to discuss the discrepancy and seek their insights.
For example, if a tensile test yields unusually low strength values, I might first check the calibration of the testing machine and the accuracy of specimen preparation before considering re-testing.
Q 27. What are your preferred methods for documenting test procedures?
Effective documentation of test procedures is essential for maintaining consistency, ensuring traceability, and facilitating future testing. My preferred methods include:
- Standard Operating Procedures (SOPs): Detailed step-by-step instructions for each test procedure are documented in SOPs. These are reviewed and updated regularly to ensure accuracy and reflect any changes in equipment or techniques.
- Flowcharts: Visual representations of the test procedures using flowcharts can be particularly helpful for complex tests, improving clarity and understanding.
- Templates: Using standardized templates for recording test data ensures consistency and reduces the risk of omissions.
- Digital Documentation: Storing SOPs and test data electronically using a LIMS or other database allows for easy access, retrieval, and sharing of information.
The SOPs are comprehensive, including details such as sample preparation, equipment setup, calibration requirements, testing steps, data analysis techniques, and reporting requirements. Each step is clearly defined, leaving no room for ambiguity.
Q 28. How would you approach a situation where you suspect a testing equipment malfunction?
Suspecting equipment malfunction during testing requires a systematic approach to ensure data integrity and prevent further errors. My response involves:
- Immediate Cessation of Testing: The first step is to stop the testing immediately to prevent the generation of potentially inaccurate data.
- Visual Inspection: I perform a thorough visual inspection of the equipment, checking for any obvious signs of damage or malfunction, such as loose connections, damaged cables, or unusual noises.
- Calibration Check: The equipment’s calibration status is checked against its calibration certificate. If it’s due for recalibration, or if there’s doubt about its accuracy, it’s taken out of service.
- Diagnostic Tests: I perform simple diagnostic tests, where applicable, to check the functionality of the equipment. This could involve running a test on a known standard specimen.
- Reporting the Malfunction: I immediately report the suspected malfunction to my supervisor or the appropriate personnel. This ensures timely intervention and repair.
- Documentation: All findings are meticulously documented, including the nature of the suspected malfunction, the steps taken, and any corrective actions implemented.
For example, if a tensile testing machine displays erratic load readings, I would immediately halt the testing, visually inspect the machine, check the calibration, and report the issue to the lab manager before any further testing could be conducted.
Key Topics to Learn for Materials Testing Technician Interview
- Mechanical Testing: Understanding tensile, compressive, flexural, and impact testing methods; interpreting stress-strain curves and identifying material properties like yield strength, ultimate tensile strength, and modulus of elasticity.
- Practical Application: Explaining how different mechanical testing methods are applied to various materials (metals, polymers, composites) to ensure quality control and product safety in manufacturing.
- Non-Destructive Testing (NDT): Familiarizing yourself with techniques like ultrasonic testing (UT), radiographic testing (RT), magnetic particle inspection (MPI), and liquid penetrant inspection (LPI); understanding their applications and limitations.
- Practical Application: Describing how NDT methods are used to detect flaws and imperfections in materials without causing damage, ensuring structural integrity and preventing failures.
- Material Characterization: Understanding techniques for determining material properties like density, hardness, microstructure, and chemical composition; using microscopy and spectroscopy.
- Practical Application: Explaining how material characterization informs material selection and process optimization in various industries.
- Data Analysis and Reporting: Mastering data acquisition, analysis, and interpretation from testing equipment; effectively communicating results through clear and concise reports.
- Practical Application: Demonstrating your ability to analyze test data, identify trends, and draw conclusions to support decision-making in quality control and product development.
- Laboratory Safety and Procedures: Understanding and adhering to safety regulations and protocols in a materials testing laboratory environment.
- Practical Application: Describing your experience with handling hazardous materials, operating testing equipment safely, and maintaining a clean and organized workspace.
- Troubleshooting and Problem-Solving: Identifying and resolving issues with testing equipment, procedures, or data interpretation.
Next Steps
Mastering the skills of a Materials Testing Technician opens doors to a rewarding career with excellent growth potential in various industries. To maximize your job prospects, focus on creating a strong, ATS-friendly resume that highlights your technical skills and experience. ResumeGemini is a trusted resource to help you build a professional and impactful resume. Examples of resumes tailored specifically to Materials Testing Technicians are available to guide you. Take the next step towards your dream career today!
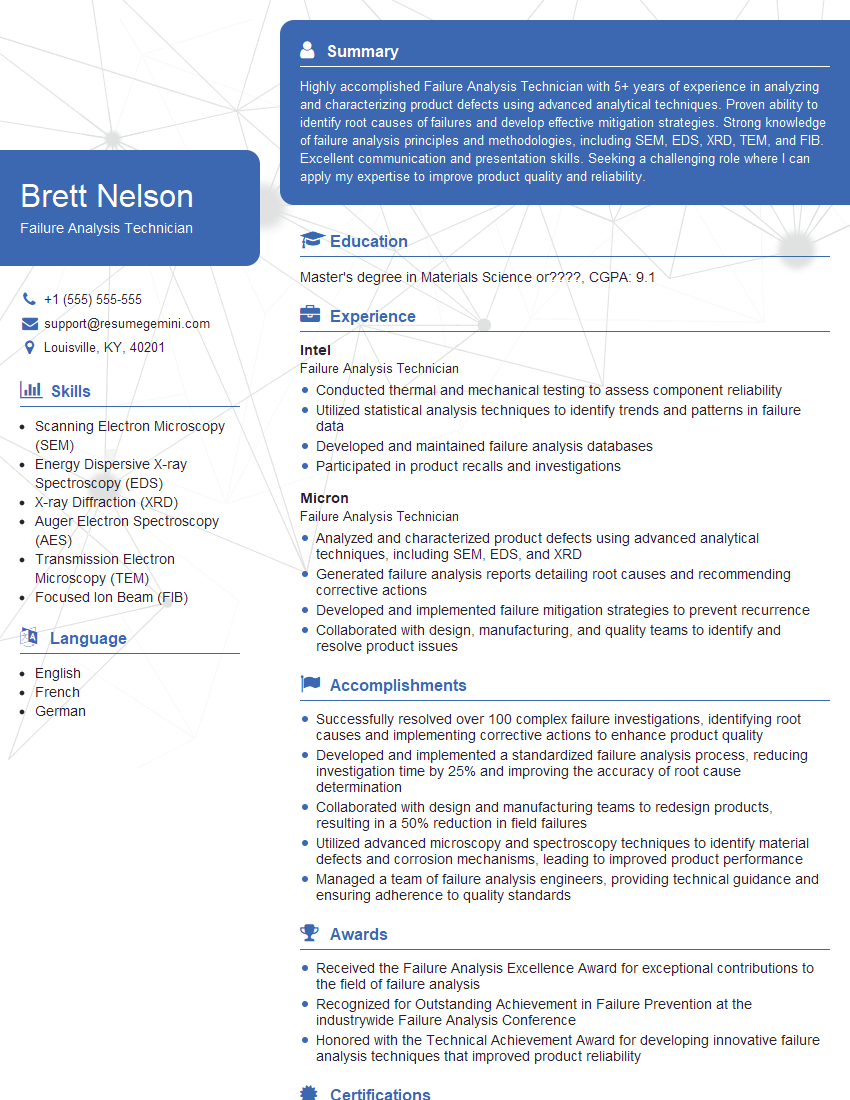
Failure Analysis Technician Resume Sample

Quality Assurance Technician Resume Sample
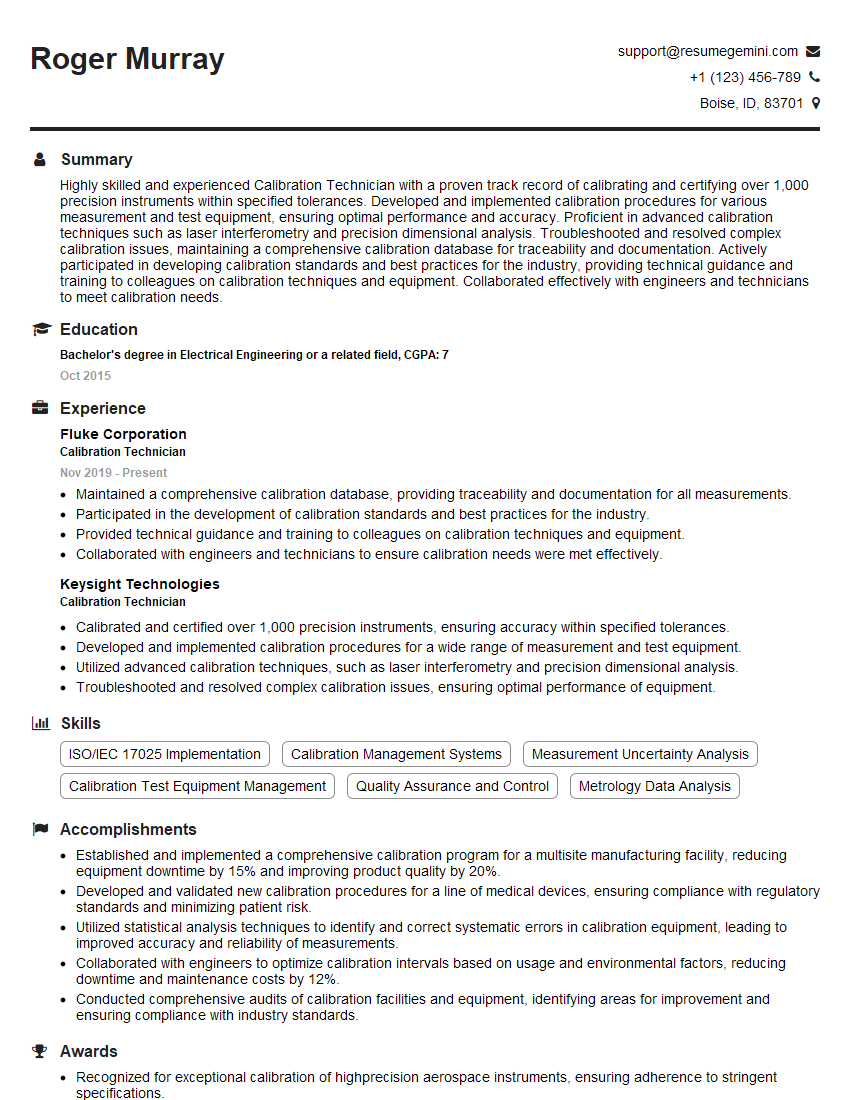
Calibration Technician Resume Sample

Test Technician Resume Sample
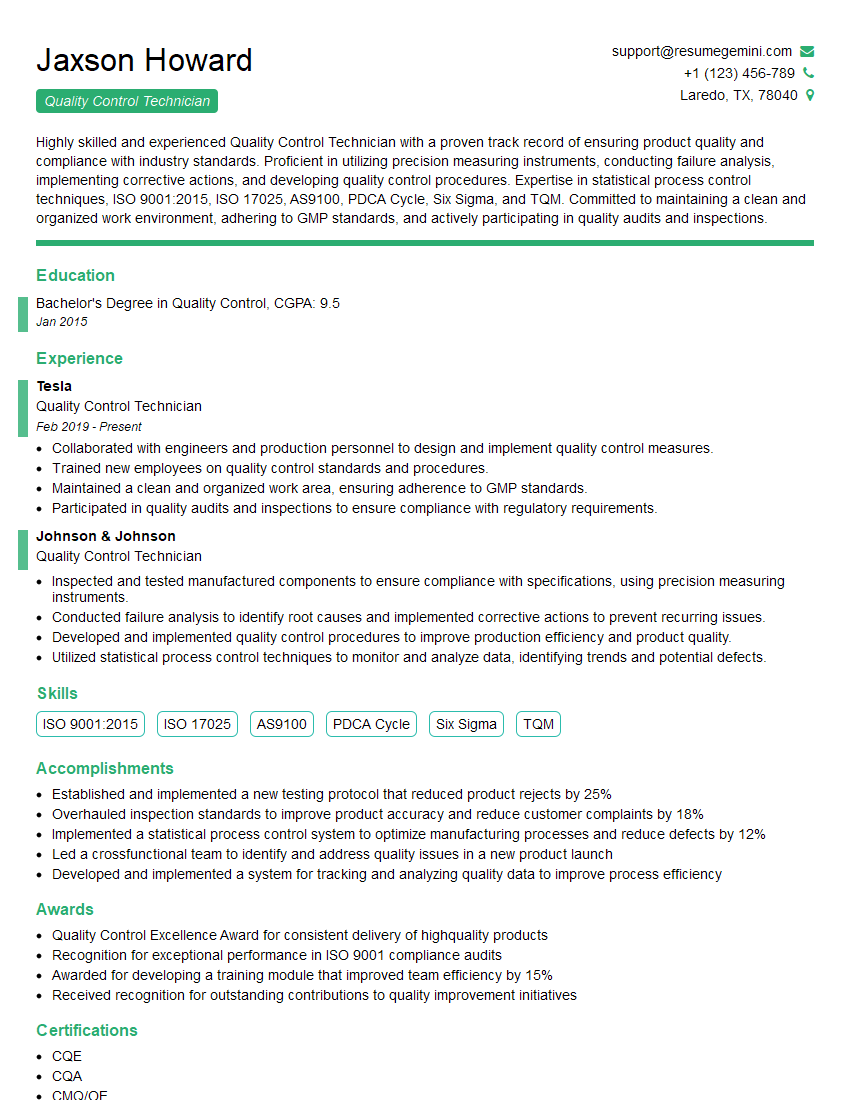
Quality Control Technician Resume Sample
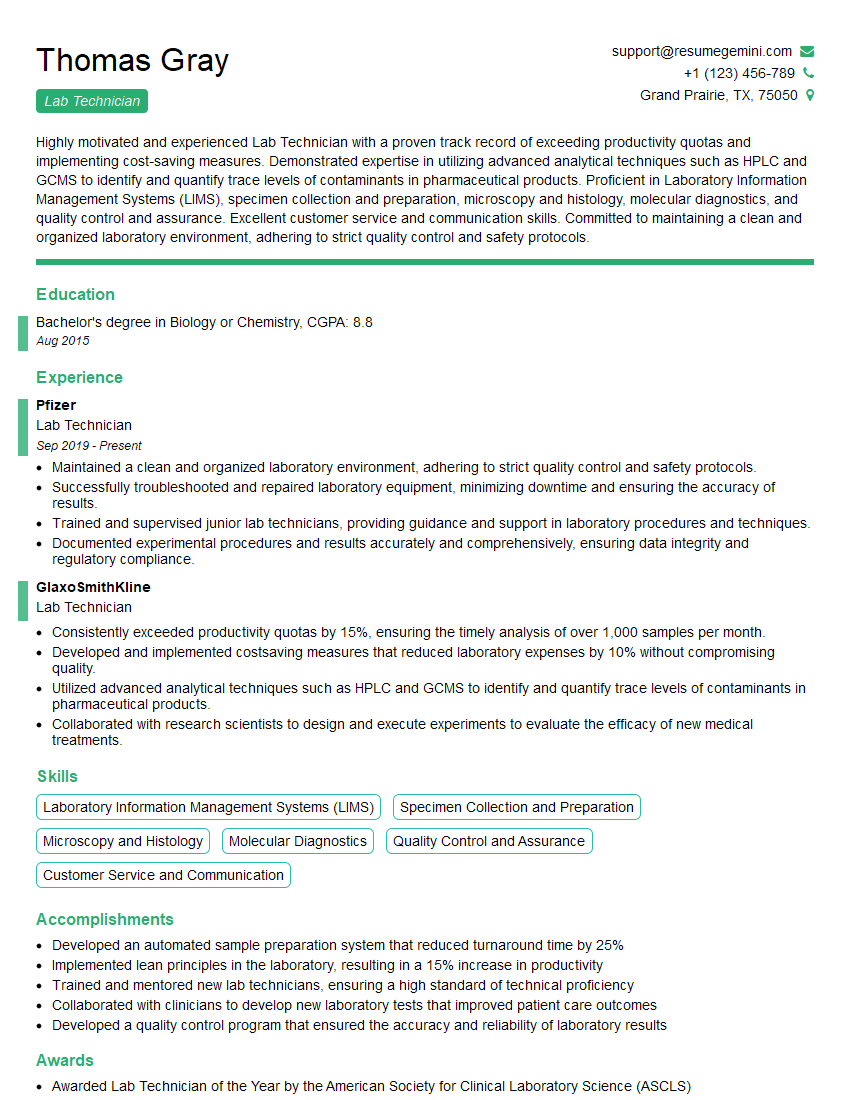
Lab Technician Resume Sample
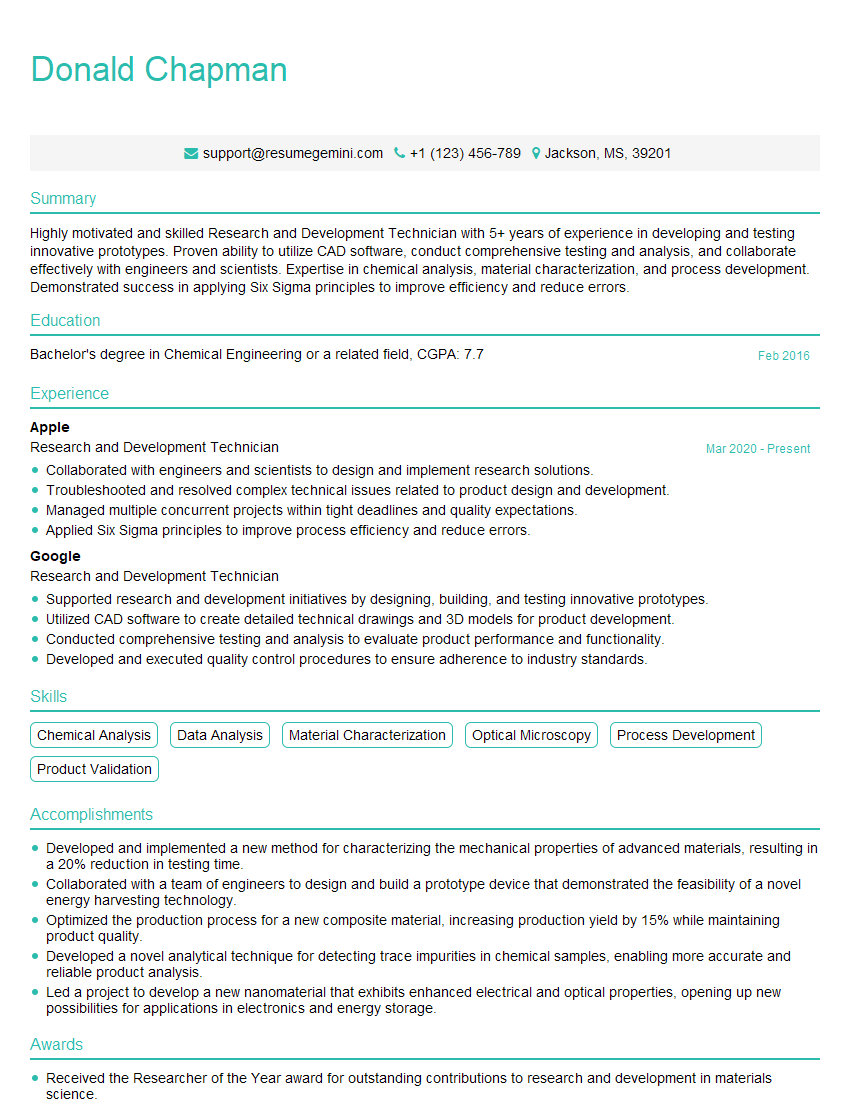
Research and Development Technician Resume Sample

Metallurgical Technician Resume Sample
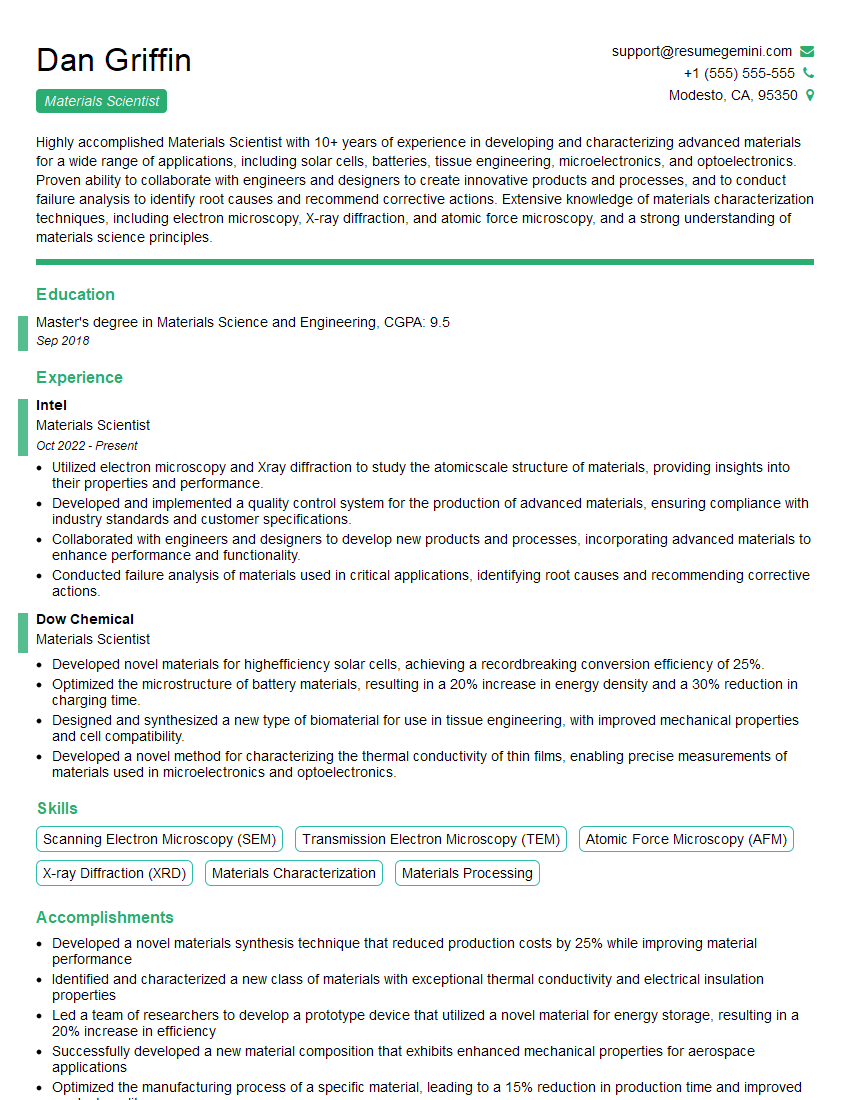
Materials Scientist Resume Sample

Metrology Technician Resume Sample

Quality Control Inspector Resume Sample
Explore more articles
Users Rating of Our Blogs
Share Your Experience
We value your feedback! Please rate our content and share your thoughts (optional).
What Readers Say About Our Blog
Very informative content, great job.
good