Preparation is the key to success in any interview. In this post, we’ll explore crucial Use of hand tools interview questions and equip you with strategies to craft impactful answers. Whether you’re a beginner or a pro, these tips will elevate your preparation.
Questions Asked in Use of hand tools Interview
Q 1. What safety precautions do you take when using hand tools?
Safety is paramount when working with hand tools. It’s not just about avoiding injury; it’s about ensuring efficient and productive work. My safety precautions always begin with a thorough assessment of the workspace and the task at hand. This includes checking for hazards like loose wires, obstructions, or unstable surfaces.
- Personal Protective Equipment (PPE): I always wear appropriate safety glasses or a face shield to protect my eyes from flying debris. Depending on the task, I’ll also use work gloves to improve grip and protect my hands, and hearing protection for noisy tasks.
- Tool Condition: Before starting any project, I inspect all my tools. A dull chisel is more dangerous than a sharp one because it requires more force, increasing the risk of slippage. I ensure that all tools are in good working order – handles are secure, blades are sharp (where applicable), and there’s no damage to the tool’s structure.
- Proper Technique: Using tools correctly is crucial. This means maintaining a firm grip, using the right tool for the job, and avoiding forcing a tool beyond its capabilities. I always work at a comfortable pace, taking breaks when needed to prevent fatigue, a major cause of accidents.
- Workspace Organization: A clutter-free workspace is a safer workspace. I keep my tools organized and within easy reach to prevent reaching or stretching awkwardly. I also ensure adequate lighting to prevent eye strain and accidental cuts.
- Awareness of Surroundings: I’m always conscious of my surroundings and other people in the vicinity. I communicate my actions to others, especially when working in a team, and I avoid distracting others.
For example, when using a chisel, I always ensure the work piece is securely clamped to prevent it from moving unexpectedly. Similarly, when hammering, I ensure my swing is controlled and I’m aware of what’s behind my target to avoid hitting anything unintended.
Q 2. Explain the proper use and maintenance of a claw hammer.
A claw hammer is a fundamental tool for driving and removing nails. Proper use and maintenance are key to its longevity and safety.
- Proper Use: Start by placing the nail where it needs to go and gently tap it to start. Then, swing the hammer smoothly, using your whole arm and not just your wrist. Strike the nail head squarely to prevent bending. When removing nails, position the claw correctly, place the hammer head firmly on the wood, and gently rock the nail out, avoiding the risk of slipping and injury.
- Maintenance: Regular cleaning is important. Wipe the hammer head clean after each use to remove debris and rust. If the hammer head shows signs of damage, it needs replacing. Keep the hammer handle oiled to prevent cracking. Inspect the handle regularly for any cracks or splits – a damaged handle is a safety hazard.
One practical application is constructing a wooden frame. Using the claw hammer to carefully position and drive nails ensures the frame is structurally sound. To maintain it, I’d regularly check the handle for cracks and occasionally apply a thin layer of oil to preserve the wood.
Q 3. Describe different types of screwdrivers and their applications.
Screwdrivers come in various types, each designed for specific screw heads. The wrong screwdriver can damage both the screw and the tool itself.
- Flathead Screwdrivers: These have a flat, blade-like tip used for slots in screws. Different sizes cater to different screw slot widths. They’re used for a variety of applications, from assembling furniture to electrical work.
- Phillips Screwdrivers: These have a cross-shaped tip, which engages the X-shaped recesses of Phillips screws. The cross shape provides better grip and torque, preventing the screwdriver from slipping out, especially with forceful applications.
- Torx Screwdrivers: These have a star-shaped tip and are frequently found in high-torque applications, such as securing parts in vehicles or machinery. They offer better resistance to cam-out than Phillips or flathead screwdrivers.
- Hex/Allen Key Screwdrivers (also called Allen wrenches): These have a hexagonal tip used for hex screws (also known as Allen screws or socket head cap screws). They are common in many mechanical assemblies, tools, and furniture.
- Pozidriv Screwdrivers: These have a cross-shaped tip similar to Phillips but with extra small notches and larger tip. They are designed to reduce the chance of cam-out and handle higher torques compared to the Phillips head.
For instance, assembling a piece of IKEA furniture usually requires both flathead and Phillips screwdrivers for different screws. It’s vital to choose the right size and type for each screw to avoid stripping the screw head or damaging the tool.
Q 4. How do you select the appropriate wrench for a specific bolt or nut?
Selecting the correct wrench is essential to prevent damage to both the fastener and the tool. The most important factor is the size of the bolt or nut head.
- Measurement: The wrench’s size should precisely match the bolt or nut’s size. Wrenches are typically measured in millimeters (mm) or inches (in).
- Type: Different wrenches are designed for different purposes: open-ended wrenches, box-end wrenches, combination wrenches (combining open and box-end), socket wrenches, and adjustable wrenches. Adjustable wrenches are handy for various sizes but often lack the precise grip of fixed-size wrenches.
- Material: The material of the wrench also matters. High-quality wrenches, often made from chrome vanadium steel, are stronger and more durable.
If you try using a wrench that’s too small, you risk rounding the corners of the nut or bolt, making it extremely difficult to remove. A wrench that’s too large might slip, causing injury or damage to the equipment. I always double-check the size before applying any torque.
Q 5. What are the differences between a Phillips and a flathead screwdriver?
Phillips and flathead screwdrivers differ significantly in their tip design and applications:
- Flathead: The blade is completely flat. It’s simple to use but prone to cam-out (slipping out of the screw slot), especially when applying significant force.
- Phillips: The cross-shaped tip provides better grip and torque, reducing the chance of cam-out. This makes it suitable for higher-torque applications.
The choice between them depends on the screw type. Flathead screwdrivers are used on slotted screws, while Phillips screwdrivers are used for screws with a cross-shaped recess. The difference in design is crucial; using the wrong type can strip the screw head and render it unusable.
Q 6. How do you sharpen a chisel?
Sharpening a chisel is a crucial skill for any woodworker. A sharp chisel allows for cleaner cuts and reduces the risk of injury. The process usually involves using a sharpening stone.
- Choose the right sharpening stone: A combination stone (coarse and fine grits) is best. Start with the coarse side to remove significant damage and move to the fine side for a smooth, sharp edge. Always keep the stone wet during the process.
- Maintain the correct angle: Hold the chisel at a consistent angle (typically 25-30 degrees) against the stone. This angle determines the sharpness and durability of the bevel. Use a sharpening guide if you’re unsure of the exact angle.
- Use consistent strokes: Move the chisel back and forth across the stone with even pressure. Avoid applying too much pressure, as this can damage the chisel or the stone. It is crucial to have even pressure on both sides of the chisel.
- Check the sharpness: Test the sharpness by gently trying to shave a thin piece of wood. If the chisel cuts cleanly, it’s sharp. If not, repeat the process until it is.
Ignoring sharpening can lead to a dull chisel that’s difficult to use and more likely to slip and cause an injury. Sharpening regularly helps maintain the chisel’s effectiveness and prevents unnecessary force during cutting.
Q 7. Explain the importance of using the correct size drill bit.
Using the correct size drill bit is critical for clean, accurate drilling and prevents damage to the material being drilled.
- Hole size: A drill bit that’s too small will require excessive force and may break or cause the drill bit to overheat. A bit that’s too large risks cracking or splitting the material.
- Material type: Different materials require different drill bits. For example, a wood drill bit is not suitable for metal. The choice of drill bit should also take into account factors like hardness, brittleness, and thickness.
- Type of drill bit: Various types of drill bits exist, each suited for specific materials and applications. Selecting the wrong type can negatively affect the quality of the hole and may cause damage to the material or the drill bit.
Imagine drilling a hole in a thin piece of wood with a drill bit that’s too large—you risk splitting the wood completely! Conversely, using a drill bit that’s too small to drill into metal will result in a lot of friction and heat generation, damaging the drill bit and possibly the metal itself. Selecting the proper drill bit ensures a clean, efficient process and a better end product.
Q 8. Describe your experience using a hand saw.
Using a hand saw effectively involves more than just sawing; it’s about precision, control, and safety. My experience spans various saw types, from coping saws for intricate cuts to crosscut saws for clean, perpendicular cuts and rip saws for cutting wood along the grain. I’ve used them extensively in furniture making, carpentry, and even home repairs. I’m proficient in choosing the right saw for the job, understanding the importance of blade selection (tooth count and type), and maintaining proper posture to avoid fatigue and injury. For instance, when using a crosscut saw, I focus on maintaining a consistent, smooth push-pull motion, ensuring I’m sawing squarely and not forcing the cut, as this will lead to a crooked cut and possible damage to the saw.
I also understand the importance of saw maintenance. Keeping the teeth sharp and free of resin is crucial for efficiency and safety. A dull saw requires more force, increasing the risk of injury.
Q 9. How do you measure accurately using a tape measure?
Accurate measurement is paramount in any woodworking project. Using a tape measure effectively involves more than just reading the numbers; it’s about technique and precision. Firstly, I always ensure the tape is firmly against the surface being measured to prevent any slippage or inaccuracies. I use my thumb to hold the tape at the starting point and read the measurement from the hook at the end, making sure to understand the hook’s slight compensation (it adds a bit of length) which is critical in precise measurements.
For more precise measurements, I often use a combination of a tape measure and a marking tool, such as a pencil. I would mark off the desired length first, then double-check my measurement before making any cuts. I avoid stretching the tape measure, as this can lead to inaccurate readings. If I need to measure something longer than the tape itself, I make multiple measurements and add them together, ensuring that the overlap is always measured accurately.
Q 10. What are some common hand tool safety hazards?
Hand tool safety hazards are numerous, and often overlooked. Some common hazards include:
- Cuts and lacerations: Sharp blades on saws, chisels, and knives are obvious dangers.
- Punctures: Nails, screws, and awls can easily penetrate skin.
- Crushing injuries: Heavy tools or materials can cause serious injury if dropped or mishandled.
- Eye injuries: Flying debris from chiseling or sawing can cause serious eye damage (Always wear eye protection!).
- Overexertion: Incorrect posture or excessive force can cause muscle strains or back problems.
Furthermore, damaged or improperly maintained tools pose additional risks. A dull blade requires more force, increasing the risk of slips and injuries. A loose or broken handle on a hammer or chisel can cause the tool to fly off during use.
Q 11. How do you prevent injuries when using hand tools?
Preventing injuries when using hand tools is a top priority. My approach involves a multi-layered strategy:
- Proper Tool Selection: Choosing the right tool for the job is the first step. Using a chisel where a plane would be more suitable is an example of improper tool selection that can lead to injuries.
- Safe Work Practices: Always maintain a firm grip on tools, use the appropriate safety gear (including eye protection, hearing protection where necessary, and gloves), and keep the work area clear of clutter.
- Sharp Tools: Sharp tools require less force, reducing the risk of slips and strains. Regular sharpening is essential.
- Correct Posture and Technique: Avoid awkward positions. Maintain good posture and apply even pressure while using tools.
- Regular Maintenance: Inspect tools before each use and replace any damaged or worn components.
- First Aid Preparedness: Having a well-stocked first-aid kit readily accessible is crucial.
By diligently following these safety measures, we significantly reduce the likelihood of accidents and injuries.
Q 12. Describe your experience with using a plane.
The plane is a versatile tool for smoothing and shaping wood. My experience includes using various types of planes, from smoothing planes for fine finishing work to block planes for working in tight spaces and jack planes for removing larger amounts of material. I understand the importance of adjusting the blade’s depth, angle, and sharpness for different tasks. For instance, when using a smoothing plane, I focus on taking light passes to avoid gouging the wood, ensuring the plane is moving smoothly and evenly across the surface. I am familiar with adjusting the plane’s iron and mouth setting to create a fine finish.
Beyond the technical skills, a deep understanding of wood grain direction is vital. I always plane with the grain to avoid tearing or splintering. This practical knowledge enables me to produce smooth, consistent surfaces on any workpiece. I’ve used planes in various projects, from restoring antique furniture to crafting new pieces, demonstrating its versatility and importance in woodworking.
Q 13. How would you troubleshoot a stripped screw?
A stripped screw is a frustrating but common problem. My approach involves a methodical troubleshooting process:
- Assess the Damage: Determine how badly the screw head is stripped. A slightly damaged head might be salvageable, while a severely damaged one might require more drastic measures.
- Try a Larger Bit Screwdriver: If the head isn’t too badly damaged, using a slightly larger bit that still fits snugly might provide enough grip to remove the screw.
- Rubber Band/Grip Enhancement: Placing a rubber band over the stripped screw head can increase friction and improve grip.
- Screw Extractor: For more severely damaged screws, a screw extractor is often the solution. This specialized tool grips the stripped screw and removes it.
- Drilling It Out: As a last resort, if all else fails, you may have to carefully drill out the screw, taking care not to damage the surrounding material.
The key is patience and choosing the least destructive method first. Prevention is also crucial. Using the correct size screwdriver bit and applying the right amount of torque prevents most stripped screws.
Q 14. What are the different types of pliers and their uses?
Pliers are indispensable hand tools with diverse applications. Different types of pliers are designed for specific tasks:
- Needle-nose pliers: Their long, slender jaws are perfect for reaching tight spaces and gripping small objects. I often use them for delicate electronics work or jewelry making.
- Slip-joint pliers: These adjustable pliers offer versatility and are great for a wide range of gripping tasks. They are essential in many repair applications.
- Lineman’s pliers: These heavy-duty pliers are designed for cutting and gripping wire. The cutting edges are tough and powerful, and often used by electricians.
- Channel-lock pliers: Their self-adjusting jaws make them ideal for gripping odd-shaped objects or pipes of different sizes. I use them frequently when working with plumbing or other projects involving irregular shaped items.
- Locking pliers (e.g., Vise-Grips): These pliers lock onto an object, providing a secure grip, leaving both hands free. They are invaluable when working on stubborn nuts and bolts.
Choosing the right type of pliers for the job ensures efficiency and prevents potential damage to both the workpiece and the tool.
Q 15. How do you determine the appropriate level of force when using hand tools?
Determining the appropriate force when using hand tools is crucial for both efficiency and safety. It’s not about brute strength, but about applying the right amount of pressure for the specific task and material. Too little force, and you won’t achieve the desired result; too much, and you risk damage to the workpiece or the tool itself, or even injury.
I assess the required force based on several factors:
- The material: Hardwoods require more force than softwoods when sawing, for example. Metal requires even more force and precision.
- The tool: A sharp chisel requires less force than a dull one. A heavy hammer is used for driving larger nails, requiring a stronger blow.
- The task: Driving a nail straight requires controlled, steady force, whereas splitting wood might require a more forceful blow.
I start with a gentle application of force, gradually increasing it as needed. I constantly monitor the tool’s behavior and the material’s response, adjusting my pressure accordingly. Think of it like a conversation between you, the tool, and the material; you’re listening and reacting to their feedback. For instance, when drilling a hole, you might start with light pressure and adjust as the bit bites into the material. If the bit starts to bind, I would reduce the force or adjust the angle slightly.
Career Expert Tips:
- Ace those interviews! Prepare effectively by reviewing the Top 50 Most Common Interview Questions on ResumeGemini.
- Navigate your job search with confidence! Explore a wide range of Career Tips on ResumeGemini. Learn about common challenges and recommendations to overcome them.
- Craft the perfect resume! Master the Art of Resume Writing with ResumeGemini’s guide. Showcase your unique qualifications and achievements effectively.
- Don’t miss out on holiday savings! Build your dream resume with ResumeGemini’s ATS optimized templates.
Q 16. Describe your experience working with various types of wood.
My experience encompasses a wide range of wood types, from softwoods like pine and fir to hardwoods like oak, maple, and cherry. Each presents unique challenges and requires different approaches.
Softwoods are generally easier to work with; they’re more readily machinable and less likely to splinter. However, they can be prone to dents and scratches if not handled carefully. I’ve used softwoods extensively in projects like building shelving and simple furniture. Hardwoods, on the other hand, are denser and more durable but require sharper tools and more precise techniques. Their grain patterns require careful consideration when sawing or planing to avoid tear-out. I’ve worked with hardwoods on intricate carving projects and high-end furniture restorations. Understanding the grain direction is key when working with any wood; cutting against the grain often leads to splintering and poor results.
Beyond the general categories, I’m also familiar with various exotic woods, each with its distinct properties and working characteristics. This includes understanding the differences in moisture content, which significantly impacts workability. Experience has taught me to always assess the wood’s condition before starting any project.
Q 17. How do you select the appropriate hand tool for a specific task?
Selecting the right hand tool for a task is paramount for efficiency and safety. It involves considering several factors:
- The material: Different tools are designed for different materials. A wood chisel won’t work well on metal, and vice-versa.
- The task: Driving nails needs a hammer; sawing wood requires a saw; shaping wood requires chisels or planes.
- The desired precision: Fine detail work requires finer tools. A coping saw is ideal for intricate curves while a handsaw is best for straight cuts.
- The scale of the project: A small project might only require basic hand tools, whereas a larger project might necessitate a broader range of tools.
For example, if I need to cut a precise curve in a piece of wood, I would choose a coping saw due to its ability to maneuver in tight spaces. If I’m cutting a large board, I might choose a handsaw or circular saw (though the latter is power tool). The choice is about matching the tool’s capabilities to the demands of the task.
Q 18. Describe your experience using a level.
I have extensive experience using levels, both for ensuring straight lines and verifying the plumbness or levelness of structures. Accuracy is critical, particularly in construction or woodworking, where even slight deviations can create problems down the line. I’ve used various types of levels, including spirit levels (which use a bubble in a vial of liquid), laser levels, and even simple plumb bobs.
When using a spirit level, I ensure the level is placed firmly and securely along the surface being checked. It’s important to avoid any pressure on the level that could distort its reading. I repeatedly check the alignment of the bubble within the vial to verify the surface’s levelness. I understand the impact of using a level in different orientations depending on the required accuracy.
Laser levels offer greater precision and visibility, especially over longer distances or in less-accessible areas. I’m familiar with calibrating and using laser levels and employing various mounting techniques to ensure accurate readings. Plumb bobs, which are simple but effective for vertical accuracy, are often used in conjunction with levels for complete accuracy during structural projects.
Q 19. Explain your experience with various types of metal.
My experience with metals includes working with various types, such as steel, aluminum, brass, and copper. Each metal possesses unique properties affecting how it’s worked. Steel, for instance, is strong and durable but can be challenging to cut and shape without proper tools and techniques. Aluminum is lighter and easier to work with, while brass and copper are more malleable and often used in decorative applications.
I understand the importance of selecting the appropriate tool for the job—a hacksaw for cutting steel, a file for shaping metal, or specialized pliers and wrenches for assembling or disassembling metal components. Understanding the different properties, including hardness, ductility, and machinability, allows me to choose the right tools and techniques for each metal. For example, cutting hardened steel requires a much tougher and more durable blade compared to softer metals.
Beyond the physical properties, I also consider safety precautions when working with metal. This includes wearing appropriate safety glasses and gloves to prevent injuries from sharp edges or metal splinters.
Q 20. How do you maintain your hand tools?
Maintaining hand tools is essential for their longevity and efficient performance. Regular cleaning and sharpening are crucial. After each use, I clean the tools, removing any debris, sawdust, or metal shavings. This prevents corrosion and keeps them functioning smoothly.
Sharpening is equally critical, especially for cutting tools like chisels, planes, and saws. I use sharpening stones or honing guides to maintain the sharpness of blades. The technique involves using even pressure and consistent strokes to avoid damaging the edge. Knowing how to sharpen effectively is a crucial skill, and I’m adept at sharpening various tools with both manual and some powered sharpening equipment.
Lubrication is also vital for tools with moving parts, such as hinges or joints. Regular lubrication extends the tool’s lifespan and ensures smooth operation. Finally, I properly store my tools in a dry environment to avoid rust and damage. Tools should be organized to prevent damage and to allow for easy access. I utilize tool chests, racks, and various storage solutions to keep tools organized and protected.
Q 21. Describe your experience with using a coping saw.
The coping saw is an indispensable tool for making intricate cuts, particularly curves in wood. Its thin blade allows for precise maneuvering in tight spaces. My experience includes using coping saws for a variety of projects, from woodworking to model making.
When using a coping saw, I’m careful to select the right blade for the material and the type of cut. The blade tension should be appropriately adjusted to avoid breakage. I always use a clamping mechanism to secure the workpiece firmly to allow for smooth cuts. The process requires careful control and steady movements to create accurate curves. I avoid forcing the saw; instead, I let the blade do the work at a consistent pace.
Practicing smooth, controlled strokes is key to avoiding splintering and achieving a clean cut. I also ensure to frequently check and adjust the blade tension to maintain its alignment and prevent unwanted breakage. I’ve learned to apply techniques like using a backer board to support the wood behind the cut and prevent tearout.
Q 22. How do you handle a broken hand tool?
Handling a broken hand tool begins with safety. Never attempt to repair a severely damaged tool; discard it immediately. For minor damage, assess the extent of the break. A simple crack in a wooden handle might be repairable with epoxy glue and clamping, allowing the tool to cure completely before use. However, if the head of a hammer is loose, a broken chisel blade is chipped, or there’s damage to the working part of the tool, it’s unsafe and needs replacing. Always inspect your tools before each use to prevent accidents. Think of it like this: a cracked hammer handle is like a cracked foundation – it might seem minor, but it significantly weakens the entire structure, leading to potential injury.
Q 23. Explain your experience with using a mallet.
I’ve extensive experience using mallets, primarily for tasks requiring controlled impact without the risk of damaging the workpiece. For instance, when installing hardwood flooring, a mallet is crucial to gently tap the flooring pieces into place without causing dents or splintering. The rubber mallet is particularly useful for this as it provides a softer blow compared to a metal mallet. I’ve also used mallets for setting stone, shaping softer metals such as lead, and driving punches. The key is selecting the right mallet for the job; a heavier mallet is suitable for more impactful tasks, while a lighter one provides more control for delicate work. The size and material of the mallet head are crucial for precise force application.
Q 24. How do you use a hacksaw correctly?
Using a hacksaw correctly involves more than just sawing back and forth. First, secure the workpiece firmly in a vise to prevent it from moving during the cut. Second, choose the right blade for the material you’re cutting; there are specific blades for metal, wood, and plastic. Always use a fresh blade for clean cuts. Begin the cut with slow, even strokes, allowing the blade to do the work. Avoid applying excessive pressure, which can cause the blade to break or bind. Maintain a 45-degree angle between the blade and the workpiece to minimize strain and ensure a straight cut. Regularly check the blade for wear and replace it when necessary. Imagine trying to cut a cake with a dull knife – it would be messy and inefficient; the same applies to a dull hacksaw blade.
Q 25. What are the differences between different types of chisels?
Chisels come in various types, each designed for specific tasks. Common types include:
- Wood chisels: Used for carving, shaping, and mortising wood. They have a wider, flatter blade and a bevel angle designed for wood.
- Metal chisels: Designed for cutting and shaping metal; they have a stronger, narrower blade and a sharper bevel.
- Cold chisels: Used for chipping away at stone or metal; these have a more robust construction than wood chisels.
- Firmer chisels: More robust and heavy-duty than mortise chisels. Used for rough work and are typically thicker.
- Mortise chisels: Used for creating precise holes in wood, usually for joinery.
The differences lie primarily in blade shape, material, and hardness, all dictated by their intended use. Choosing the right chisel is critical for both efficiency and safety.
Q 26. Describe your experience with using a brace and bit.
The brace and bit is a classic hand tool for drilling holes, particularly in woodworking. My experience with it involves using various bits to create pilot holes, mortises, and larger holes for dowels or screws. The key is to maintain consistent pressure and rotation, preventing the bit from binding or walking. The ratchet mechanism of the brace offers greater control and torque compared to a simple hand drill. Before starting, I always mark the center point of where I’m going to drill and use a centre punch to make a small indentation to help guide the bit. It’s a tool that requires practice to master, but the precision it offers is unmatched by modern power tools for some applications. You develop a feel for the proper amount of pressure to apply to avoid breaking the bit, particularly when working with harder woods.
Q 27. How do you identify and address potential safety risks when using hand tools?
Safety is paramount when using hand tools. Potential risks include cuts, bruises, eye injuries, and more. To mitigate these, I always follow these steps:
- Inspect tools before each use: Check for damage, loose parts, or dull blades.
- Use the right tool for the job: Improper tool use increases the risk of injury and damage.
- Wear appropriate safety gear: This includes safety glasses, gloves, and potentially a dust mask depending on the project.
- Maintain a secure grip: Avoid slips and accidental drops by using a firm, controlled grip.
- Work in a well-lit area: Poor lighting increases the likelihood of accidents.
- Use a vise or clamp to secure workpieces: This prevents the workpiece from moving unexpectedly.
- Keep your work area tidy: Clutter can be hazardous and cause tripping.
Thinking proactively about safety prevents accidents before they happen. It’s about anticipating potential problems and taking steps to eliminate or reduce the risks involved. It’s much like preparing for a hike – proper planning and precautions make the difference between a safe and enjoyable journey and a potentially disastrous one.
Q 28. Explain your understanding of torque and its application in hand tool use.
Torque refers to the rotational force applied to an object. In hand tool use, it’s the twisting force you exert to tighten a screw or nut or to drive a bit into wood. For example, using a wrench to tighten a bolt requires applying torque. Too little torque, and the bolt will not be adequately secured. Too much torque, and you risk stripping the threads or breaking the bolt. Achieving the correct torque often involves feeling the resistance and knowing when to stop applying pressure. Different tools are designed to apply varying amounts of torque; a longer wrench increases the torque you can apply compared to a shorter one. Understanding torque is crucial for ensuring proper fastening and avoiding damage to the workpiece or the tool itself. It’s similar to using the right amount of pressure when turning a key; too little, and the door won’t open; too much, and you might break the key.
Key Topics to Learn for Use of Hand Tools Interview
- Safety Procedures: Understanding and applying safe practices for using hand tools, including personal protective equipment (PPE) and proper tool handling techniques.
- Tool Selection & Maintenance: Identifying the appropriate hand tool for specific tasks and understanding proper cleaning, sharpening, and storage procedures. This includes recognizing signs of wear and tear and knowing when to replace a tool.
- Measuring & Marking: Accurate measuring techniques using rulers, tapes, and other measuring instruments; creating precise markings on materials.
- Basic Hand Tool Operation: Proficient use of common hand tools such as hammers, screwdrivers, pliers, wrenches, saws, chisels, and levels. This includes understanding the various types within each category (e.g., different types of screwdrivers).
- Material Knowledge: Familiarity with different materials (wood, metal, plastic) and how best to work with each using hand tools, considering factors like grain direction (for wood) or hardness (for metals).
- Troubleshooting & Problem-Solving: Identifying and resolving common problems encountered while using hand tools, such as stripping screws or breaking a tool. This includes understanding the cause of the problem and taking preventative measures.
- Project Planning & Execution: Understanding how hand tools fit into the larger context of a project, from initial planning stages to final execution. This includes sequencing tasks efficiently.
Next Steps
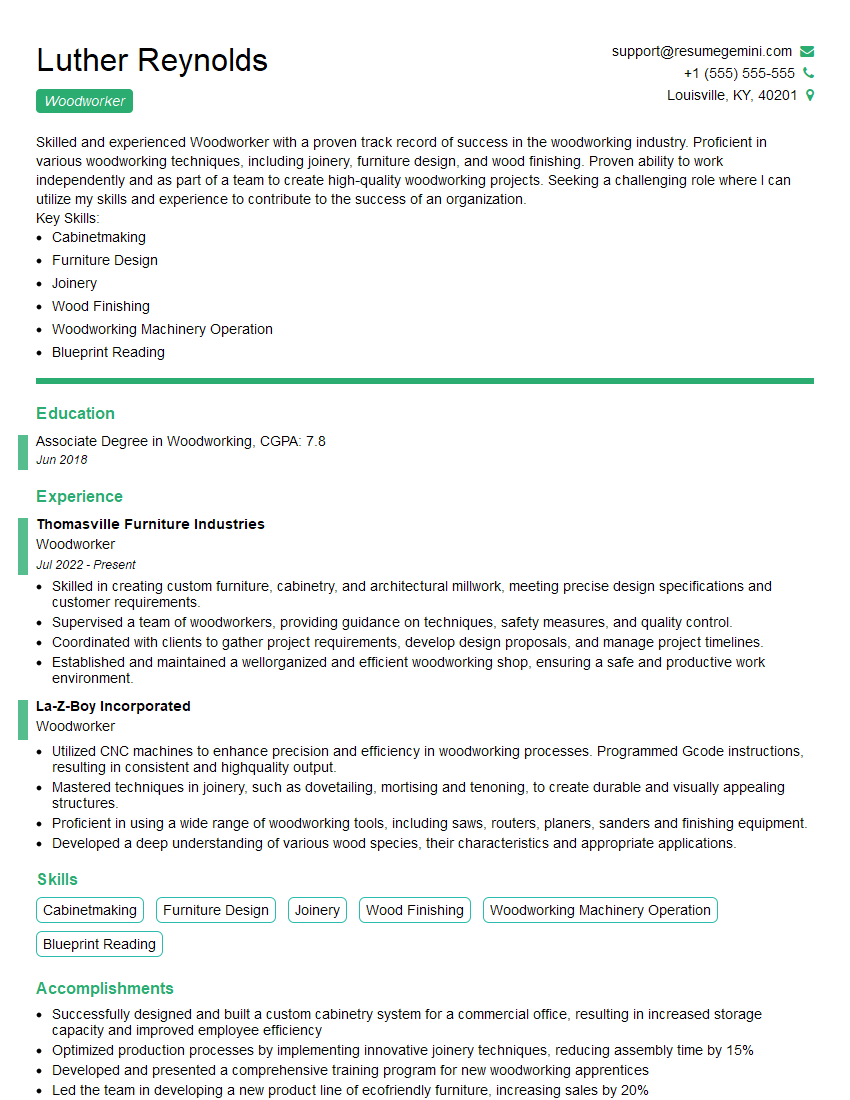
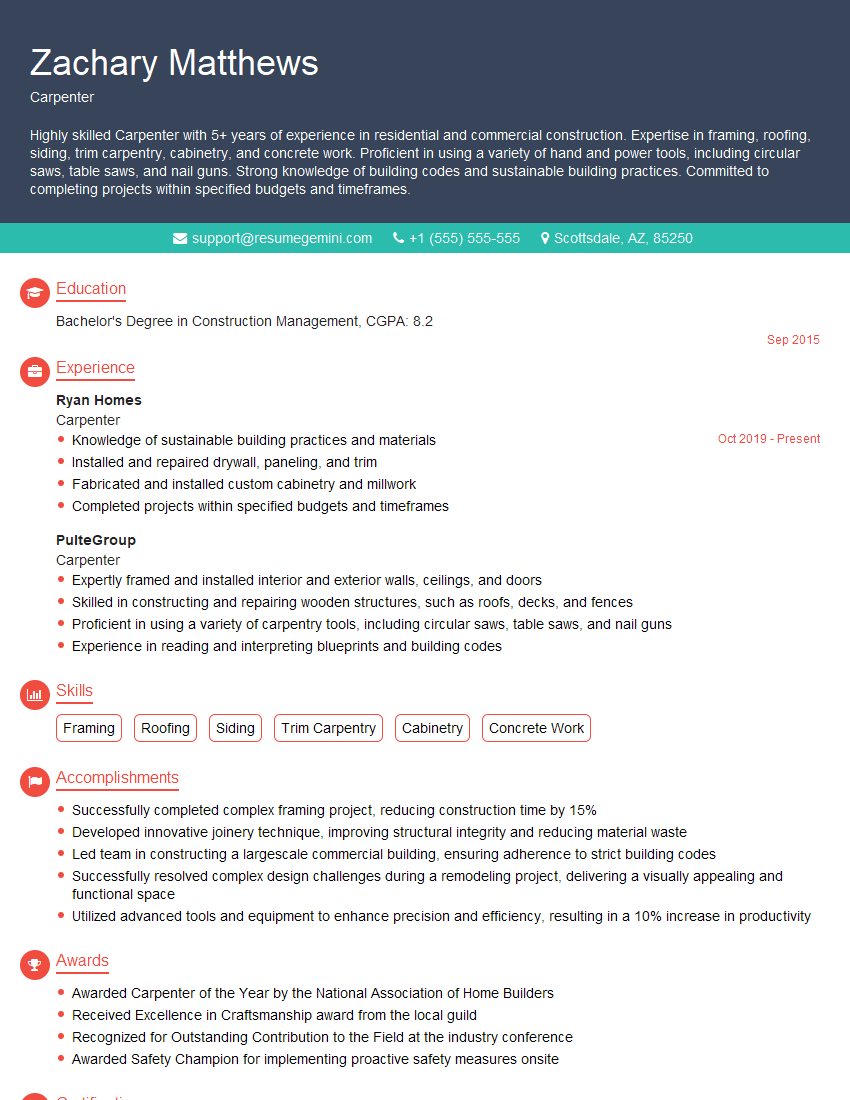
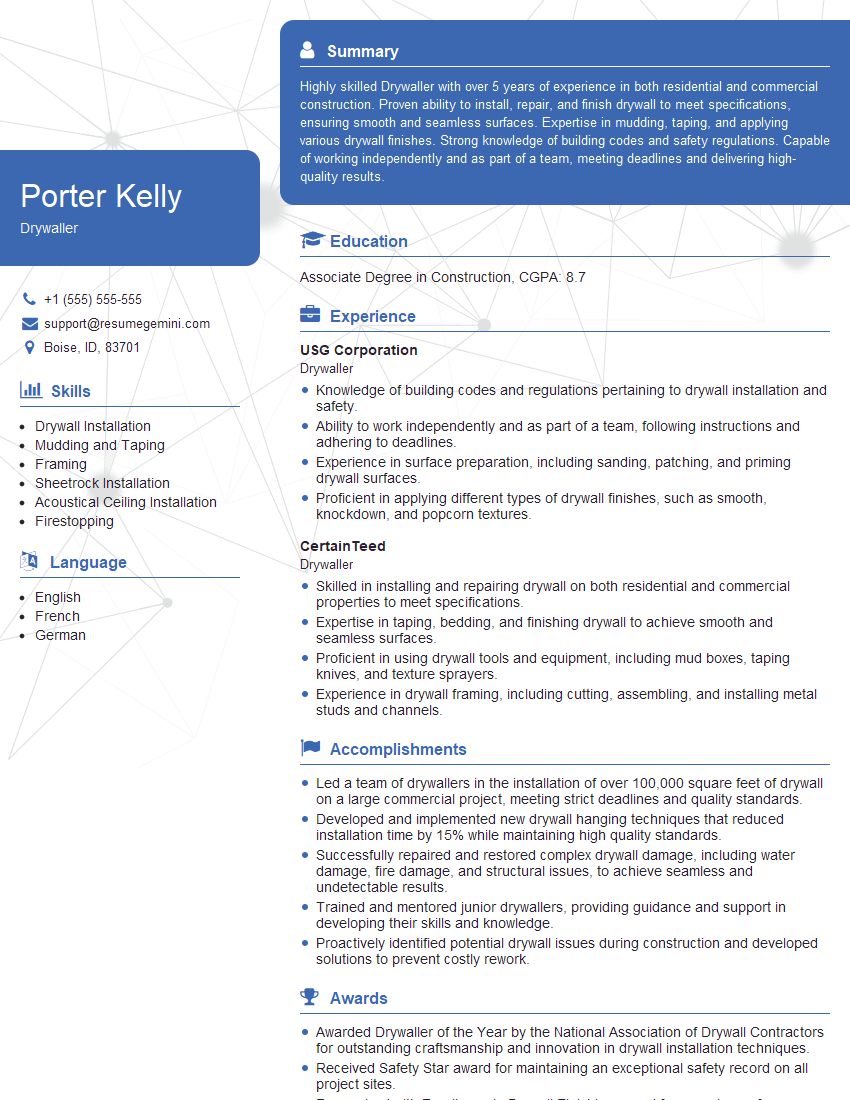
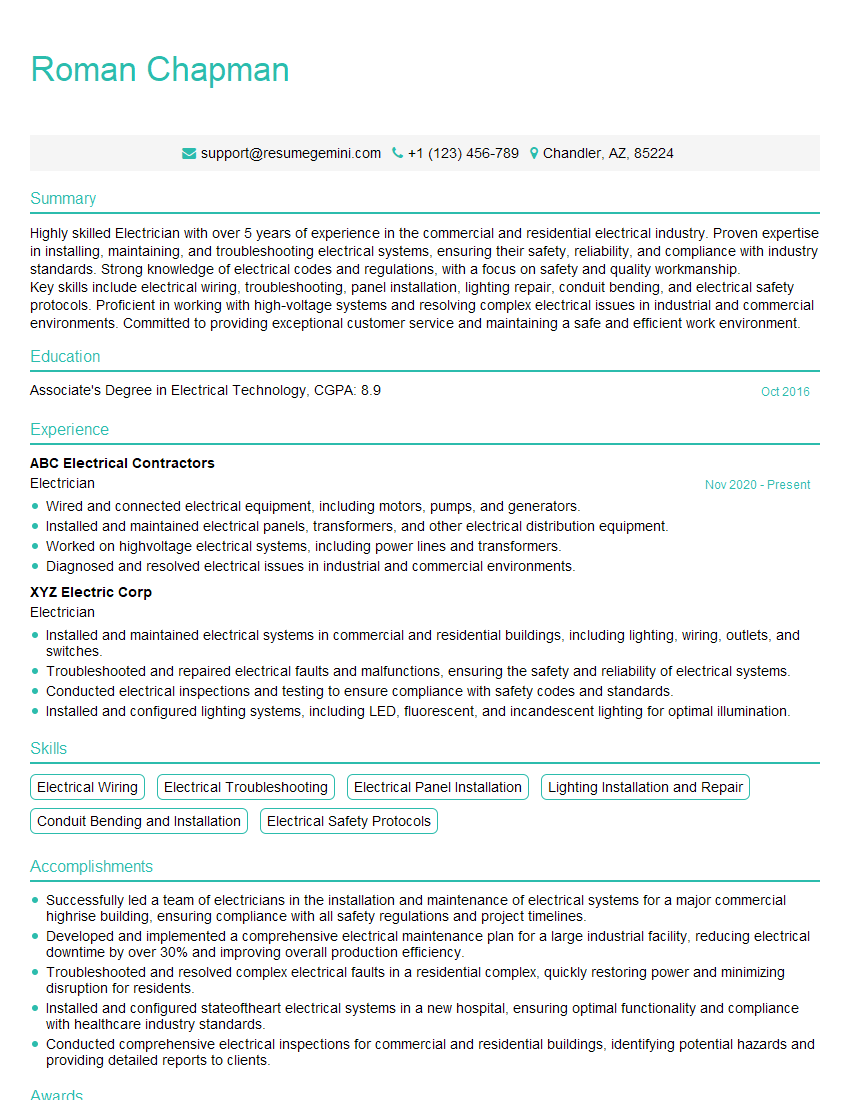
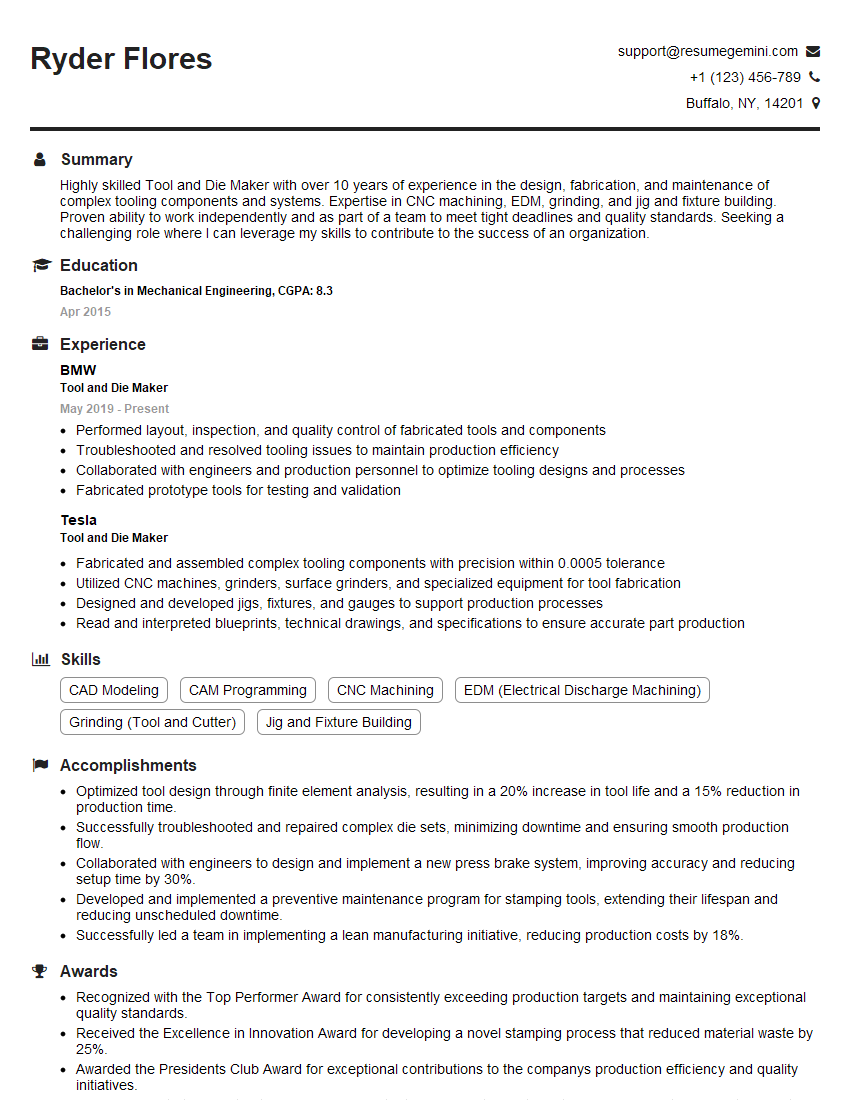
Mastering the use of hand tools is crucial for advancement in many skilled trades and technical fields. Proficiency demonstrates precision, attention to detail, and a commitment to safety – qualities highly valued by employers. To increase your job prospects, crafting a strong, ATS-friendly resume is essential. ResumeGemini is a trusted resource to help you build a professional and impactful resume that highlights your skills and experience. Examples of resumes tailored to showcasing expertise in the use of hand tools are available within ResumeGemini to guide you. Invest time in building a compelling resume and showcase your readiness for success!
Explore more articles
Users Rating of Our Blogs
Share Your Experience
We value your feedback! Please rate our content and share your thoughts (optional).
What Readers Say About Our Blog
Hello,
We found issues with your domain’s email setup that may be sending your messages to spam or blocking them completely. InboxShield Mini shows you how to fix it in minutes — no tech skills required.
Scan your domain now for details: https://inboxshield-mini.com/
— Adam @ InboxShield Mini
Reply STOP to unsubscribe
Hi, are you owner of interviewgemini.com? What if I told you I could help you find extra time in your schedule, reconnect with leads you didn’t even realize you missed, and bring in more “I want to work with you” conversations, without increasing your ad spend or hiring a full-time employee?
All with a flexible, budget-friendly service that could easily pay for itself. Sounds good?
Would it be nice to jump on a quick 10-minute call so I can show you exactly how we make this work?
Best,
Hapei
Marketing Director
Hey, I know you’re the owner of interviewgemini.com. I’ll be quick.
Fundraising for your business is tough and time-consuming. We make it easier by guaranteeing two private investor meetings each month, for six months. No demos, no pitch events – just direct introductions to active investors matched to your startup.
If youR17;re raising, this could help you build real momentum. Want me to send more info?
Hi, I represent an SEO company that specialises in getting you AI citations and higher rankings on Google. I’d like to offer you a 100% free SEO audit for your website. Would you be interested?
Hi, I represent an SEO company that specialises in getting you AI citations and higher rankings on Google. I’d like to offer you a 100% free SEO audit for your website. Would you be interested?
good
