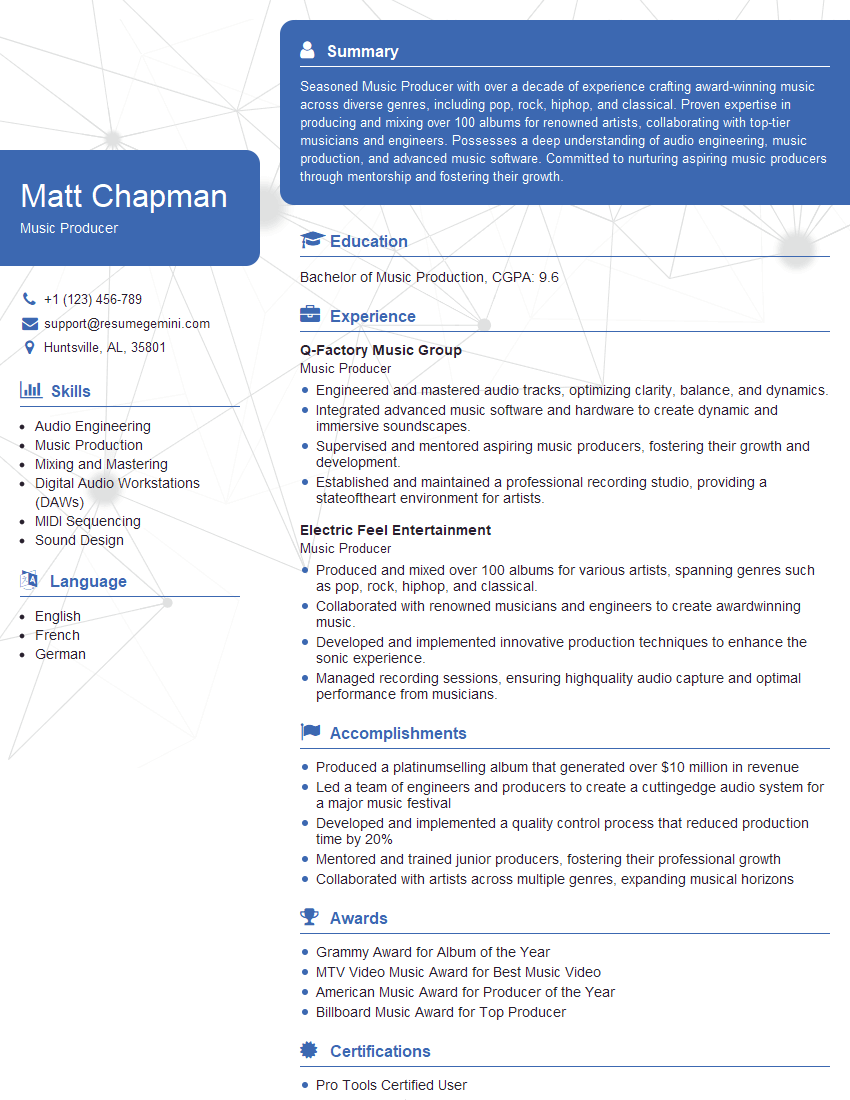
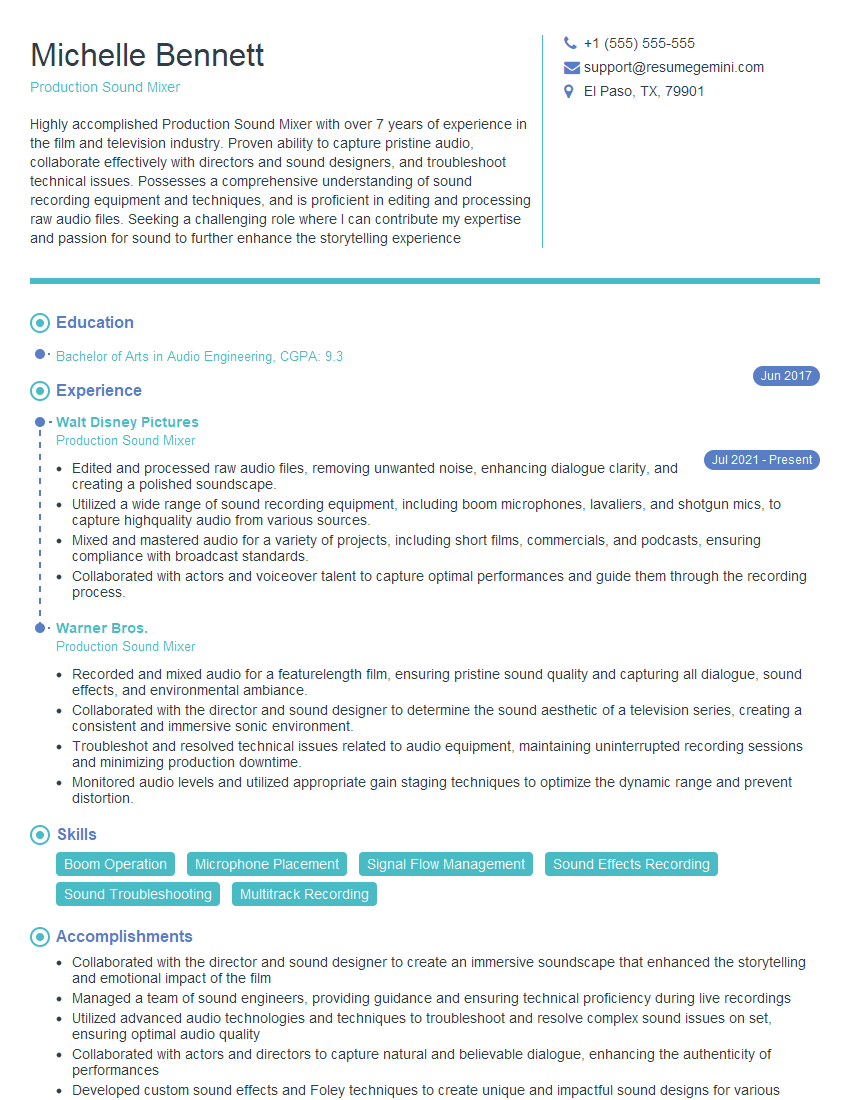
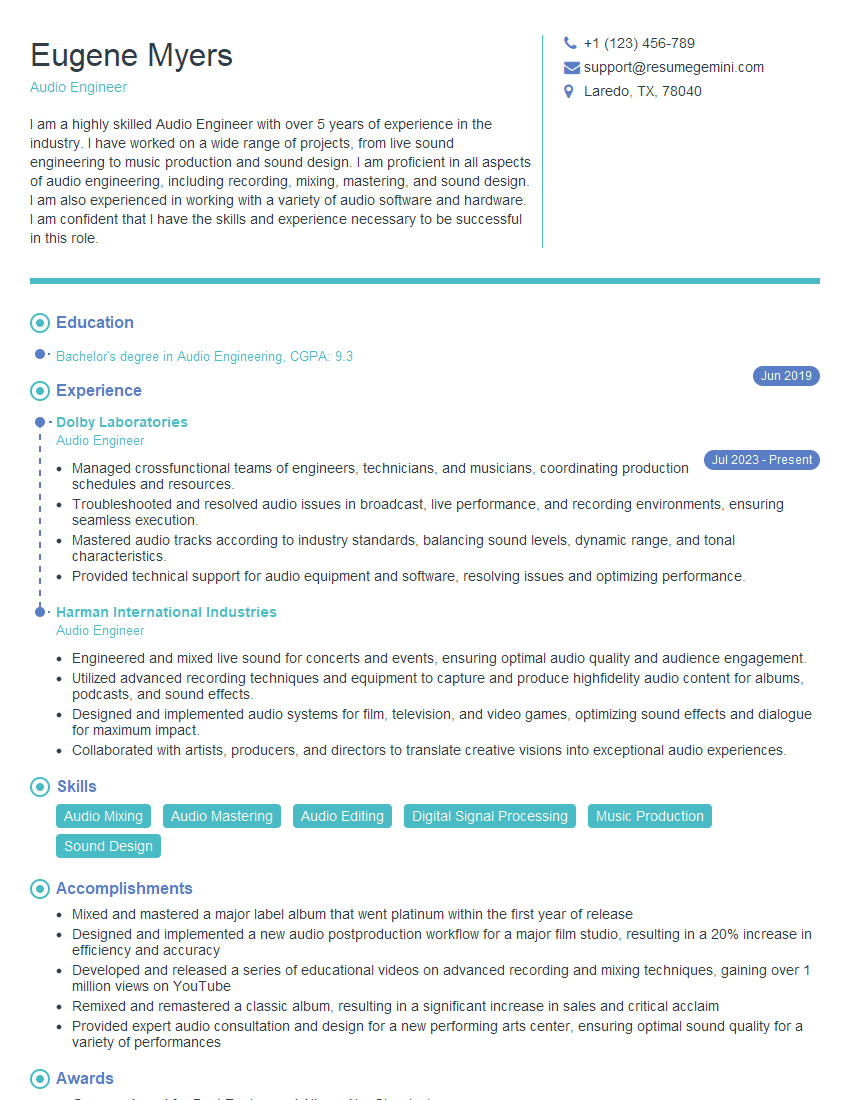
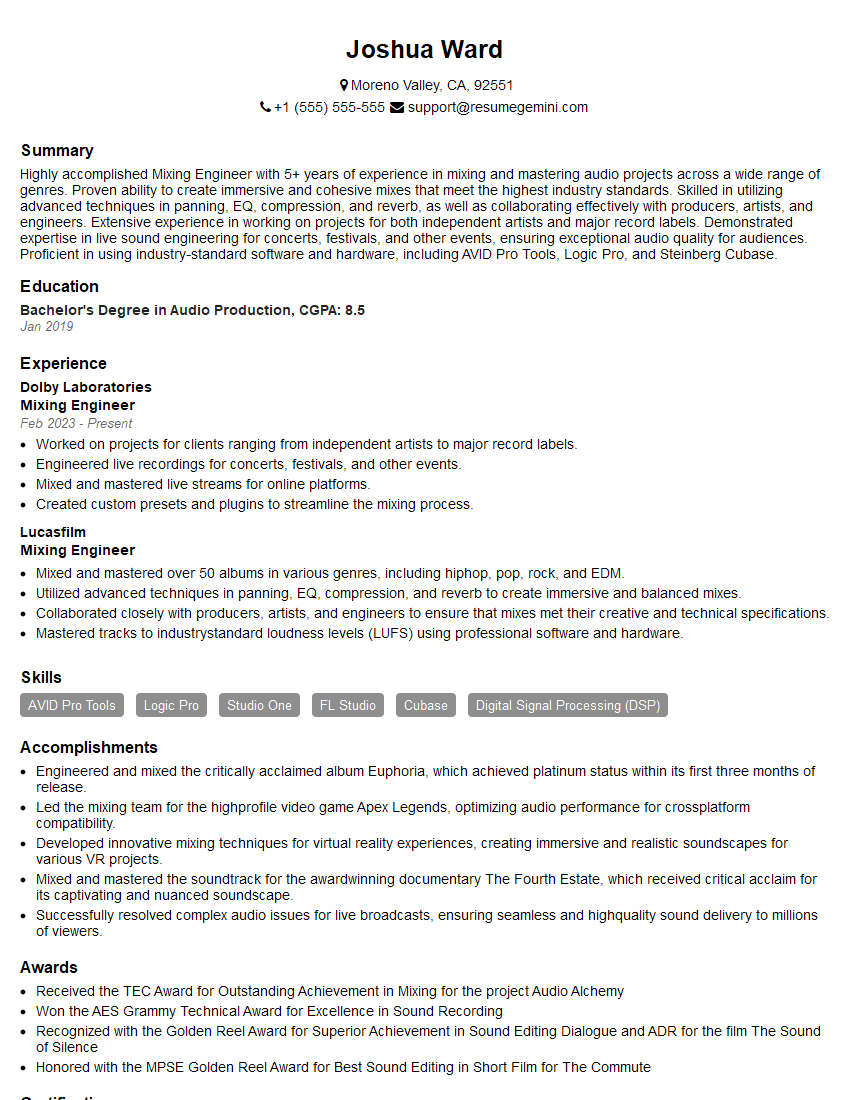
Unlock your full potential by mastering the most common MultiTrack Audio Recording and Mixing interview questions. This blog offers a deep dive into the critical topics, ensuring you’re not only prepared to answer but to excel. With these insights, you’ll approach your interview with clarity and confidence.
Questions Asked in MultiTrack Audio Recording and Mixing Interview
Q 1. Explain the process of setting up a multitrack recording session.
Setting up a multitrack recording session is a meticulous process that lays the foundation for a successful project. It involves careful planning and execution, ensuring every element is optimized for capturing the best possible audio. Think of it like building a house; you wouldn’t start constructing walls before laying a solid foundation.
- Pre-Production Planning: This stage involves determining the project’s scope – the number of instruments, vocalists, and the overall sonic direction. I’ll create a detailed track list, noting which instruments will be recorded simultaneously and which require isolation.
- Studio Setup: This includes selecting appropriate recording space, setting up the instruments and microphones, and routing audio signals to the audio interface. Proper placement of instruments and microphones is critical to minimize bleed and maximize clarity. Acoustic treatment plays a major role here, helping to control reflections and resonances.
- Microphone Selection and Placement: This stage relies on understanding the sonic characteristics of various instruments and microphones. For instance, a condenser microphone might be ideal for capturing delicate acoustic guitar nuances, while a dynamic microphone could handle a loud snare drum.
- Signal Path: This involves connecting microphones to preamps, then to the audio interface, and finally to the DAW (Digital Audio Workstation). I ensure signal levels are properly managed throughout the entire process to prevent clipping or unwanted noise.
- Gain Staging: This critical step involves setting appropriate input levels for each track to maximize dynamic range and minimize distortion. I aim for a healthy signal without overloading any part of the signal chain.
- Sound Check and Test Recording: Before starting the actual recording, I’ll perform a sound check to verify the proper functionality of all equipment and ensure that the audio levels are correctly adjusted. A short test recording helps to identify and address any potential issues before starting the main recording session.
For example, when recording a band, I might use a combination of dynamic and condenser microphones to capture both the power of the drums and the delicacy of the vocals. Careful microphone placement is essential to minimize crosstalk between instruments.
Q 2. Describe your experience with different microphone types and their applications.
My experience spans a wide range of microphone types, and the selection always depends on the specific application. Choosing the right microphone is akin to choosing the right brush for a painting; each has its own unique characteristics.
- Large-Diaphragm Condenser Microphones (LDCs): These are versatile workhorses, excelling at capturing detailed, nuanced sounds, making them ideal for vocals, acoustic instruments (guitar, piano), and string sections. They are generally more sensitive than dynamic mics. Examples include Neumann U 87, AKG C414.
- Small-Diaphragm Condenser Microphones (SDCs): These mics are known for their clarity and transient response, making them excellent for recording drums (overheads), acoustic instruments, and orchestral recordings where high detail and accuracy are paramount. Examples include Neumann KM 184, Schoeps CMC 6.
- Dynamic Microphones: Robust and reliable, these microphones excel in loud environments, ideal for capturing electric guitars, bass guitars, and even harsh vocal styles. Their lower sensitivity makes them less susceptible to handling noise. Examples include Shure SM57, Sennheiser MD 421.
- Ribbon Microphones: These mics possess a unique sonic character, often described as warm and smooth. They’re excellent for capturing the subtle nuances of instruments like trumpets, guitars, and even vocals, providing a more ‘vintage’ feel. Examples include Royer R-121, Coles 4038.
For instance, I recently recorded a jazz trio. For the upright bass, I used a high-quality condenser microphone to capture the full richness of the instrument’s low-end and detailed overtones, while a dynamic microphone was placed on the snare drum to handle its powerful transient attack without distortion.
Q 3. How do you handle microphone bleed during multitrack recording?
Microphone bleed, the unwanted capture of sound from sources other than the intended one, is a common challenge in multitrack recording. Minimizing it requires a proactive approach, thinking strategically about microphone placement and using isolation techniques.
- Physical Isolation: This is the most effective method. Using strategically placed gobos (sound-absorbing screens) can effectively block sound from reaching unintended microphones. Recording instruments in separate rooms or booths also helps. For instance, separating drums from other instruments can significantly reduce bleed.
- Microphone Placement and Polar Patterns: Choosing microphones with appropriate polar patterns (cardioid, hypercardioid, figure-8) is crucial. Cardioid patterns pick up sound primarily from the front, reducing bleed from the sides and rear. Hypercardioids are even more directional. Using carefully aimed microphones also helps to reduce bleed.
- Proximity Effect: This phenomenon causes bass frequencies to boost when microphones are close to the source. Using this advantage helps focus the desired sound. Close miking is critical for minimising bleed.
- Phase Cancellation: If bleed is still a problem, we can sometimes leverage phase cancellation, but this is more of a mixing technique than recording solution. If two similar sounds are out of phase they can cancel each other out.
- Post-Production Techniques: While preventing bleed during tracking is ideal, some bleed can be addressed during mixing with EQ and other tools; this is always a secondary solution.
In a recent session, I used strategically placed gobos to isolate the vocals from the drum kit. I employed cardioid microphones on the vocals, resulting in minimal drum bleed. Then during mixing I used EQ to attenuate frequencies where bleed was still slightly audible.
Q 4. What are your preferred methods for signal processing during tracking?
Signal processing during tracking is a delicate balance between shaping the sound and preserving its natural character. I favor a minimalist approach, using only what’s necessary to enhance the recording without overwhelming the performance.
- EQ: During tracking, I might use EQ sparingly for very minor corrections, such as subtle adjustments to remove muddiness or enhance clarity. Aggressive EQ during recording can lead to a loss of dynamic range. I’d prefer to solve these issues during mixing.
- Compression: Minimal compression, if any, is used during tracking. I prefer to keep the recording dynamics intact for later mixing. However, compression might be used on particularly dynamic instruments (e.g. snare drum) to tame peaks and ensure a good signal level.
- Preamp Gain: Careful preamp gain staging is essential to achieve optimal signal levels, providing sufficient headroom for later processing. Gain is crucial, and should ideally be set such that the signal will be neither too low nor clipping.
- Reverb and Delay: Effects such as reverb and delay are generally avoided during tracking, unless there is a particular artistic reason to use them on a specific track. I tend to prefer to add these elements in the mixing stage.
I once tracked a vocalist who had very dynamic performances, and we made the decision to add only a slight amount of compression on the vocals during tracking to ensure that we didn’t lose any of the peaks. However, the bulk of vocal shaping was done during mixing.
Q 5. Discuss your workflow for editing and cleaning audio tracks.
My editing and cleaning workflow is a meticulous process aimed at perfecting individual tracks before they enter the mix. It’s a bit like a sculptor refining a piece of clay – removing imperfections to reveal the true beauty of the original work.
- Initial Editing: Removing unwanted noise, such as clicks, pops, or breaths, using tools like noise reduction plugins. Identifying and correcting timing inconsistencies.
- Gain Staging Adjustment: Further refinement of track levels to maintain consistency and prepare for the mixing process.
- Comping: This method involves combining multiple takes of a performance, selecting the best sections to create a seamless final track.
- Pitch Correction: This is used subtly and sparingly, mainly to correct minor pitch inaccuracies, ensuring a natural and unprocessed sound. Overuse can make vocals sound unnatural.
- Time Correction: Using tools like élastique Pro to subtly align the timing of instruments and vocals.
- Editing Tool Usage: I use tools like Pro Tools, Logic Pro X or Ableton Live, depending on the project’s requirements, for efficient editing and manipulating the audio.
For instance, when editing vocals, I’ll meticulously remove breath sounds and any minor timing errors, often using a combination of manual edits and automated tools. Comping enables me to combine the best parts of multiple takes, resulting in a more polished and flawless vocal performance.
Q 6. Explain your approach to gain staging during recording and mixing.
Gain staging is a crucial aspect of both recording and mixing, affecting the overall sound quality and dynamic range. It’s like balancing the ingredients in a recipe; too much or too little of any one element can ruin the final dish.
- Recording Gain Staging: During recording, I aim for a consistent signal level, avoiding both clipping (overloading the signal) and excessively low levels (introducing noise). I typically leave a good amount of headroom—typically around 6-12dB below the 0dBFS (digital full scale) mark.
- Mixing Gain Staging: This process involves setting appropriate levels for each track within the mix, ensuring a balanced and consistent overall volume. I typically use a combination of faders, automation and plugins to ensure smooth transitions and consistent levels across the entire song.
- Headroom: Maintaining adequate headroom throughout the recording and mixing process prevents clipping and provides flexibility during mastering. This also allows for later signal processing.
- Metering: Using accurate metering (VU meters or peak meters) is vital to monitor signal levels, preventing undesirable distortion.
I always monitor my levels carefully, making sure not to overload any stage of the signal chain. If a particular instrument or vocal is too loud, I’ll address this by adjusting microphone placement, preamp gain, or using compression during the recording process.
Q 7. Describe your experience with different types of compressors and their uses.
Compressors are essential tools for shaping dynamics, controlling loudness, and adding punch to audio. Different compressor types offer unique characteristics, much like different paintbrushes create various textures.
- Optical Compressors: These are known for their smooth and warm sound, often used for subtle dynamics control on vocals and other instruments. They can add character and warmth to the sound.
- FET Compressors: Fast attack and release times make them ideal for adding punch and transient control, often used on drums and bass to add punch and clarity. Examples include Universal Audio 1176.
- VCA Compressors: Highly versatile, offering precise control over attack, release, and threshold settings, well suited to various applications. Examples include dbx 160, API 2500.
- Software Compressors: DAW-based plugins offer versatility and flexibility, often modeling classic hardware units or offering unique algorithms. Many software compressors offer a wider range of parameters allowing for greater control over the compression process.
For example, when mixing drums, I might use a FET compressor on the snare drum to control its dynamic range and enhance its punch, while using a VCA compressor on the kick drum to provide a tighter and more controlled low-end. On vocals, I might favor a more transparent optical compressor to add warmth and subtlety without drastically altering the original performance.
Q 8. How do you use EQ to shape the sound of individual tracks and the overall mix?
EQ, or equalization, is the cornerstone of shaping individual tracks and the overall mix. Think of it as a sculptor’s chisel, allowing you to refine the frequency content of each instrument and vocal. We use EQ to boost or cut specific frequencies, addressing issues like muddiness in the bass, harshness in the high frequencies, or to create space between instruments.
For individual tracks, I might use a high-pass filter to remove low-frequency rumble from a vocal track, leaving the mid and high frequencies clear. Alternatively, I might subtly boost the presence frequencies (around 2-4kHz) of a guitar to make it cut through the mix. On a bass track, I’d likely use a low-shelf to emphasize the low-end thump while also potentially cutting frequencies overlapping with the kick drum to avoid muddiness.
In the overall mix, EQ becomes more about balance and creating sonic space. For example, if the snare drum is masking the vocals, I’ll carefully cut some frequencies in the snare’s range without compromising its character. This makes room for the vocals to sit clearly in the mix. I might also use broad EQ cuts on multiple tracks to deal with overall frequency buildup or resonances in the room.
Q 9. Explain your process for creating a balanced and clear mix.
Creating a balanced and clear mix is an iterative process, focusing on clarity, depth, and impact. My process involves several key steps:
- Gain Staging: I start by setting appropriate levels for each track. This prevents clipping (distortion from exceeding the maximum signal level) and ensures that no track is overwhelmingly loud compared to others.
- Frequency Balancing: This is where EQ comes into play. I address frequency clashes and work to create space between instruments, ensuring that no single instrument dominates the frequency spectrum.
- Panning: Strategic placement of instruments in the stereo field creates a sense of width and depth. This separates instruments and prevents them from sounding congested in the center.
- Compression: I use compression to control dynamics, evening out volume levels and creating a more consistent overall sound. This makes the mix more pleasing and impactful.
- Automation: Automated adjustments to volume, pan, and effects can be used to add subtle movements and energy to the mix, bringing things to life.
- Reference Tracks: I regularly compare my mix to professional reference tracks of a similar style. This helps ensure my mix sounds competitive and is balanced accordingly.
- Mixing in Stages: I prefer to work on sections of the mix at a time. For instance, I might focus on the drums, then the bass, followed by the guitars and vocals.
- Taking Breaks: Fresh ears make a huge difference. I always take breaks to avoid listener fatigue and make objective decisions.
Q 10. How do you handle phasing issues in a multitrack recording?
Phasing occurs when two or more similar sounds are played with slightly different timing, leading to cancellations or boosts in specific frequencies. It’s often caused by using multiple microphones on the same instrument or using multiple instances of the same effect plugin with slightly different settings.
My approach to handling phasing issues involves several strategies:
- Mic Placement: Carefully choosing microphone positions is the first line of defense. If two microphones are too close together on the same source, they are likely to pick up signals that are very close in timing, leading to phasing.
- Phase Alignment: Many Digital Audio Workstations (DAWs) have phase alignment tools. These allow you to invert the polarity (flip the phase) of a track to see if it helps correct the issue. It’s a trial and error process, sometimes requiring experimenting with multiple tracks to see if it makes a difference
- EQ: Subtly cutting the offending frequencies can mitigate the effects of phasing. If the cancellation is in a specific frequency range, a small cut can help compensate without drastically affecting the overall sound.
- Stereo Imaging: By carefully panning the potentially phasing signals, their interactions might become less problematic.
- Re-recording: In extreme cases, re-recording a track with a different microphone setup might be necessary.
Q 11. Describe your experience with reverb and delay effects in a mix.
Reverb and delay are crucial effects for creating depth, space, and atmosphere in a mix. Reverb simulates the natural reflections of sound in a room, while delay creates rhythmic echoes. I use them judiciously, mindful of the overall sonic picture.
Reverb is often applied to vocals and instruments to place them in a specific sonic environment. A large room reverb might suit a ballad, while a plate reverb or small room might better suit a rock song. I often use convolution reverbs, which sample real-world spaces, for realism. For example, I might use a cathedral reverb on a backing vocal to make it sit more naturally back in the mix.
Delay, on the other hand, can add rhythmic interest and movement. I might use a short delay on a guitar to create a subtle slapback effect or a longer delay on a vocal to add a spacious, ethereal quality. Delay can also be used creatively for rhythmic textural elements in a song.
Proper use involves careful attention to decay times, pre-delay (the time before the first echo), and feedback (the repetition of the echo). Too much reverb or delay can make a mix sound muddy or cluttered. I always approach effects with a less-is-more mentality.
Q 12. How do you use automation to enhance the dynamics of a mix?
Automation allows me to dynamically adjust parameters over time, adding nuanced movement and interest to a mix that static settings can’t replicate. I primarily use automation for volume, pan, and effects parameters. For instance, I might automate the volume of a synth pad to gradually swell and fade during a song section to increase intensity during build-ups.
For vocals, I may use automation to gently ride the gain with compression, preventing peaks while keeping the quieter parts audible. This creates a consistent vocal performance that sounds even without sacrificing subtle dynamic variations. Similarly, I might automate the pan of a guitar part subtly across the stereo field to create subtle rhythmic movement.
For effects, automation can be particularly effective. I might use automation to subtly increase the amount of reverb or delay during certain parts of the song to build mood or intensity without creating abrupt or distracting changes. Using automation allows me to craft very detailed and subtle adjustments that can make a significant difference to the overall feel of the mix.
Q 13. What are your preferred methods for monitoring during recording and mixing?
Monitoring is critical for accurate mixing and recording. I use a combination of monitoring techniques:
- Studio Monitors: I use high-quality studio monitors calibrated for flat frequency response. This allows me to hear the audio accurately across the frequency spectrum, without coloration introduced by the speakers.
- Headphones: For detailed work and editing, I use good quality headphones. However, I avoid relying solely on headphones for extended mixing periods, as they can sometimes be fatiguing and lack the spatial awareness provided by studio monitors.
- Reference Tracks: I regularly listen to similar professional recordings (reference tracks) in my mixing sessions to compare my work and gauge the overall balance and quality of my mix. This allows me to contextualize the sound I’m aiming for.
- Different Listening Environments: I frequently listen to my mix in different listening environments, such as my car or on portable devices. This helps identify any frequency imbalances or issues that might not be apparent in the studio.
The key is to use a combination of tools and regularly check my work against calibrated references to minimize biases introduced by listening fatigue or the specific characteristics of my monitoring system.
Q 14. Explain your understanding of panning and stereo imaging.
Panning is the process of placing instruments and sounds in the stereo field, ranging from hard left to hard right, or anywhere in between. Stereo imaging is the overall perception of width and depth in a stereo mix. Both work together to create a full, spacious and immersive listening experience.
Effective panning is crucial for creating separation between instruments and preventing muddiness. For example, I might pan guitars to the left and right to create stereo width, or place a lead vocal in the center for maximum clarity. The use of panning depends largely on genre; wider panning is common in pop and electronic music, while a narrower stereo image is typical in certain genres of rock music.
Stereo imaging is about the overall sense of space and depth. In addition to panning, I use various techniques to enhance stereo imaging: using stereo effects like chorus or delay to widen instruments, and paying attention to the frequency balance across the stereo spectrum to avoid the mix from sounding thin or collapsed.
Poor stereo imaging can lead to a narrow, congested-sounding mix. Careful panning and the use of stereo effects, together with attention to frequency balance, create a wide, well-defined, and engaging stereo image that enhances the listening experience.
Q 15. How do you troubleshoot technical issues that may arise during recording?
Troubleshooting technical issues during recording is a crucial skill. It often involves a systematic approach, starting with identifying the problem’s source. Is it a hardware issue (microphone malfunction, faulty cable, interface problem), a software issue (DAW crash, plugin conflict, driver problem), or a more subtle issue like acoustic problems in the recording environment (noise, reflections)?
- Hardware issues: I’ll check cables for proper connections, test microphones with different interfaces, and ensure all devices have sufficient power. If a component fails, I have backup equipment ready.
- Software issues: I begin by restarting the DAW and computer. If the problem persists, I’ll check for plugin conflicts, update drivers, and consider reinstalling the DAW as a last resort. I also maintain a clean and organized project folder structure to prevent file corruption.
- Acoustic issues: This often involves listening critically and identifying the source of unwanted noise or reflections. Solutions might include repositioning microphones, using acoustic treatment (bass traps, diffusers), or employing noise reduction plugins in post-production.
For example, if I’m experiencing consistent crackling sounds during recording, I’d systematically check the microphone cable, test the microphone on a different input, and rule out software issues before considering acoustic treatment. The process is about methodical elimination to pinpoint the root cause.
Career Expert Tips:
- Ace those interviews! Prepare effectively by reviewing the Top 50 Most Common Interview Questions on ResumeGemini.
- Navigate your job search with confidence! Explore a wide range of Career Tips on ResumeGemini. Learn about common challenges and recommendations to overcome them.
- Craft the perfect resume! Master the Art of Resume Writing with ResumeGemini’s guide. Showcase your unique qualifications and achievements effectively.
- Don’t miss out on holiday savings! Build your dream resume with ResumeGemini’s ATS optimized templates.
Q 16. Describe your experience with different DAWs (Digital Audio Workstations).
My experience with DAWs spans many years and includes proficiency in Pro Tools, Logic Pro X, Ableton Live, and Cubase. Each DAW has its strengths and weaknesses, and my choice depends heavily on the project’s specifics.
- Pro Tools: My go-to for large-scale film and television projects, known for its stability, extensive plugin support, and industry standard workflow.
- Logic Pro X: Excellent for composing and arranging music, offering a user-friendly interface and powerful MIDI tools.
- Ableton Live: Ideal for electronic music production and live performance due to its session view and flexible arrangement.
- Cubase: A strong contender for both audio and MIDI work, offering a robust set of features and a highly customizable environment.
I’m comfortable navigating the intricacies of each DAW, including advanced features like automation, mixing consoles, and advanced routing options. This versatility allows me to adapt seamlessly to any project requirements.
Q 17. How do you manage and organize large multitrack projects?
Managing large multitrack projects requires a meticulous and organized approach. Chaos leads to lost time and potential errors. I employ several strategies:
- Clear Folder Structure: I create a hierarchical folder structure for each project. This often includes folders for audio files, MIDI files, session files, and backups.
- Descriptive File Names: Files are named consistently and descriptively, reflecting their contents (e.g.,
Guitar_Take_01.wav,Vocals_Comp.wav). - Color-Coding Tracks: In the DAW, I use color-coding to visually organize tracks by instrument or sound source, making it easy to identify specific elements.
- Regular Backups: I frequently back up my project files to an external hard drive, cloud storage, or both. This protects against data loss.
- Session Consolidation: For very large projects, I might consolidate the session (render unused tracks and reduce file sizes) at various stages to maintain performance.
This systematic approach keeps my projects organized, prevents confusion, and enables smooth collaboration if needed. Imagine trying to find a specific vocal take in an unorganized project with hundreds of tracks – a nightmare! My system avoids this.
Q 18. Explain your workflow for mixing dialogue for film or video.
Mixing dialogue for film or video necessitates a nuanced understanding of audio and the storytelling process. The goal is clarity and intelligibility, ensuring the dialogue is easily understood, even in challenging scenes with background noise.
- Dialogue Editing: I begin by carefully editing each dialogue line, removing any unwanted noise or mouth clicks. I use tools like spectral editing to precisely target unwanted artifacts.
- Noise Reduction: I apply noise reduction plugins selectively to remove background rumble or hiss without affecting the clarity of the dialogue.
- EQ and Compression: EQ is used to shape the frequency response of each line, bringing out the intelligibility while minimizing muddiness. Compression helps to control the dynamic range, preventing sudden loudness peaks.
- Panning and Positioning: Panning is subtle; dialogue generally stays centered, creating a natural sense of space and ensuring clear placement within the overall mix.
- Dialogue Mixing: I mix the dialogue with the background sound effects and music, paying close attention to levels, ensuring clear separation and a balanced sonic picture.
- ADR (Automated Dialogue Replacement): If needed, I’ll handle ADR recordings, ensuring consistent vocal performance and seamless integration into the final mix.
Remember, clear and natural-sounding dialogue is paramount. The goal is not to make the dialogue perfect but to make it understood and fit seamlessly into the overall story.
Q 19. Describe your experience with noise reduction and restoration techniques.
Noise reduction and restoration are critical skills for any audio engineer. I utilize both spectral editing and dedicated noise reduction plugins. The choice depends on the nature of the noise.
- Spectral Editing: This involves visually identifying and removing noise from the audio waveform using frequency analysis tools. This is effective for removing specific frequencies like hum or buzz.
- Noise Reduction Plugins: Plugins like iZotope RX and Waves plugins provide advanced algorithms to reduce noise while preserving the integrity of the audio. These require careful setting adjustments to prevent artifacts or loss of detail. Knowing when *not* to use noise reduction is as important as using it. Over-processing can negatively impact the sound.
- Restoration Techniques: This can include methods like de-clicking, de-essing, and declicking, removing transient pops and hisses.
For example, I might use spectral editing to remove a persistent 60Hz hum, followed by a noise reduction plugin to tackle more broadband background noise. The key is a careful balance, aiming to clean the audio without making it sound artificial.
Q 20. How do you approach creating a reference mix?
Creating a reference mix involves building a mix that sounds good on various playback systems. It’s a crucial step in achieving a balanced and consistent final product. I follow these steps:
- Choose Reference Tracks: I select professionally mixed tracks in a similar genre to guide my listening and tonal balance.
- Select Playback Systems: I listen to my mix on multiple systems – near-field studio monitors, headphones, and potentially car stereos or laptop speakers – to identify any frequency imbalances.
- Match Loudness: While matching the loudness to the reference is not mandatory, it helps to get a feel for the overall dynamic range and level of your mix.
- Critical Listening: I pay close attention to the frequency balance, stereo imaging, and overall clarity of the mix. This involves frequent pauses and critical assessment.
- Iterative Adjustments: Based on my listening sessions, I iteratively make adjustments to the EQ, compression, and other parameters to achieve balance across the different systems.
The goal is not to exactly replicate the reference mix, but to use it as a guide to ensure your mix translates well across a wide range of playback environments. It is about objective evaluation and informed decision-making.
Q 21. Explain your understanding of different audio file formats (WAV, AIFF, etc.).
Understanding audio file formats is fundamental to working with multitrack recordings. Each format has its pros and cons regarding quality, file size, and compatibility.
- WAV (Waveform Audio File Format): A lossless format meaning no data is lost during encoding or decoding. It’s commonly used for high-fidelity audio, offering excellent quality but larger file sizes.
- AIFF (Audio Interchange File Format): Another lossless format, similar to WAV, offering excellent quality with larger file sizes. Often associated with Apple systems.
- MP3 (MPEG Audio Layer III): A lossy format, meaning data is discarded during compression, leading to smaller file sizes but potential quality loss. Suitable for online distribution where file size is a concern.
- AAC (Advanced Audio Coding): A lossy format that offers better compression than MP3, resulting in higher quality at smaller file sizes. Commonly used for streaming services.
For studio work, WAV or AIFF are the preferred formats because of the preservation of audio fidelity. Lossy formats are usually reserved for distribution and archiving where smaller file sizes are prioritized.
Q 22. Describe your experience with working with musicians during recording sessions.
Working with musicians is a collaborative process requiring strong communication and understanding. It’s about building trust and creating a comfortable environment where they can perform their best. I begin by having a thorough pre-production discussion, clarifying the artistic vision for the project, the desired sound, and any specific technical requirements. During the session, I focus on clear and concise direction, offering constructive feedback without stifling creativity. I pay close attention to their emotional state, adjusting my approach as needed to ensure they’re relaxed and focused. For example, if a musician is struggling with a particular part, I might suggest a break, offer a different approach, or simply provide words of encouragement. Active listening is crucial; I observe body language and vocal cues to gauge their comfort level and adjust accordingly. Post-session, I provide detailed feedback on their performances, focusing on the positive aspects while gently suggesting improvements where applicable. This builds mutual respect and fosters a positive working relationship leading to better results.
Q 23. How do you ensure a consistent sonic quality across all tracks in a mix?
Maintaining consistent sonic quality across all tracks involves careful attention to gain staging, frequency balancing, and overall tonal characteristics. Before mixing, I ensure all tracks are recorded at optimal levels, avoiding clipping or excessive noise. I use a combination of techniques like headroom management (leaving enough space between the signal and the maximum level), careful EQing to carve out space in the frequency spectrum for each instrument, and using compression to control dynamics and even out the overall loudness. A/B comparisons between tracks are crucial – I constantly check the perceived loudness and frequency balance, making sure no single instrument overshadows others. Reference tracks, similar in style to the project, help establish a target sonic profile and provide a benchmark for comparison throughout the mixing process. Lastly, using a well-calibrated monitoring system is critical for ensuring the mix translates well across different playback systems.
Q 24. Explain your experience with using plugins (compressors, EQs, reverbs, etc.).
Plugins are essential tools in my workflow. I have extensive experience with compressors (like the SSL Bus Compressor or FabFilter Pro-C), EQs (e.g., Pultec EQP-1A emulation, or Waves EQ), reverbs (such as Valhalla Room or Lexicon PCM Native), and many others. My approach is always context-dependent. For instance, I might use a compressor to tame the peaks of a snare drum, preserving its punch while controlling its dynamic range. An EQ can be used surgically to remove muddiness in the low frequencies of a bass guitar or to add presence and clarity to vocals. Reverb adds depth and space, shaping the ambience of the mix. I rarely use plugins in isolation; instead, I employ them in chains, using one plugin to prepare the signal for the next, carefully listening for interactions and unintended consequences. For example, I might use a de-esser before a compressor on vocals to prevent harshness before compression. Understanding the inherent characteristics and limitations of each plugin is crucial for effective and creative use.
Q 25. How do you utilize sidechain compression in a mix?
Sidechain compression is a powerful technique used to create rhythmic pumping effects, most commonly heard in electronic music and dance genres where a bassline sits comfortably within the mix without masking the kick drum. It works by using the signal from one track (usually the kick drum) to control the gain reduction of another track (usually the bass). When the kick drum hits, it triggers the compressor to reduce the gain of the bass, creating a ducking or pumping effect. This allows the kick drum to punch through the mix while the bassline remains prominent during quieter sections. I use sidechain compression judiciously, paying attention to the attack and release times of the compressor to achieve the desired pumping effect. Too fast an attack, and it sounds unnatural. Too slow a release, and the bass becomes sluggish. I also often use a high-pass filter on the sidechain signal to prevent unwanted frequencies from triggering the compression. This allows the low-end frequencies of the kick to control the bass without the mid and high frequencies interfering.
Q 26. Describe your approach to achieving a specific sonic aesthetic for a project.
Achieving a specific sonic aesthetic requires a comprehensive approach starting with deep listening and research. I begin by analyzing reference tracks that embody the desired sound. This helps me identify key elements like overall tone, dynamic range, and the balance between different instruments. For example, if the project aims for a warm, vintage sound, I might choose plugins that emulate classic analog gear and focus on achieving natural compression and gentle EQ curves. Conversely, a modern, polished sound might require more surgical EQing, precise compression, and wider stereo imaging. Throughout the process, I maintain open communication with the artist to ensure the final mix aligns with their vision. Iterative adjustments and feedback sessions are crucial to fine-tune the sonic character and ensure every detail contributes to the overall aesthetic.
Q 27. What are some common mistakes to avoid during multitrack recording and mixing?
Common mistakes in multitrack recording and mixing include poor gain staging (leading to clipping or weak signals), neglecting phase alignment (creating muddiness or cancellations), and overusing effects (resulting in a cluttered or artificial sound). Improper microphone placement can negatively impact the quality and clarity of individual tracks. Ignoring the room acoustics during recording can create unwanted reflections and coloration. In mixing, improper EQing can lead to frequency clashes, a lack of clarity, or an unbalanced mix. Over-compression can squash the dynamics and create a lifeless sound, while excessive reverb can wash out the details. It’s crucial to listen critically, take breaks to avoid fatigue, and use reference tracks regularly to check the progress against professional standards. Starting with a well-organized session file with appropriately named tracks is vital for efficiency.
Q 28. How do you handle feedback and constructive criticism regarding your mixes?
I value feedback and constructive criticism as opportunities for growth and improvement. I approach feedback with an open mind, actively listening to the concerns and suggestions. I carefully consider the validity of the feedback, evaluating if it aligns with the project’s goals and artistic vision. While I am confident in my skills, I also recognize that a fresh perspective can be invaluable. If the feedback is valid, I will make the necessary adjustments, explaining my reasoning and decisions throughout the process. For example, I might demonstrate how a specific EQ adjustment addresses a frequency clash or why a particular effect enhances the overall mix. Clear and open communication is key to addressing concerns effectively, fostering a positive working relationship and leading to a superior final product.
Key Topics to Learn for Your MultiTrack Audio Recording and Mixing Interview
- Microphone Techniques: Understanding polar patterns, microphone placement for various instruments and vocalists, and achieving optimal sound quality. Practical application: Explain how you’d mic a drum kit for a natural and balanced sound, considering bleed and phase issues.
- Signal Flow and Routing: Mastering the path of audio from input to output, including preamps, EQ, compression, and effects processing. Practical application: Describe your process for setting up a multitrack recording session, including patching and routing signals.
- EQ and Compression: Knowing how to effectively use equalization and compression to shape and enhance individual tracks and the overall mix. Practical application: Explain how you would approach the equalization of a muddy bass guitar track or a harsh vocal.
- Digital Audio Workstations (DAWs): Proficiency in popular DAW software (Pro Tools, Logic Pro X, Ableton Live, etc.) including session setup, editing, mixing, and mastering workflows. Practical application: Describe your preferred workflow for editing and arranging vocal tracks.
- Effects Processing: Understanding and applying reverb, delay, chorus, and other effects to create depth, space, and atmosphere in a mix. Practical application: Explain how you’d use reverb to create a realistic sense of space in a vocal performance.
- Mixing Techniques: Developing skills in achieving balance, clarity, and cohesion across multiple tracks. Practical application: Describe your approach to solving frequency clashes within a mix.
- Monitoring and Acoustics: Understanding the importance of accurate monitoring and acoustic treatment in achieving a professional-sounding mix. Practical application: Discuss the ideal acoustic environment for mixing and mastering.
- Workflow and Time Management: Efficient project management and organizational skills essential for professional audio production. Practical application: Describe your approach to organizing a large-scale multitrack recording project.
Next Steps
Mastering MultiTrack Audio Recording and Mixing is crucial for career advancement in the vibrant audio industry. It opens doors to diverse roles, from studio engineering and live sound to post-production and music production. To significantly improve your job prospects, focus on creating a compelling and ATS-friendly resume that highlights your skills and experience. ResumeGemini is a valuable resource to help you build a professional resume that truly showcases your abilities. They even provide examples of resumes tailored to the MultiTrack Audio Recording and Mixing field. Take advantage of these resources and present yourself effectively to potential employers!
Explore more articles
Users Rating of Our Blogs
Share Your Experience
We value your feedback! Please rate our content and share your thoughts (optional).
What Readers Say About Our Blog
Very informative content, great job.
good
