Are you ready to stand out in your next interview? Understanding and preparing for Pattern Making and Cutting interview questions is a game-changer. In this blog, we’ve compiled key questions and expert advice to help you showcase your skills with confidence and precision. Let’s get started on your journey to acing the interview.
Questions Asked in Pattern Making and Cutting Interview
Q 1. Explain the difference between a sloper and a block.
Both slopers and blocks are fundamental base patterns, but they differ significantly in their level of detail and intended use. Think of a sloper as a highly personalized, foundational garment, while a block is a more generic base.
- Sloper: A sloper is a basic, close-fitting pattern, created specifically for an individual’s measurements. It’s essentially a customized shell that accurately reflects the body’s shape and proportions. It’s the starting point for designing many different garments tailored to that specific person. Imagine it as a blank canvas perfectly shaped to your body.
- Block: A block is a more generalized, standardized base pattern. It’s typically created for a range of sizes and body types, aiming for a good fit for the majority. Blocks are usually simpler in design, lacking the finer nuances of a sloper. Think of it as a pre-made template that you adapt for different designs.
In essence, a sloper is highly customized and unique, while a block is a standard starting point adaptable to many different sizes and styles. I always start with a well-drafted sloper for my clients to ensure the best possible fit.
Q 2. Describe your experience with different patternmaking methods (e.g., draping, flat pattern making).
My patternmaking experience spans both draping and flat pattern making techniques. I find each method valuable for different situations.
- Draping: I frequently use draping for creating designs with complex silhouettes or unique surface textures. It allows for a three-dimensional understanding of the fabric drape and creates a truly unique pattern. For instance, I recently draped a stunning evening gown using silk charmeuse; the fluid drape of the fabric lent itself perfectly to this method.
- Flat Pattern Making: This technique is my go-to for production runs and for garments requiring precision and consistency. It’s much more efficient for creating multiple sizes and guarantees a consistent fit across different garments. For instance, I use flat pattern making extensively when creating patterns for ready-to-wear clothing lines.
I’m proficient in combining both methods – for example, draping to develop a unique sleeve shape and then translating that into a flat pattern for production.
Q 3. How do you create a pattern for a garment with princess seams?
Creating a pattern with princess seams involves several steps and requires careful attention to detail to achieve a flattering, well-fitting garment. Princess seams extend from the shoulder to the waist, shaping the garment closely to the body.
- Start with a basic bodice block or sloper: This serves as your foundation.
- Identify the princess seam lines: These lines typically follow the natural curves of the bust and body. They usually begin at the shoulder and extend to the waist, often curving slightly to accommodate the bust’s shape.
- Divide the bodice: Cut the bodice block along the marked princess seam lines. This creates three separate pieces – front left, front right, and back.
- Adjust for fit: Make any necessary adjustments to ensure the seams lie smoothly and the bodice fits the body comfortably. This often involves smoothing curves and making small adjustments at the bust, waist, and shoulder.
- Add seam allowances: Add seam allowances to all pattern pieces.
- Check and refine: Test the pattern pieces by creating a muslin or toile. Make any necessary adjustments based on the fit of the toile before creating your final pattern.
Careful fitting and attention to the natural curves of the body are crucial when working with princess seams.
Q 4. Explain the process of grading a pattern.
Grading a pattern involves systematically scaling the pattern pieces to create different sizes. It’s crucial for efficient production of garments in various sizes.
The process usually involves:
- Choosing a grading system: This will determine the measurements for each size. Standard grading scales are available, or I can customize one based on specific body measurements.
- Using grading software or manual techniques: Software like Gerber or Optitex automate the process, while manual grading involves measuring and adjusting each pattern piece by hand. I’m proficient in both methods.
- Adjusting pattern pieces: Some areas require more attention than others (e.g., the bust and hips will have more significant size changes). These adjustments often include curve manipulation and maintaining the proportions of the design.
- Creating a grading rule set: I meticulously set up grading rules to maintain the style lines and balance of proportions between sizes.
- Verification: The final step always includes checking and correcting any errors in the graded patterns.
Accurate grading ensures consistency in fit across all sizes and is fundamental to the success of any garment production.
Q 5. How do you handle ease and fitting adjustments in pattern making?
Ease and fitting adjustments are critical for achieving a comfortable and flattering garment. Ease refers to the extra fabric added to the pattern to allow for movement and comfort, while fitting adjustments correct for individual body variations.
- Ease: Different types of ease are applied depending on the garment and fabric. This includes ease for movement, ease for comfort and drape, and ease for fit (reducing tightness). I carefully consider the fabric’s stretch and drape when calculating the appropriate ease.
- Fitting Adjustments: These are based on fitting toiles and considering individual body characteristics (e.g., full bust, broad shoulders, high waist). Adjustments might involve adding or removing fabric, adjusting seam lines, or altering darts to achieve a well-fitting garment.
For instance, I recently adjusted a client’s sleeve pattern to create more room at the biceps, after testing the toile. These adjustments were crucial to ensure comfort without altering the aesthetic design.
Q 6. What software programs are you proficient in for pattern making (e.g., Gerber, Optitex, Lectra)?
I am highly proficient in several industry-standard patternmaking software programs:
- Gerber Accumark: I use this extensively for grading, marker making, and pattern construction for both single and multiple size runs.
- Optitex: I utilize Optitex for its 3D capabilities, which allow for accurate visualization and fitting simulations before production. This is particularly useful for complex designs.
- Lectra Modaris: My expertise with Lectra extends to its advanced capabilities in pattern development, grading, and production planning. This allows me to optimize production and minimize fabric waste.
While I value the efficiency and precision offered by these software programs, I also maintain a strong foundational understanding of manual patternmaking techniques. These techniques allow me to problem-solve effectively in any situation.
Q 7. How do you ensure accuracy in pattern making?
Accuracy is paramount in patternmaking. Inaccurate patterns lead to ill-fitting garments and wasted resources. My approach to ensuring accuracy includes:
- Precise Measurements: I use accurate measuring tools and techniques to ensure the base patterns are true to the client’s measurements or size chart.
- Careful Drafting: I meticulously follow the drafting rules, and double-check each step to minimize errors. For flat pattern making, this involves precise measurement and attention to detail.
- Thorough Testing: Muslins or toiles are essential for checking fit and making any necessary adjustments before cutting the final fabric. I always create these as part of my process.
- Consistent Techniques: I use consistent techniques and processes across all my projects. This eliminates variability and increases accuracy.
- Regular Calibration: When using software, I ensure regular calibration of the machines and software settings.
Accuracy is not just about precision; it is also about consistency and attention to detail throughout the entire process – from initial measurements to the final product.
Q 8. Describe your experience with different types of fabrics and how it affects pattern making.
Fabric choice significantly impacts pattern making. Different fabrics drape, stretch, and react to cutting and sewing techniques differently. For example, a crisp cotton will behave very differently than a flowing silk or a stretchy knit. My experience spans a wide range of fabrics, including wovens like cotton, linen, silk, and wool, as well as knits such as jersey, rib knit, and double knits. This experience has taught me to adjust my patterns based on the fabric’s properties.
- Woven Fabrics: These have a distinct warp and weft, impacting drape and stability. A pattern for a woven requires careful consideration of grainlines to avoid distortion. I often need to adjust seam allowances depending on the fabric’s tendency to fray or shrink.
- Knit Fabrics: These are more forgiving in terms of fit, but their stretch needs to be accounted for in the pattern. I often create or modify patterns to include ease for stretch and recovery, preventing a garment from being too tight or too loose after wearing.
- Drapey Fabrics: Fabrics like silk chiffon require a pattern that considers the flow and weight of the material. I would avoid sharp angles and create more flowing lines to flatter the drape of the fabric.
- Structured Fabrics: Fabrics like denim or heavy canvas need to be cut with sharp precision to ensure clean lines and a professional finish. Extra seam allowance may be needed to facilitate turning and pressing.
Understanding a fabric’s properties – its weight, drape, stretch, and texture – is crucial for creating a successful garment. For instance, a pattern drafted for a stable cotton will not work effectively on a flowing silk without adjustments for ease and drape.
Q 9. Explain the importance of understanding grainlines in pattern making.
Understanding grainlines is paramount in pattern making. Grainlines refer to the direction of the warp (lengthwise) and weft (crosswise) yarns in a woven fabric. Cutting a garment on the correct grainline ensures that the finished garment hangs correctly, retains its shape, and avoids distortion.
- Straight Grain: Running parallel to the warp yarns, this provides the most stability and prevents stretching or distortion.
- Cross Grain: Running parallel to the weft yarns, this is typically less stable than the straight grain and is often used for details.
- Bias Grain: Cut at a 45-degree angle to the warp and weft, this grain provides maximum stretch and drape, ideal for creating flowing lines, but it can be less stable.
Ignoring grainlines can lead to a garment that hangs unevenly, stretches out of shape, or wrinkles excessively. For example, cutting a skirt on the bias instead of the straight grain can result in a skirt that hangs unevenly and stretches out over time. Conversely, cutting a structured garment like a jacket on the bias will result in sagging and loss of structure. Therefore, I always carefully mark and follow grainlines on my patterns and fabric.
Q 10. How do you identify and correct common fitting problems?
Identifying and correcting fitting problems requires a keen eye for detail and a systematic approach. I use a combination of techniques to diagnose and solve these issues.
- Accurate Measurements: Inaccurate measurements are the root of many fitting problems. I always double-check my measurements and use a well-fitting muslin (a test garment) to identify areas of looseness or tightness.
- Visual Assessment: Once the muslin is on the model or dress form, I carefully observe the fit, looking for pulling, bunching, or gaping. I note where the garment is too tight or too loose and measure the discrepancies.
- Specific Adjustments: Based on my observations, I make targeted adjustments to the pattern. For example:
- Fullness/Ease: Too tight? Add ease. Too loose? Reduce ease.
- Shoulder Adjustments: High or low shoulders? Adjust the shoulder seam.
- Bust Adjustments: Too tight or loose across the bust? Adjust the bust dart or add/reduce fullness.
- Waist Adjustments: Too tight or loose at the waist? Adjust the waist dart or add/reduce fullness.
- Hip Adjustments: Similar adjustments are done to address hip fit issues.
The process of fitting is iterative. I may need to make several adjustments to achieve a perfect fit. I document all my adjustments so I can repeat them for future productions or when working with similar fabrics or body types.
Q 11. How do you create a pattern for a garment with darts?
Creating a dart is a fundamental skill in pattern making. Darts are used to shape flat fabric into three-dimensional curves, shaping the garment to the body’s form. A dart’s placement and shape depend on the style and fit of the garment. Let’s take a bust dart as an example.
- Determine Dart Location: For a bust dart, this is usually on the front bodice, starting below the bust point, and extending down towards the waistline.
- Measure Dart Depth: Measure the amount of fullness that needs to be removed to shape the garment. This is determined during the fitting process.
- Draw Dart Lines: Draw two lines from the apex (point) of the dart, extending to the desired length, forming a triangular shape.
- Cut and Sew: Cut along the dart lines and sew the darts together from the apex to the base, using a small stitch length and pressing the darts open or to one side depending on the garment design and fabric.
The same principle applies to other darts, such as waist darts or shoulder darts, but the placement and shape will be different depending on their purpose. I use a variety of techniques, including French darts, princess seams, or shaping with curves to achieve the desired effect.
Q 12. How do you create a pattern for a garment with pleats?
Pleats add texture and design detail to garments. Creating a pattern with pleats involves adding extra fabric to the pattern piece to accommodate the pleat’s width and depth. Here’s a step-by-step process:
- Determine Pleat Type and Dimensions: Decide on the type of pleat (box pleat, knife pleat, inverted pleat, etc.) and its dimensions: width and depth.
- Add Pleat Allowance: The total pleat allowance is added to the pattern piece. The exact amount depends on the pleat type and dimensions. For example, a box pleat will require double the width of the finished pleat.
- Mark Pleat Lines: Mark lines on the pattern piece to indicate the pleat fold lines. These lines must accurately reflect the desired pleat type.
- Cut Pattern: Cut the pattern along the marked lines.
- Sewing the Pleats: Fold and sew the pleats according to the marked lines on the fabric. Press to create crisp folds.
The process for pleats is iterative. I might create a sample to refine the pleat’s look and feel before working on the final garment. The fabric’s drape and weight heavily influences the pleat’s success. Heavy fabrics can be more challenging to pleat and may need more structure.
Q 13. Describe your experience with marker making and efficient fabric utilization.
Marker making is the process of arranging pattern pieces on fabric to minimize waste and maximize efficiency. My experience includes both manual and computer-aided marker making. Manual marker making involves arranging pattern pieces on a large sheet of paper, while computer-aided marker making uses specialized software to optimize fabric utilization. Both methods require a good understanding of fabric width, pattern piece dimensions, and grainlines. Efficient fabric utilization is crucial for cost reduction and minimizing environmental impact.
- Manual Marker Making: This requires meticulous attention to detail and a good understanding of geometry. Pieces must be aligned correctly, with attention to grainlines, to avoid distortion. I use a combination of hand-drawn sketches and measurements to create markers.
- Computer-Aided Marker Making: Specialized software streamlines the process, optimizing the placement of pattern pieces for minimal fabric waste. It provides greater accuracy and efficiency for large-scale production. I regularly use these software for larger runs and more complex projects. I’m familiar with many industry-standard tools.
I strive for efficiency, always aiming to reduce waste as much as possible. This reduces material costs and promotes sustainability, especially when dealing with premium or limited-edition fabrics. Proper marker making and fabric spreading are skills that come with practice and experience.
Q 14. How do you manage multiple pattern projects simultaneously?
Managing multiple pattern projects simultaneously requires a structured approach and strong organizational skills. I use a combination of techniques to stay on track and deliver high-quality work. My system includes:
- Prioritization and Scheduling: I prioritize projects based on deadlines and urgency, creating a schedule that allows me to allocate sufficient time for each project.
- Detailed Project Files: Each project has its own dedicated file with all relevant information, including measurements, sketches, pattern pieces, and notes. This helps me stay organized and avoid confusion.
- Clear Communication: Maintaining clear communication with clients is crucial. I regularly update clients on project progress and address any questions or concerns.
- Regular Reviews: I regularly review my schedule and adjust my approach if necessary. This helps me identify potential bottlenecks and address them proactively.
- Digital Tools: I leverage digital tools, such as project management software, to streamline workflows and enhance collaboration.
Time management and organizational skills are crucial for success in this field. It’s about setting realistic expectations, prioritizing tasks, and maintaining clear communication with stakeholders. A well-organized workflow allows for seamless transitions between projects and maintains quality in each project regardless of the number of simultaneous projects.
Q 15. How do you handle last-minute changes or revisions to a pattern?
Handling last-minute pattern revisions requires a calm, methodical approach. My first step is always to understand the change request completely. Is it a minor adjustment, like a slight sleeve length alteration, or a more significant one, like a complete neckline redesign?
For minor changes, I might simply adjust the existing pattern pieces directly, using my knowledge of seam allowances and grading. I would carefully mark the alterations and clearly annotate the changes made. For larger revisions, I would likely redraw the affected pattern pieces, using my digital design software if necessary. This allows for greater precision and the ability to create a clean, updated pattern.
A crucial element is clear communication with the client or team throughout the process. I’d confirm the changes, estimate the time needed for the adjustments, and present options if multiple solutions exist. Time management is key – I prioritize the most critical alterations to meet deadlines. Finally, I’d always double-check my work before presenting the revised pattern to ensure accuracy and prevent further delays.
Career Expert Tips:
- Ace those interviews! Prepare effectively by reviewing the Top 50 Most Common Interview Questions on ResumeGemini.
- Navigate your job search with confidence! Explore a wide range of Career Tips on ResumeGemini. Learn about common challenges and recommendations to overcome them.
- Craft the perfect resume! Master the Art of Resume Writing with ResumeGemini’s guide. Showcase your unique qualifications and achievements effectively.
- Don’t miss out on holiday savings! Build your dream resume with ResumeGemini’s ATS optimized templates.
Q 16. What are your preferred techniques for troubleshooting pattern issues?
Troubleshooting pattern issues often involves a systematic approach. I start by carefully examining the garment constructed from the pattern, noting the specific problem areas. Is the garment too tight across the bust? Does it pull at the shoulders?
My troubleshooting techniques range from simple adjustments (like easing seams) to more complex solutions. If a pattern piece is consistently too large or small, I might adjust the grading. If there are fit issues, I’d refer back to the original measurements and compare them to the finished garment. A muslin (a test garment made from inexpensive fabric) is invaluable for identifying problems early on. I can mark alterations directly on the muslin and then transfer those markings to the paper pattern.
Ultimately, experience plays a crucial role. I have learned to recognize common pattern errors and their typical causes, speeding up the diagnosis and solution process. The ability to visualize the garment from a 2D pattern is essential in effective pattern troubleshooting.
Q 17. Explain your experience with different types of closures (e.g., zippers, buttons, hooks and eyes).
I have extensive experience with various closures, each presenting unique design challenges.
- Zippers: I am proficient in incorporating both center-back and invisible zippers, understanding the precise placement and seam allowances needed for a smooth, clean finish. I consider the fabric type and zipper weight for optimal results.
- Buttons: I account for button size, spacing, and the type of buttonhole needed (hand-stitched, machine-stitched, or bound). I design button placements that both enhance the garment’s aesthetic and functionality.
- Hooks and Eyes: I utilize these closures strategically, often for delicate areas or for garments needing a secure, invisible fastening. Their placement requires precision to ensure proper alignment and a comfortable fit.
My experience extends to considering the closure’s impact on the garment’s overall design. For instance, the type of closure will affect the design of facings or the style of the collar. My aim is always to choose the most appropriate closure for the garment, both in terms of functionality and aesthetics.
Q 18. How do you incorporate design details into a pattern (e.g., pockets, collars)?
Incorporating design details like pockets and collars requires careful planning and execution.
Pockets: I start by deciding on the pocket style (patch, welt, inseam) and its placement on the garment. I would then draft the necessary pocket pieces, ensuring they are correctly sized and shaped to fit within the garment’s design. I consider the fabric weight and drape when determining the pocket construction to avoid puckering or sagging.
Collars: Collar construction can be quite complex, involving multiple pattern pieces and precise seam allowances. I start with a collar design that complements the overall style of the garment. This could range from a simple stand-up collar to a more intricate shawl collar. The precise drafting of the collar stand and collar roll is critical to achieving a proper fit and a crisp, clean finish. The collar’s impact on the neckline’s overall appearance and fit is meticulously considered.
For both pockets and collars, I always draft and test muslin versions to ensure the design elements integrate seamlessly into the garment’s structure and are consistent with the overall design.
Q 19. What is your experience with creating patterns for different sizes and body types?
Creating patterns for diverse sizes and body types is a core competency of mine. I utilize grading rules to efficiently create a range of sizes from a base pattern. These rules govern the proportional increases or decreases in measurements across various pattern pieces. I’m skilled at using both manual and computer-aided grading techniques.
Understanding body types is equally vital. I’m aware of common body variations like high/low bust, full/narrow hips, and straight/curvy figures. I consider these variations while grading patterns, ensuring the garment will fit and flatter a broader range of body shapes.
I also have experience adapting patterns for specific body type requirements, which may involve adjusting the shape of individual pattern pieces, such as widening the back shoulder or adjusting the armhole depth, to achieve better fit and comfort. I often use block patterns as a starting point, modifying them to reflect specific body types.
Q 20. Explain your process for creating a sample garment from a pattern.
Creating a sample garment involves a series of meticulous steps. First, I carefully cut out the pattern pieces from fabric, following the grainlines and markings precisely. Next, I prepare the fabric for cutting by examining it for any flaws.
Following the cutting, I carefully stitch the garment pieces together, paying close attention to seam allowances and ensuring accurate alignment. I consider the fabric type and select the appropriate stitch type and tension for optimal results.
After assembling the garment, I press the seams and finish the edges. This step involves techniques like overlocking, zigzagging, or binding. Finally, I fit the sample garment, ensuring it matches the original design and fits the intended wearer. Fit adjustments are made as necessary, marking and transferring adjustments back to the pattern before creating the final patterns. This iterative process ensures the pattern’s accuracy and success.
Q 21. How do you work with fit models and implement their feedback?
Working with fit models is essential for achieving accurate patterns. I begin by taking precise measurements and fitting the model in the muslin.
During the fitting process, I observe the garment’s drape and look for areas needing adjustment. I take detailed notes, often sketching alterations directly onto the muslin. Fit model feedback is critical; I listen attentively and ask clarifying questions to understand the model’s perception of fit and comfort. I prioritize their input, translating their observations into specific pattern adjustments.
Collaboration is key. I’m comfortable explaining the technical aspects of the pattern changes to the model, ensuring clear understanding. I aim to create a comfortable and productive work environment that encourages open communication and leads to a well-fitting garment. Repeated fittings and revisions are often necessary to fine-tune the pattern and ensure a perfect fit.
Q 22. Describe your experience with pattern alterations and adjustments based on fit sessions.
Pattern alterations are crucial for achieving a perfect fit. My process begins with a thorough fit session, observing how the garment sits on the body. I meticulously note any areas of tightness, looseness, or pulling. For example, if the shoulders are too tight, I’ll ease the shoulder seam by making adjustments to the shoulder slope and potentially adding width to the back and/or front shoulder. If the waist is too loose, I’ll take in the side seams or adjust the dart placement. I typically work with both slopers (basic blocks) and individual patterns, making adjustments directly on the pattern pieces using a variety of techniques including adding or removing seam allowances, pivoting points, and redrawing curves to refine the shape. I document all alterations clearly, including measurements and descriptions, to ensure consistency across sizes and future projects. I might even create a new base pattern based on the successful alterations, ensuring the next garment is even better.
Specific examples include adjusting the neckline to better suit a client’s posture, or adapting a sleeve pattern to accommodate a wider or narrower armhole. The key is meticulous attention to detail and understanding how each alteration affects the overall drape and silhouette of the garment.
Q 23. How do you document and maintain your patterns?
Pattern documentation and maintenance are paramount for efficiency and reproducibility. I use a combination of digital and physical methods. Each pattern is labeled clearly with its name, size, date created, and any modifications. Physical patterns are stored in labelled folders in a well-organized system, preventing damage and misplacement. Digitally, I use specialized pattern-making software to create and store digital pattern files (like Adobe Illustrator or dedicated CAD software for pattern making). These files allow for easy scaling, duplication, and modification, even years later. A detailed log of any alterations made to the pattern, including sketches and precise measurements, is always maintained, whether it’s on paper or within the software. This meticulous approach allows for the recreation of the pattern at any time, ensuring consistency in production.
Q 24. Describe your understanding of industrial sewing equipment and techniques.
My experience encompasses a wide range of industrial sewing equipment, including, but not limited to, industrial sewing machines (straight stitch, overlock, coverstitch), computerized embroidery machines, cutting tables with automated cutting systems, and pressing equipment like industrial irons and steam presses. I understand the nuances of different stitch types and their application based on fabric and garment construction. For example, I know when a serger is essential for clean seam finishes or when a blindstitch is ideal for hemming. I’m proficient in various techniques such as flat-felled seams, French seams, and bound buttonholes, adapting these techniques based on fabric type and garment style to optimize both quality and efficiency. Beyond machine operation, my knowledge extends to the safe and efficient operation and maintenance of these machines, including troubleshooting and basic repair.
Q 25. How do you work collaboratively with designers and other team members?
Collaboration is crucial in the fashion industry. I work closely with designers to understand their vision and translate their creative concepts into functional patterns. This involves clear communication, providing feedback on the feasibility of their designs and suggesting potential modifications to ensure a successful outcome. I regularly present my progress, discuss challenges, and offer solutions collaboratively. With other team members, such as graders, sample machinists, and production staff, communication and clarity are central. I clearly communicate my pattern specifications and any critical details. Providing training to the sample machinists and assisting them with challenges enhances the quality of the prototypes. Effective teamwork leads to efficient production and high-quality garments.
Q 26. Explain your experience with digital pattern making and its advantages.
Digital pattern making has revolutionized the industry, increasing speed, accuracy, and efficiency. I’m proficient in using specialized software, which allows for precise drafting, grading (sizing), and manipulation of patterns. This eliminates the need for laborious hand-drafting and reduces errors. The advantages are numerous: digital patterns can be easily scaled to create multiple sizes quickly; alterations can be made easily and precisely; and patterns can be stored and accessed easily and collaboratively across different locations. For example, using software allows for immediate pattern alterations based on fit comments after a toile fitting. The changes made on the digital version can be instantly reflected in the graded sizes, making corrections vastly quicker and less labour intensive. It also facilitates collaboration with designers and other team members, improving communication and optimizing workflows. Using digital pattern making ensures greater accuracy, consistency, and a reduction in waste, thereby increasing overall profitability.
Q 27. What are some common challenges in pattern making and how do you overcome them?
Pattern making presents several challenges. One frequent issue is achieving a perfect fit across various body types. This requires an understanding of body proportions, ease, and drape. I overcome this by conducting thorough fit sessions, making careful observations, and using grading techniques to adapt the pattern to different sizes. Another common problem is managing fabric drape and grain. Understanding how fabrics behave is essential for creating flattering silhouettes. I address this by carefully selecting appropriate fabrics, manipulating pattern pieces to account for drape, and considering the grain line carefully during cutting and construction. I also encounter challenges when working with complex designs. In these cases, breaking down the design into simpler components and creating separate pattern pieces helps in managing complexity and ensuring precision. By carefully planning, problem-solving and maintaining meticulous record-keeping, I efficiently handle these common challenges and ensure a consistent high standard.
Q 28. What are your future goals in the field of pattern making and cutting?
My future goals involve furthering my expertise in advanced digital pattern making techniques, including 3D pattern design and virtual fitting. I aim to stay at the forefront of technological advancements and explore sustainable practices in pattern making and cutting. I also want to mentor and train the next generation of pattern makers, sharing my knowledge and experience. Finally, I would like to contribute to the development of innovative pattern-making methods that optimize efficiency, reduce waste, and increase the overall quality of garment production.
Key Topics to Learn for Your Pattern Making and Cutting Interview
- Drafting Techniques: Mastering basic block construction, including bodice, sleeve, and skirt blocks. Understand the principles of gradual curve manipulation and how to accurately adjust for different body types.
- Pattern Alterations & Grading: Demonstrate your ability to modify existing patterns to fit specific measurements and sizes. Practice grading patterns up and down in size while maintaining consistent proportions.
- Fabric Selection & Properties: Discuss the impact of fabric drape, stretch, and weight on pattern design and cutting. Explain how to adjust patterns to accommodate different fabric types.
- Computer-Aided Design (CAD) Software: Showcase your familiarity with industry-standard CAD software (if applicable) and highlight your proficiency in digital pattern making and manipulation.
- Cutting Techniques & Layout Planning: Explain efficient fabric layout techniques to minimize waste and maximize yield. Discuss different cutting methods (manual vs. automated) and their suitability for various projects.
- Problem-Solving & Troubleshooting: Describe your approach to identifying and resolving pattern-related issues, such as fitting problems, distorted seams, or inaccurate measurements. Highlight your ability to adapt and find creative solutions.
- Industry Standards & Best Practices: Demonstrate understanding of industry-standard terminology, techniques, and quality control measures.
- Sustainable Practices (if applicable): Showcase your knowledge of minimizing fabric waste, using eco-friendly materials, and implementing sustainable practices in the pattern making and cutting process.
Next Steps: Elevate Your Career with a Powerful Resume
Mastering pattern making and cutting is the key to unlocking exciting opportunities in the fashion and apparel industry. A strong understanding of these skills opens doors to diverse roles and career advancement. To secure your dream position, a well-crafted resume is crucial. An ATS-friendly resume is essential to ensure your application gets noticed by recruiters and hiring managers.
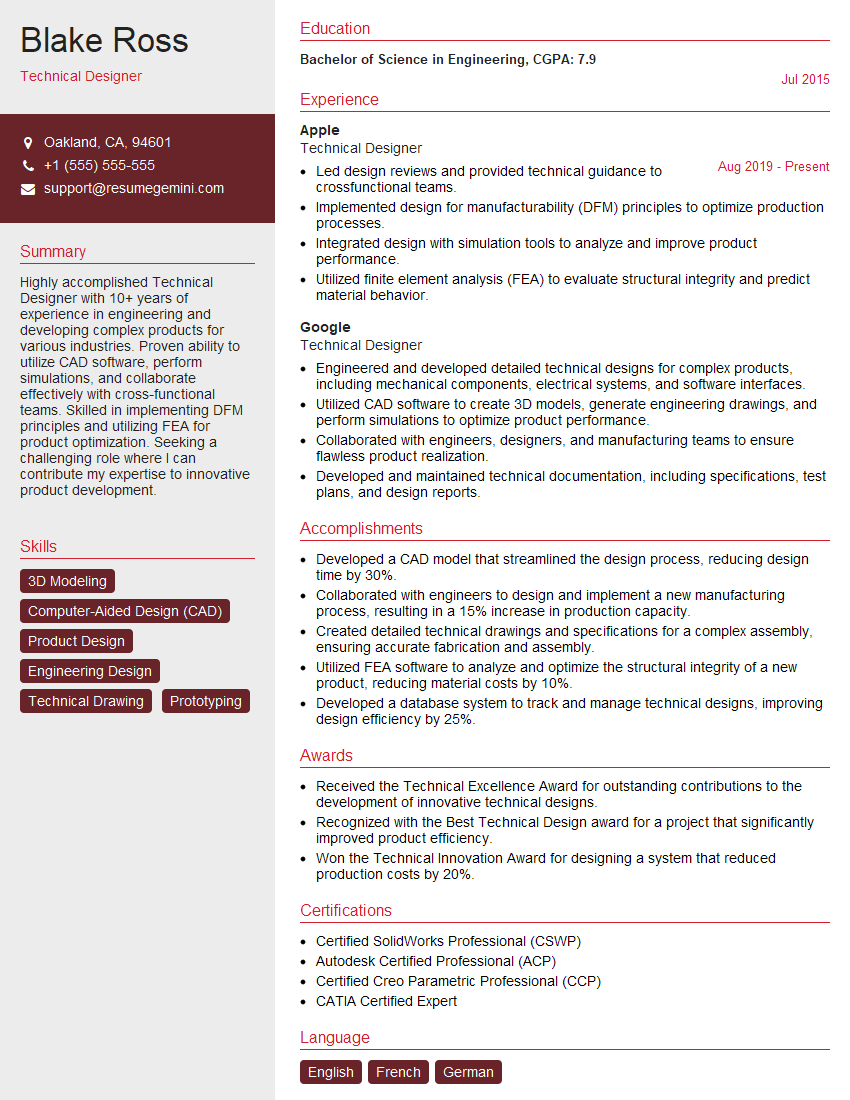
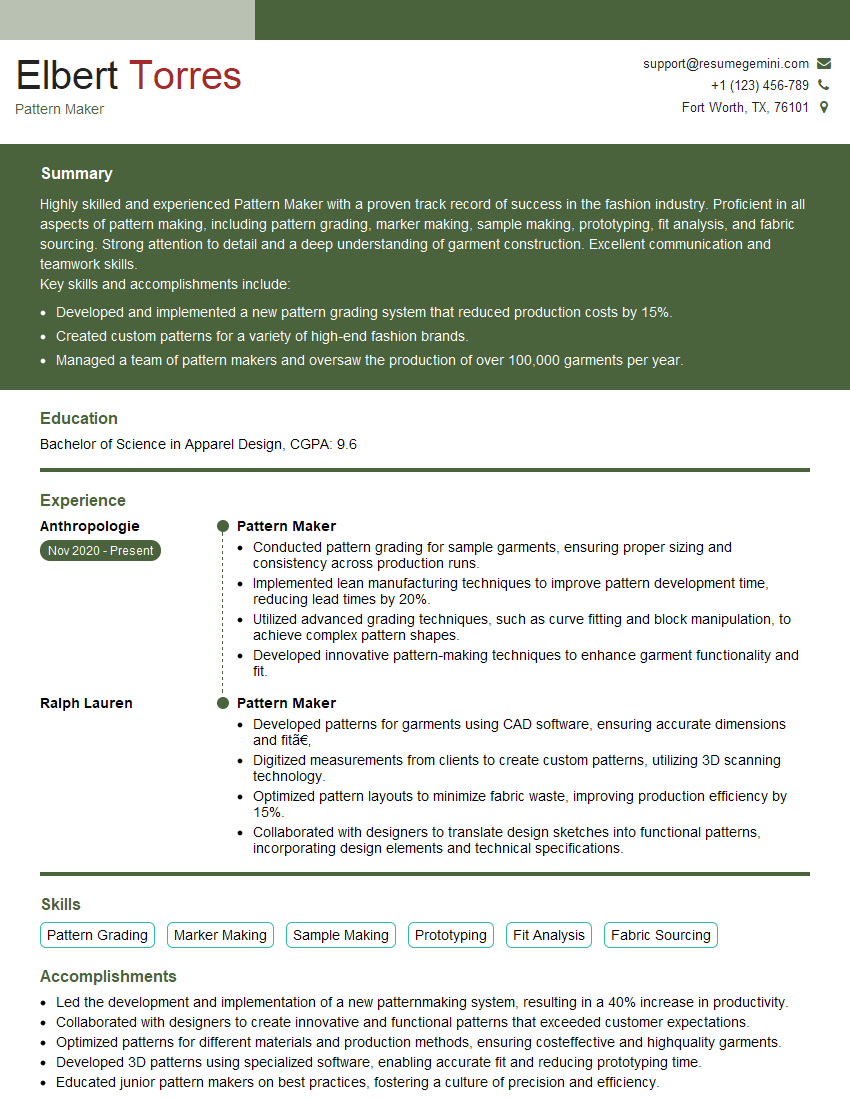
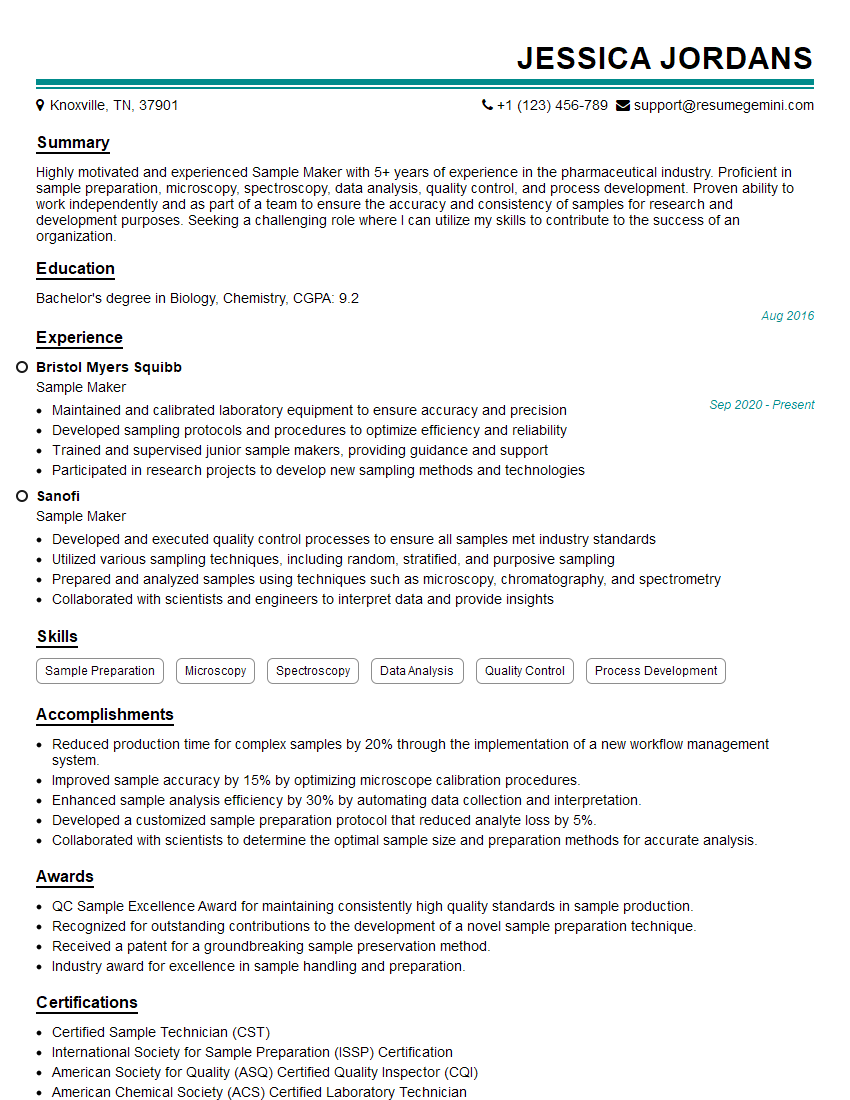
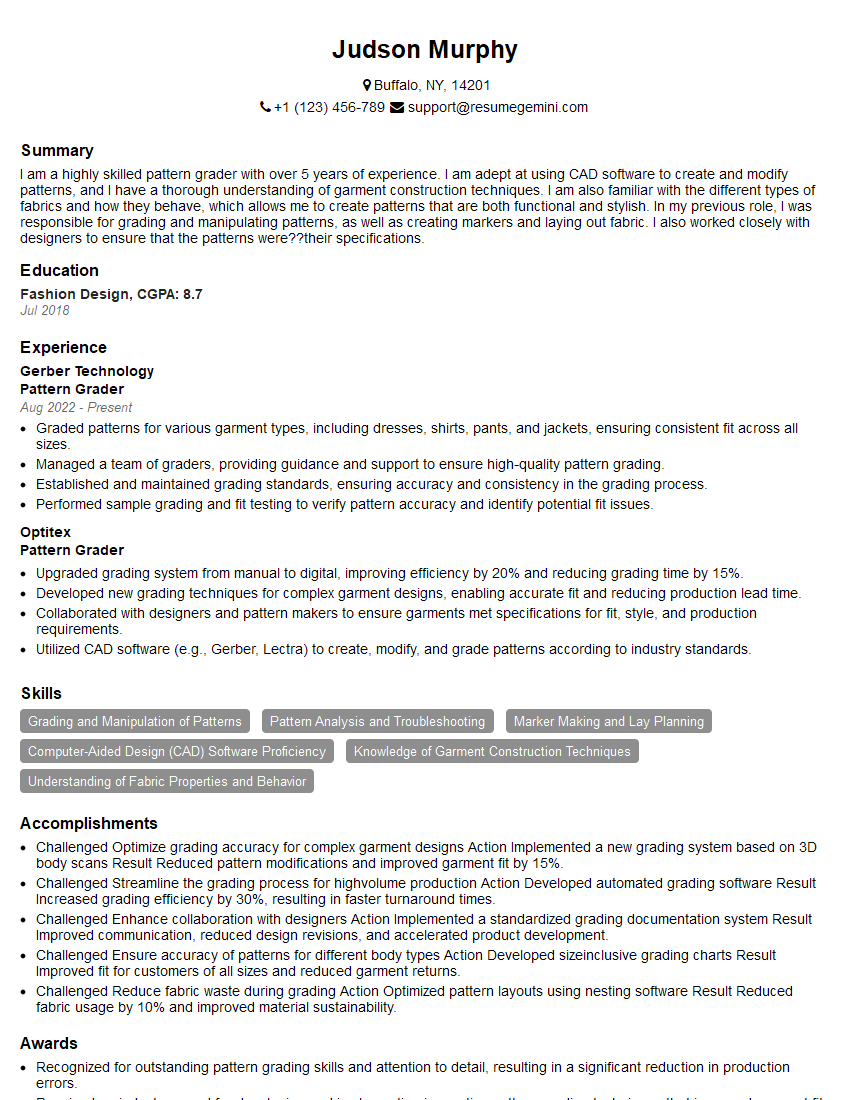
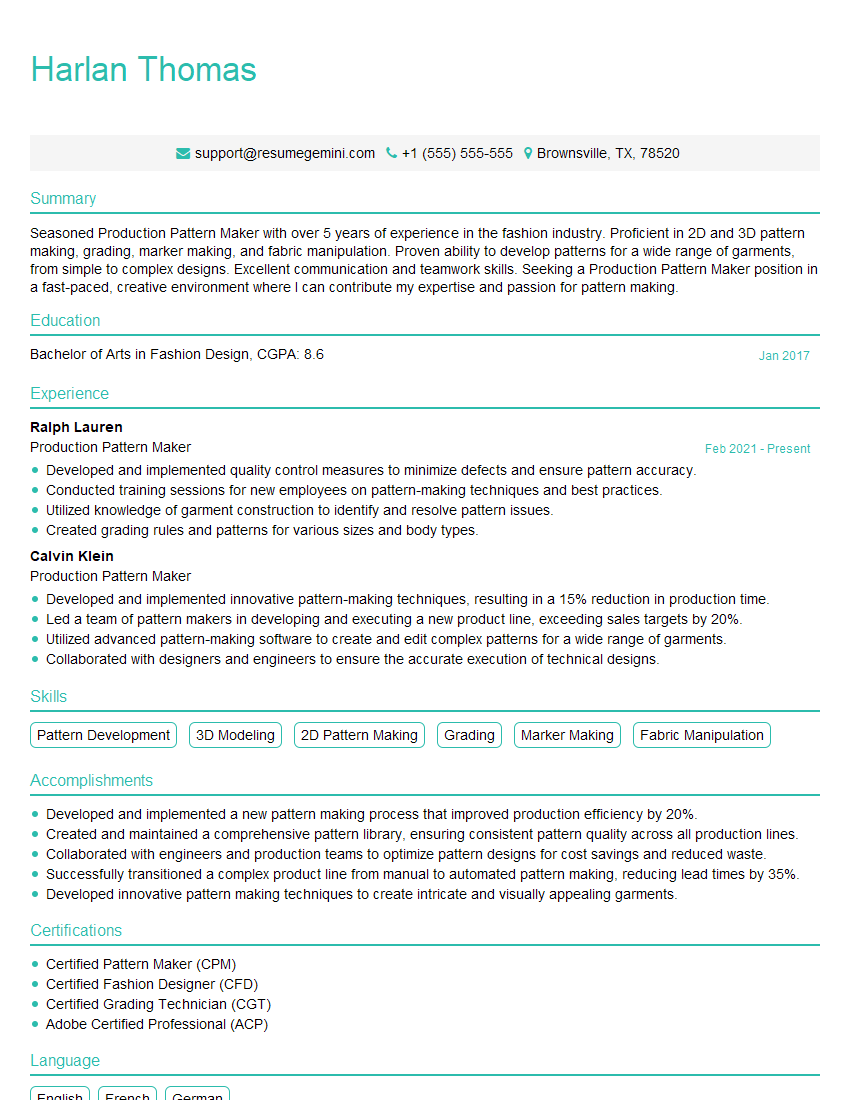
We highly recommend using ResumeGemini to build a professional and impactful resume tailored to your skills and experience. ResumeGemini provides valuable tools and resources to help you create a resume that stands out. Examples of resumes specifically designed for Pattern Making and Cutting professionals are available to help guide your creation.

Explore more articles
Users Rating of Our Blogs
Share Your Experience
We value your feedback! Please rate our content and share your thoughts (optional).
What Readers Say About Our Blog
Very informative content, great job.
good