Preparation is the key to success in any interview. In this post, we’ll explore crucial Proficient in measuring and calculating fabric yardage interview questions and equip you with strategies to craft impactful answers. Whether you’re a beginner or a pro, these tips will elevate your preparation.
Questions Asked in Proficient in measuring and calculating fabric yardage Interview
Q 1. What are the common methods for calculating fabric yardage?
Calculating fabric yardage involves determining the total amount of fabric needed for a garment or project. There are several common methods, each with its own advantages:
Direct Measurement from Pattern Pieces: This is the most straightforward method. You measure the length of each pattern piece and sum them. However, it doesn’t account for fabric width or layout efficiency.
Using a Fabric Calculator (Software or Online Tool): Many online tools and software programs calculate yardage based on pattern piece measurements and chosen fabric width. These tools often incorporate layout optimization, minimizing waste.
Manual Calculation with Layout Planning: This method requires more skill and involves drawing a diagram of how pattern pieces will be arranged on the fabric. It allows for precise control over layout and waste management. You calculate yardage based on the total length of the layout, considering the fabric width.
For example, if you’re making a simple skirt with a pattern piece that’s 3 yards long, you might initially think you need 3 yards. However, you must also account for the fabric width and any additional length needed for hems, seams, and potential pattern matching.
Q 2. Explain the concept of fabric shrinkage and how it impacts yardage calculations.
Fabric shrinkage is the reduction in fabric dimensions (length and width) after washing or exposure to moisture and heat. It’s crucial to account for shrinkage because an improperly sized garment can result from not pre-shrinking the fabric. The degree of shrinkage varies significantly depending on the fabric type (cotton shrinks more than polyester, for example) and manufacturing process.
To account for shrinkage in yardage calculations, you should pre-shrink the fabric before cutting. This involves washing and drying the fabric according to care instructions. Then, measure the fabric *after* it has shrunk to determine the true usable length.
If pre-shrinking isn’t possible, add a percentage to your yardage calculations. A common allowance for cotton is 5-10%, but this can vary. For example, if you need 4 yards of cotton and expect 5% shrinkage, you should buy 4.2 yards (4 * 1.05).
Q 3. How do you account for fabric width when calculating yardage?
Fabric width is a critical factor in yardage calculations because it determines how efficiently you can arrange pattern pieces on the fabric. Standard fabric widths vary (e.g., 45 inches, 60 inches). Narrower fabric means more yardage is needed to accommodate the same pattern layout.
When calculating yardage, you’ll need to know the fabric width and the length of the pattern pieces. Then, you determine how many pattern pieces can fit within the fabric width. This impacts how many fabric lengths are required for the project.
For instance, if a pattern piece is 24 inches long, and your fabric is 45 inches wide, you might be able to place two pattern pieces side-by-side on the width, reducing the total length needed.
Q 4. How would you calculate yardage for a garment with multiple pattern pieces?
Calculating yardage for garments with multiple pattern pieces involves summing the individual yardages of each piece, but it’s not as simple as adding the lengths. You need a systematic approach to minimize waste. Here’s a step-by-step process:
Measure each pattern piece: Record the length of each piece.
Sketch a layout: Plan how the pattern pieces will be arranged on the fabric to minimize waste. This might involve nested or spread layouts. Consider grainlines and pattern matching requirements.
Calculate total length: Determine the total length of fabric needed based on your layout, including seam allowances.
Account for fabric width: Make sure your layout fits within the fabric’s width, adjusting your calculation if needed.
Add extra yardage: Account for seam allowances, hems, and potential errors.
Example: If you have three pieces measuring 1.5 yards, 1 yard, and 0.5 yards, you wouldn’t simply add them (3 yards). A clever layout could reduce the total yardage significantly.
Q 5. What factors influence fabric yield?
Fabric yield, the amount of usable fabric obtained from a given quantity, is influenced by several factors:
Fabric Width: Wider fabrics generally lead to higher yield because you can fit more pattern pieces within the width.
Pattern Piece Size and Shape: Larger, more complex shapes result in more waste.
Layout Efficiency: A well-planned layout minimizes waste.
Cutting Technique: Precise cutting minimizes fabric loss due to errors.
Fabric Type: Some fabrics are more prone to fraying, potentially leading to greater waste during cutting.
Pattern Matching Requirements: Certain patterns require specific matching, which can lead to more waste due to matching restrictions.
Experienced cutters can significantly impact yield through efficient layout planning and precise cutting techniques. Using a computer-aided design (CAD) cutting system can greatly enhance yield by generating optimized layouts.
Q 6. Describe your experience using different cutting layouts (e.g., nested, spread).
I’ve extensive experience with various cutting layouts. Nested layouts are efficient for minimizing waste when cutting multiple pattern pieces of similar shapes and sizes. Pieces are placed close together, almost like a jigsaw puzzle, minimizing wasted fabric. This is ideal for mass production or when working with expensive fabrics.
Spread layouts are better suited for simpler patterns or when specific pattern matching is required. In a spread layout, pattern pieces are arranged in a more orderly, less compact way. This might be preferred when working with complex patterns or when you need better visual control over the cutting process.
My experience includes using both manual and computer-aided design (CAD) systems for layout planning. CAD systems automate the process, allowing for more precise and efficient layouts, particularly helpful in large-scale productions. I am proficient in adapting layout strategies to the specific needs of a project, considering factors like fabric type, pattern complexity, and production volume.
Q 7. How do you handle fabric waste in your yardage calculations?
Handling fabric waste is an essential aspect of efficient yardage calculation. My approach involves several strategies:
Accurate Pattern Making: Precise patterns reduce waste from poorly fitting pieces.
Optimized Layout Planning: Carefully arranging pattern pieces on the fabric is crucial to minimize waste. I use various layout techniques, including nested and spread layouts, choosing the method that is most appropriate for the project.
Using Fabric Scraps: I always look for ways to utilize smaller scraps for smaller projects or embellishments. Creative use of scraps can drastically reduce waste.
Estimating Waste: I build in a reasonable percentage for waste (e.g., 5-10%) depending on the project’s complexity, ensuring enough fabric is purchased.
Recycling/Repurposing: Any remaining usable fabric is saved for potential future use.
By consistently applying these strategies, I aim to minimize fabric waste and reduce material costs while ensuring project success.
Q 8. Explain the difference between grain line and bias.
The grain line and bias refer to the direction of the fabric’s threads. Understanding this is crucial for accurate pattern placement and garment drape.
The grain line runs parallel to the selvage (the finished edges of the fabric). It represents the lengthwise and crosswise yarns. Cutting with the grain results in stable, less likely to stretch or distort garments. Think of it like building with perfectly aligned bricks; they’re much stronger.
The bias, on the other hand, is a diagonal line across the fabric, at a 45-degree angle to the grain line. Fabric cut on the bias has more give and drape than fabric cut on the grain. Imagine stretching a rubber band—the bias acts like the stretched part, offering flexibility.
For example, if you’re making a fitted skirt, cutting on the grain is ideal for a structured silhouette. In contrast, bias-cut fabrics are favoured for flowing dresses or scarves where drape is desired.
Q 9. How does the type of fabric (e.g., knit vs. woven) affect yardage calculations?
The type of fabric significantly impacts yardage calculations. Woven fabrics, like cotton or linen, have a defined warp (lengthwise) and weft (crosswise) structure. Their stability allows for more precise calculations. Knit fabrics, however, are more flexible and have a tendency to stretch or recover.
Woven Fabrics: Calculations are relatively straightforward. You can rely on the fabric’s width and length to determine yardage needed.
Knit Fabrics: Because of their stretch, extra yardage must be added to account for potential distortion during cutting and construction. The type of knit also matters. Rib knits stretch less than jersey knits, so the added yardage will vary. I always add at least 10-15% extra yardage for knit fabrics, but it can be even higher depending on the project and fabric.
For example, a woven fabric project might require minimal added yardage, while a knit sweater might need 20-30% extra to account for the knit’s stretch and potential seam allowances.
Q 10. What software or tools do you use to calculate fabric yardage?
While basic calculations can be done manually, I prefer utilizing software and tools for efficiency and accuracy. I commonly use:
- Spreadsheet software (Excel, Google Sheets): These are excellent for creating templates to input fabric width, pattern piece measurements, and seam allowances. Automated calculations ensure speed and minimize errors.
- CAD software (e.g., OptiTex, Lectra): For more complex projects or high-volume production, CAD software provides detailed pattern manipulation and automated yardage estimation. It considers fabric drape and grain for optimization.
- Online fabric calculators: Several online calculators streamline the process, but always double-check their results against your own manual calculations, especially for unusual fabrics or complex patterns.
The choice depends on the project’s scale and complexity. For small projects, a spreadsheet is sufficient; for large-scale production, CAD software is necessary.
Q 11. How do you ensure accuracy in your yardage calculations?
Accuracy is paramount. To ensure precise yardage calculations, I follow a multi-step process:
- Precise measurements: I meticulously measure all pattern pieces, accounting for seam allowances and ease (extra fabric for comfort and fit).
- Understanding fabric properties: I take into account the fabric’s drape, stretch, and potential shrinkage. Pre-washing fabric, especially natural fibers, helps avoid later surprises.
- Cross-checking calculations: I always double-check my calculations using different methods or software to catch potential errors.
- Consider layout efficiency: Planning the layout of pattern pieces on the fabric’s width maximizes material use and minimizes waste. I use different layout techniques depending on the fabric’s width and pattern piece shapes.
- Accounting for pattern repeats: If a fabric has a pattern repeat (a recurring design element), I ensure that the repeat aligns correctly across garment pieces for a cohesive look.
Q 12. How do you handle discrepancies between calculated and actual fabric usage?
Discrepancies between calculated and actual fabric usage happen. My approach involves:
- Analyzing the discrepancy: I carefully examine the cutting layout, the fabric itself (was there more or less stretch than anticipated?), and the construction process. Did I misinterpret a pattern instruction?
- Documenting findings: I meticulously record the differences for future projects and adjustments to my calculation methods.
- Adjusting future estimates: If the discrepancy reveals a systemic error in my calculations, I adjust my methods, accounting for the unexpected extra or missing yardage.
- Communicating with stakeholders: In a professional setting, I transparently communicate any significant discrepancies to clients or team members, explaining the reasons and offering solutions.
Learning from these discrepancies is essential for improving future accuracy.
Q 13. Describe your experience in working with different fabric constructions.
I have extensive experience with a wide range of fabric constructions, including:
- Woven fabrics: Cotton, linen, silk, wool, twill, denim, brocade—each has unique draping characteristics and requires tailored yardage estimations.
- Knit fabrics: Jersey, rib knit, double knit, interlock—their stretch properties dictate extra yardage allowances.
- Non-woven fabrics: Felt, fleece—these require different calculation methods due to their lack of a traditional weave.
- Specialty fabrics: Leather, suede, lace, vinyl—these necessitate careful consideration of their properties and often require more material due to their unique handling requirements.
My experience allows me to adapt my methods to suit each fabric’s specific demands. For instance, when working with leather, I carefully assess grain and ensure efficient layout to minimize waste.
Q 14. How familiar are you with industry standards for fabric measurement?
I’m very familiar with industry standards for fabric measurement. This includes:
- Standard fabric widths: Knowing the common widths (e.g., 45″, 54″, 60″) helps optimize layout and reduce waste.
- Seam allowances: I understand the standard and variable seam allowances depending on the project and fabric type. Correctly adding these allowances is critical for accurate yardage estimates.
- Shrinkage allowances: I know industry standard shrinkage rates for different fibers and account for pre-washing or pre-shrinking where needed.
- Industry-standard terminology: My understanding of terms like selvage, grain line, bias, and various weave types ensures seamless communication within the industry.
Adherence to these standards maintains consistency and accuracy, improving efficiency and reducing potential errors.
Q 15. How would you calculate the yardage needed for a specific garment style with known dimensions?
Calculating yardage for a garment starts with understanding the garment’s dimensions and the fabric’s width. Let’s say we’re making a simple skirt. We need the skirt’s length and the circumference of the waist. We also need the fabric width (usually 45 inches or 60 inches).
Step 1: Determine the total fabric needed for the skirt’s length. If the skirt’s length is 24 inches, that’s the minimum fabric needed lengthwise.
Step 2: Account for the fabric width. Let’s assume the skirt’s waist circumference is 36 inches. If we’re using 45-inch-wide fabric, we can get the width of the skirt (36 inches) out of one width of fabric. The total fabric required is 24 inches (length) and it’s perfectly suitable from the 45 inches width.
Step 3: Add seam allowances. Don’t forget to add seam allowances (typically ½ inch to 1 inch) to all cut edges. Let’s add 1 inch to the skirt length (25 inches) and account for any hems which may take another inch at the bottom (26 inches). Therefore, we will need at least 26 inches for the total length.
Step 4: Calculate total yardage. Since there are 36 inches in a yard, we need 26 inches / 36 inches/yard ≈ 0.72 yards. We always round up to the nearest quarter yard (or half yard depending on the situation and if there is any extra length for the waistband) to account for potential errors and waste. In this case, we’d need 1 yard.
Example: A dress requiring 3 yards with a 45-inch wide fabric means the pattern will be over 108 inches. If the fabric is cut on the fold, the pattern can be designed with less waste.
Career Expert Tips:
- Ace those interviews! Prepare effectively by reviewing the Top 50 Most Common Interview Questions on ResumeGemini.
- Navigate your job search with confidence! Explore a wide range of Career Tips on ResumeGemini. Learn about common challenges and recommendations to overcome them.
- Craft the perfect resume! Master the Art of Resume Writing with ResumeGemini’s guide. Showcase your unique qualifications and achievements effectively.
- Don’t miss out on holiday savings! Build your dream resume with ResumeGemini’s ATS optimized templates.
Q 16. Describe your process for creating a fabric cutting layout.
Creating a fabric cutting layout, or marker, is a crucial step in minimizing waste. It involves arranging pattern pieces efficiently on the fabric’s surface before cutting. My process involves these steps:
- 1. Gather Information: I begin by collecting all the pattern pieces for the garment, along with the fabric width and the number of garments to be produced.
- 2. Choose Layout Method: I determine the most effective layout method, whether it’s nested layouts (placing pieces close together to minimize waste), spread layouts (for larger items needing to take up space), or a combination of both. I consider the grain line, which needs to be aligned for the intended effect.
- 3. Create the Marker: Using computer-aided design (CAD) software, or manually on paper, I arrange the pattern pieces in an efficient manner. I usually prioritize placing larger pieces first and then fitting smaller pieces strategically into the leftover spaces. The software helps account for seam allowances and grainlines.
- 4. Optimize for Waste: The goal is to minimize fabric scraps while ensuring all pattern pieces are accurately placed. This often involves rotating pieces, mirroring pieces, and carefully considering the fabric’s width.
- 5. Verification and Adjustment: Once I have a layout, I review it meticulously to catch any errors or inefficiencies and I adjust according to necessity. A second set of eyes is also valuable to spot potential improvements.
Example: For a simple t-shirt, I’d place the front and back pieces strategically on the fold, using the fabric’s width efficiently, to cut multiple shirts at once and reduce the total fabric used.
Q 17. How do you minimize fabric waste while maintaining efficiency?
Minimizing fabric waste is critical for both cost savings and environmental responsibility. My strategies include:
- Efficient Marker Making: As mentioned previously, creating optimized cutting layouts is paramount. Software programs designed for marker-making assist greatly.
- Fabric Selection: Choosing appropriate fabric widths can significantly impact waste. For instance, if we know the garment’s dimensions can fit within a fabric’s width, we can reduce the number of cut pieces.
- Creative Pattern Design: Sometimes, I’ll collaborate with designers to suggest minor changes to the pattern layout that reduce fabric consumption without sacrificing aesthetics or functionality. I have a clear understanding of the relationship between pattern and production and can spot where to make small adjustments to reduce waste.
- Leftover Fabric Management: I carefully track leftover fabric. The scraps might be suitable for smaller items or prototypes, or can be donated, recycling them and reducing our overall textile waste.
- Precise Cutting Techniques: Precise cutting ensures that the fabric is used as efficiently as possible, reducing the chance of mistakes that lead to waste.
Example: I recently helped a client reduce their fabric waste by 15% simply by implementing a better marker-making technique and exploring different layouts using design software.
Q 18. How would you estimate yardage for a large-scale production run?
Estimating yardage for large-scale production requires a more formal process:
- Accurate Pattern Pieces: Starting with precisely measured and digitized pattern pieces is essential. Any small inaccuracies multiply when producing many garments.
- Detailed Marker: Create a detailed marker that optimally utilizes fabric width and length, considering the number of garments. CAD software helps here, ensuring efficiency.
- Sample Runs: Conduct small sample runs to test the marker and identify potential issues in the cutting process. You will be able to evaluate the total amount of wasted fabric and calculate the quantity of fabric needed accordingly.
- Material Shrinkage: Account for fabric shrinkage during production and the production process. The fabric might shrink slightly after washing or due to other processes. It is very important to make allowance for this to ensure that the end product fits the customer’s needs.
- Buffer for Defects: Always include a buffer percentage (5-10%) to account for unexpected fabric defects, cutting errors, or other unforeseen issues. This helps prevent shortages during the production process.
Example: For 1000 shirts, we may start with a precise marker layout. After a trial run of 10 shirts, I will adjust the marker, if necessary, before proceeding with the larger order. After this, the appropriate quantity of fabric will be ordered considering the 5-10% buffer.
Q 19. What are the common challenges associated with accurate fabric yardage calculation?
Accurate fabric yardage calculation faces several challenges:
- Fabric Shrinkage and Stretch: Different fabrics have varying levels of shrinkage or stretch, making accurate calculations challenging. Pre-washing fabric to test for shrinkage is a standard practice.
- Pattern Complexity: Complex patterns with intricate shapes and many pieces are more difficult to lay out efficiently, leading to increased waste.
- Fabric Width Variation: Fabric widths aren’t always consistent. Measuring the actual width of each bolt (roll of fabric) before cutting is important and may result in changes in the number of yardages to be calculated.
- Human Error: Mistakes in measuring, pattern cutting, or marker making can significantly impact yardage accuracy.
- Unexpected Defects: Holes, stains, or other fabric defects may necessitate cutting around them, altering yield.
Q 20. How do you handle unexpected fabric defects that affect yardage?
Handling unexpected fabric defects requires careful planning and action:
- Defect Assessment: I carefully assess the nature and extent of the defect. Is it a small flaw that can be worked around, or a large one rendering a portion unusable?
- Layout Adjustment: For small defects, I may adjust the marker layout to avoid the affected areas. For larger defects, we might have to discard a larger portion of the fabric.
- Inventory Management: Keeping good records of fabric defects helps in adjusting future orders. The inventory should be properly managed so that defects can be avoided.
- Communication: Communication with production staff is essential to ensure defects are identified and addressed promptly.
- Contingency Planning: Having a contingency plan in place—additional fabric or alternative solutions—minimizes production delays.
Example: If a significant area of fabric is flawed, we may need to re-evaluate the marker or order additional fabric to complete the production run.
Q 21. Explain the importance of precise fabric measurement in the garment industry.
Precise fabric measurement is crucial in the garment industry because:
- Cost Control: Accurate calculations directly impact profitability by minimizing fabric waste and reducing material costs.
- Production Efficiency: Accurate measurements prevent delays caused by fabric shortages or the need for re-cuts.
- Quality Control: Consistent fabric usage helps maintain uniformity across garments, enhancing overall quality.
- Sustainability: Reducing fabric waste minimizes environmental impact and aligns with sustainable manufacturing practices.
- Customer Satisfaction: Accurate fabric management ensures consistent sizing and a quality final product.
In short, precise fabric measurement is fundamental to a successful and sustainable garment production operation.
Q 22. How does pattern design influence the amount of fabric needed?
Pattern design significantly impacts fabric yardage. Complex patterns with many pieces, intricate details like pleats or ruffles, or large, flowing shapes require more fabric than simpler designs. Think of it like this: building a small, square house needs less material than constructing a sprawling mansion with turrets and ornate features.
For example, a simple A-line skirt uses less fabric than a ball gown with multiple layers and a large skirt. Patterns with directional prints (like stripes or florals) also add to yardage needs because the fabric must be cut in a specific direction to align the design, limiting fabric efficiency. We need to account for this pattern-specific increase in yardage.
- Simple designs: Minimal fabric waste.
- Complex designs: Increased waste and need for extra yardage.
- Directional prints: Increased yardage to maintain alignment and pattern continuity.
Q 23. How familiar are you with different units of measurement used for fabric (e.g., yards, meters)?
I’m very familiar with various fabric measurement units. The most common are yards and meters, but I also work comfortably with inches and centimeters. Understanding the conversions is crucial: 1 yard equals 36 inches or approximately 0.9144 meters; 1 meter equals 100 centimeters or approximately 1.094 yards. Accuracy is paramount, and I always double-check my conversions to avoid errors in yardage calculations, which could lead to costly mistakes in production.
In my experience, the unit of measurement used is often dictated by the pattern’s origin and the client’s preference. Adapting seamlessly between these systems is a key part of my skillset. I frequently use conversion tools and cross-reference measurements to ensure precision, particularly when working with international clients.
Q 24. How do you adjust yardage calculations for different garment sizes?
Adjusting yardage for different garment sizes is a critical aspect of my work. Most patterns provide a base size, and the adjustments are usually proportional. I don’t just arbitrarily add or subtract fabric. Instead, I carefully consider the pattern’s grading instructions, often found within the pattern itself or provided by the designer. These instructions specify how much additional fabric is needed for each increment of size (e.g., from a size small to a size medium).
Let’s say a pattern calls for 2 yards of fabric for a size small and the grading instructions state to add 0.25 yards for each size increase. For a size large (two sizes up from small), I would add 0.5 yards (0.25 yards/size * 2 sizes), bringing the total yardage requirement to 2.5 yards. Sometimes, especially with complex patterns, I may need to create a separate cutting layout for each size to optimize fabric usage and minimize waste.
Q 25. How can you improve the efficiency of fabric cutting and reduce waste?
Improving fabric cutting efficiency and minimizing waste is a top priority. My strategies involve careful planning and execution. This includes creating efficient layout plans that maximize the use of each fabric piece by nesting pattern pieces strategically. Software tools are incredibly helpful for this process, allowing me to digitally visualize different layouts before cutting. This eliminates guesswork and trial-and-error, significantly reducing waste.
Beyond layout, I also meticulously check pattern pieces for defects or flaws before cutting, ensuring only high-quality fabric is used. Employing techniques like ‘spread planning’ – a method where we strategically place pattern pieces on the fabric for optimum utilization – greatly reduces waste.
Furthermore, I ensure that my cutting tools are sharp and that I cut precisely according to the layout plan. Using specialized tools, such as rotary cutters and self-healing mats, improves precision and speed. Recycling fabric scraps for smaller projects further improves efficiency and reduces waste. Finally, close communication with the pattern maker and the seamstress ensures that we are all on the same page regarding the cutting plan and any adjustments needed. This collaboration is crucial for success.
Q 26. Explain your understanding of fabric costing and its relation to yardage calculations.
Fabric costing is intrinsically linked to yardage calculations. The cost of the fabric per yard (or meter) directly influences the overall cost of the garment. Accurate yardage estimation is crucial to avoid unexpected expenses or material shortages. For instance, if I underestimate the yardage needed, we may have to purchase more fabric at potentially inflated prices, impacting the project’s profitability. Conversely, overestimating could lead to unnecessary fabric costs and increased waste.
Therefore, precise yardage calculations, using all the appropriate metrics, ensure that the project remains within budget and reduces waste. This is especially important when dealing with high-priced fabrics or projects with tight budgets.
In my work, I always factor in fabric cost, including potential waste, when I’m creating my estimates for clients. I also consider different fabric qualities – high quality can require more precise cutting and slightly more fabric due to the potential for more careful handling – as it impacts the total budget and the likelihood of waste.
Q 27. What is your experience with working with different types of pattern pieces (e.g., flat, curved)?
I have extensive experience working with various pattern pieces, both flat and curved. Flat pattern pieces are generally easier to work with, requiring straightforward calculations and layout. However, curved pattern pieces, such as those for sleeves or curved seams, demand more careful planning and precise cutting to avoid fabric distortion or inaccurate fit. I am adept at manipulating and adapting these pieces to achieve optimal fabric utilization.
For curved pieces, I often use specialized tools and techniques to ensure precision. For example, using flexible rulers or templates helps to accurately trace the pattern onto the fabric and to minimize errors in cutting. I also carefully consider the grain line of the fabric, ensuring that it’s aligned correctly for optimal drape and fit. Understanding how different types of fabrics behave (stretchy versus non-stretchy, for example) further enhances accuracy in manipulating curves and reduces fabric waste. I regularly work with both simple, straight-forward patterns and complex designs including curved shapes, making me comfortable with the nuances of each type.
Key Topics to Learn for Proficient in Measuring and Calculating Fabric Yardage Interview
- Understanding Fabric Types and Properties: Learn how different fabric types (e.g., woven, knit, stretch) impact yardage calculations and measurement techniques. Consider factors like drape and shrinkage.
- Mastering Measurement Techniques: Practice accurate fabric measurement using various tools (measuring tapes, rulers). Understand the importance of consistent and precise measurements to avoid errors in calculations.
- Calculating Yardage for Different Garment Types: Develop the ability to estimate and calculate the required yardage for various garments (e.g., dresses, skirts, pants) considering factors like pattern pieces, seam allowances, and desired fabric width.
- Working with Pattern Instructions: Become proficient in interpreting pattern instructions and translating those instructions into accurate yardage calculations. Understand how pattern pieces relate to overall fabric consumption.
- Accounting for Waste and Shrinkage: Learn how to factor in fabric waste (due to cutting and pattern placement) and shrinkage (during washing or pre-treatment) into yardage calculations.
- Problem-Solving and Practical Application: Develop your ability to troubleshoot common yardage calculation problems and adapt your approach based on specific fabric properties and garment designs. Practice using real-world scenarios.
- Using Industry Standards and Formulas: Familiarize yourself with standard industry practices and formulas for calculating fabric yardage. This may include knowledge of specific software or calculation methods.
Next Steps
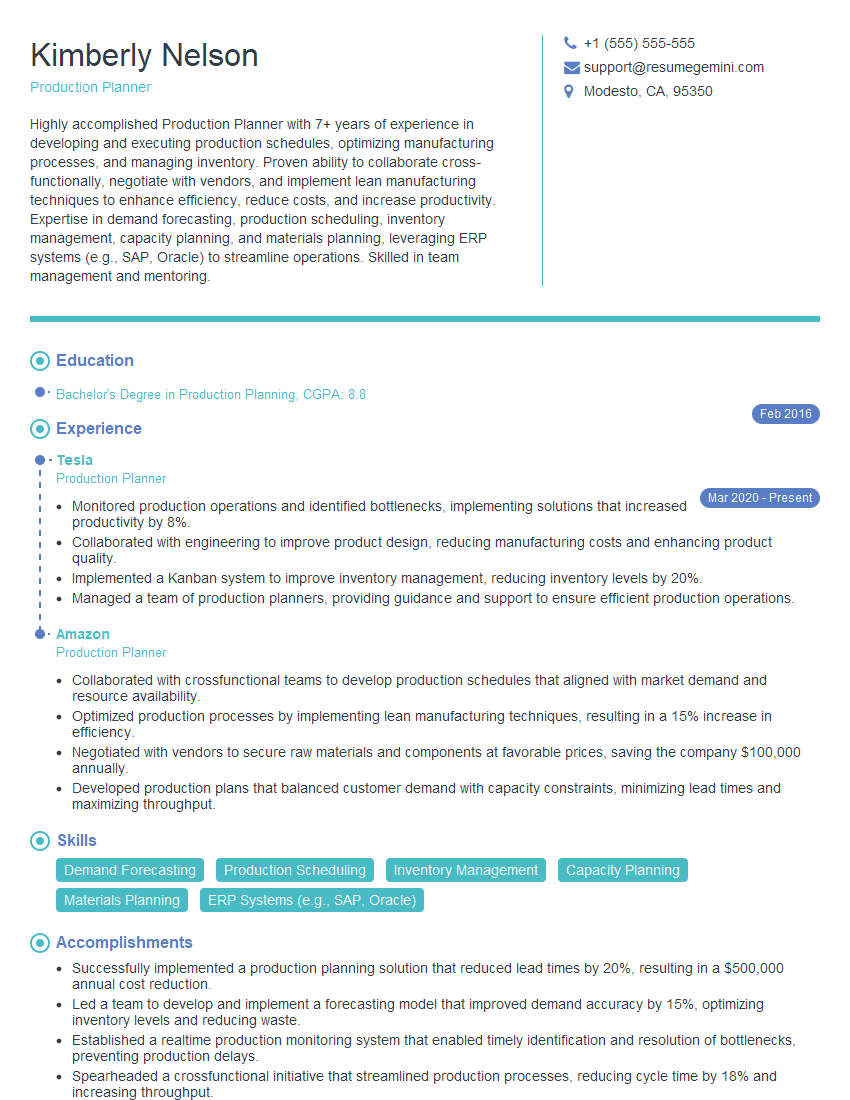
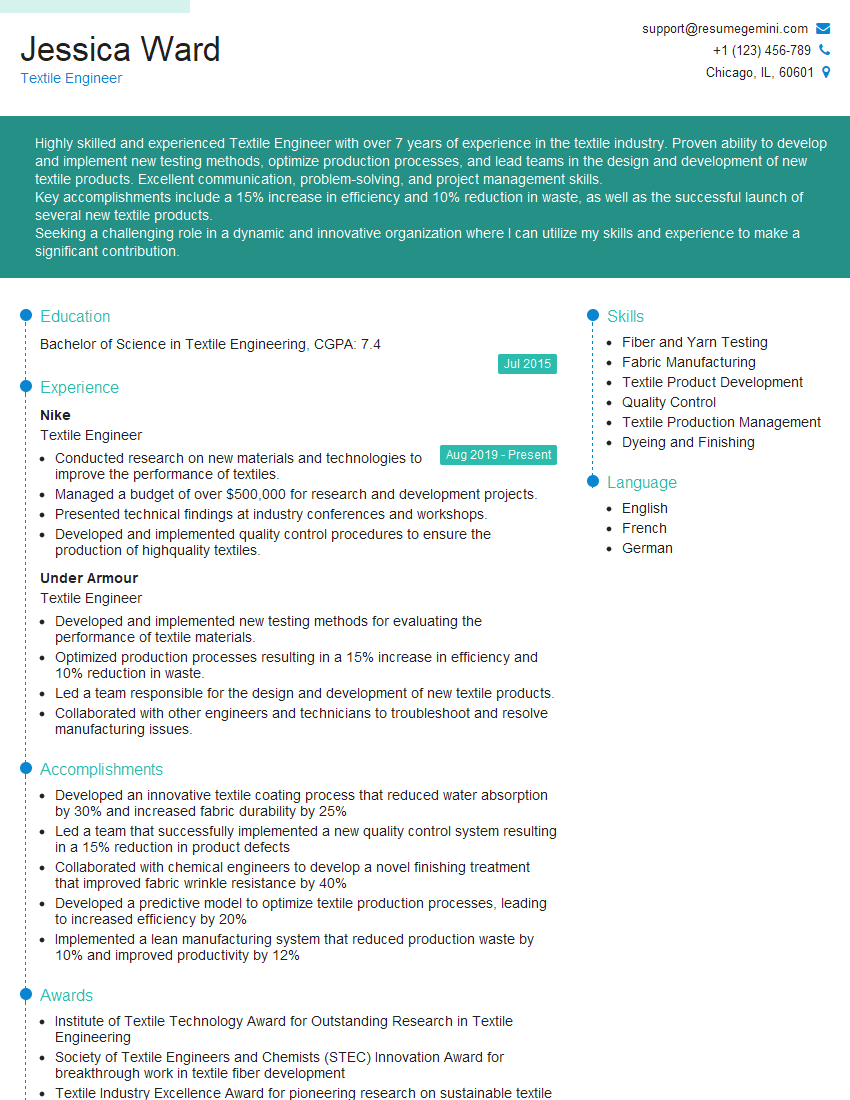
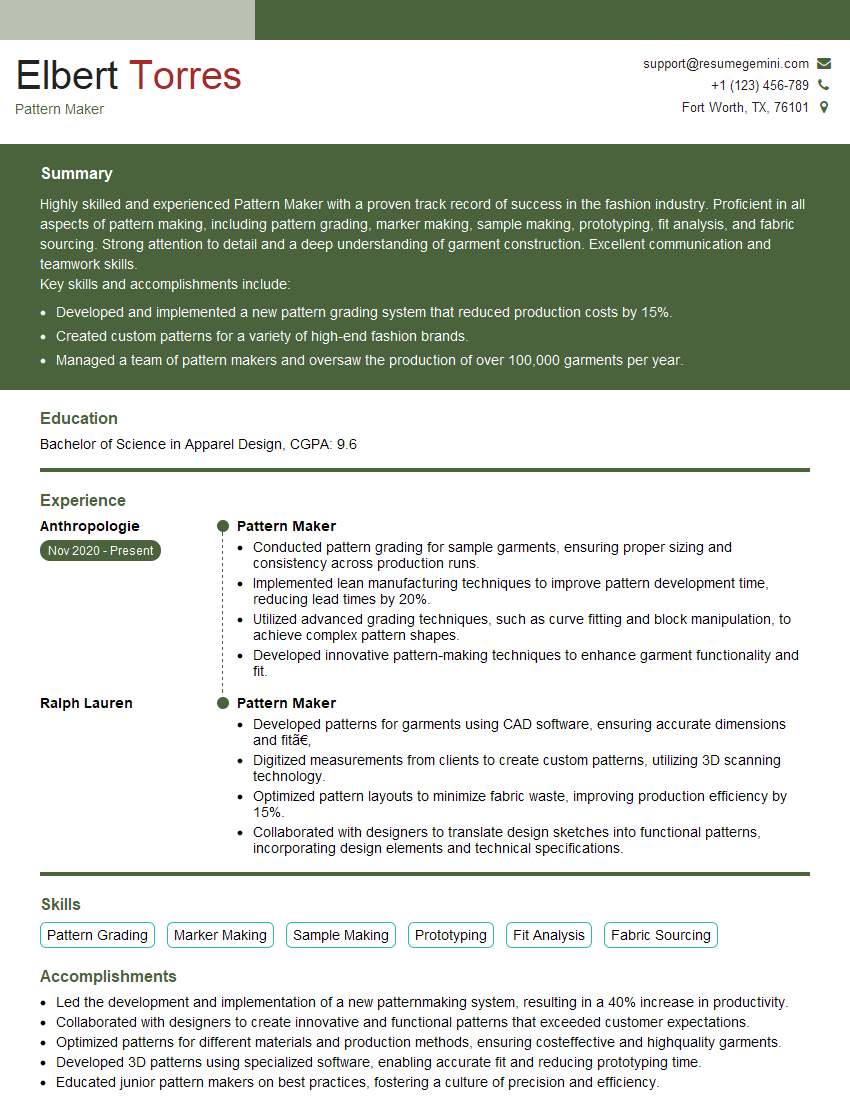
Mastering fabric yardage calculation is crucial for success in many roles within the fashion and textile industries, demonstrating efficiency and reducing material waste. This skill significantly enhances your value to potential employers. To highlight this proficiency, craft an ATS-friendly resume that effectively showcases your abilities. ResumeGemini can be a valuable tool in building a professional and impactful resume that catches the eye of recruiters. Examples of resumes tailored to showcasing proficiency in measuring and calculating fabric yardage are available to guide you.



Explore more articles
Users Rating of Our Blogs
Share Your Experience
We value your feedback! Please rate our content and share your thoughts (optional).
What Readers Say About Our Blog
Very informative content, great job.
good